目前学习用Android Studio进行android手机开发,出现了各种问题,出现问题后,搜索百度,有的一个问题,各种答案,通过多次试错排查,终于总结出了一套可以完全使用的方法了。具体的步骤如下:
1. 首先下载最新安装版Android Studio Arctic Fox,安装好后,会下载SDK,由于"墙"的存在,致使容易出现下载缓慢或者根本无法下载的问题,这时就需要进行设置了,看百度上多是设置proxy,但是这种方法,也不太可靠,我试了很多代理服务器都失效了,最后才找到一种目前看来较为稳妥的方法,就是使用http://ping.chinaz.com/ ,来ping谷歌服务器,看其中最短时间的网址,并加入hosts文件中,hosts文件地址:C:\WINDOWS\System32\drivers\etc\hosts,如

2. 在Android Studio中,新建hello world工程
3. 修改配置文件
修改gradle-wrapper.properties文件,android studio采用gradle来编译,而gradle从外围难以访问,所以可以从https://services.gradle.org/distributions/中下载gradle-7.1-all.zip到本地如C:/Users/Administrator/.gradle/wrapper/dists/gradle-7.1-all/9ccjyfn4kvk7v1w1wbmf8rhqp/gradle-7.1-all.zip,
其中9ccjyfn4kvk7v1w1wbmf8rhqp是系统自动生成的
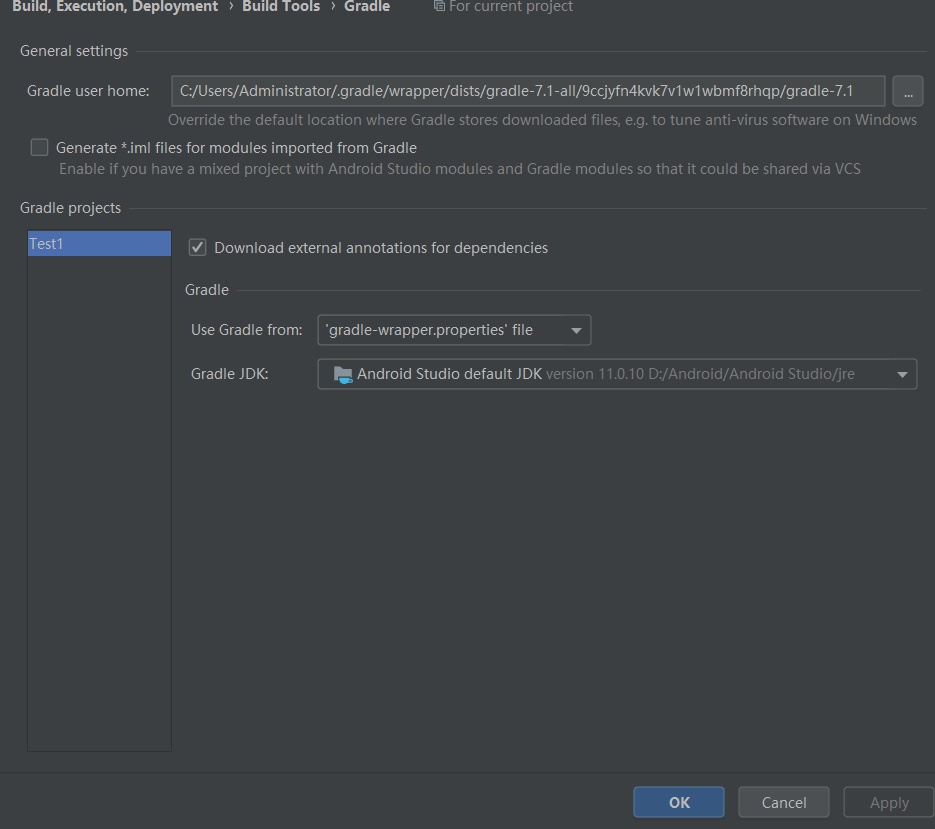
并且在setting的Build Tools下的Gradle设置为下图所示:
distriutionUrl项改为
distributionUrl=file:///C:/Users/Administrator/.gradle/wrapper/dists/gradle-7.1-all/9ccjyfn4kvk7v1w1wbmf8rhqp/gradle-7.1-all.zip

4.build.grale模块级的设置为
plugins {
    id 'com.android.application'
}

android {
    compileSdk 30

    defaultConfig {
        applicationId "com.example.test1"
        minSdk 21
        targetSdk 30
        versionCode 1
        versionName "1.0"

        testInstrumentationRunner "androidx.test.runner.AndroidJUnitRunner"
    }

    buildTypes {
        release {
            minifyEnabled false
            proguardFiles getDefaultProguardFile('proguard-android-optimize.txt'), 'proguard-rules.pro'
        }
    }
//    compileOptions {
//        sourceCompatibility JavaVersion.VERSION_1_8
//        targetCompatibility JavaVersion.VERSION_1_8
//    }
}

dependencies {

    implementation 'androidx.appcompat:appcompat:1.2.0'
    implementation 'com.google.android.material:material:1.3.0'
    implementation 'androidx.constraintlayout:constraintlayout:2.0.4'
    testImplementation 'junit:junit:4.+'
    androidTestImplementation 'androidx.test.ext:junit:1.1.2'
    androidTestImplementation 'androidx.test.espresso:espresso-core:3.3.0'
}
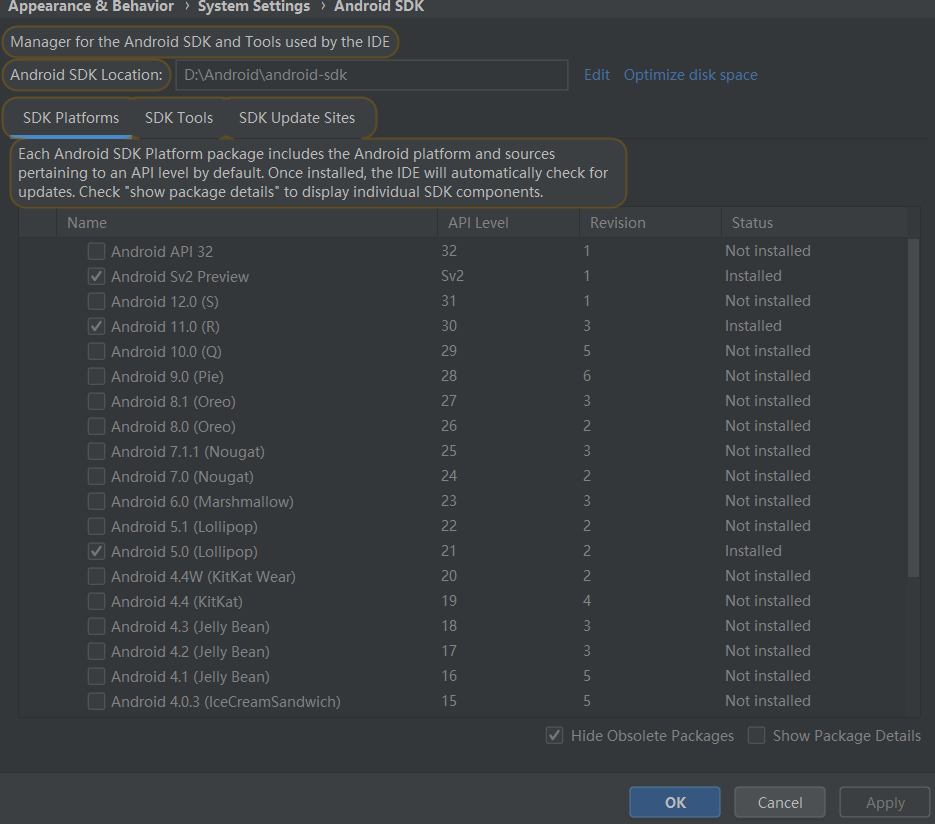
其中的compileOptions一定要去掉,因为compileSdk设置为30,所以在SDK中也应下载API为30版本的,并且要制定SDK的路径,如:
5. build.gradle工程级的设置为:
使用阿里云
buildscript {
    repositories {
        google()
        //mavenCentral()
        maven{ url 'https://maven.aliyun.com/nexus/content/groups/public/'}
    }
    dependencies {
        classpath 'com.android.tools.build:gradle:4.2.0'

        // NOTE: Do not place your application dependencies here; they belong
        // in the individual module build.gradle files
    }
}

allprojects {
    repositories {
        google()
        //mavenCentral()
        maven{ url 'https://maven.aliyun.com/nexus/content/groups/public/'}
    }
}
6.在settings.gradle(Project Settings)中去掉前面的设置,改为
//dependencyResolutionManagement {
//    repositoriesMode.set(RepositoriesMode.FAIL_ON_PROJECT_REPOS)
//    repositories {
//        google()
//        mavenCentral()
//        jcenter() // Warning: this repository is going to shut down soon
//    }
//}
rootProject.name = "Test1"
include ':app'
7.所有这设置后,就应该可以编译和调试android程序了
如果使用模拟器调试,需要BIOS打开VT-X支持,并在SDK TOOL中下载HAXM,然后调试。
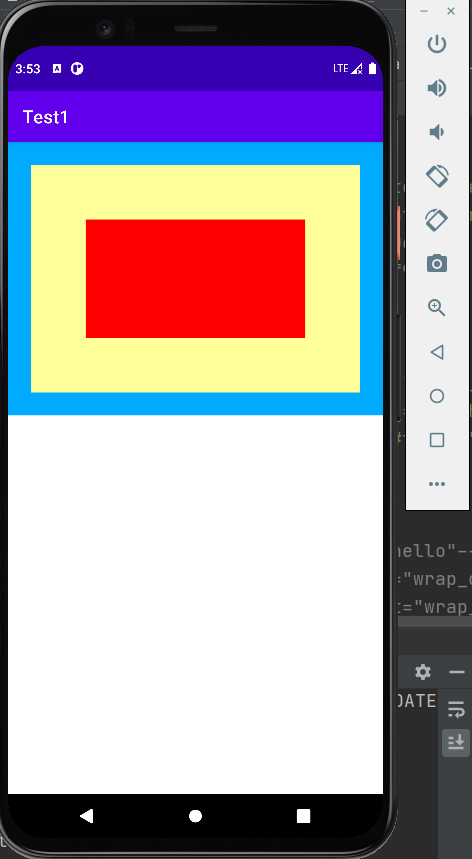
笔者参照网上的例子。activity_main.xml:
<?xml version="1.0" encoding="utf-8"?>
<androidx.constraintlayout.widget.ConstraintLayout xmlns:android="http://schemas.android.com/apk/res/android"
    xmlns:app="http://schemas.android.com/apk/res-auto"
    xmlns:tools="http://schemas.android.com/tools"
    android:layout_width="match_parent"
    android:layout_height="300dp"
    android:background="#00aaff"
    android:orientation="vertical"
    android:padding="5dp">

    <LinearLayout
        android:layout_width="match_parent"
        android:layout_height="match_parent"
        android:layout_margin="20dp"
        android:background="#ffff99"
        android:padding="60dp">

        <View
            android:layout_width="match_parent"
            android:layout_height="match_parent"
            android:background="#ff0000" />
    </LinearLayout>

</androidx.constraintlayout.widget.ConstraintLayout>
运行后,手机模拟器效果: