部署Zabbix server主要分为两部分(软件基本都是yum安装,不要问我为什么不用源码,因为没有必须用源码的需求)
一、部署LNMP/LAMP环境,已提供zabbix的界面展示,已经zabbix server的基础环境,这里不对LNMP/LAMP环境作过多解释。
这里使用LNMP作为Zabbix server的基础环境
系统:Centos7
Nginx:1.12.2
Php:7.0.27
Mysql:5.7.21
1.安装nginx
(1)添加yum源
cat <<EOF>/etc/yum.repo.d/nginx.repo
[nginx]
name=nginx repo
baseurl=http://nginx.org/packages/centos/7/$basearch/
gpgcheck=0
enabled=1
EOF
(2)yum安装nginx
yum -y install nginx
systemctl enable nginx  #开机自启
systemctl start nginx   #启动
2.安装php(这里用的是5.7)
(1)添加php yum源
rpm -Uvh https://mirror.webtatic.com/yum/el7/epel-release.rpm
rpm -Uvh https://mirror.webtatic.com/yum/el7/webtatic-release.rpm
(2)yum安装php
yum -y install php70w.x86_64 php70w-cli.x86_64 php70w-common.x86_64 php70w-gd.x86_64 php70w-ldap.x86_64 php70w-mbstring.x86_64 php70w-mcrypt.x86_64 php70w-mysql.x86_64 php70w-pdo.x86_64

yum -y install php70w-fpm    #安装php-fpm
(3)调整php参数,以满足zabbix安装要求
vim /etc/php.ini
更改以下参数的值
max_execution_time = 300
memory_limit = 128M
post_max_size = 16M
upload_max_filesize = 2M
max_input_time = 300
date.timezone = Asia/Shanghai
(4)调整php-fpm参数
vim /etc/php-fpm.d/www.conf
调整以下参数
user = nobody
group = nobody
listen = /dev/shm/php-fcgi.sock
listen.owner = nobody
listen.group = nobody
listen.mode = 0660
(5)启动php-fpm
systemctl enable php-fpm  #开机自启
systemctl start php-fpm  #启动
3.安装mysql
(1)安装mysql源
yum -y install https://www.percona.com/downloads/Percona-Server-LATEST/Percona-Server-5.7.21-20/binary/redhat/7/x86_64/Percona-Server-server-57-5.7.21-20.1.el7.x86_64.rpm
(2)启动mysql
systemctl enable mysqld  #开机自启
systemctl start mysqld   #启动
(3)登录mysql
cat /var/log/mysqld.log |grep password    #获取mysql初始密码
[Note] A temporary password is generated for root@localhost: 9cd;rlPVSl;c

mysql -uroot -p'9cd;rlPVSl;c'

set password for 'root'@'localhost'=password('Dingkai.123');    #更改root密码
4.配置nginx连接php
乱七八糟的没用的干掉,改完以后大概这样子,有些功能,可以根据自己需求配置,这里仅供实现zabbix运行
cd /etc/nginx/conf.d
cp default.conf default.conf.bak  #备份默认配置文件
vim default.conf
server {
    listen       80;
    server_name  localhost;
    root   /usr/share/nginx/html;

    #charset koi8-r;
    access_log  /var/log/nginx/host.access.log  main;

    location / {
        index  index.html index.htm index.php;
    }

    #error_page  404              /404.html;

    # redirect server error pages to the static page /50x.html
    #
    error_page   500 502 503 504  /50x.html;
    location = /50x.html {
        root   /usr/share/nginx/html;
    }

    # pass the PHP scripts to FastCGI server listening on 127.0.0.1:9000
    #
    location ~ .*php$ {
        fastcgi_pass  unix:/dev/shm/php-fcgi.sock;
        fastcgi_index index.php;
        fastcgi_param SCRIPT_FILENAME $document_root$fastcgi_script_name;
        include       fastcgi_params;
    }
}
5.测试nginx,php,mysql连接性
cat<<EOF> /usr/share/nginx/html/mysql.php
<?php
$mysql = new mysqli();

$mysql->connect('localhost','root','root的登录密码');

if($mysql){

            echo "连接成功了!";
}else{

        echo "连接挂掉了";

}
phpinfo();
EOF

chow -R nobody.nobody /usr/share/nginx/html  #因为php-fpm的运行用户是nobody,所以php相关的目录和代码的属主和属组,都用nobody
6.访问IP/mysql.php
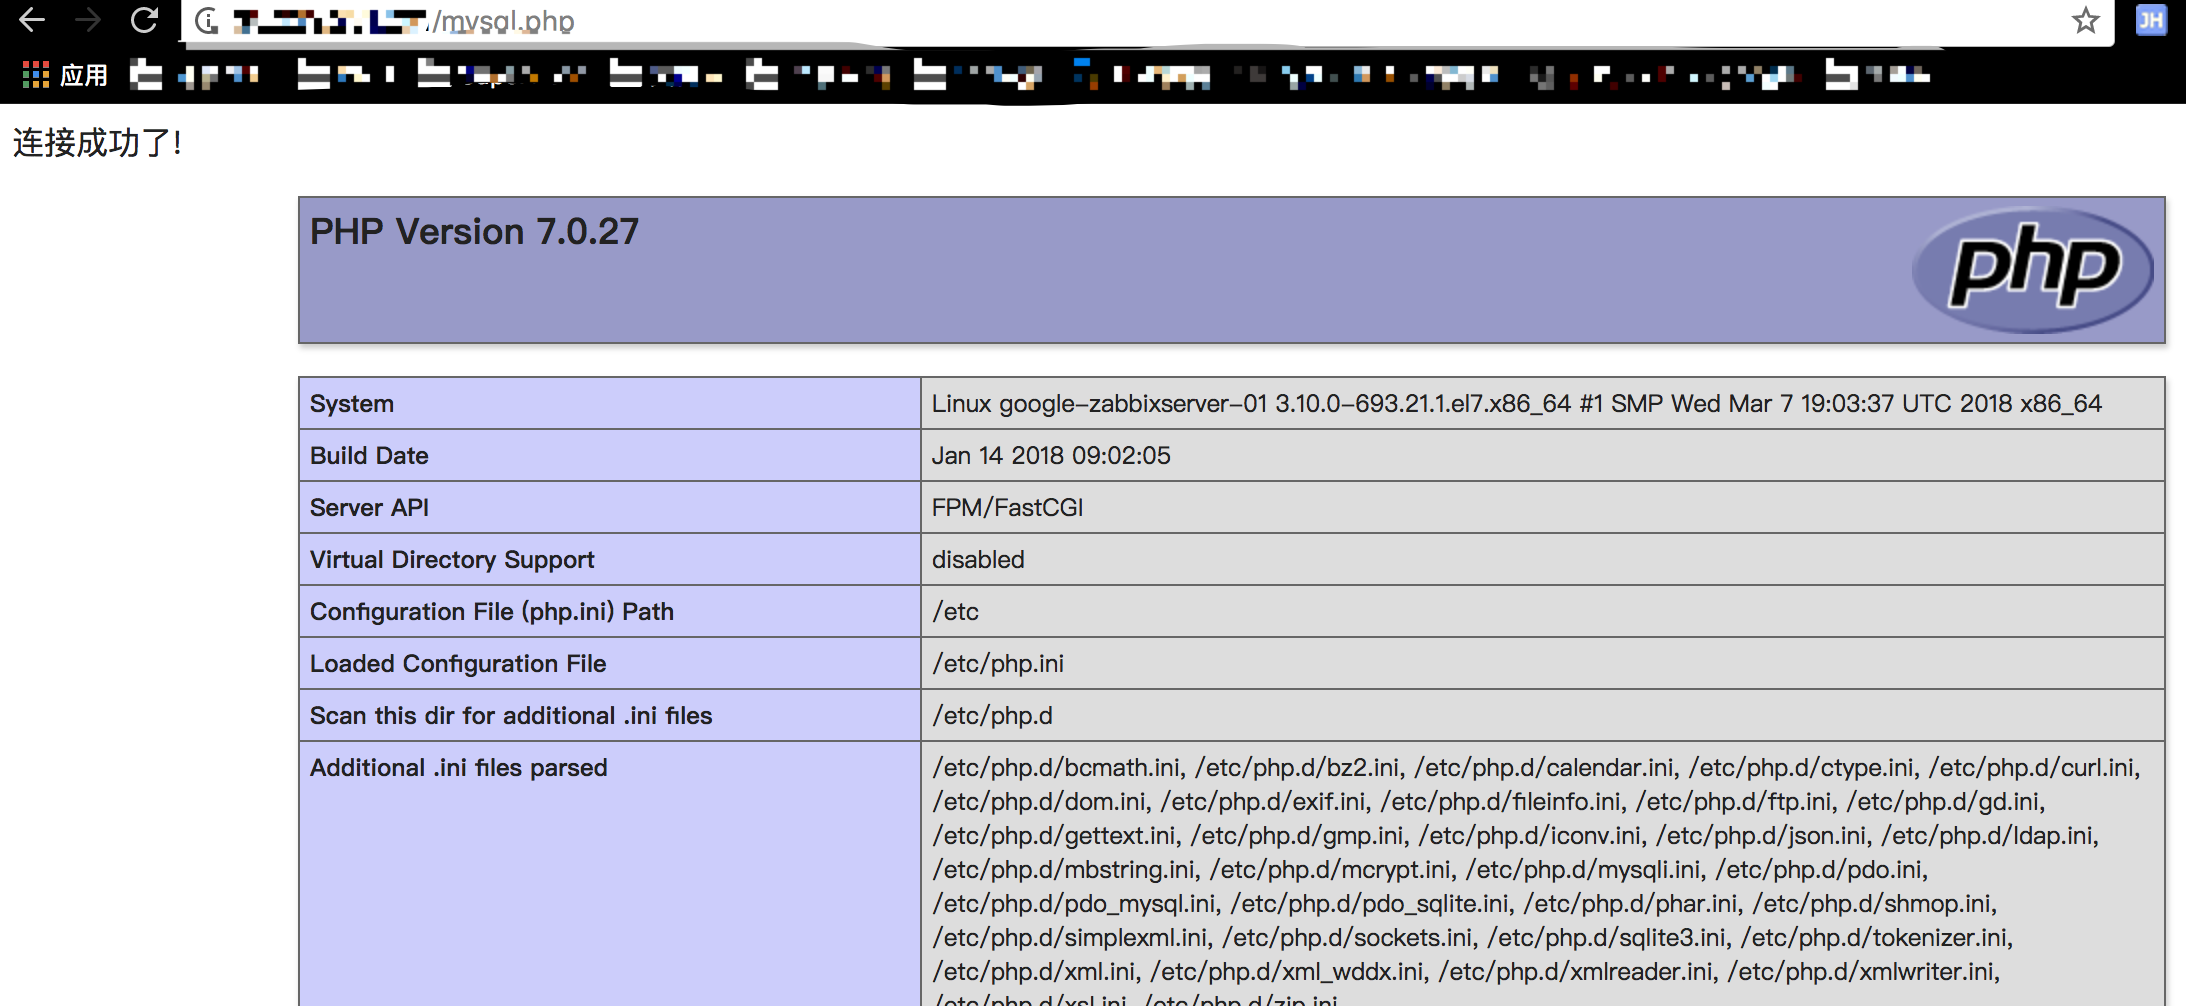
至此,LNMP环境安装完成,接下来安装zabbix server