简介
官网:https://www.elastic.co/cn/products/elasticsearch
安装
版本说明
Elasticsearch的发展是非常快速的,所以在ES5.0之前,ELK的各个版本都不统一,出现了版本号混乱的状态,所以从5.0开始,所有Elastic Stack中的项目全部统一版本号。
下载
地址:https://www.elastic.co/cn/downloads/elasticsearch

或者,使用资料中提供的已下载好的安装包。
单机版安装
#创建elsearch用户,Elasticsearch不支持root用户运行
useradd elsearch
#解压安装包
tar -xvf elasticsearch-6.5.4.tar.gz -C /topcheer/es/
#修改配置文件
vim conf/elasticsearch.yml
network.host: 0.0.0.0  #设置ip地址,任意网络均可访问
#说明:在Elasticsearch中如果,network.host不是localhost或者127.0.0.1的话,就会认为是生产环境,
会对环境的要求比较高,我们的测试环境不一定能够满足,一般情况下需要修改2处配置,如下:
#1:修改jvm启动参数
vim conf/jvm.options
-Xms128m #根据自己机器情况修改
-Xmx128m
#2:一个进程在VMAs(虚拟内存区域)创建内存映射最大数量
vim /etc/sysctl.conf
vm.max_map_count=655360
sysctl -p #配置生效
#启动ES服务
su - elsearch
cd bin
./elasticsearch 或 ./elasticsearch -d #后台启动
#通过访问进行测试,看到如下信息,就说明ES启动成功了
{
  "name": "dSQV6I8",
  "cluster_name": "elasticsearch",
  "cluster_uuid": "v5GPTWAtT5emxFdjigFg-w",
  "version": {
    "number": "6.5.4",
    "build_flavor": "default",
    "build_type": "tar",
    "build_hash": "d2ef93d",
    "build_date": "2018-12-17T21:17:40.758843Z",
    "build_snapshot": false,
    "lucene_version": "7.5.0",
    "minimum_wire_compatibility_version": "5.6.0",
    "minimum_index_compatibility_version": "5.0.0"
 },
  "tagline": "You Know, for Search"
}
#停止服务
root@topcheer:~# jps
68709 Jps
68072 Elasticsearch
kill 68072  #通过kill结束进程
常见问题
#启动出错,环境:Centos6
[1]: max file descriptors [4096] for elasticsearch process is too low, increase to at
least [65536]
#解决:切换到root用户,编辑limits.conf 添加类似如下内容
vi /etc/security/limits.conf
添加如下内容:
* soft nofile 65536
* hard nofile 131072
* soft nproc 2048
* hard nproc 4096
[2]: max number of threads [1024] for user [elsearch] is too low, increase to at least
[4096]
#解决:切换到root用户,进入limits.d目录下修改配置文件。
vi /etc/security/limits.d/90-nproc.conf
#修改如下内容:
* soft nproc 1024
#修改为
* soft nproc 4096
[3]: system call filters failed to install; check the logs and fix your configuration
or disable system call filters at your own risk
#解决:Centos6不支持SecComp,而ES5.2.0默认bootstrap.system_call_filter为true
vim config/elasticsearch.yml
添加:
bootstrap.system_call_filter: false
我此处就直接用docker安装了
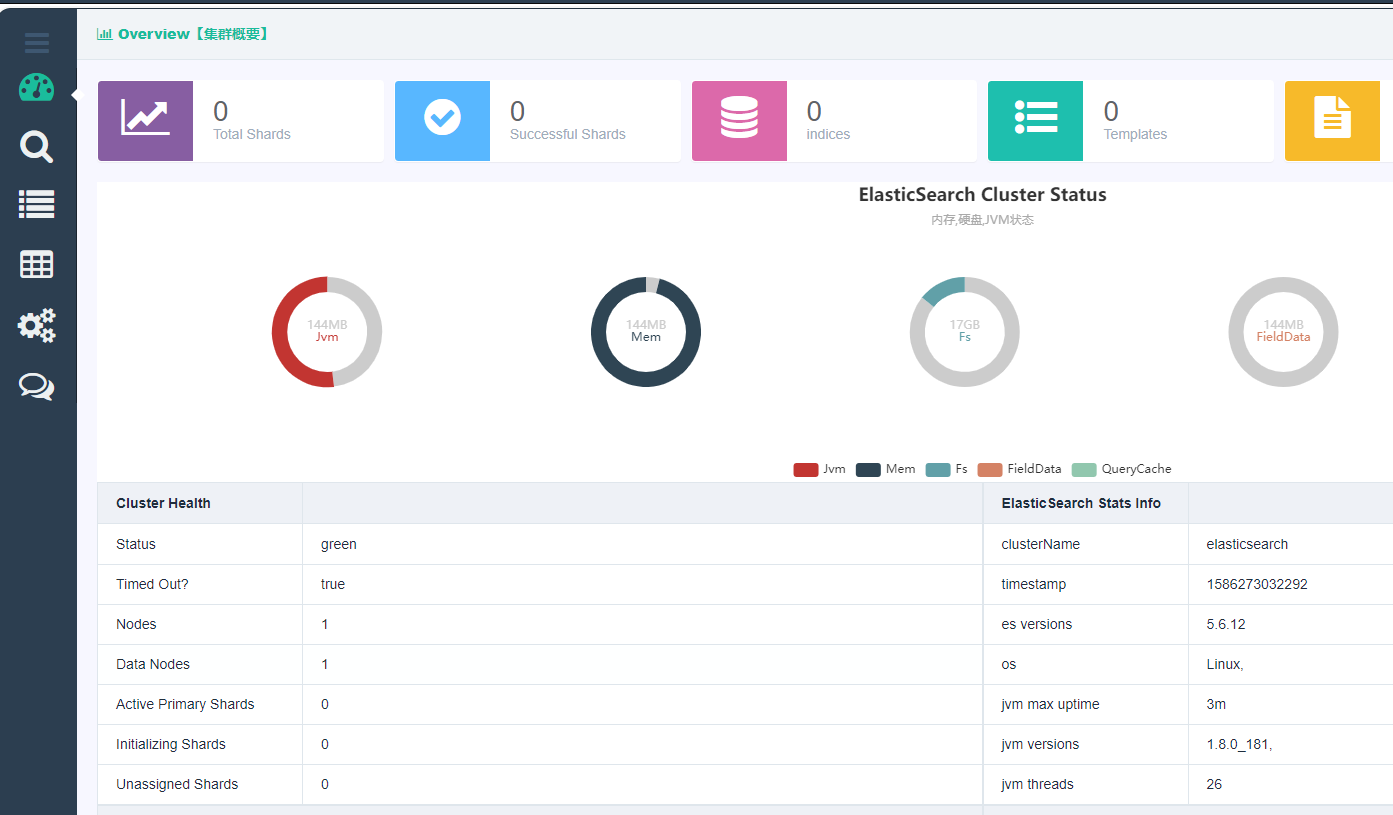
安装的可视化界面,可以查看:https://www.cnblogs.com/dalianpai/p/12347272.html
基本概念
索引
- 索引(index)是Elasticsearch对逻辑数据的逻辑存储,所以它可以分为更小的部分。
- 可以把索引看成关系型数据库的表,索引的结构是为快速有效的全文索引准备的,特别是它不存储原始值。
- Elasticsearch可以把索引存放在一台机器或者分散在多台服务器上,每个索引有一或多个分片(shard),每个分片可以有多个副本(replica)
文档
- 存储在Elasticsearch中的主要实体叫文档(document)。用关系型数据库来类比的话,一个文档相当于数据库表中的一行记录。
- Elasticsearch和MongoDB中的文档类似,都可以有不同的结构,但Elasticsearch的文档中,相同字段必须有相同类型。
- 文档由多个字段组成,每个字段可能多次出现在一个文档里,这样的字段叫多值字段(multivalued)。
- 每个字段的类型,可以是文本、数值、日期等。字段类型也可以是复杂类型,一个字段包含其他子文档或者数组。
映射
- 所有文档写进索引之前都会先进行分析,如何将输入的文本分割为词条、哪些词条又会被过滤,这种行为叫做映射(mapping)。一般由用户自己定义规则。
文档类型
- 在Elasticsearch中,一个索引对象可以存储很多不同用途的对象。例如,一个博客应用程序可以保存文章和评论。
- 每个文档可以有不同的结构。
- 不同的文档类型不能为相同的属性设置不同的类型。例如,在同一索引中的所有文档类型中,一个叫title的字段必须具有相同的类型。
RESTful API
在Elasticsearch中,提供了功能丰富的RESTful API的操作,包括基本的CRUD、创建索引、删除索引等操作。
创建非结构化索引
在Lucene中,创建索引是需要定义字段名称以及字段的类型的,在Elasticsearch中提供了非结构化的索引,就是不需要创建索引结构,即可写入数据到索引中,实际上在Elasticsearch底层会进行结构化操作,此操作对用户是透明的。
创建空索引:
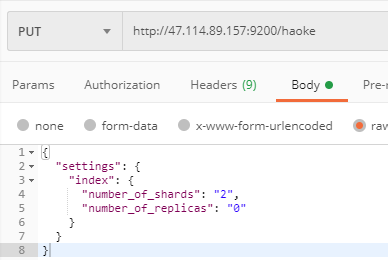
{
    "acknowledged": true,
    "shards_acknowledged": true,
    "index": "haoke"
}
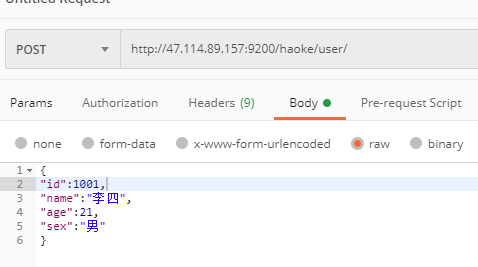
插入数据:/{索引}/{类型}/{id}
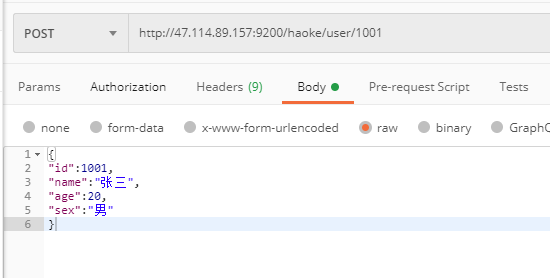
{
    "_index": "haoke",
    "_type": "user",
    "_id": "1001",
    "_version": 1,
    "result": "created",
    "_shards": {
        "total": 1,
        "successful": 1,
        "failed": 0
    },
    "created": true
}

更新数据
在Elasticsearch中,文档数据是不为修改的,但是可以通过覆盖的方式进行更新。

{
    "_index": "haoke",
    "_type": "user",
    "_id": "1001",
    "_version": 2,
    "result": "updated",
    "_shards": {
        "total": 1,
        "successful": 1,
        "failed": 0
    },
    "created": false
}

{
    "_index": "haoke",
    "_type": "user",
    "_id": "1001",
    "_version": 3,
    "result": "updated",
    "_shards": {
        "total": 1,
        "successful": 1,
        "failed": 0
    }
}

可以看到数据已经被局部更新了。
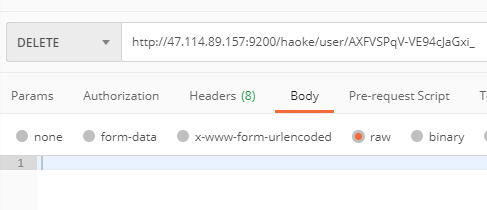
删除数据:
在Elasticsearch中,删除文档数据,只需要发起DELETE请求即可。

{
    "found": true,
    "_index": "haoke",
    "_type": "user",
    "_id": "1001",
    "_version": 4,
    "result": "deleted",
    "_shards": {
        "total": 1,
        "successful": 1,
        "failed": 0
    }
}
需要注意的是,result表示已经删除,version也更加了。
如果删除一条不存在的数据,会响应404:

说明:
删除一个文档也不会立即从磁盘上移除,它只是被标记成已删除。Elasticsearch将会在你之后添加更多索引的时候才会在后台进行删除内容的清理。
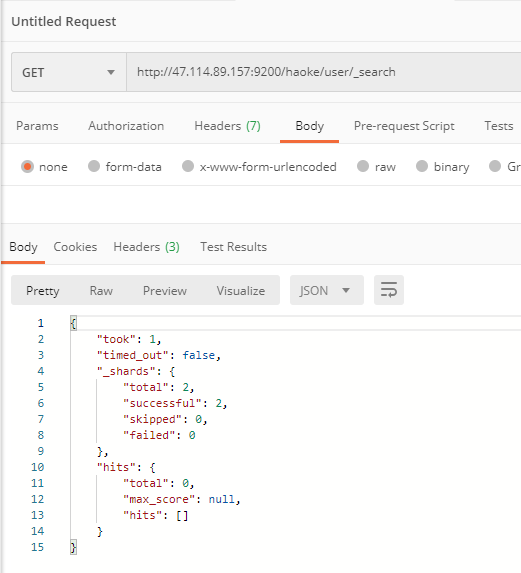
搜索数据
根据id搜索数据
{
    "found": true,
    "_index": "haoke",
    "_type": "user",
    "_id": "AXFVSPqV-VE94cJaGxi_",
    "_version": 2,
    "result": "deleted",
    "_shards": {
        "total": 1,
        "successful": 1,
        "failed": 0
    }
}
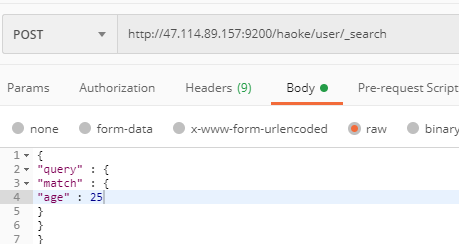
DSL搜索
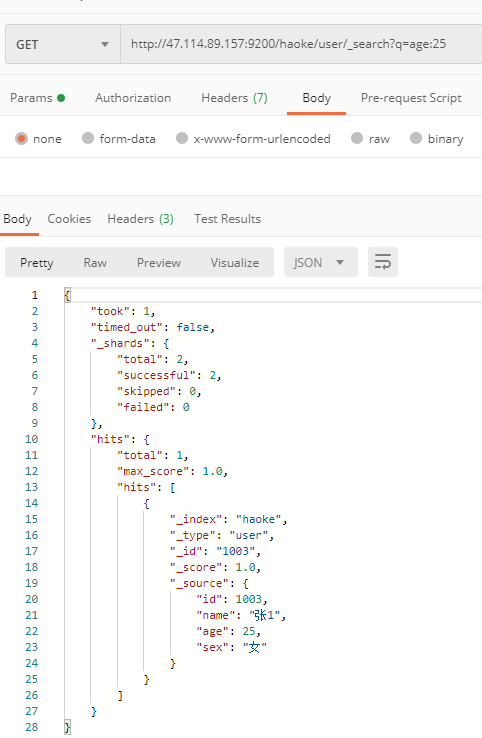
Elasticsearch提供丰富且灵活的查询语言叫做DSL查询(Query DSL),它允许你构建更加复杂、强大的查询。DSL(Domain Specific Language特定领域语言)以JSON请求体的形式出现。
{
    "took": 1,
    "timed_out": false,
    "_shards": {
        "total": 2,
        "successful": 2,
        "skipped": 0,
        "failed": 0
    },
    "hits": {
        "total": 1,
        "max_score": 1.0,
        "hits": [
            {
                "_index": "haoke",
                "_type": "user",
                "_id": "1003",
                "_score": 1.0,
                "_source": {
                    "id": 1003,
                    "name": "张1",
                    "age": 25,
                    "sex": "女"
                }
            }
        ]
    }
}
高亮显示
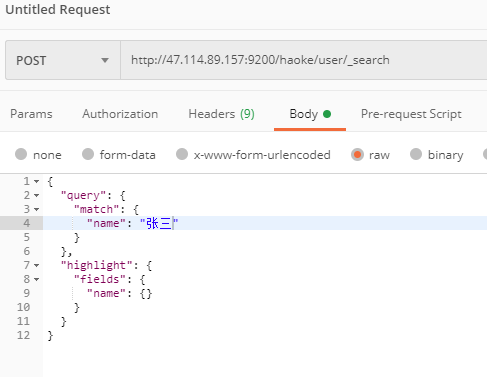
{
    "took": 12,
    "timed_out": false,
    "_shards": {
        "total": 2,
        "successful": 2,
        "skipped": 0,
        "failed": 0
    },
    "hits": {
        "total": 3,
        "max_score": 0.5804671,
        "hits": [
            {
                "_index": "haoke",
                "_type": "user",
                "_id": "1001",
                "_score": 0.5804671,
                "_source": {
                    "id": 1001,
                    "name": "张三",
                    "age": 21,
                    "sex": "女"
                },
                "highlight": {
                    "name": [
                        "<em>张</em><em>三</em>"
                    ]
                }
            },
            {
                "_index": "haoke",
                "_type": "user",
                "_id": "1002",
                "_score": 0.46705723,
                "_source": {
                    "id": 1001,
                    "name": "张三1",
                    "age": 22,
                    "sex": "女"
                },
                "highlight": {
                    "name": [
                        "<em>张</em><em>三</em>1"
                    ]
                }
            },
            {
                "_index": "haoke",
                "_type": "user",
                "_id": "1003",
                "_score": 0.12842764,
                "_source": {
                    "id": 1003,
                    "name": "张1",
                    "age": 25,
                    "sex": "女"
                },
                "highlight": {
                    "name": [
                        "<em>张</em>1"
                    ]
                }
            }
        ]
    }
}
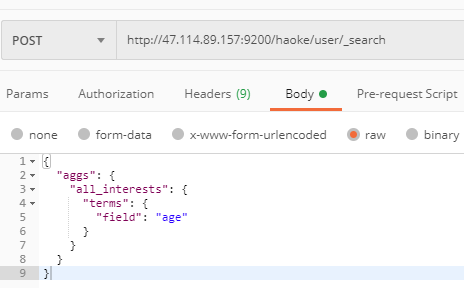
聚合统计: