0.安装solr之前,确保已安装好java8, java -version 查看是否安装
1.新建本地目录solr1 并 解压两个压缩包文件
tar -xf apache-tomcat-7.0.59.tar.gz
tar -xf solr-4.10.3.tgz
mv apache-tomcat-7.0.59 tomcat7
2.将CATALINA_HOME写入到~/.bashrc
echo "export CATALINA_HOME=$basepath/tomcat7" >> ~/.bashrc
source ~/.bashrc
3.验证tomcat是否可以启动
./tomcat7/bin/startup.sh
curl http://localhost:8080
如果OK,则会出现首页源码,点击网址会如下:

4.配置solr,拷贝必要的包
mkdir -p solr-test
cp -r solr-4.10.3/example/solr solr-test
cp solr-4.10.3/dist/solr-4.10.3.war solr-test/solr/solr.war
cp solr-4.10.3/example/lib/*.jar tomcat7/lib
cp solr-4.10.3/example/lib/ext/*.jar tomcat7/lib
5.配置本地solr.xml文件
mkdir -p ./tomcat7/conf/Catalina/localhost

touch ./tomcat7/conf/Catalina/localhost/solr.xml

echo "<?xml version="1.0" encoding="utf-8"?>" > tomcat7/conf/Catalina/localhost/solr.xml
echo " <Context docBase="$basepath/solr-test/solr/solr.war" debug="0" crossContext="true">" >> tomcat7/conf/Catalina/localhost/solr.xml
echo " <Environment name="solr/home" type="java.lang.String" value="$basepath/solr-test/solr" override="true" >" >> tomcat7/conf/Catalina/localhost/solr.xml
echo " </Context>" >> tomcat7/conf/Catalina/localhost/solr.xml
6.配置solr-test/solr/collection1/conf/schema.xml文件
这个可以用xml parser来解决
### 1. 把所有除id外的field全部注释掉,例如:
### <!-- field name="_root_" type="string" indexed="true" stored="false"/-->
### 2. 修改id的属性如下:
### <field name="id" type="string" indexed="true" stored="false" required="true" multiValued="false" />
### 3. 增加一个field叫pat:
### <field name="pat" type="text_general" indexed="true" stored="true" required="true" multiValued="False"/>
### 4. 把所有copyField注释掉,例如:
### <!-- copyField source="title" dest="text"/–>
7.配置solr-test/solr/collection1/conf/solrconfig.xml
### 1. 注释掉updateLog:
### <!-- updateLog>
### <str name="dir">${solr.ulog.dir:}</str>
### </updateLog-->
### 2. 修改update/csv的属性
### <requestHandler name="/update/csv" class="solr.UpdateRequestHandler">
### <lst name="defaults">
### <str name="separator">;</str>
### <str name="header">true</str>
### <str name="encapsulator">"</str>
### <str name="stream.contentType">text/csv</str>
### </lst>
### </requestHandler>
8.导入数据,开始干活
写一个shell脚本,例如:vim sss.sh
里面内容:
#!/bin/bash
basepath=$(cd `dirname $0`; pwd)
patpath=$1

sort -u $patpath -o pat.unique
awk 'BEGIN{print "id;pat"} {print $0";""$0""";}' pat.unique > pat.csv
./tomcat7/bin/shutdown.sh
./tomcat7/bin/startup.sh
curl "http://localhost:8080/solr/collection1/update/csv?commit=true&stream.file=$basepath/pat.csv&stream.contentType=text/csv;charset=UTF-8"
保存脚本内容
运行:./sss.sh + pat文件
例: ./sss.sh gushi.v4.pat
9.完成,准备检索pat
curl "http://localhost:8080/solr/collection1/select?q=pat:故事名&rows=5" (可以对查的内容和显示数量做调整)
返回xml回显信息
直接进网页可以看到:

好,到目前为止,我们的本地solr服务器基本搭建ok。
10查询测试
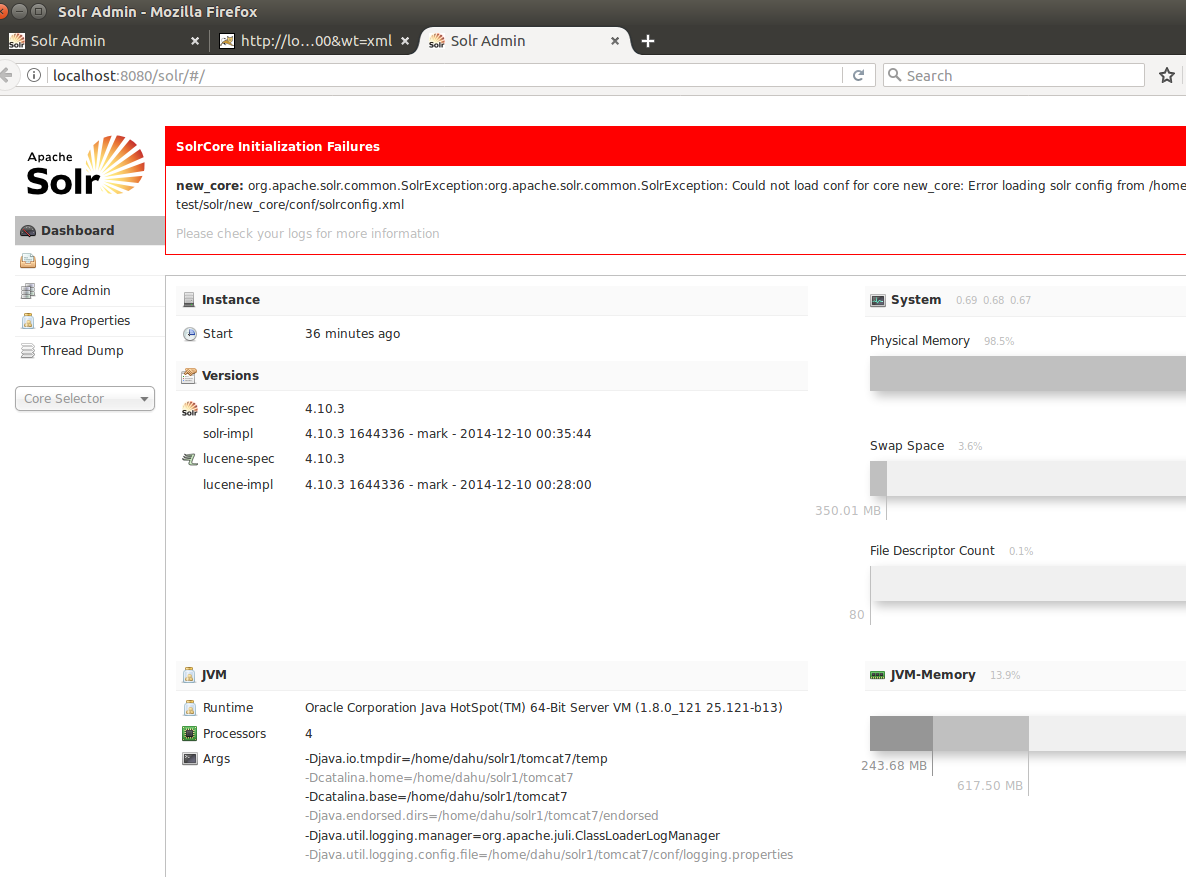
本地登入http://localhost:8080/solr/#/ 管理页面,如下:
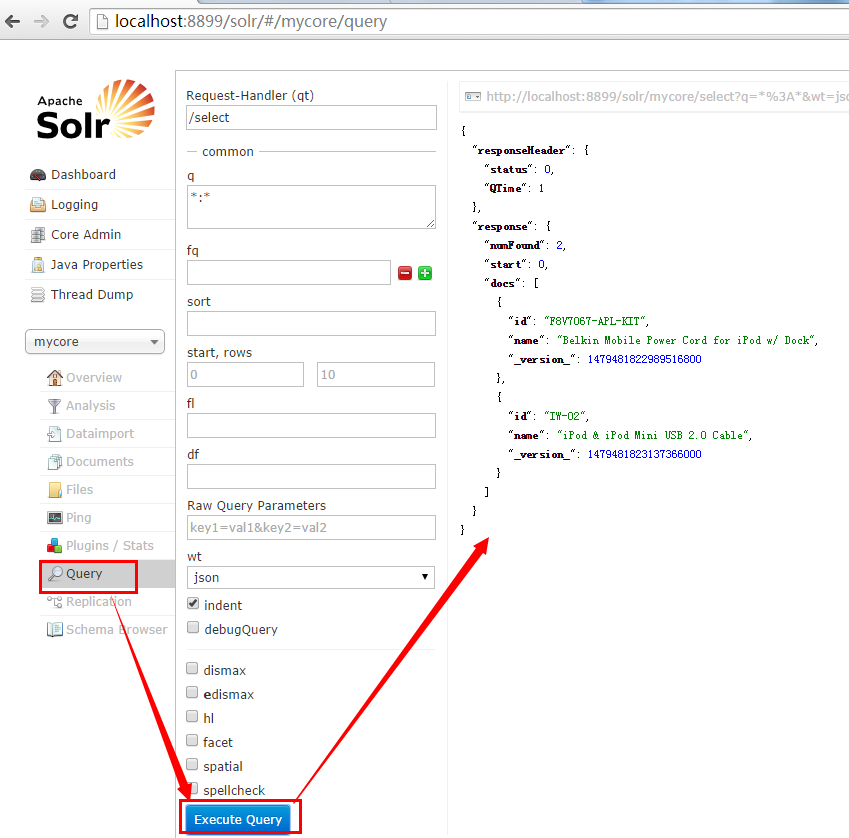
见我们自己的示例:
这张图可以查很多东西,例如展示的数据结构,数量,很丰富

11.多核查询
以上是配置一个core的方法, 若要配置多个core, 只需要在solr-test/solr下面, 复制一下collection1
# 例如, 为了使不同领域的pat可以分开查询, 可以复制一个core叫navi
# 但一定要记得修改navi下面的core.properties的内容, 里面的name必须跟core的名字一致, 否则solr会无法启动
# cd solr-test/solr
# cp -r collection1 navi
# echo "name=navi" > navi/core.properties
# 添加完core后, 重启tomcat7
# ./tomcat7/bin/shutdown.sh
# ./tomcat7/bin/startup.sh
见效果:
