yii2 手动安装第三方扩展
1、不使用composer,有autoloader
在入口文件index.php中有两个自动加载,一个是自己的一个值composer的:
require __DIR__ . '/../../vendor/autoload.php';
require __DIR__ . '/../../vendor/yiisoft/yii2/Yii.php';
添加你需要的autoloader:
require(__DIR__ . '/../vendor/autoload.php');
require(__DIR__ . '/../vendor/alidayu/TopSdk.php'); //这是你需要的autoloader
require(__DIR__ . '/../vendor/yiisoft/yii2/Yii.php');
2、没有composer,没有autoloader
只要符合PSR-4编写规则就ok:
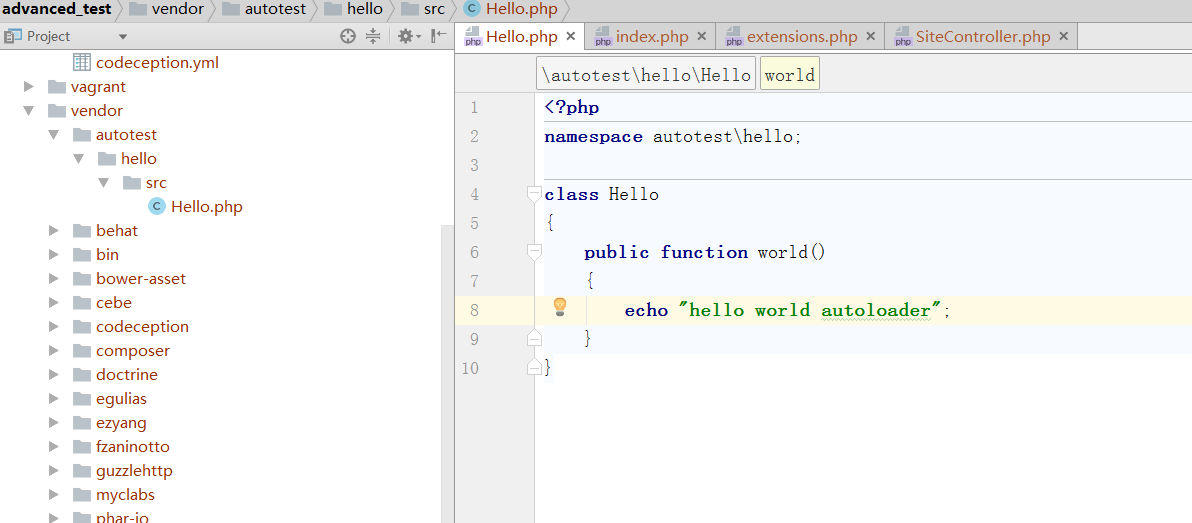
首先目录结构:
autotesthello
autotesthellosrcHello.php
Hello.php内容是:
namespace autotesthello;

class Hello
{
    public function world()
    {
        echo "hello world autoloader";
    }
}
把autotest文件放到vendor下;
然后打开vendor/yiisoft/extensions.php文件,在里面数组中增加一项,如下面代码:
    'autotest/hello' =>
        array (
            'name' => 'autotest/hello',
            'version' => '0.0.1.0',
            'alias' =>
                array (
                    '@autotest/hello' => $vendorDir . '/autotest/hello/src',
                ),
        ),
重点是alisas设置,代表命名空间到src的映射。
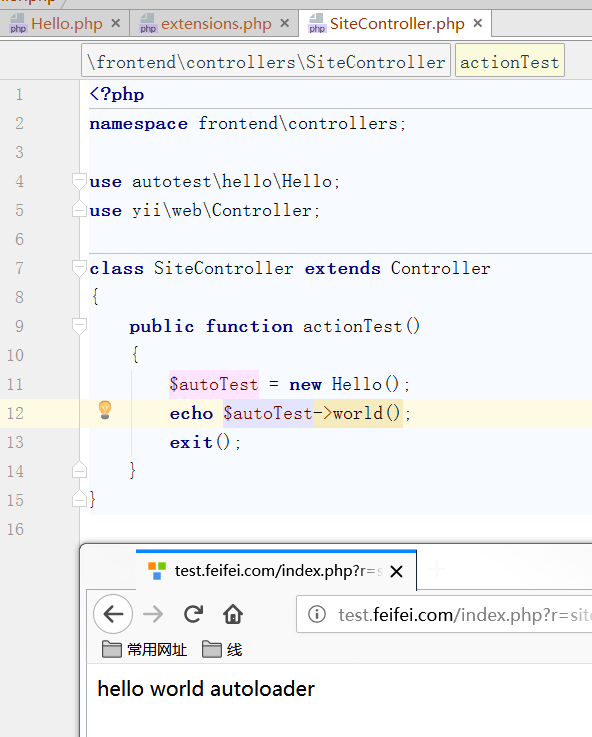
开始测试:
namespace frontendcontrollers;

use autotesthelloHello;
use yiiwebController;

class SiteController extends Controller
{
    public function actionTest()
    {
        $autoTest = new Hello();
        echo $autoTest->world();
        exit();
    }
}