安装环境:redhat7.1+vmw
安装步骤:
# Install git if not already installed.
  sudo yum -y install git-all
# Clone mxnet repository. In terminal, run the commands WITHOUT "sudo"
  git clone https://github.com/dmlc/mxnet.git ~/mxnet --recursive

  # Install MXNet for Python with all required dependencies
  cd ~/mxnet/setup-utils
  bash install-mxnet-amz-linux.sh

  # We have added MXNet Python package path in your ~/.bashrc.
  # Run the following command to refresh environment variables.
  $ source ~/.bashrc
步骤虽然简单,但是安装过程中可能会遇到以下问题,
1.

找不到这些包,可能的原因,是因为官方没有给出rehat的安装文档,这个是按照官方给出的Amazon Linux上面的安装步骤来的,所以,可能的原因就是在redhat中这些包不叫上面的名字。
现在安装的过程中可以不纠结这些问题,编辑install-mxnet-amz-linux.sh,注释掉如下两行即可:

2.

如果是停在这里不动了,或者报这样的错:
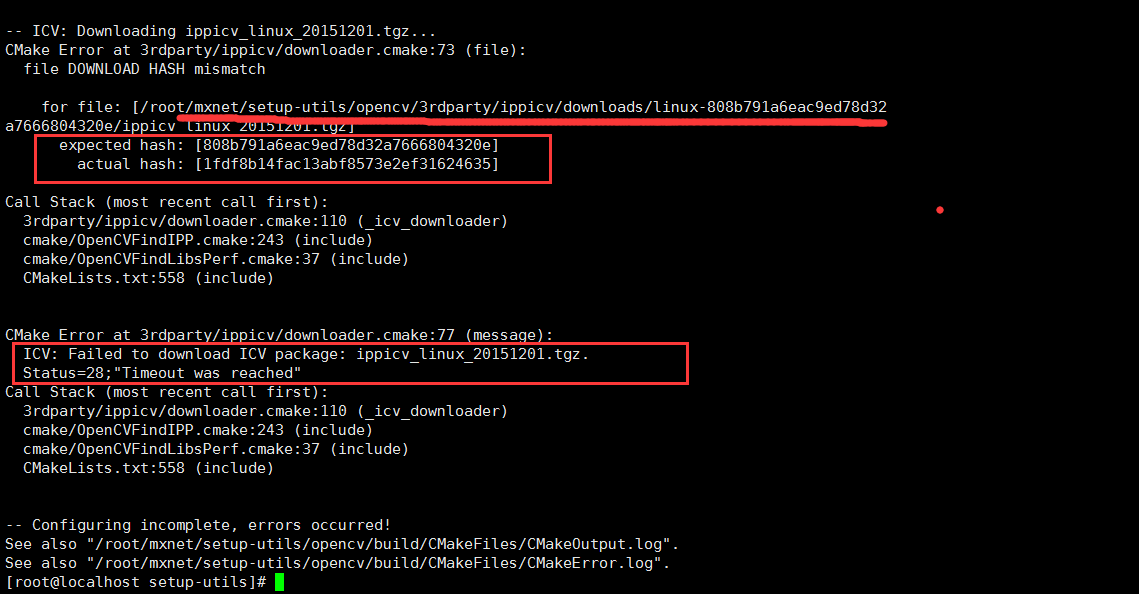
到这里下载ippicv,点击 下载,然后放到/root/mxnet/setup-utils/opencv/3rdparty/ippicv/downloads/linux-808b791a6eac9ed78d32a7666804320e/ 目录下,
若改目录原来就有这个ippicv的文件,删除它。然后重新编译。
3.
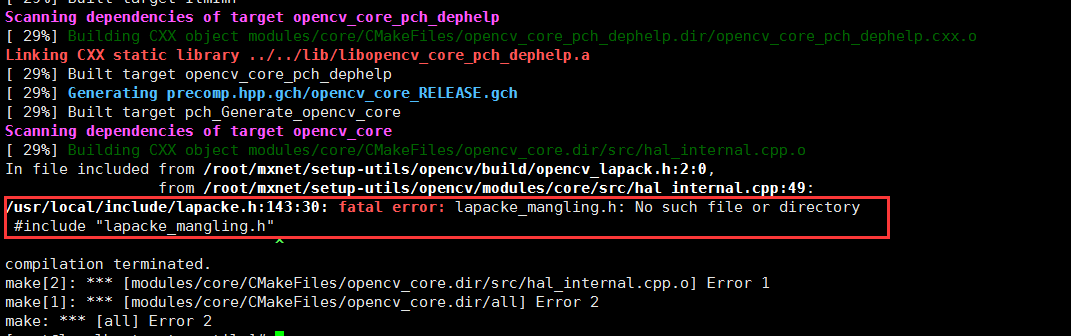
遇到这个问题的时候查找了下lapacke_mangling.h文件,发现在

然后就把该文件从/root/mxnet/setup-utils/OpenBLAS/lapack-netlib/LAPACKE/include/lapacke_mangling.h拷贝到/usr/local/include/
重新编辑。
4.
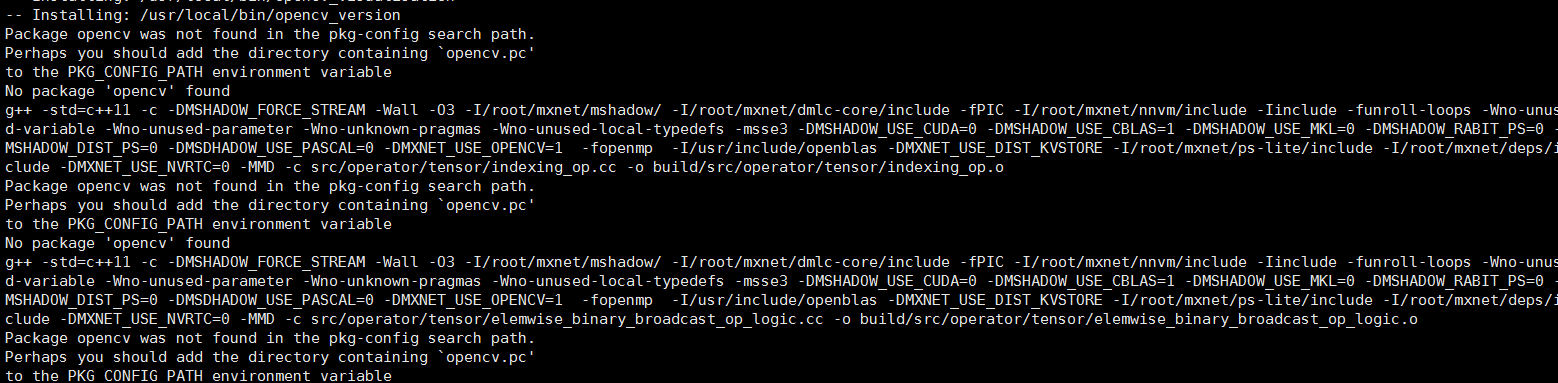
安装openblase-devel,和gcc-c++
yum install openblase-deve gcc-c++ python-devel
3,测试
[root@localhost ~]# cd /root/mxnet/example/image-classification/
[root@localhost image-classification]# python train_mnist.py
如果能正常跑出结果则配置完成。