Zabbix server is installable on any Linux distribution, but in this tutorial, I will show you how to install latest version of Zabbix Server (4.4 or 4.0) on CentOS 8 / RHEL 8.
Zabbix is 100% free open-source ultimate enterprise-level software designed for monitoring availability and performance of IT infrastructure components. You can read a case-study about Zabbix popularity and find out more about open-source movement in this article.
Enough of talk lets do some work! First, we will install and configure Zabbix server, then a database and lastly the frontend – check the picture above for a better understanding of Zabbix architecture.
Contents
Step 1: Set SELinux to permissive mode
Step 2: Install Zabbix server, frontend, and agent
Step 3: Install and configure database
Step 4: Start Zabbix server and agent processes
Step 5: Configure firewall
Step 6: Configure Zabbix frontend
Step 7: Login to frontend using Zabbix default login credentials
Step 8: Create MySQL partitions on History and Events tables
Step 9: Optimizing Zabbix Server (optional)
Step 10: Optimizing MySQL database (optional)
Step 11: How to manage Zabbix / MySQL / Apache service
Step 1: Set SELinux to permissive mode
It is recommended to have SELinux in permissive mode unless you know how to fix its issues:
setenforce 0 && sed -i ‘s/^SELINUX=.*/SELINUX=permissive/g’ /etc/selinux/config
Step 2: Install Zabbix server, frontend, and agent
To avoid error “nothing provides libssh2.so.1()(64bit) needed by zabbix-server-mysql” make sure that “libssh2” library is installed with command (ZBX-17081):
dnf -y install http://mirror.centos.org/centos/8.0.1905/AppStream/x86_64/os/Packages/libssh2-1.8.0-8.module_el8.0.0+189+f9babebb.1.x86_64.rpm
Install Zabbix 4.0 LTS or Zabbix 4.4 standard .rpm package:
Zabbix 4.0 LTS version (supported until October 31, 2023)
rpm -Uvh https://repo.zabbix.com/zabbix/4.0/rhel/8/x86_64/zabbix-release-4.0-2.el8.noarch.rpm
dnf clean all
dnf -y install zabbix-server-mysql zabbix-web-mysql zabbix-agent
OR
Zabbix 4.4 version (supported until 2020, but has the latest features)
rpm -Uvh https://repo.zabbix.com/zabbix/4.4/rhel/8/x86_64/zabbix-release-4.4-1.el8.noarch.rpm
dnf clean all
dnf -y install zabbix-server-mysql zabbix-web-mysql zabbix-apache-conf zabbix-agent
You can find more information about Zabbix’s life cycle and release policies on the official website.
Step 3: Install and configure database
In this installation, I will use password rootDBpass as root password and zabbixDBpass as Zabbix password for DB. Consider changing your password for security reasons.
a. Install MariaDB
dnf -y install mariadb-server && systemctl start mariadb && systemctl enable mariadb
b. Reset root password for database
Secure MySQL MySQL by changing the default password for MySQL root:
mysql_secure_installation
Enter current password for root (enter for none): Press the Enter
Set root password? [Y/n]: Y
New password:
Re-enter new password:
Remove anonymous users? [Y/n]: Y
Disallow root login remotely? [Y/n]: Y
Remove test database and access to it? [Y/n]: Y
Reload privilege tables now? [Y/n]: Y
c. Create database
mysql -uroot -p’rootDBpass’ -e “create database zabbix character set utf8 collate utf8_bin;”
mysql -uroot -p’rootDBpass’ -e “grant all privileges on zabbix.* to zabbix@localhost identified by ‘zabbixDBpass’;”
d. Import initial schema and data
Temporary disable strict mode (ZBX-16465) to avoid MySQL error “ERROR 1118 (42000) at line 1284: Row size too large (> 8126)” :
mysql -uroot -p’rootDBpass’ zabbix -e “set global innodb_strict_mode=‘OFF’;”
Import database shema for Zabbix server (could last up to 5 minutes):
zcat /usr/share/doc/zabbix-server-mysql*/create.sql.gz | mysql -uzabbix -p’zabbixDBpass’ zabbix
Enable strict mode:
mysql -uroot -p’rootDBpass’ zabbix -e “set global innodb_strict_mode=‘ON’;”
e. Enter database password in Zabbix configuration file
Open zabbix_server.conf file with command: “sudo nano /etc/zabbix/zabbix_server.conf” and add database password in this format anywhere in file:
DBPassword=zabbixDBpass
Save and exit file (ctrl+x, followed by y and enter).
Step 4: Start Zabbix server and agent processes
systemctl restart zabbix-server zabbix-agent
systemctl enable zabbix-server zabbix-agent
Step 5: Configure firewall
firewall-cmd --add-service={http,https} --permanent
firewall-cmd --add-port={10051/tcp,10050/tcp} --permanent
firewall-cmd --reload
Step 6: Configure Zabbix frontend
a. Configure PHP for Zabbix frontend
Edit file “/etc/php-fpm.d/zabbix.conf” with command:
sudo nano /etc/php-fpm.d/zabbix.conf
Uncomment line in zabbix.conf that starts with “; php_value date.timezone Europe/Riga” by removing symbol “;” and set the right timezone for your country, for example:
php_value date.timezone Europe/Amsterdam
Save and exit file (ctrl+x, followed by y and enter)
b. Restart Apache web server and make it start at system boot
systemctl restart httpd php-fpm
systemctl enable httpd php-fpm
c. Configure web frontend
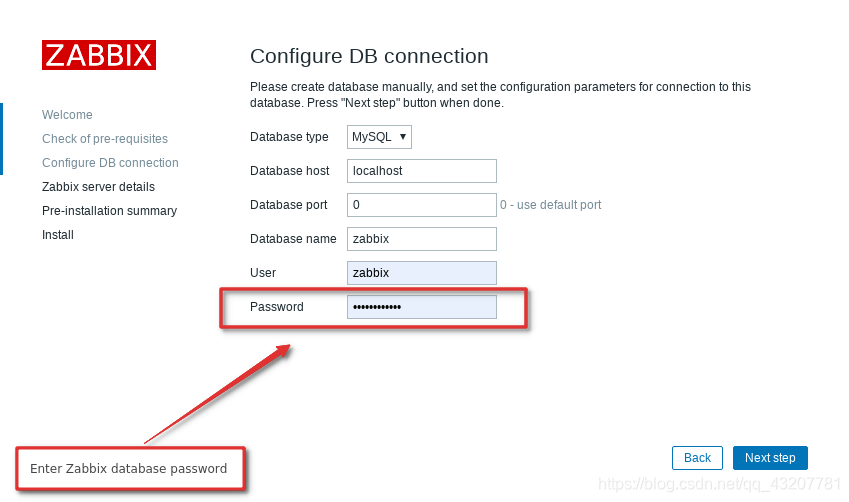
Connect to your newly installed Zabbix frontend using URL: http://server_ip_or_name/zabbix and configure all needed settings. Basically, you only need to enter a password for Zabbix DB user and for everything else just click “Next step”. In this tutorial Zabbix database password is zabbixDBpass.
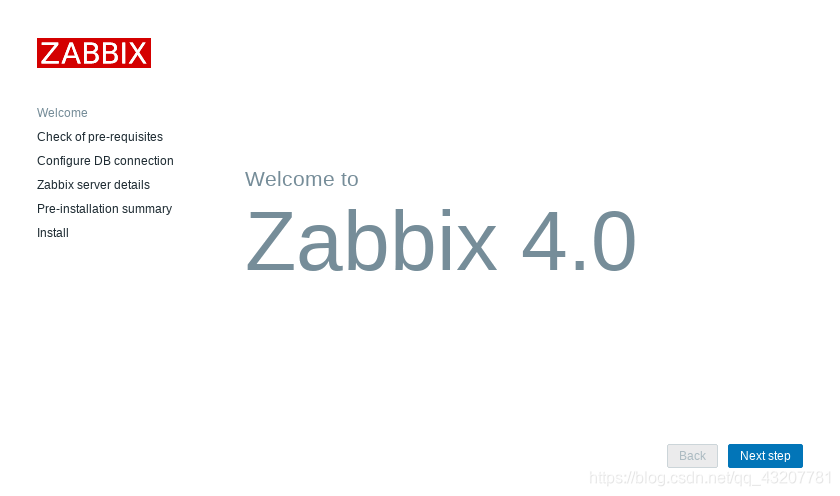
- INSTALLATION STEP: WELCOME SCREEN
-
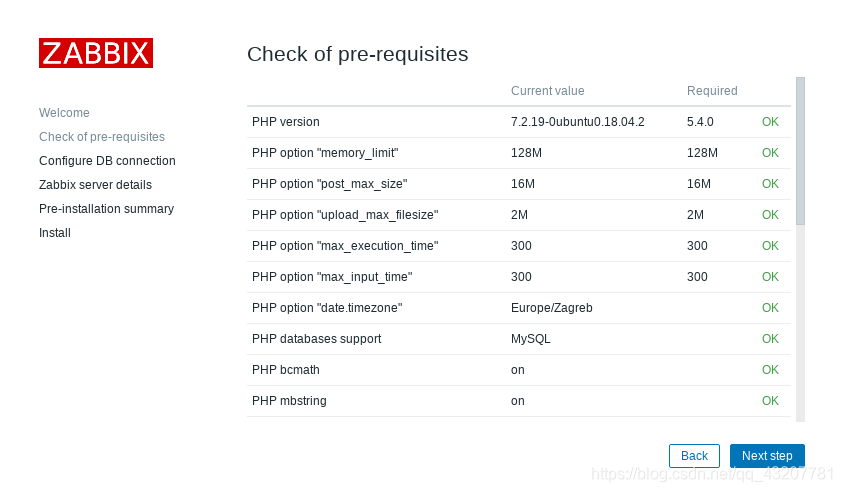
INSTALLATION STEP: ZABBIX PRE-REQUISITES CHECK
-
INSTALLATION STEP: CONFIGURE DB CONNECTION
-
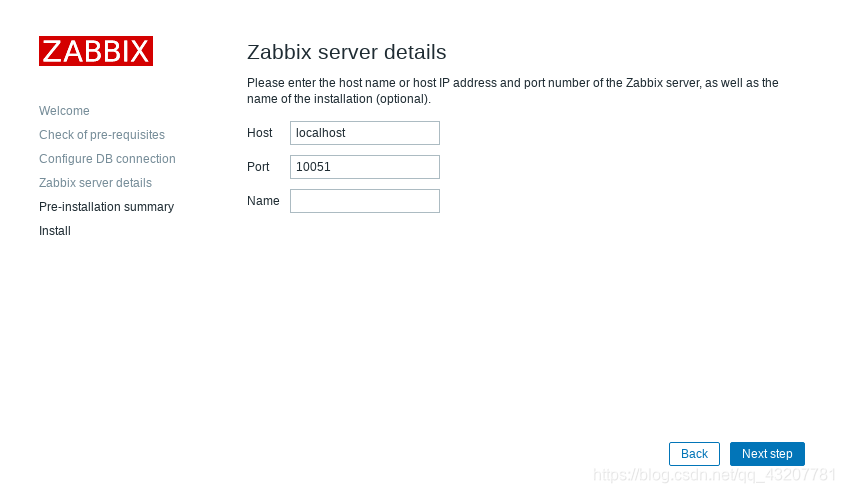
INSTALLATION STEP: CONFIGURE ZABBIX SERVER
-
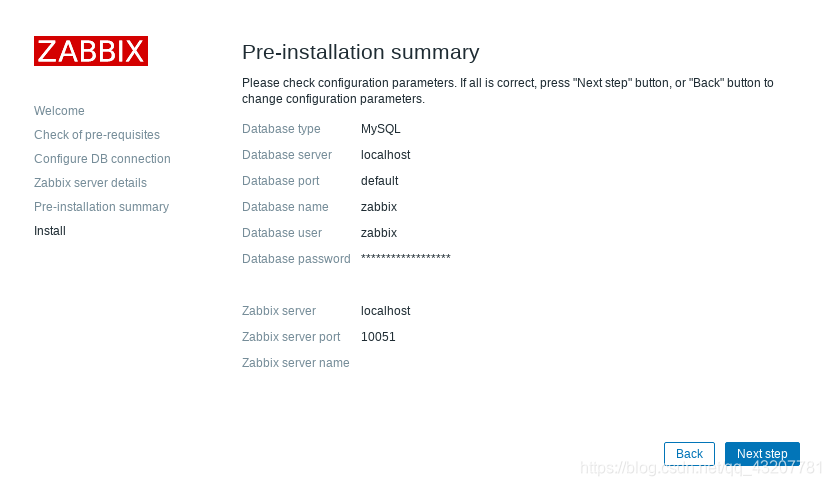
INSTALLATION STEP: PRE-INSTALLATION SUMMARY
.
-
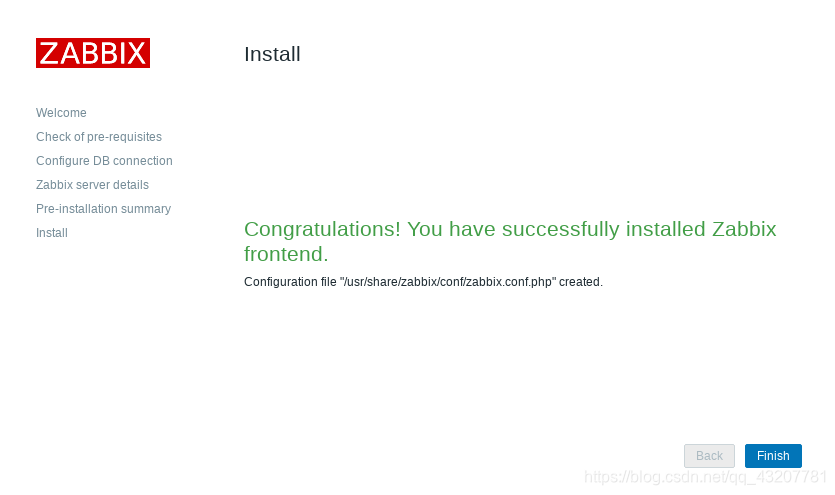
INSTALLATION STEP: FINISH
That’s it, you have installed Zabbix monitoring system!
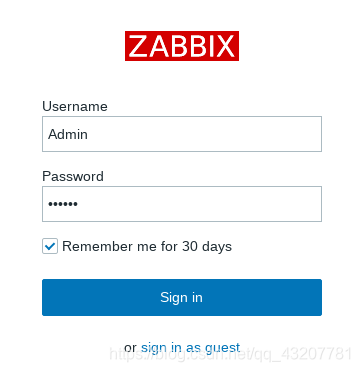
Step 7: Login to frontend using Zabbix default login credentials
Use Zabbix default admin username and password to login to Zabbix frontend at http://server_ip_or_name/zabbix :
Username: Admin
Password: zabbix