《Effective Java 第三版》——第二章 创建和销毁对象
《Effective Java 第三版》——第三章 所有对象都通用的方法
《Effective Java 第三版》——第四章 类和接口
《Effective Java 第三版》——第六章 枚举和注解
《Effective Java 第三版》——第七章 Lambda 和 Stream
《Effective Java 第三版》——第九章 通用编程


Effective Item - 外部方法导致的过度同步问题 |
|
|
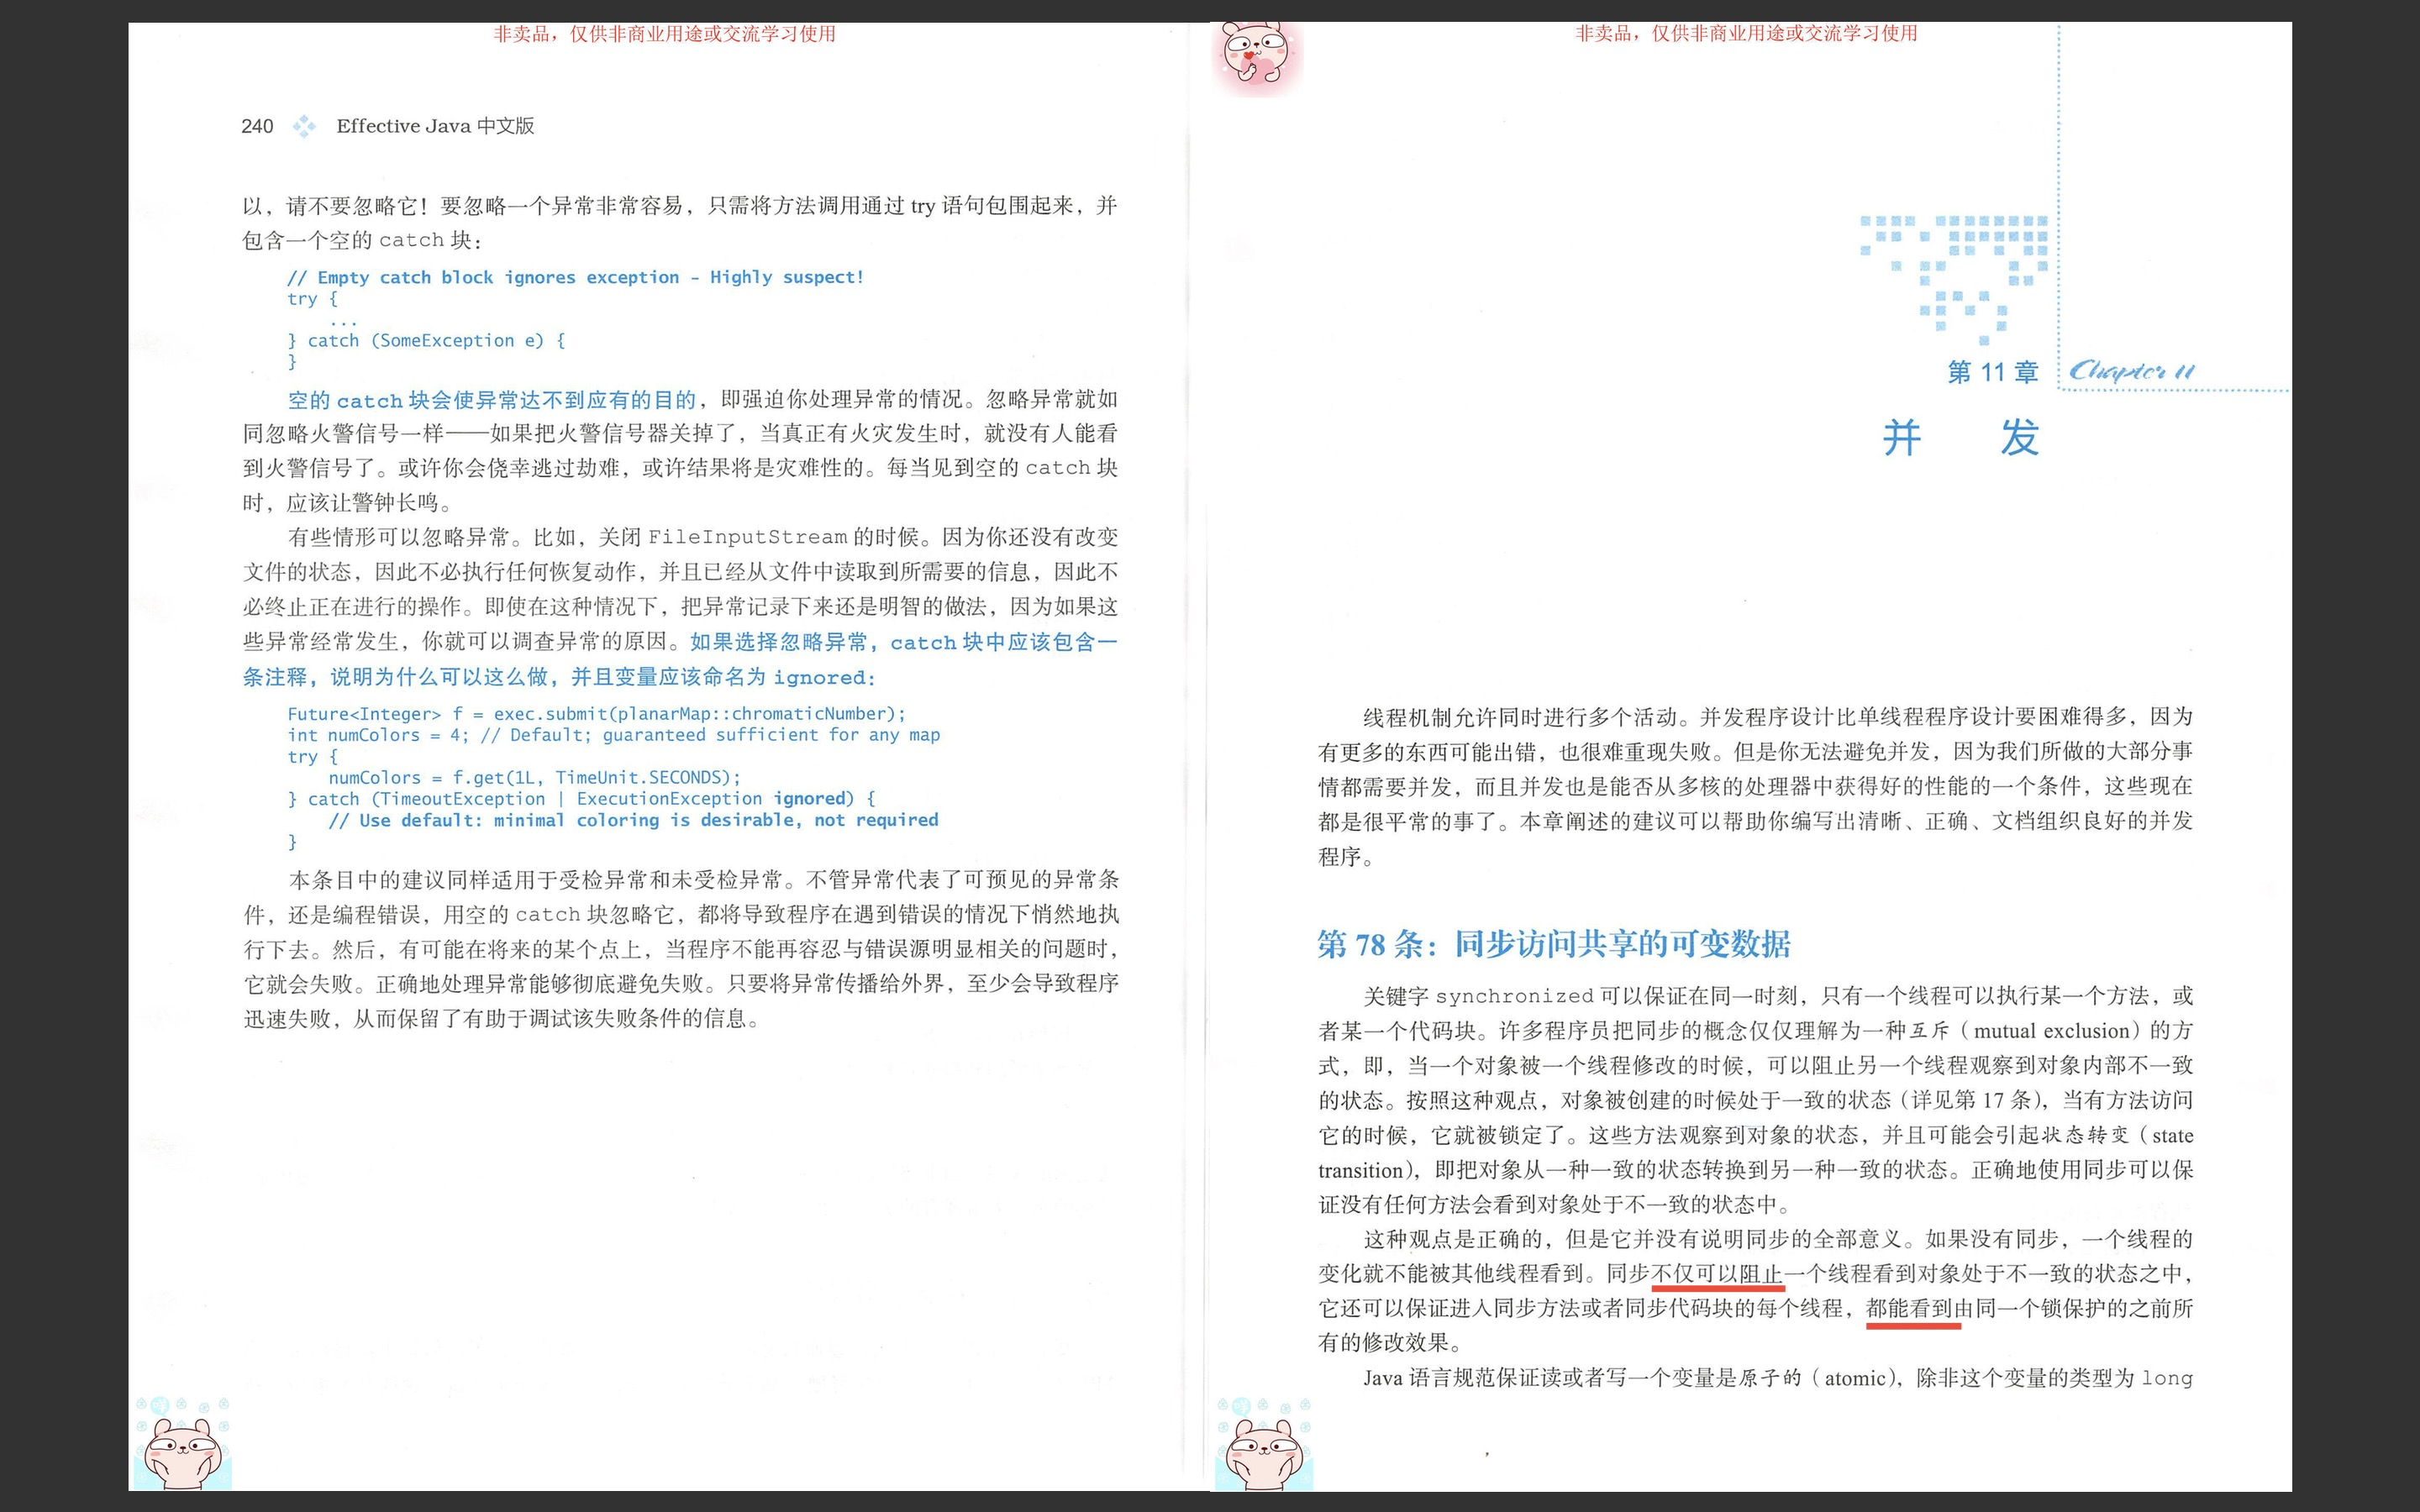
我们时常用同步来解决并发程序的安全性和活跃性等问题,虽然性能有些许降低,但保证了程序的运行。 而过度同步导致的问题不仅仅是性能问题,安全性、活跃性还有各种不确定的问题都有可能出现。
To avoid liveness and safety failures, never cede control to the client within a synchronized method or block. 我们需要保证在自己的代码中控制客户端(外部方法)以避免活跃性和安全性问题。 换句话说,不要在同步区域中调用无法确定行为的方法,因为线程之间的通信,这样会导致无法预料的结果。 那么如何给同步区域提供一个无法确定行为的外部方法? 一种比较简单的方式是调用某个抽象声明的行为,并在运行期赋予其实例。 比如观察者模式,每个观察者都由同一个抽象进行描述,被观察者通过同一种描述调用观察者的行为。 只是在这个例子中,我们需要在同步区域调用观察者的行为。 现在我打算在某个集合添加元素时提醒所有观察者,但由于add方法可能是self-use,这里先用一段composition,贴出代码仅为方便,阅读时请直接略过: 
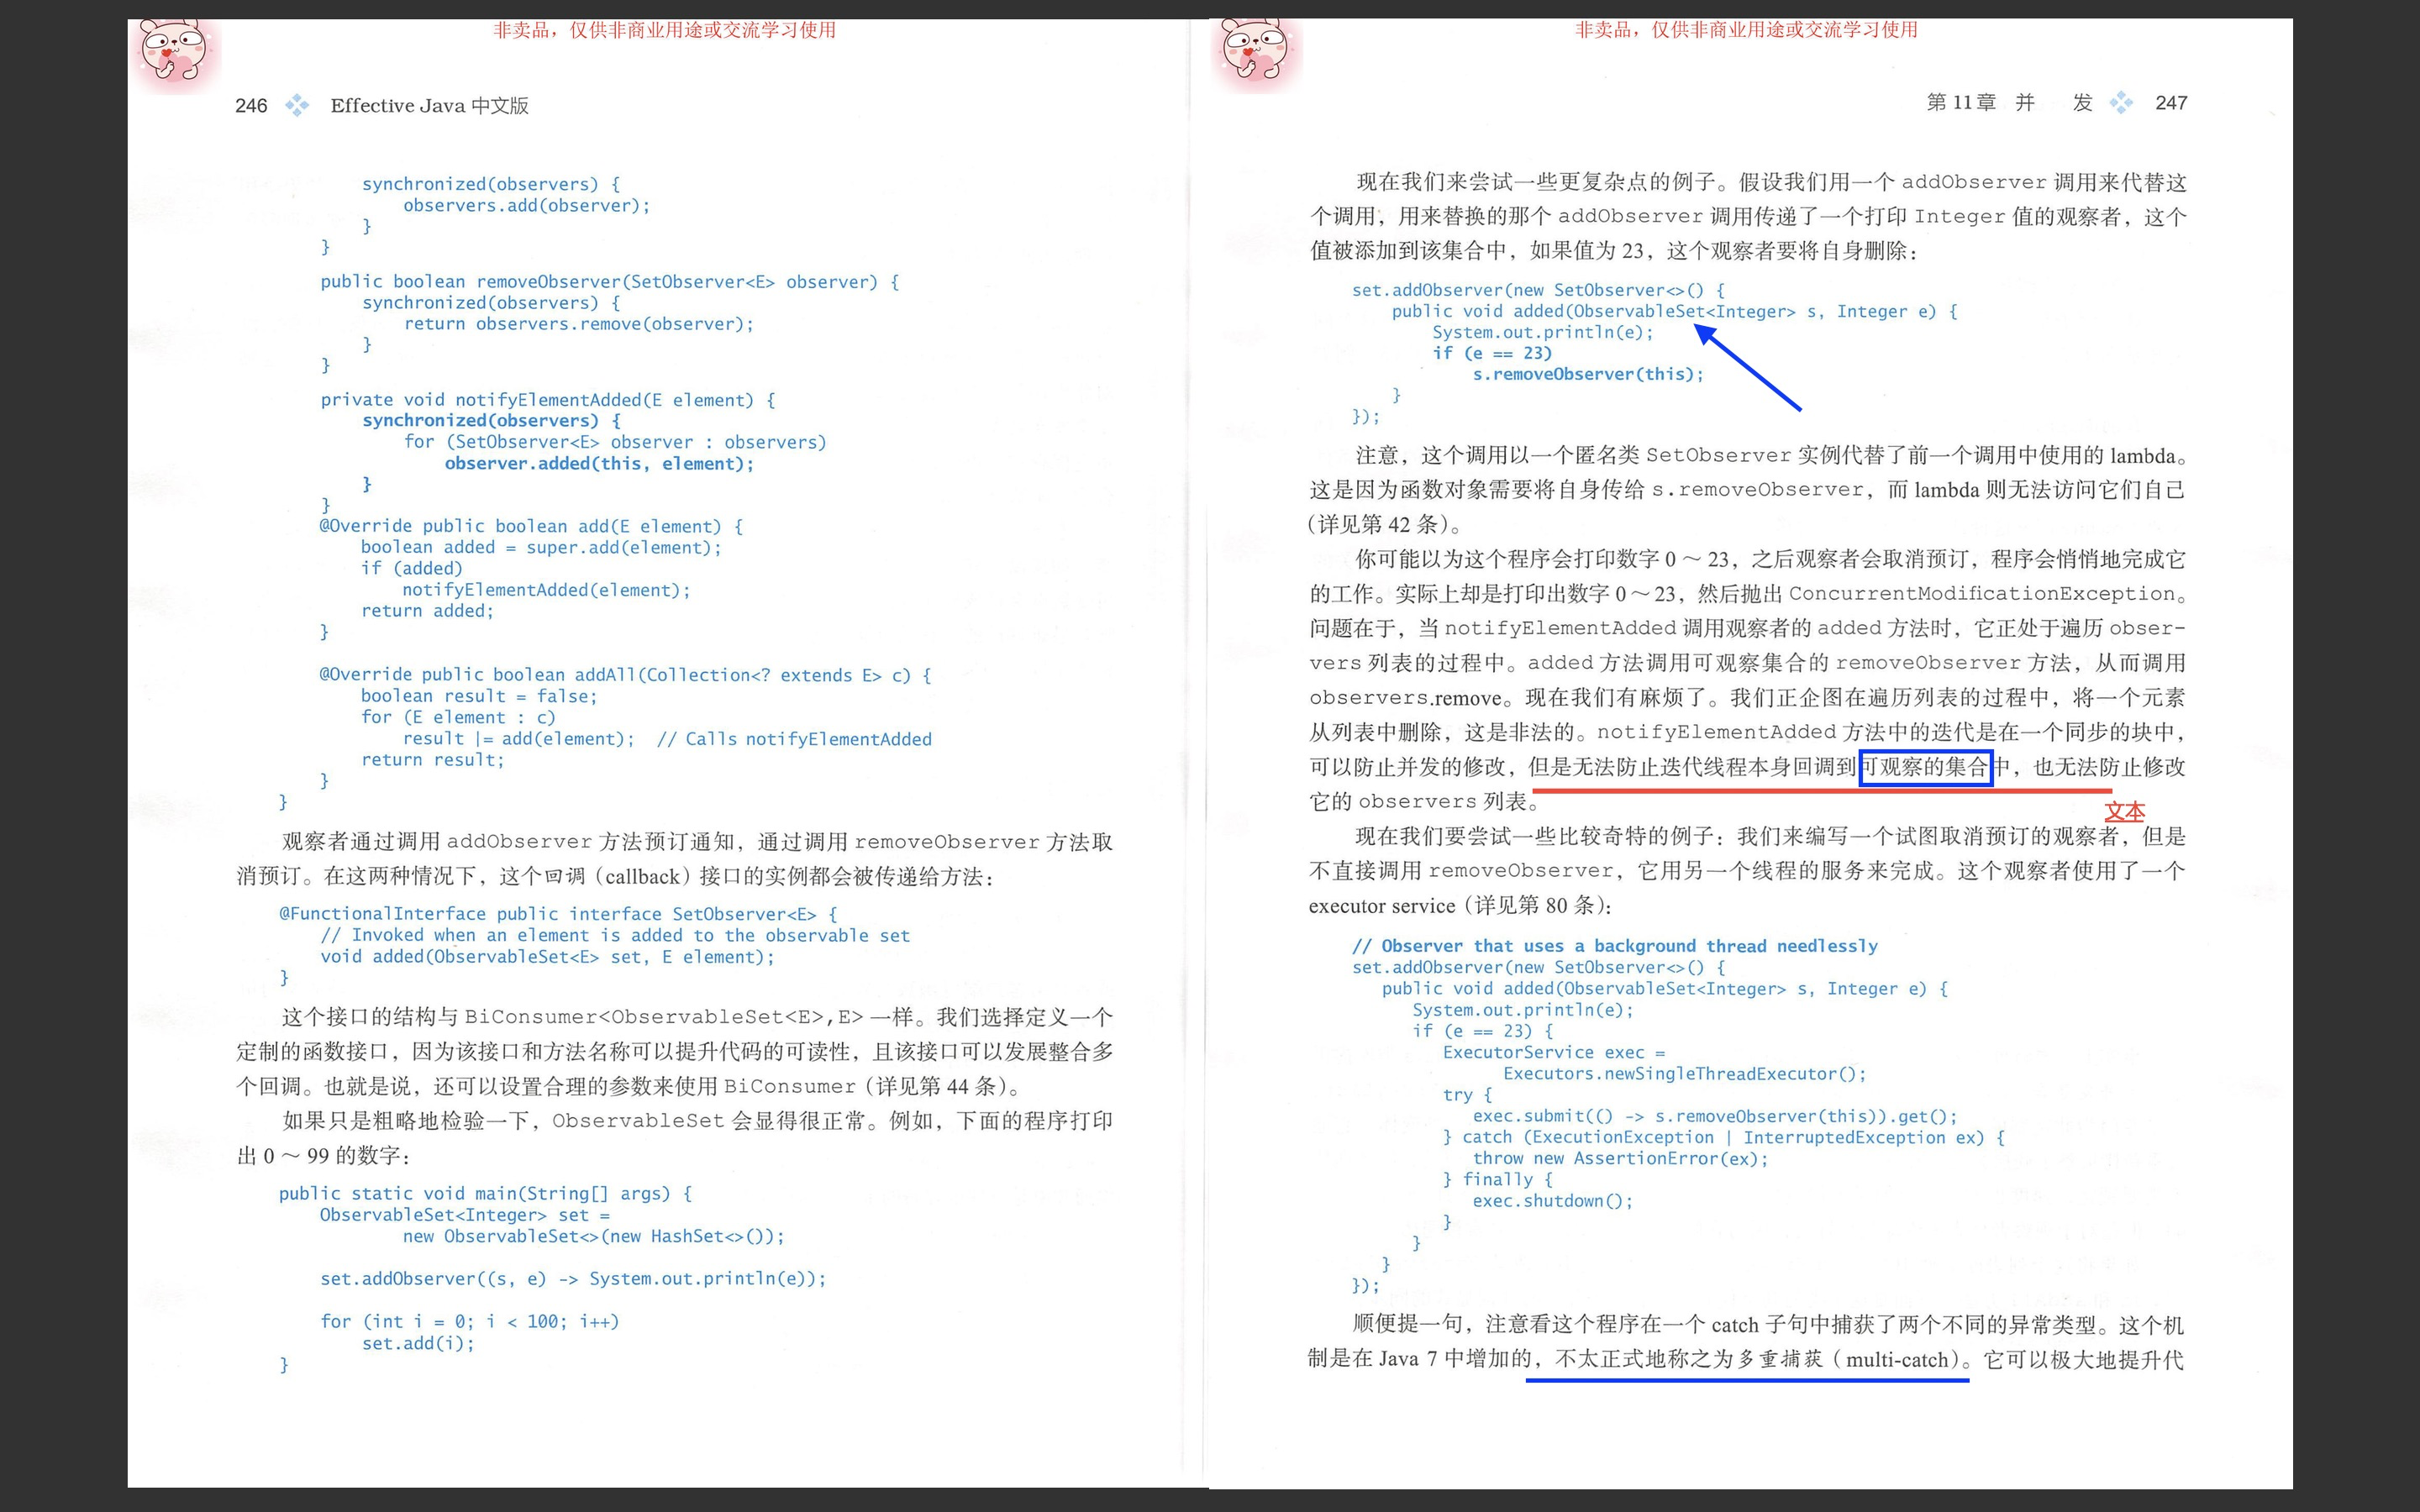
import java.util.Collection; import java.util.Iterator; import java.util.Set; public class ForwardingSet<E> implements Set<E> { private final Set<E> s; public ForwardingSet(Set<E> s) { this.s = s; } public void clear() { s.clear(); } public boolean contains(Object o) { return s.contains(o); } public boolean isEmpty() { return s.isEmpty(); } public int size() { return s.size(); } public Iterator<E> iterator() { return s.iterator(); } public boolean add(E e) { return s.add(e); } public boolean remove(Object o) { return s.remove(o); } public boolean containsAll(Collection<?> c) { return s.containsAll(c); } public boolean addAll(Collection<? extends E> c) { return s.addAll(c); } public boolean removeAll(Collection<?> c) { return s.removeAll(c); } public boolean retainAll(Collection<?> c) { return s.retainAll(c); } public Object[] toArray() { return s.toArray(); } public <T> T[] toArray(T[] a) { return s.toArray(a); } @Override public boolean equals(Object o) { return s.equals(o); } @Override public int hashCode() { return s.hashCode(); } @Override public String toString() { return s.toString(); } } 下面是被观察的ObservableSet,问题的关键就是那个notifyElementAdded方法,其同步区域中的observe.added正是无法确定的行为: 不出意料的,观察者接口仅仅描述上面的added方法: // 这是一个函数接口 public interface SetObserver<E> { void added(ObservableSet<E> set, E element); }
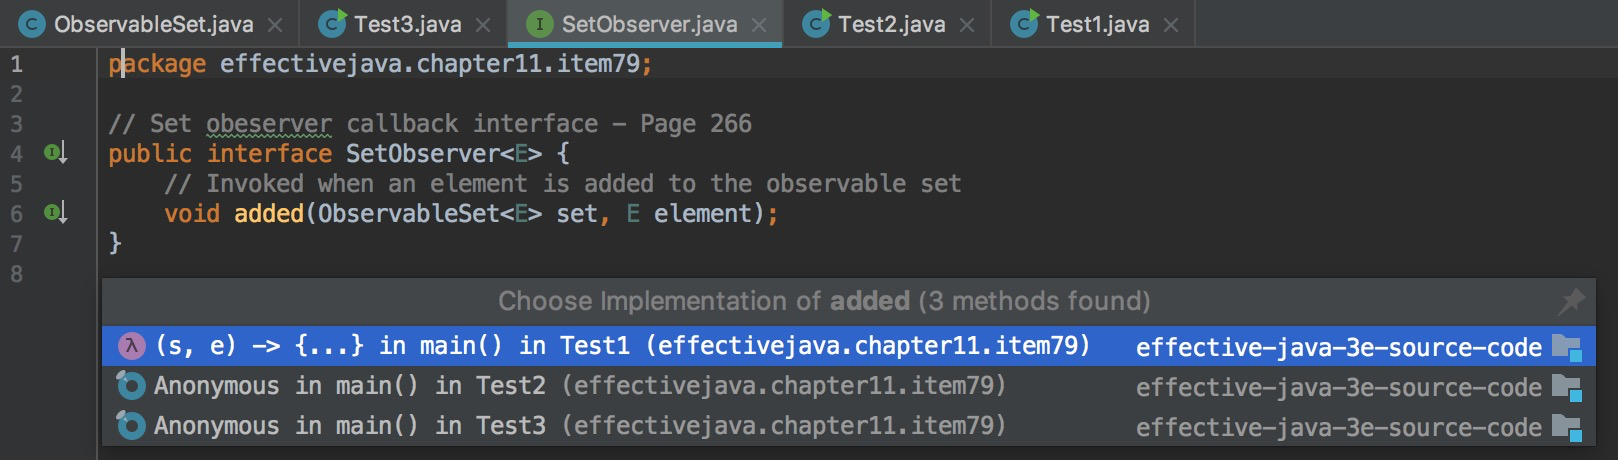
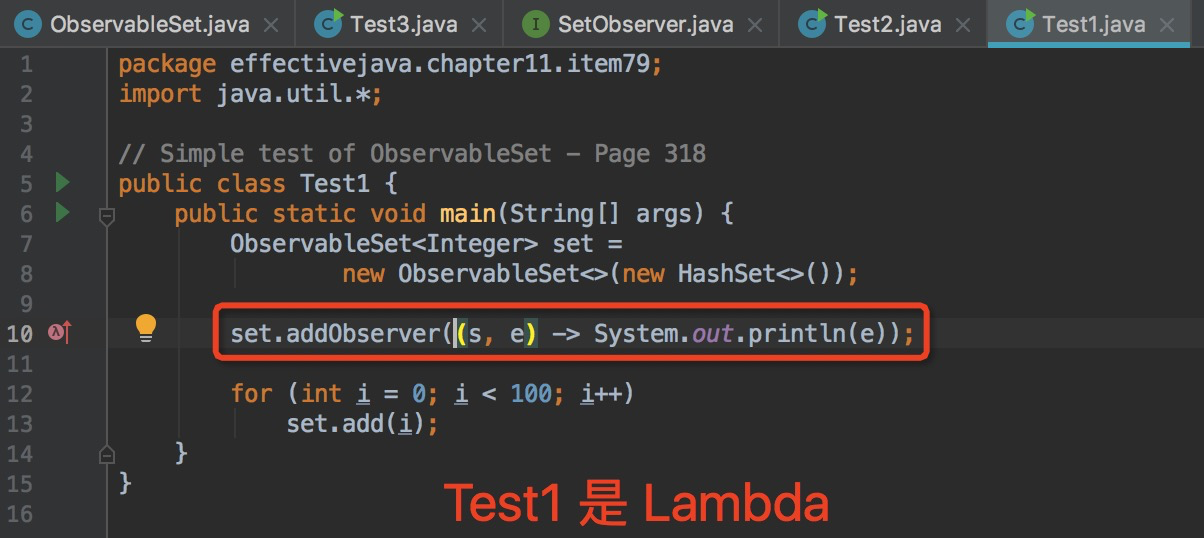
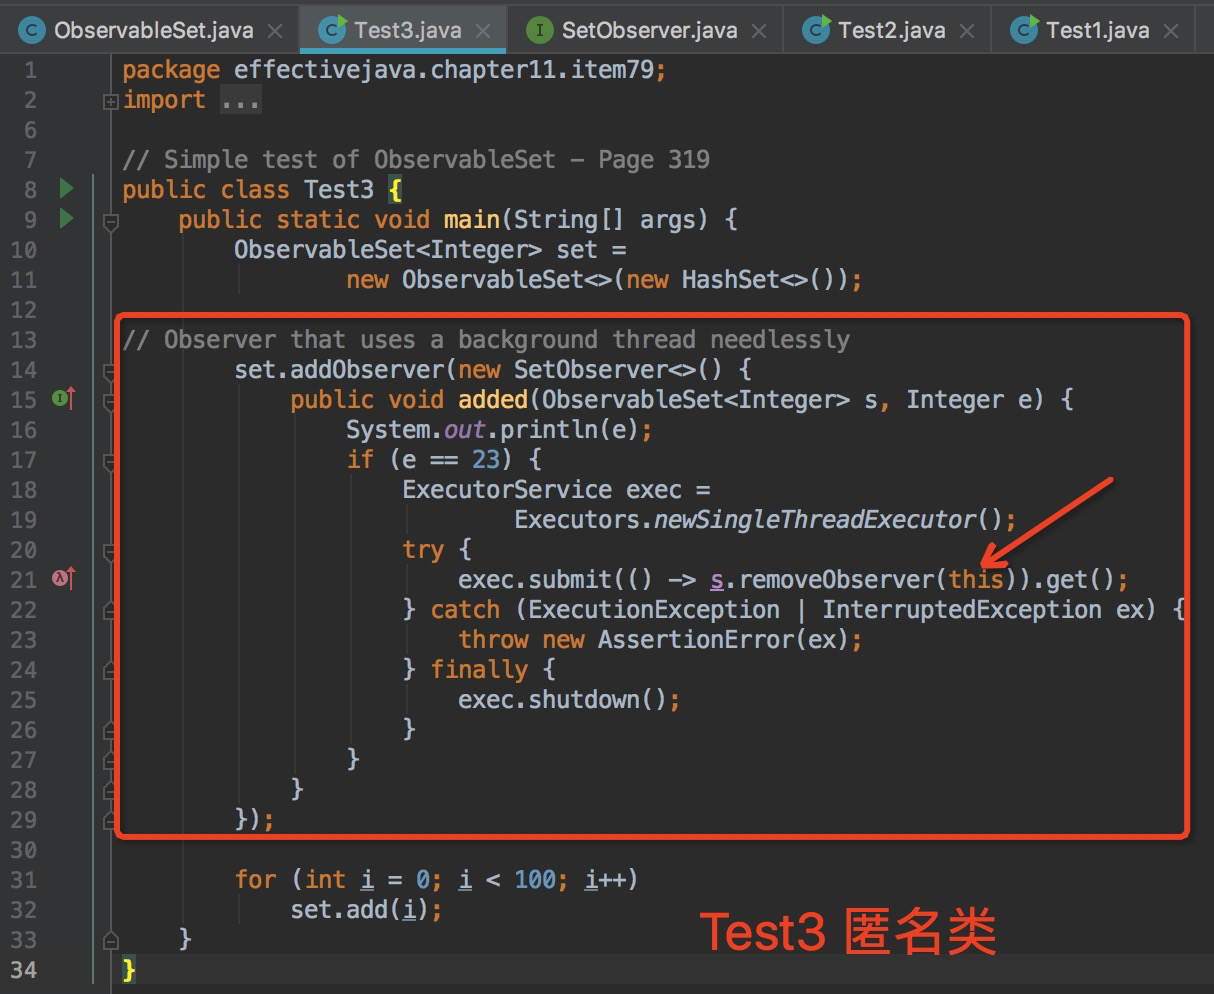
这个函数接口的实现,Test1 是Lambda;Test2 和 Test3是匿名类——因为要回调,将自身传出去
不考虑任何复杂的情况,我们试着加入一个打印集合元素的observer,这段程序自然会打印0~99: 接着换个花样,试着在循环过程中移除该observer,不出意外地,会出现ConcurrentModificationException: 既然observer不能自己移除自己,我们试着将移除该observer的工作交给其他线程试试: 注意这里使用的是Executor,这样做的主要是为了防止锁重入,如果在方法内部再成功获得锁则毫无意义,和之前例子没有差异。 但使用Executor将当前observer从集合中移除时却发生了死锁。 原因也很简单,executor的removeObserver希望获得锁,但是锁已被主线程占用,而主线程却等待executor执行结束。 而解决这一切的方法是不在同步区域内调用外来方法,即: (PS:对应Effective Java Second Edition Item 67) |


我的机器上observer移除成功了。。。
汗。。。
    private void notifyElementAdded(E element) {
        System.out.print("observers.size() in func notifyElementAdded:	");
        System.out.println(observers.size());
        for (SetObserver<E> observer : observers)
            observer.added(this, element);
    }
Test2 运行没报错:
/Library/Java/JavaVirtualMachines/jdk-13.0.2.jdk/Contents/Home/bin/java -Dfile.encoding=UTF-8 -classpath /Users/didi/git/effective-java-3e-source-code/bin effectivejava.chapter11.item79.Test2
observers.size() in func notifyElementAdded:    1
0
observers.size() in func notifyElementAdded:    1
1
observers.size() in func notifyElementAdded:    1
2
observers.size() in func notifyElementAdded:    1
3
observers.size() in func notifyElementAdded:    1
4
observers.size() in func notifyElementAdded:    1
5
observers.size() in func notifyElementAdded:    1
6
observers.size() in func notifyElementAdded:    1
7
observers.size() in func notifyElementAdded:    1
8
observers.size() in func notifyElementAdded:    1
9
observers.size() in func notifyElementAdded:    1
10
observers.size() in func notifyElementAdded:    1
11
observers.size() in func notifyElementAdded:    1
12
observers.size() in func notifyElementAdded:    1
13
observers.size() in func notifyElementAdded:    1
14
observers.size() in func notifyElementAdded:    1
15
observers.size() in func notifyElementAdded:    1
16
observers.size() in func notifyElementAdded:    1
17
observers.size() in func notifyElementAdded:    1
18
observers.size() in func notifyElementAdded:    1
19
observers.size() in func notifyElementAdded:    1
20
observers.size() in func notifyElementAdded:    1
21
observers.size() in func notifyElementAdded:    1
22
observers.size() in func notifyElementAdded:    1
23
observers.size() in func notifyElementAdded:    0
observers.size() in func notifyElementAdded:    0
observers.size() in func notifyElementAdded:    0
observers.size() in func notifyElementAdded:    0
observers.size() in func notifyElementAdded:    0
observers.size() in func notifyElementAdded:    0
observers.size() in func notifyElementAdded:    0
observers.size() in func notifyElementAdded:    0
observers.size() in func notifyElementAdded:    0
observers.size() in func notifyElementAdded:    0
observers.size() in func notifyElementAdded:    0
observers.size() in func notifyElementAdded:    0
observers.size() in func notifyElementAdded:    0
observers.size() in func notifyElementAdded:    0
observers.size() in func notifyElementAdded:    0
observers.size() in func notifyElementAdded:    0
observers.size() in func notifyElementAdded:    0
observers.size() in func notifyElementAdded:    0
observers.size() in func notifyElementAdded:    0
observers.size() in func notifyElementAdded:    0
observers.size() in func notifyElementAdded:    0
observers.size() in func notifyElementAdded:    0
observers.size() in func notifyElementAdded:    0
observers.size() in func notifyElementAdded:    0
observers.size() in func notifyElementAdded:    0
observers.size() in func notifyElementAdded:    0
observers.size() in func notifyElementAdded:    0
observers.size() in func notifyElementAdded:    0
observers.size() in func notifyElementAdded:    0
observers.size() in func notifyElementAdded:    0
observers.size() in func notifyElementAdded:    0
observers.size() in func notifyElementAdded:    0
observers.size() in func notifyElementAdded:    0
observers.size() in func notifyElementAdded:    0
observers.size() in func notifyElementAdded:    0
observers.size() in func notifyElementAdded:    0
observers.size() in func notifyElementAdded:    0
observers.size() in func notifyElementAdded:    0
observers.size() in func notifyElementAdded:    0
observers.size() in func notifyElementAdded:    0
observers.size() in func notifyElementAdded:    0
observers.size() in func notifyElementAdded:    0
observers.size() in func notifyElementAdded:    0
observers.size() in func notifyElementAdded:    0
observers.size() in func notifyElementAdded:    0
observers.size() in func notifyElementAdded:    0
observers.size() in func notifyElementAdded:    0
observers.size() in func notifyElementAdded:    0
observers.size() in func notifyElementAdded:    0
observers.size() in func notifyElementAdded:    0
observers.size() in func notifyElementAdded:    0
observers.size() in func notifyElementAdded:    0
observers.size() in func notifyElementAdded:    0
observers.size() in func notifyElementAdded:    0
observers.size() in func notifyElementAdded:    0
observers.size() in func notifyElementAdded:    0
observers.size() in func notifyElementAdded:    0
observers.size() in func notifyElementAdded:    0
observers.size() in func notifyElementAdded:    0
observers.size() in func notifyElementAdded:    0
observers.size() in func notifyElementAdded:    0
observers.size() in func notifyElementAdded:    0
observers.size() in func notifyElementAdded:    0
observers.size() in func notifyElementAdded:    0
observers.size() in func notifyElementAdded:    0
observers.size() in func notifyElementAdded:    0
observers.size() in func notifyElementAdded:    0
observers.size() in func notifyElementAdded:    0
observers.size() in func notifyElementAdded:    0
observers.size() in func notifyElementAdded:    0
observers.size() in func notifyElementAdded:    0
observers.size() in func notifyElementAdded:    0
observers.size() in func notifyElementAdded:    0
observers.size() in func notifyElementAdded:    0
observers.size() in func notifyElementAdded:    0
observers.size() in func notifyElementAdded:    0

Process finished with exit code 0
    private void notifyElementAdded(E element) {
        synchronized(observers) {
            for (SetObserver<E> observer : observers)
                observer.added(this, element);
        }
    }
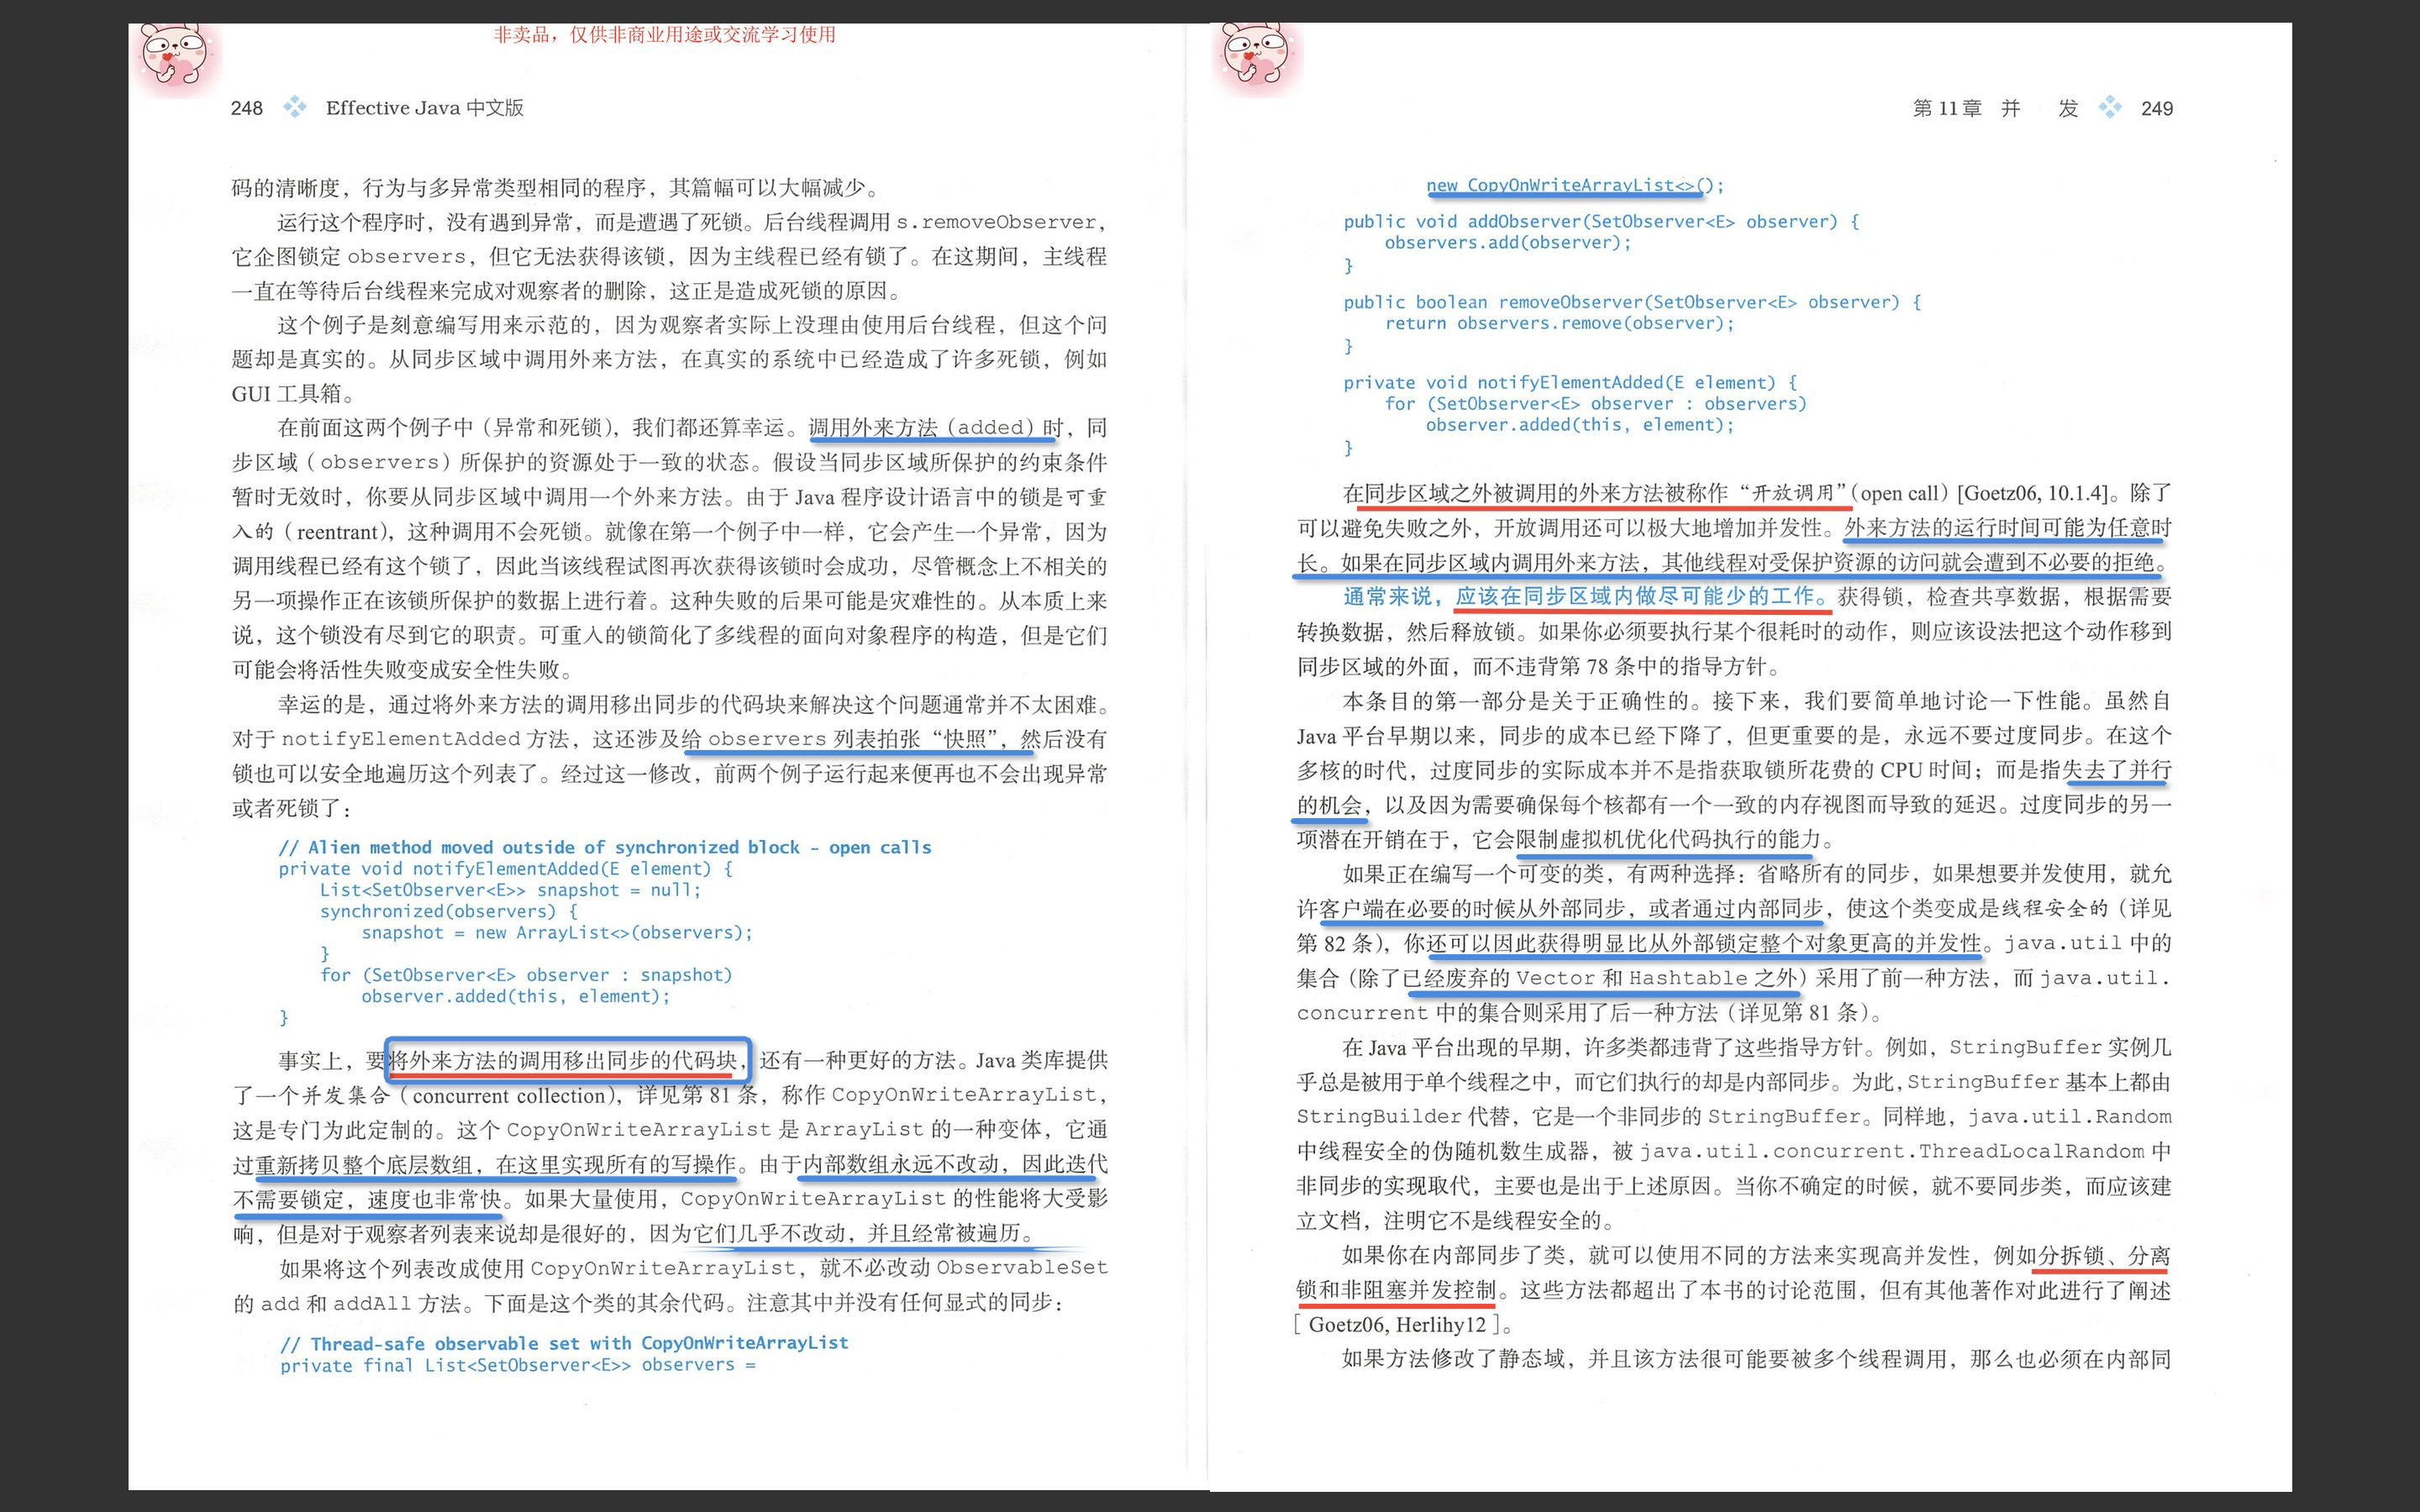
// Alien method moved outside of synchronized block - open calls
    private void notifyElementAdded(E element) {
        List<SetObserver<E>> snapshot = null;
        synchronized(observers) {
            snapshot = new ArrayList<>(observers);
        }
        for (SetObserver<E> observer : snapshot)
            observer.added(this, element);
    }
private void notifyElementAdded(E element) {
        for (SetObserver<E> observer : observers)
            observer.added(this, element);
    }
三种写法都能运行成功。。。

|
put与putIfAbsent区别: put在放入数据时,如果放入数据的key已经存在与Map中,最后放入的数据会覆盖之前存在的数据, 而putIfAbsent在放入数据时,如果存在重复的key,那么putIfAbsent不会放入值。 putIfAbsent 如果传入key对应的value已经存在,就返回存在的value,不进行替换。如果不存在,就添加key和value,返回null |
|
|
String.intern()管理内部的本机实现的池,该池具有一些与GC相关的特殊功能。这是旧的代码,但是如果重新实现,将使用java.util.WeakHashMap。弱引用是一种保留指向对象的指针而又不阻止其被收集的方法。对于统一池(例如,内部字符串),这是正确的选择。 |
|
package effectivejava.chapter11.item81; import java.util.concurrent.*; // Concurrent canonicalizing map atop ConcurrentMap - Pages 273-274 public class Intern { // Concurrent canonicalizing map atop ConcurrentMap - not optimal private static final ConcurrentMap<String, String> map = new ConcurrentHashMap<>(); // public static String intern(String s) { // String previousValue = map.putIfAbsent(s, s); // return previousValue == null ? s : previousValue; // } // Concurrent canonicalizing map atop ConcurrentMap - faster! public static String intern(String s) { String result = map.get(s); if (result == null) { result = map.putIfAbsent(s, s); if (result == null) result = s; } return result; } } |
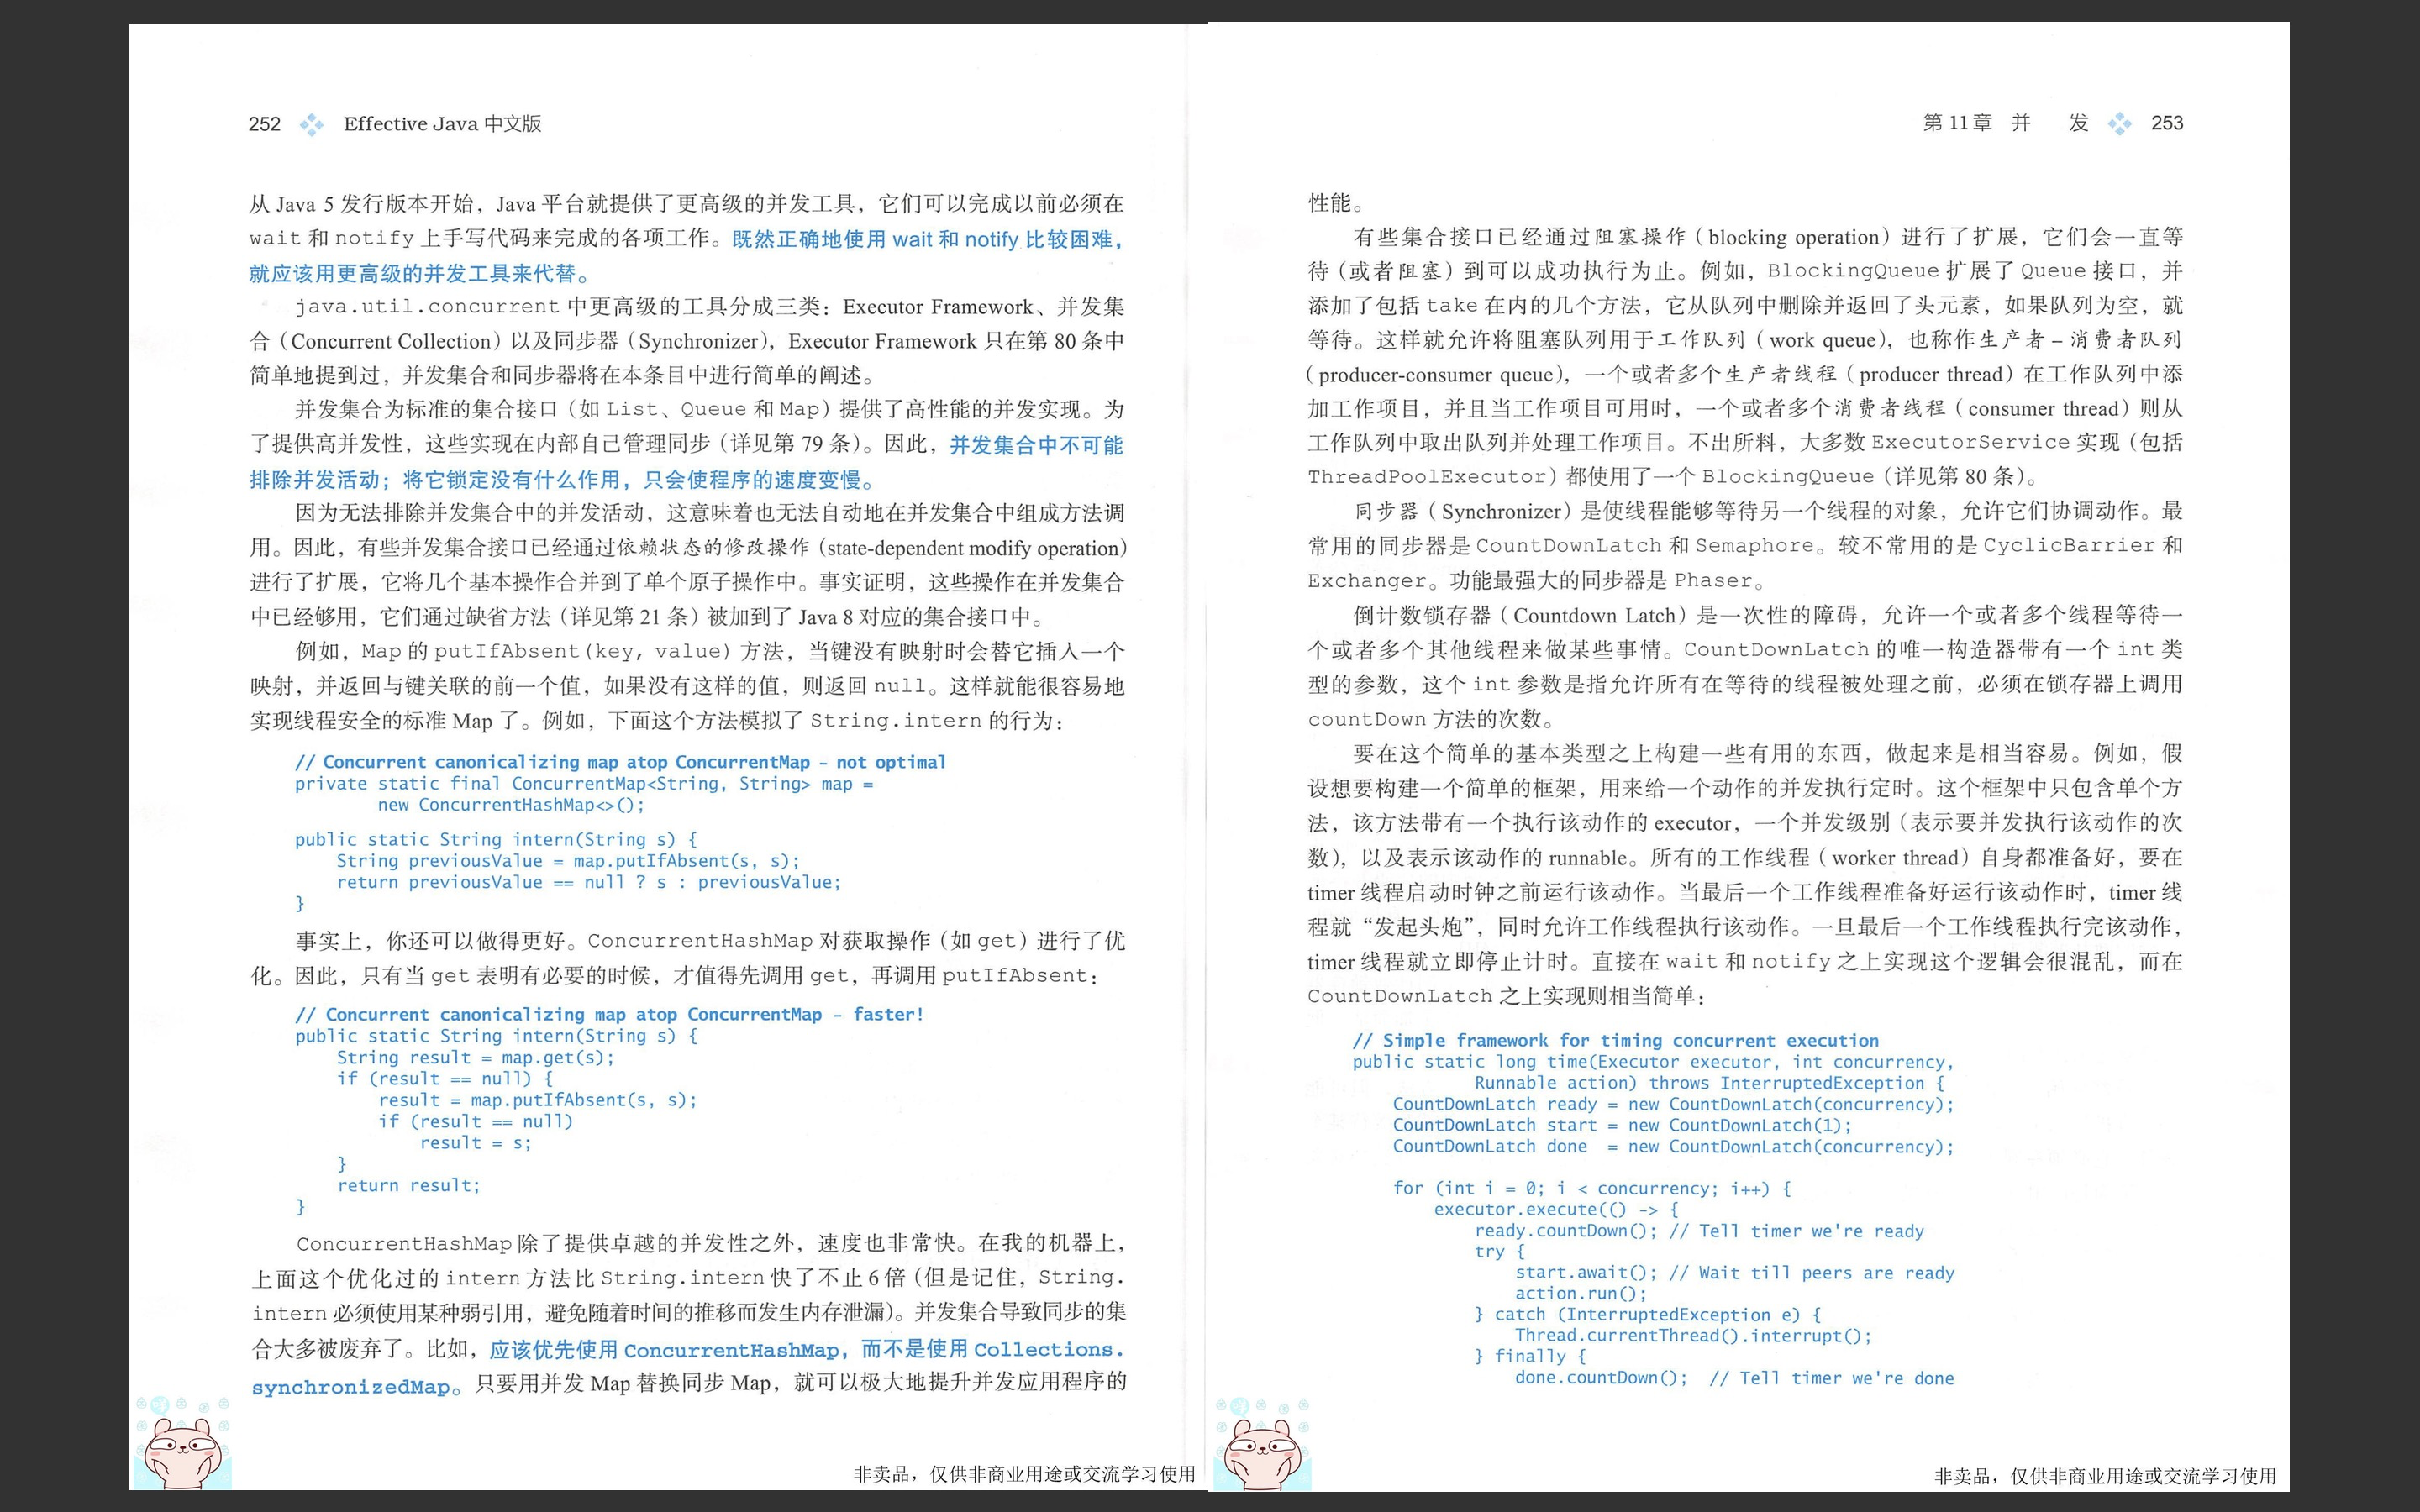
package effectivejava.chapter11.item81;
import java.util.concurrent.*;

// Simple framework for timing concurrent execution 327
public class ConcurrentTimer {
    private ConcurrentTimer() { } // Noninstantiable

    public static long time(Executor executor, int concurrency,
                            Runnable action) throws InterruptedException {
        CountDownLatch ready = new CountDownLatch(concurrency);
        CountDownLatch start = new CountDownLatch(1);
        CountDownLatch done  = new CountDownLatch(concurrency);

        for (int i = 0; i < concurrency; i++) {
            executor.execute(() -> {
                ready.countDown(); // Tell timer we're ready
                try {
                    start.await(); // Wait till peers are ready
                    action.run();
                } catch (InterruptedException e) {
                    Thread.currentThread().interrupt();
                } finally {
                    done.countDown();  // Tell timer we're done
                }
            });
        }

        ready.await();     // Wait for all workers to be ready
        long startNanos = System.nanoTime();
        start.countDown(); // And they're off!
        done.await();      // Wait for all workers to finish
        return System.nanoTime() - startNanos;
    }
}
例子比较精巧,值得学习:
所有的 worker 线程都 ready 了,各worker 才/就 开始执行;
最后一个跑完的 worker 结束执行了,才算全部执行完成;
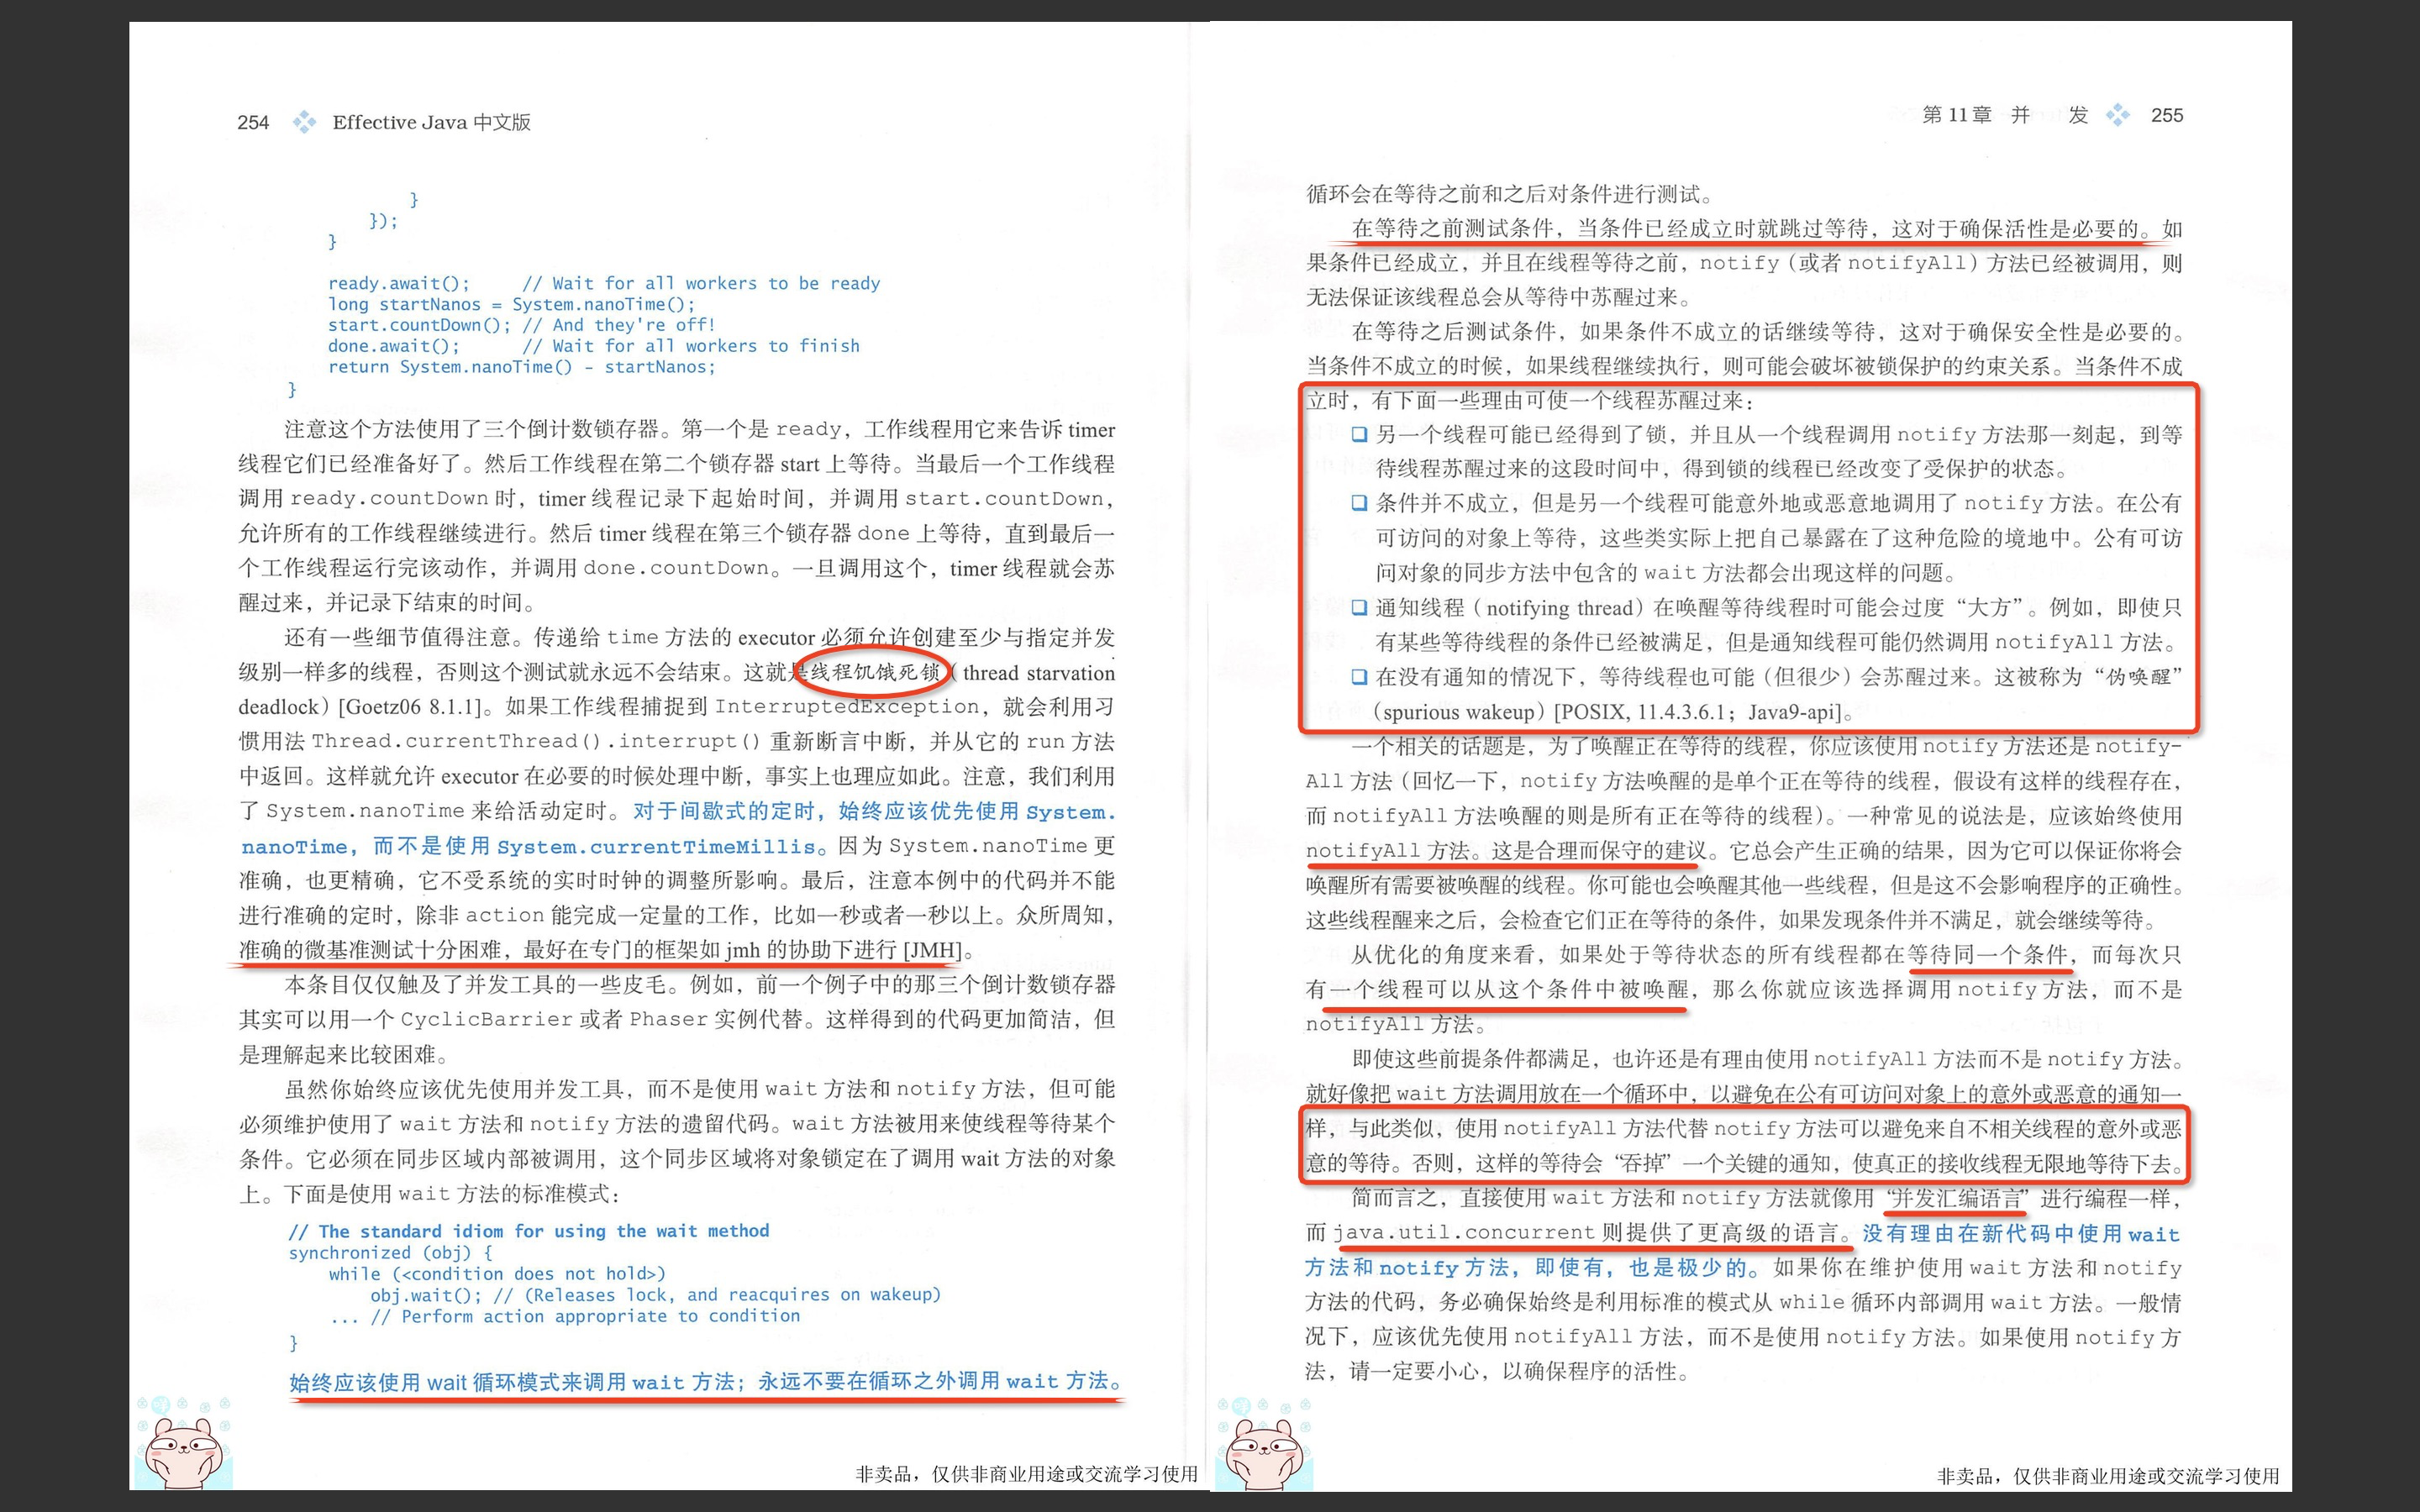

每个条目最后那段总结的话优先记住

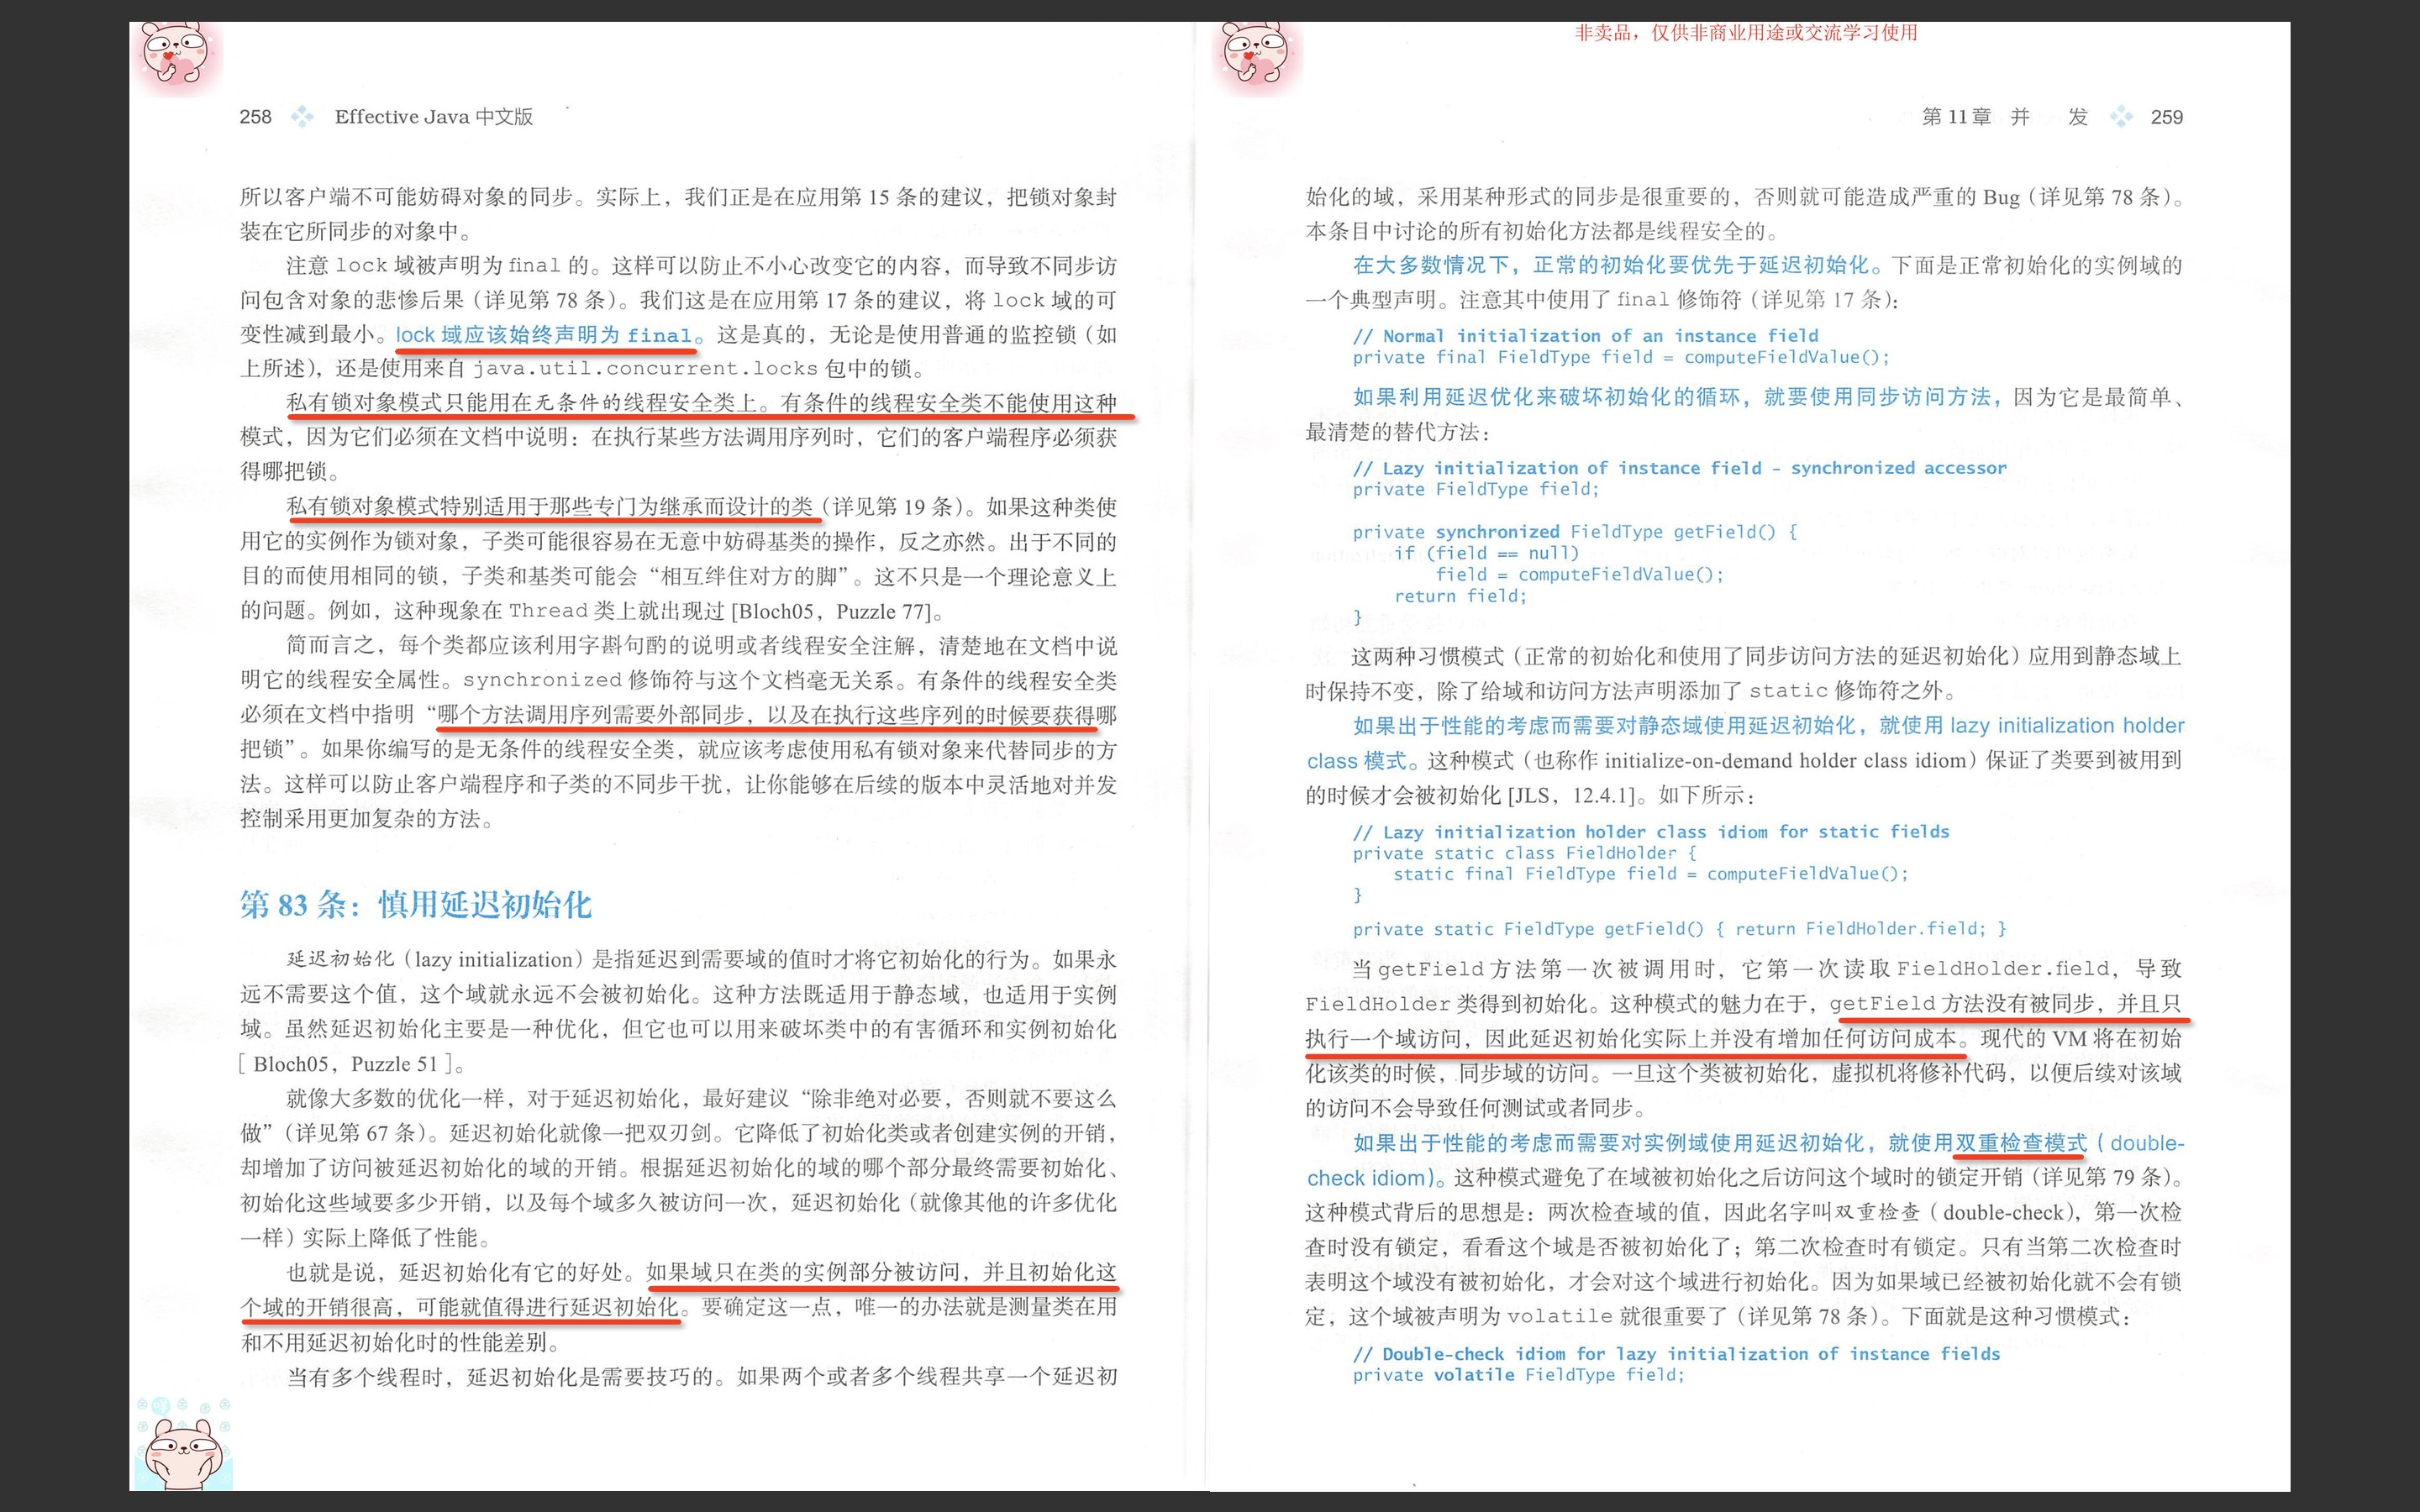
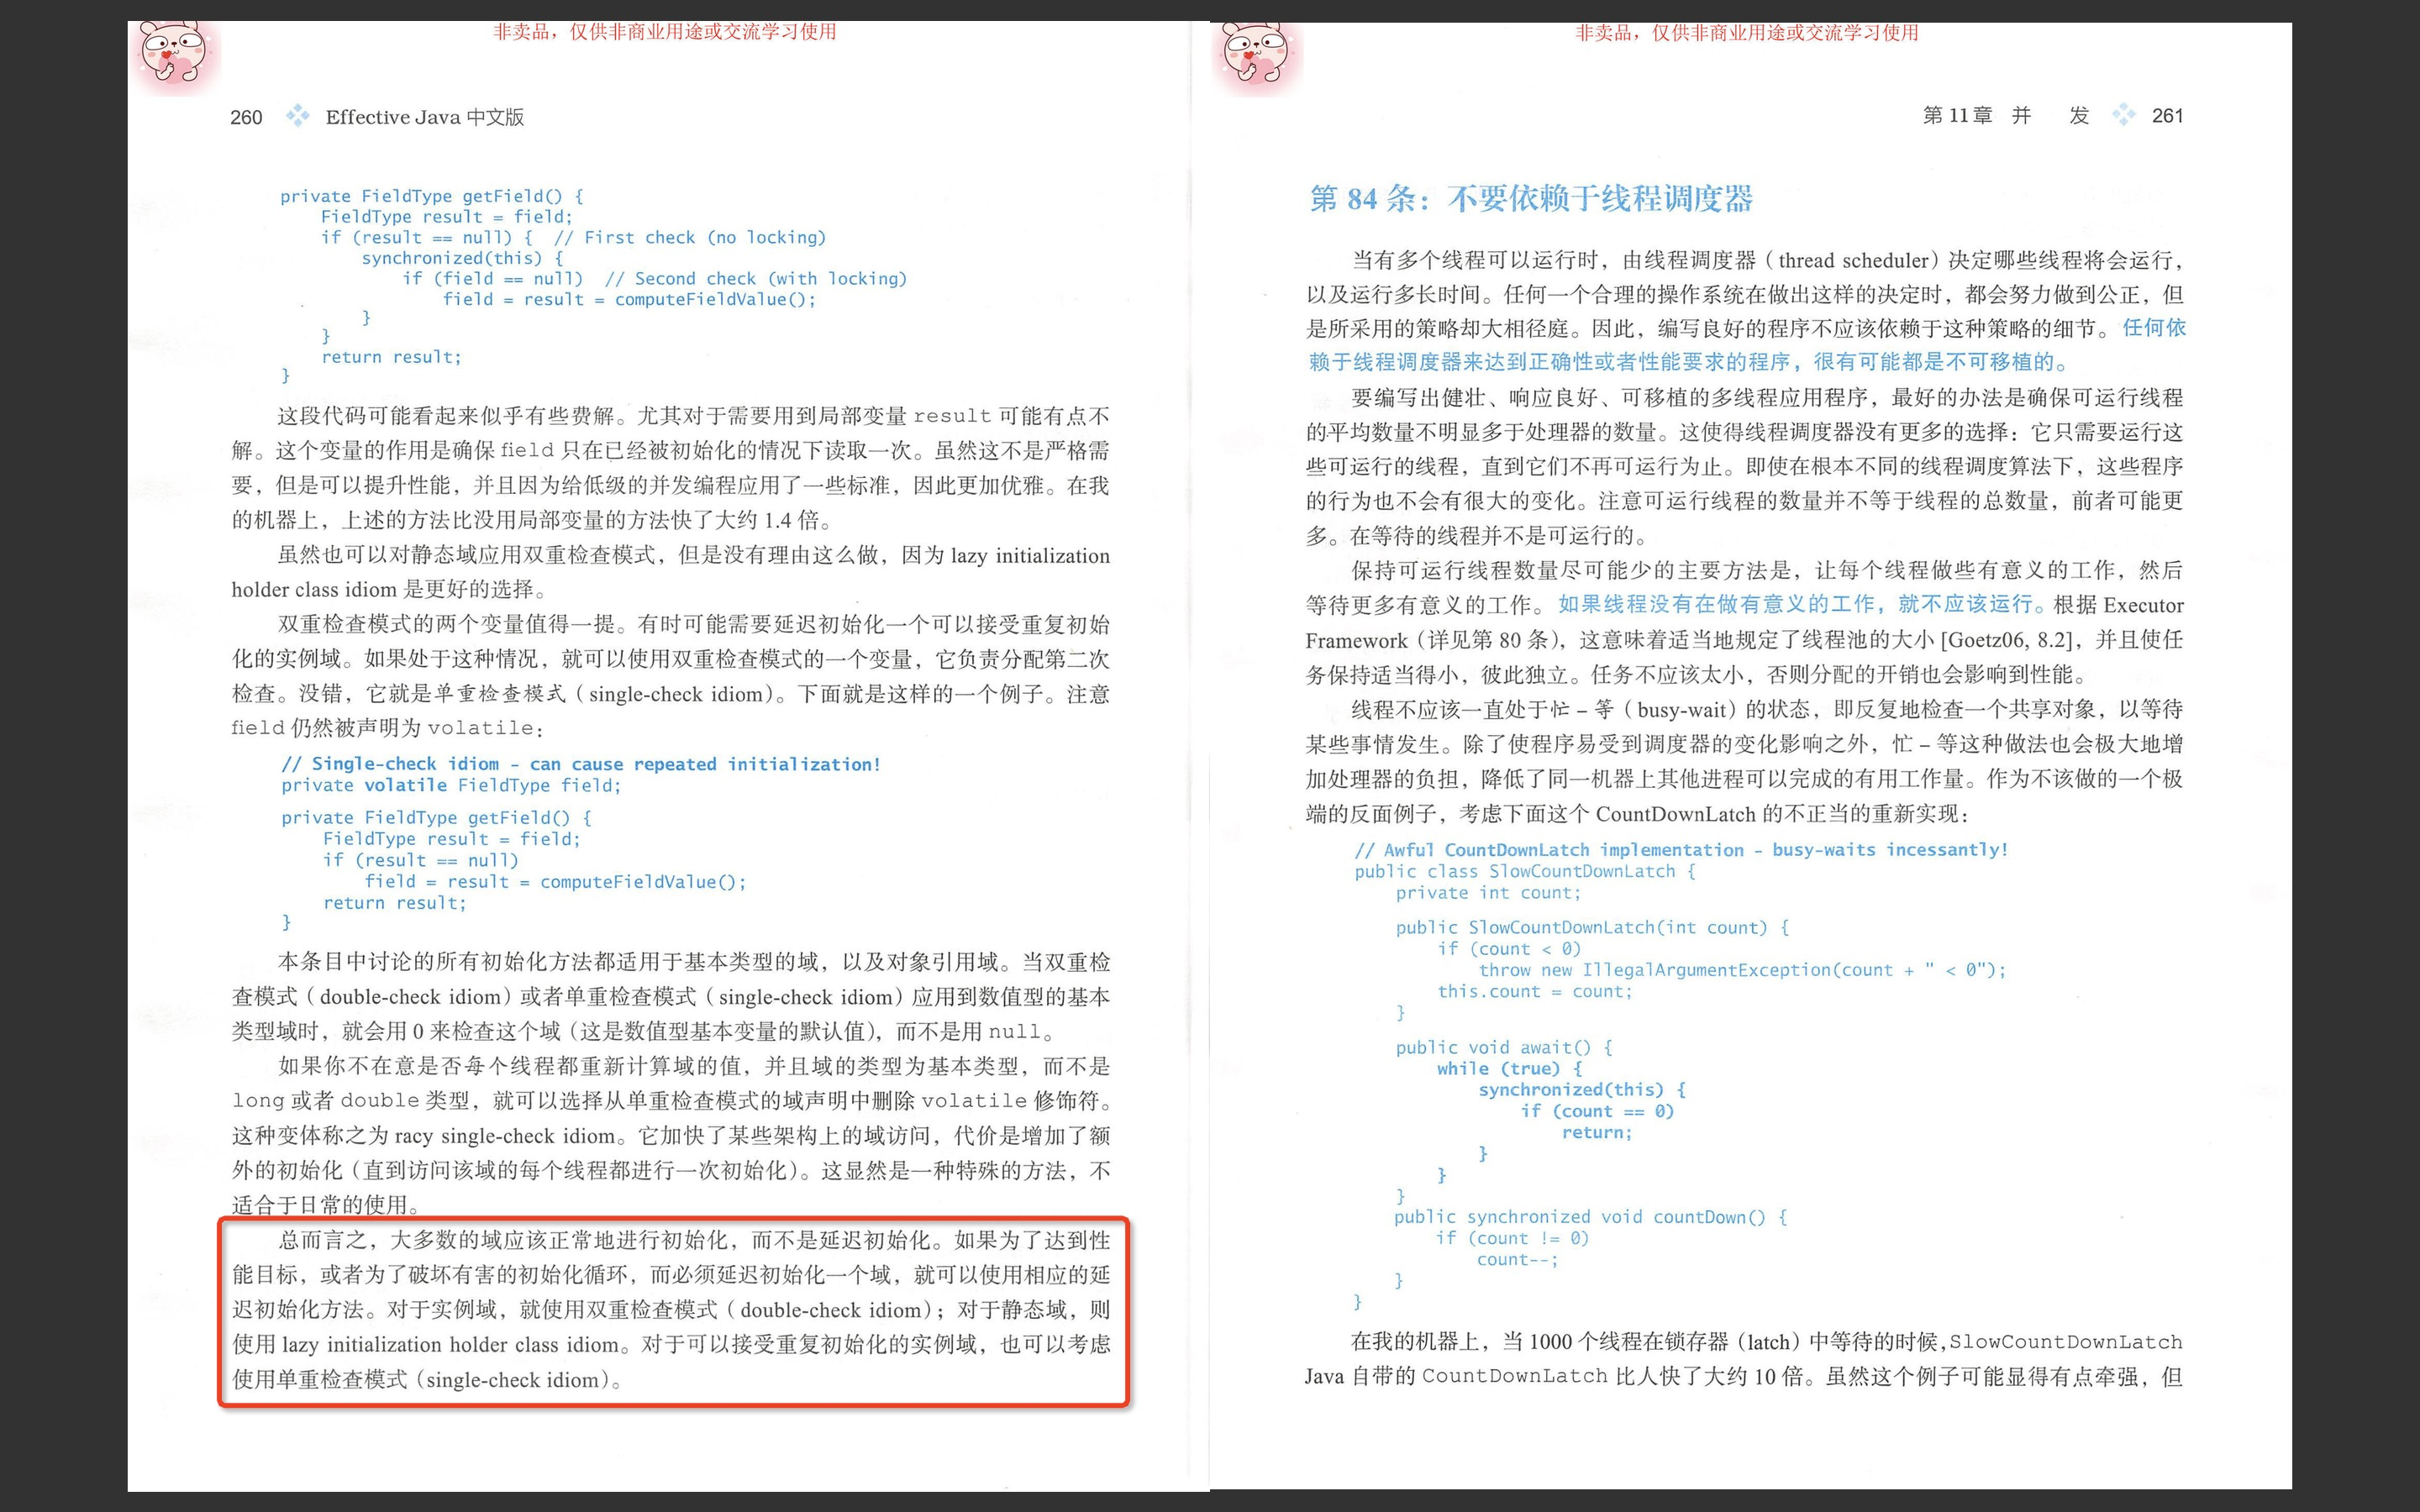
package effectivejava.chapter11.item83;

// Initialization styles - Pages 333-
public class Initialization {

    // Normal initialization of an instance field4 - Page 282
    private final FieldType field1 = computeFieldValue();

    // Lazy initialization of instance field4 - synchronized accessor - Page 333
    private FieldType field2;
    private synchronized FieldType getField2() {
        if (field2 == null)
            field2 = computeFieldValue();
        return field2;
    }

    // Lazy initialization holder class idiom for static fields - Page 334
    private static class FieldHolder {
        static final FieldType field = computeFieldValue();
    }

    private static FieldType getField() { return FieldHolder.field; }


    // Double-check idiom for lazy initialization of instance fields - Page 334
    private volatile FieldType field4;

    // NOTE: The code for this method in the first printing had a serious error (see errata for details)!
    private FieldType getField4() {
        FieldType result = field4;
        if (result != null)    // First check (no locking)
            return result;

        synchronized(this) {
            if (field4 == null) // Second check (with locking)
                field4 = computeFieldValue();
            return field4;
        }
    }


    // Single-check idiom - can cause repeated initialization! - Page 334
    private volatile FieldType field5;

    private FieldType getField5() {
        FieldType result = field5;
        if (result == null)
            field5 = result = computeFieldValue();
        return result;
    }

    private static FieldType computeFieldValue() {
        return new FieldType();
    }
}
two variants:两个变种 ...
还是TMD得看英文原文。。。

为什么双重检查锁模式需要 volatile ?双重检查锁定(Double check locked)模式经常会出现在一些框架源码中,目的是为了延迟初始化变量。这个模式还可以用来创建单例。下面来看一个 Spring 中双重检查锁定的例子。 这个例子中需要将配置文件加载到 下面我们就来看下这背后的原因。 错误的延迟初始化例子想到延迟初始化一个变量,最简单的例子就是取出变量进行判断。 这个例子在单线程环境交易正常运行,但是在多线程环境就有可能会抛出空指针异常。为了防止这种情况,我们需要使用 深入分析可以得知只有在初始化的变量的需要真正加锁,一旦初始化之后,直接返回对象即可。 所以我们可以将该方法改造以下的样子。 这个方法首先判断变量是否被初始化,没有被初始化,再去获取锁。获取锁之后,再次判断变量是否被初始化。第二次判断目的在于有可能其他线程获取过锁,已经初始化改变量。第二次检查还未通过,才会真正初始化变量。 这个方法检查判定两次,并使用锁,所以形象称为双重检查锁定模式。 这个方案缩小锁的范围,减少锁的开销,看起来很完美。然而这个方案有一些问题却很容易被忽略。 new 实例背后的指令这个被忽略的问题在于 从字节码可以看到创建一个对象实例,可以分为三步:
虚拟机实际运行时,以上指令可能发生重排序。以上代码 2,3 可能发生重排序,但是并不会重排序 1 的顺序。也就是说 1 这个指令都需要先执行,因为 2,3 指令需要依托 1 指令执行结果。 Java 语言规规定了线程执行程序时需要遵守 intra-thread semantics。**intra-thread semantics ** 保证重排序不会改变单线程内的程序执行结果。这个重排序在没有改变单线程程序的执行结果的前提下,可以提高程序的执行性能。 虽然重排序并不影响单线程内的执行结果,但是在多线程的环境就带来一些问题。 上面错误双重检查锁定的示例代码中,如果线程 1 获取到锁进入创建对象实例,这个时候发生了指令重排序。当线程1 执行到 t3 时刻,线程 2 刚好进入,由于此时对象已经不为 Null,所以线程 2 可以自由访问该对象。然后该对象还未初始化,所以线程 2 访问时将会发生异常。 volatile 作用正确的双重检查锁定模式需要需要使用
由于
使用局部变量优化性能重新查看 Spring 中双重检查锁定代码。 可以看到方法内部使用局部变量,首先将实例变量值赋值给该局部变量,然后再进行判断。最后内容先写入局部变量,然后再将局部变量赋值给实例变量。 使用局部变量相对于不使用局部变量,可以提高性能。主要是由于 总结对象的创建可能发生指令的重排序,使用 帮助文档 |
|
|
正确的双重检查锁定模式需要需要使用
|
Java中的双重检查锁(double checked locking)在实现单例模式时,如果未考虑多线程的情况,就容易写出下面的错误代码: 在多线程的情况下,这样写可能会导致
可以看到, 加锁出现这种情况,第一反应就是加锁,如下: 这样虽然解决了问题,但是因为用到了 双重检查锁双重检查锁(double checked locking)是对上述问题的一种优化。先判断对象是否已经被初始化,再决定要不要加锁。 错误的双重检查锁如果这样写,运行顺序就成了:
执行双重检查是因为,如果多个线程同时了通过了第一次检查,并且其中一个线程首先通过了第二次检查并实例化了对象,那么剩余通过了第一次检查的线程就不会再去实例化对象。 这样,除了初始化的时候会出现加锁的情况,后续的所有调用都会避免加锁而直接返回,解决了性能消耗的问题。 隐患上述写法看似解决了问题,但是有个很大的隐患。实例化对象的那行代码(标记为error的那行),实际上可以分解成以下三个步骤:
但是有些编译器为了性能的原因,可能会将第二步和第三步进行重排序,顺序就成了:
现在考虑重排序后,两个线程发生了以下调用:
在这种情况下,T7时刻线程B对 正确的双重检查锁为了解决上述问题,需要在 至此,双重检查锁就可以完美工作了。 参考资料: 分类: Java
|
|||||||||||||||||||||||||||||||||||||||||||||||||