路由就是用哈希#给页面铺了好多路,从而使页面可以走来走去
路由分两大部分,一是router定义各种规则,二是Backbone.history.start(),执行router
代码在(4)基础上。
首先定义一个路由
var NoteRouter = Backbone.Router.extend({
routes: { //添加一个名叫routes的路由,名字使我们起的
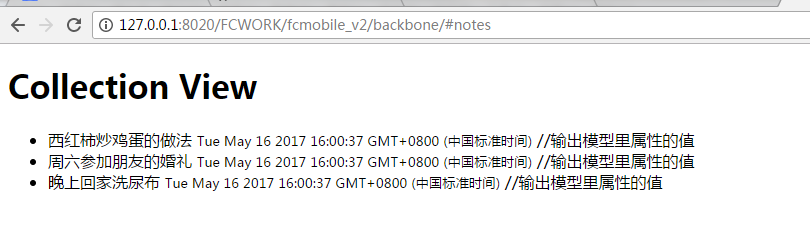
'notes': 'index'//路由的方法也是我们起的
},
index: function() {
jQuery('#note_list').html(noteCollectionView.el);//将前面集合视图的内容放在id为note_list元素里面
console.log('笔记列表');
}
});
然后创建路由实例,并执行
var noteRouter = new NoteRouter;
Backbone.history.start();
***
关于怎么运行,这里出现了点小问题
我们这里以hbuilder为服务器,打开时以hbuilder的路径前面加上http://127.0.0.1:8020就可以打开了,这个前缀是软件上配置的。
如在本地我们的路径为

在hbuilder上我们是这么打开的
目标文件一定要叫index.html,不然打不开
最后我们的地址为
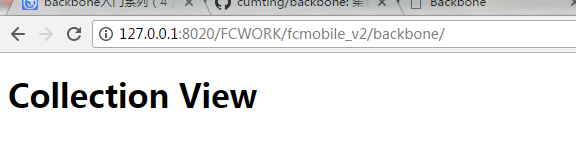
后面加#notes
配置路由其他参数
ar NoteRouter = Backbone.Router.extend({
routes: {
'notes': 'index',
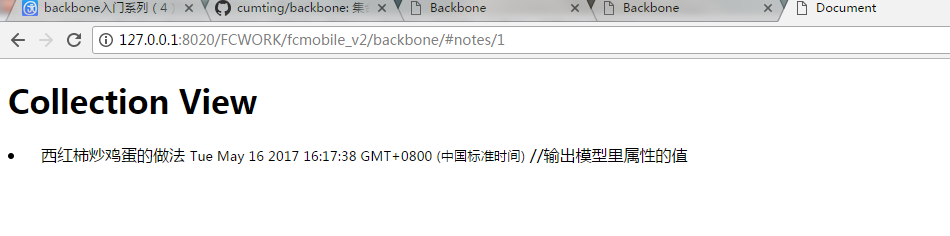
'notes/:id': 'show'//新参数
},
index: function() {
jQuery('#note_list').html(noteCollectionView.el);
console.log('笔记列表');
},
show: function(id) {//以id为参数
console.log('笔记:' + id);
var note = noteCollection.get(id);
var noteView = new NoteView({model: note});
jQuery('#note_list').html(noteView.render().el);//id为几就把谁渲染出来显示出来
}
});
运行
添加可选参数
var NoteRouter = Backbone.Router.extend({
routes: {
'notes(/page/:page)': 'index', 括号里面是可选参数
'notes/:id': 'show'
},
index: function(page) {
var page = page || 1;//存在时就是指定页码,不指定就是1
jQuery('#note_list').html(noteCollectionView.el);
console.log('笔记列表,第 ' + page + ' 页');
},
show: function(id) {
console.log('笔记:' + id);
var note = noteCollection.get(id);
var noteView = new NoteView({model: note});
jQuery('#note_list').html(noteView.render().el);
}
});
运行
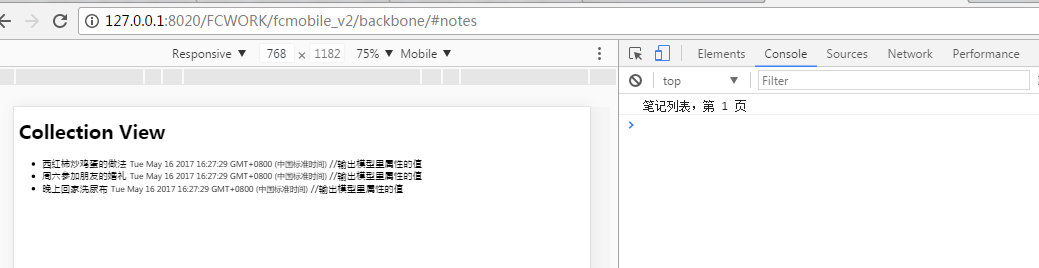
没有指定参数时,默认为1
当参数为2时
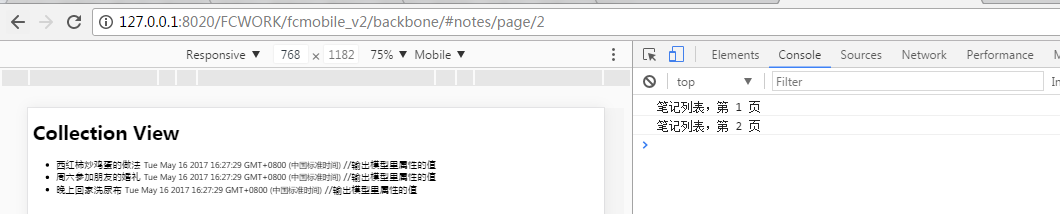
产生相关反应
最后 navigate方法,不触发change事件,除非设置参数。。。。