前言
好久没更新博客了,上一篇文章还是在去年6月份,乍一看居然快要过去一年了,不时还能看到粉丝数和排名在涨,可是却一直没有内容更新,怪不好意思的- -(主要是一直没想好要写些什么,中间也有过一些想法,比如从 Python 的 yield 关键字讲到协程、基于蒙特卡洛方法的 Raytracing、ECS等等,但是总觉得不是能够讲的很好就一直没写,然后平时不是在打 Dota2 就是在赶项目,所以就一直咕咕咕了。。。)
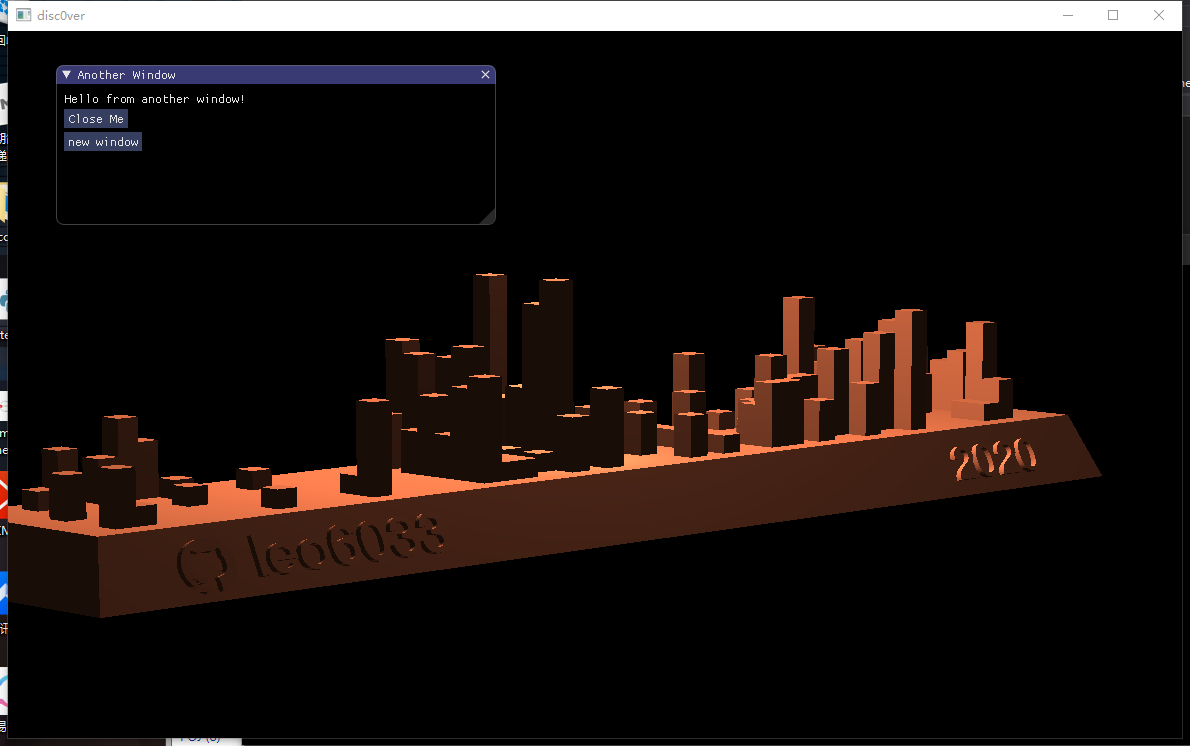
回到正题,前段时间看到的 github skyline,就是将过去一年在 github 的 commit 可视化成一个三维的模型,如下图。

当时看到这个第一反应就是好炫!然后看到了 Download STL file 这个按钮,又想到目前正在设计的并将作为学校图形学实验使用的项目(项目地址:https://github.com/leo6033/disc0ver-Engine ),就萌生了将绘制这个 model 做为模型绘制实验的想法。于是便开始了动手实现。(关于 OpenGL 模型加载的文章,我在两年前的从零开始 OpenGL 系列中倒是有写过,不过当时的实现是基于固定渲染管线的,从去年开始接触了 OpenGL 可编程流水线,就打算后面进行逐步更新)
模型绘制
STL 模型
将 STL file 下载下来之后,看到后缀名 stl,头一次见到这种后缀名,打开文件看了看
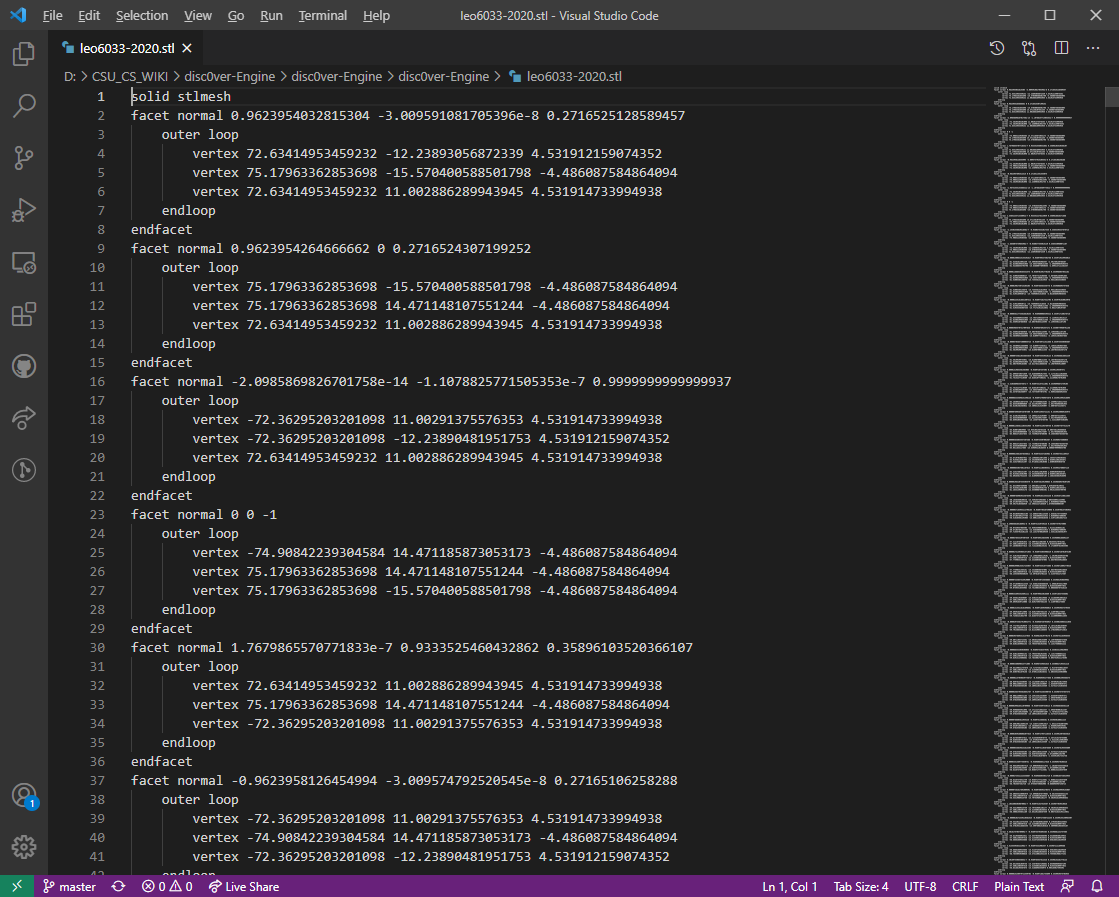
第一反应,这个格式有那么点点奇怪啊,字符串好像有那么点多。。。不过仔细分析了一下,大概就是这样
solid stlmesh
facet normal n1 n2 n3
	outer loop
		vertex x1 y1 z1
		vertex x2 y2 z2
		vertex x3 y3 z3
	endloop
end facet
...
...
facet normal n1 n2 n3
	outer loop
		vertex x1 y1 z1
		vertex x2 y2 z2
		vertex x3 y3 z3
	endloop
end facet
endsolid stlmesh
那么,用一个大循环即可解决,伪代码如下
s = readline()
assert(s == "solid filename")
while(!eof){
	normal = readline()
	if "facet" in normal{
        normal -> (n1, n2, n3)
        readline() skip outer loop
        for i in range(3){
            vertex = readline()
            vertex -> (x, y, z)
        }
        readline() skip end loop
    }
}
代码实现
#include <sstream>
#include <fstream>
#include <iostream>
void disc0ver::Model::loadModel(const std::string path)
{
	std::cout << "load model " << path << std::endl;
	std::ifstream infile;
	std::string tmp_str;
	infile.open(path);

	if(!infile.is_open())
	{
		throw "model not found";
	}

	// 读取头 solid filename
	char line[256];
	infile.getline(line, sizeof(line));
	std::istringstream solid(line);
	solid >> tmp_str;
	assert(tmp_str == "solid");

	while(!infile.eof())
	{
		infile.getline(line, sizeof(line));
		float n1, n2, n3;
		float x, y, z;
		std::istringstream face(line);

		face >> tmp_str;
		if(tmp_str == "facet")
		{
			face >> tmp_str >> n1 >> n2 >> n3;
			// outer loop
			infile.getline(line, sizeof(line));
			for(int i = 0; i < 3;i ++)
			{
				infile.getline(line, sizeof(line));
				std::istringstream vertex(line);
				vertex >> tmp_str >> x >> y >> z;
				vertices.emplace_back(x, y, z, n1, n2, n3, 0.0f, 0.0f);
			}
			// end loop
			infile.getline(line, sizeof(line));
		}
		// end facet
		infile.getline(line, sizeof(line));
	}

}
模型绘制
在项目中,我封装了个 Mesh 类,将 OpenGL 图形绘制都放置于 Mesh 中进行
void disc0ver::Mesh::Draw(Shader &shader)
{
	for(unsigned int i = 0; i < textures.size(); i ++)
	{
        textures[i].use(i);
        shader.setInt(textures[i].getName(), static_cast<int>(i));
	}

    glBindVertexArray(VAO);
    glDrawElements(GL_TRIANGLES, indices.size(), GL_UNSIGNED_INT, 0);
    glBindVertexArray(0);

    glActiveTexture(GL_TEXTURE0);
}

void disc0ver::Mesh::setupMesh()
{
    glGenVertexArrays(1, &VAO);
    glGenBuffers(1, &VBO);
    glGenBuffers(1, &EBO);

    glBindVertexArray(VAO);
    glBindBuffer(GL_ARRAY_BUFFER, VBO);

    glBufferData(GL_ARRAY_BUFFER, vertices.size() * sizeof(Vertex), &vertices[0], GL_STATIC_DRAW);

    glBindBuffer(GL_ELEMENT_ARRAY_BUFFER, EBO);
    glBufferData(GL_ELEMENT_ARRAY_BUFFER, indices.size() * sizeof(unsigned int),
        &indices[0], GL_STATIC_DRAW);

    // 顶点位置
    glEnableVertexAttribArray(0);
    glVertexAttribPointer(0, 3, GL_FLOAT, GL_FALSE, sizeof(Vertex), static_cast<void*>(0));
    // 顶点法线
    glEnableVertexAttribArray(1);
    glVertexAttribPointer(1, 3, GL_FLOAT, GL_FALSE, sizeof(Vertex), reinterpret_cast<void*>(offsetof(Vertex, normal)));
    // 顶点纹理坐标
    glEnableVertexAttribArray(2);
    glVertexAttribPointer(2, 2, GL_FLOAT, GL_FALSE, sizeof(Vertex), reinterpret_cast<void*>(offsetof(Vertex, texCoords)));

    glBindVertexArray(0);
}
因此,我们需要做的就是如模型读取代码那样将读取到的 normal 和 vertex 存至 vertices 数组中,然后在 Init 函数中创建 indices 数组,作为顶点索引,最后直接调用 mesh.Draw() 来实现模型的绘制。
void disc0ver::Model::Init()
{
	std::vector<Texture> tmp;
	for (auto it = textures.begin(); it != textures.end(); ++it)
	{
		tmp.push_back(it->second);
	}
	for (int i = 0; i < vertices.size(); i++)
	{
		indices.push_back(i);
	}
	Mesh mesh(vertices, indices, tmp);
	meshes.push_back(mesh);
}

void disc0ver::Model::draw(Shader& shader)
{
	transform.use();
	for (auto& mesh : meshes)
	{
		mesh.Draw(shader);
	}
}
效果展示
加入了简单的光线反射 shader 效果
小节
由于很多 OpenGL 的绘制接口在项目中被封装起来了,所以给的代码片段看起来会比较迷糊,感觉比较单独看比较好理解的也就是模型数据读取的那部分代码了,欢迎大家阅读项目的源码,并希望能给些建议,如果可以点个 star 的话就更好了 _ (:з」∠)_ 。后续将继续更新一些项目内容的实现原理,以及去年做的基于蒙特卡洛方法的 Raytracing。
本文首发于我的知乎