一 centos7 安装 和差异
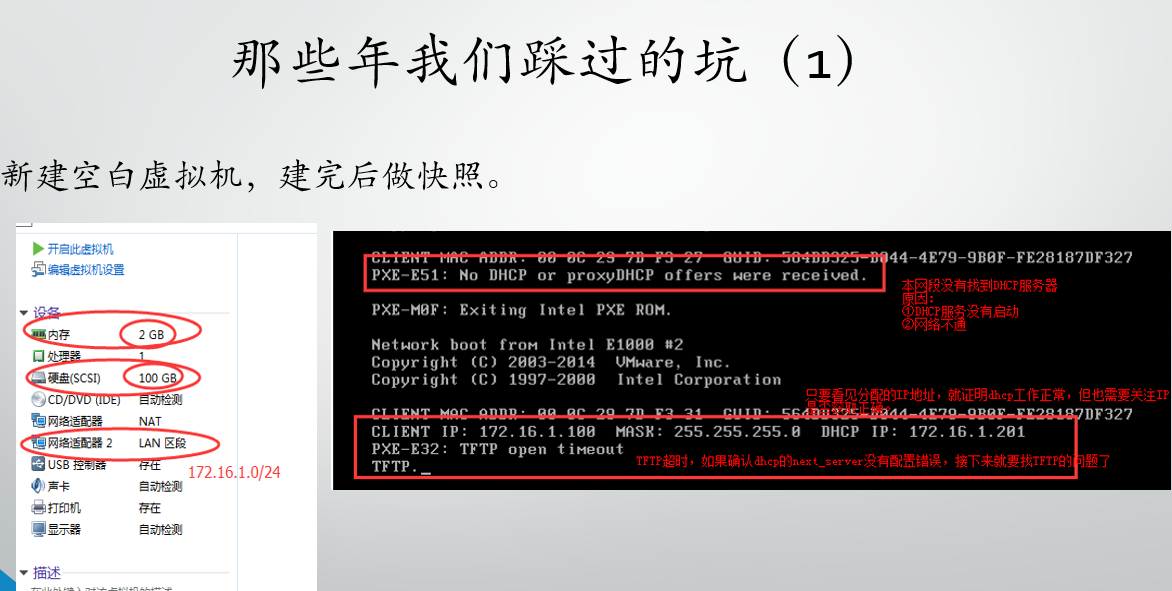
虚拟机配置好硬件 第一张网卡NAT添加第二张网卡选择LAN区段
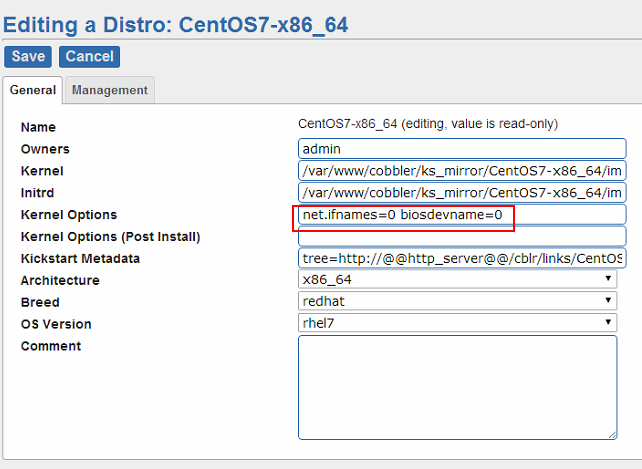
安装前修改内核 变更网卡名 net.ifnames=0 biosdevname=0 回车 提示再回车

选择英文

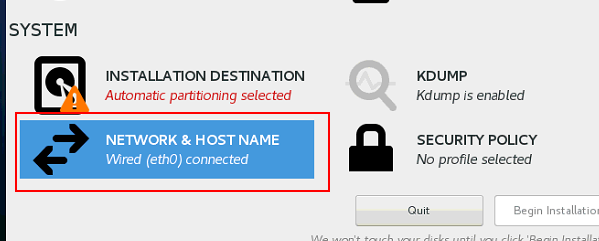
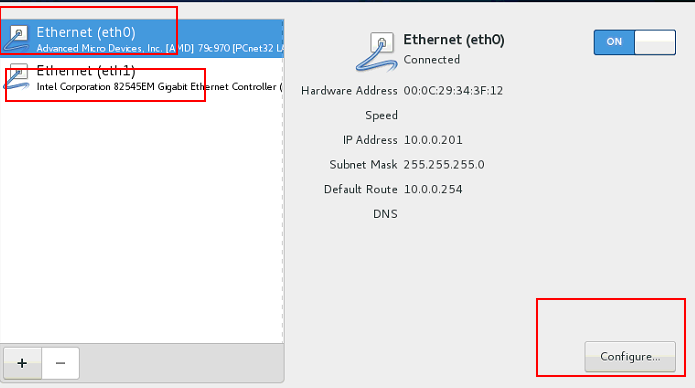
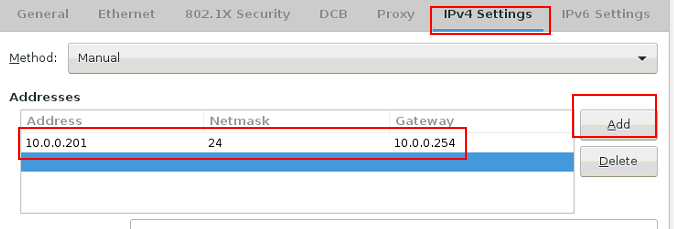
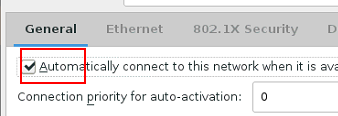
查看网卡名是否修改成功 设置网卡
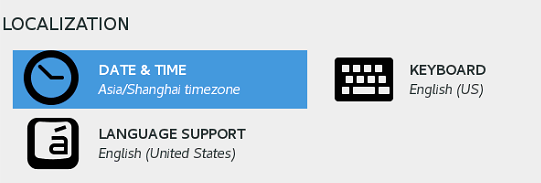
选择时间 上海

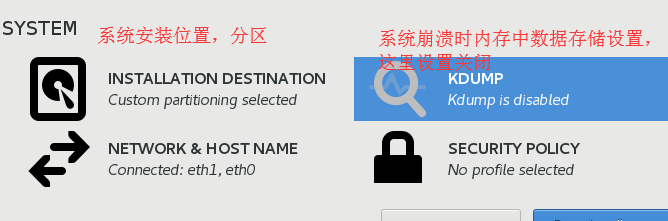
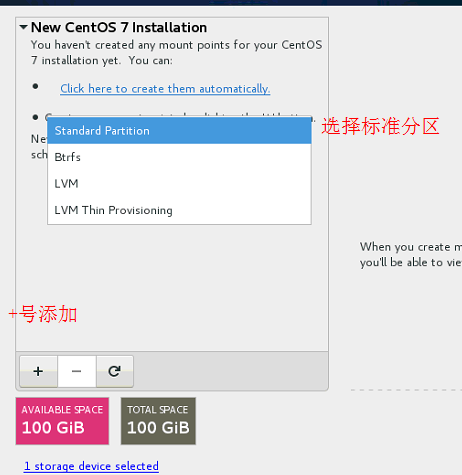
root分区

一般云服务器 没有swap分区 自己创建


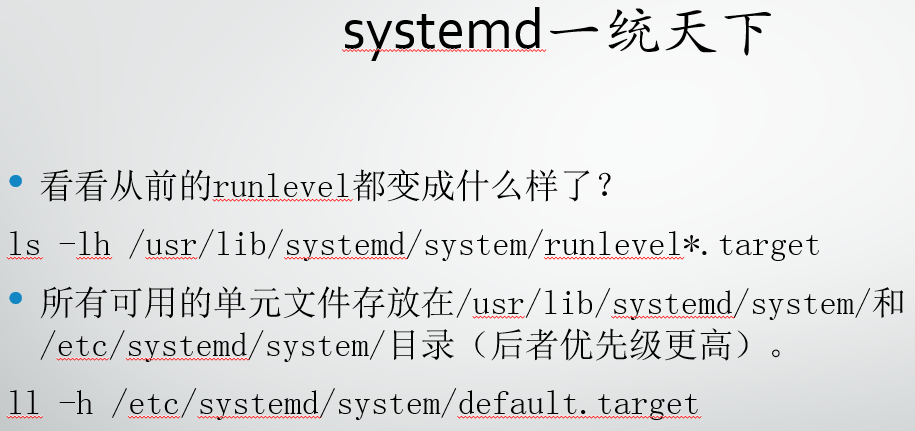
centos6和7启动区别
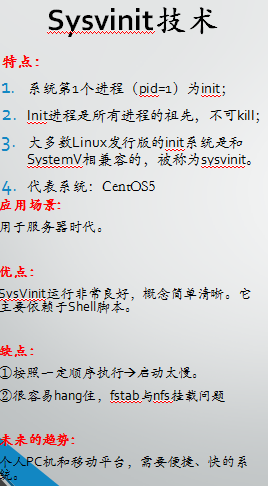
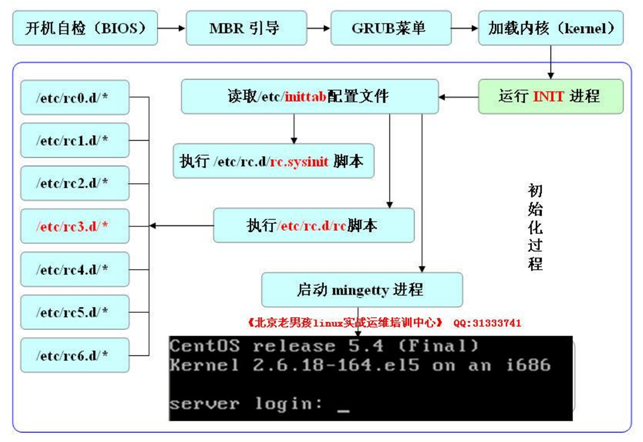

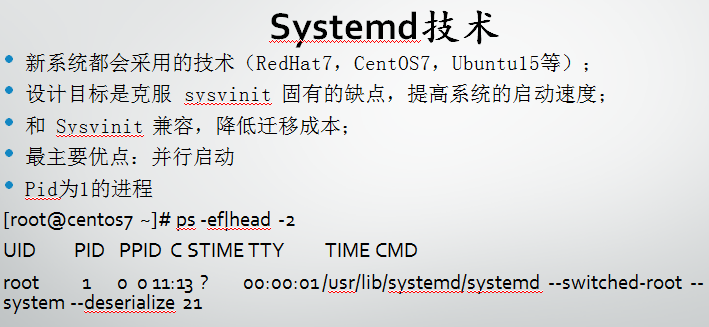

1 sockt解决服务依赖,缺什么我给你,系统启动完了再由真的替换

2 D-BUS类似异步

3 抓关键
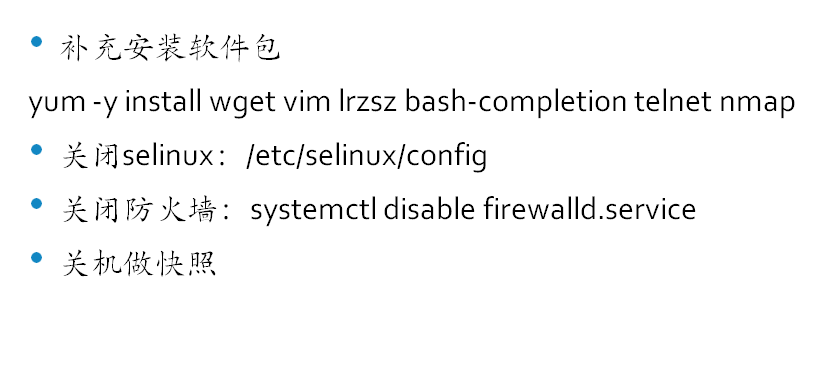
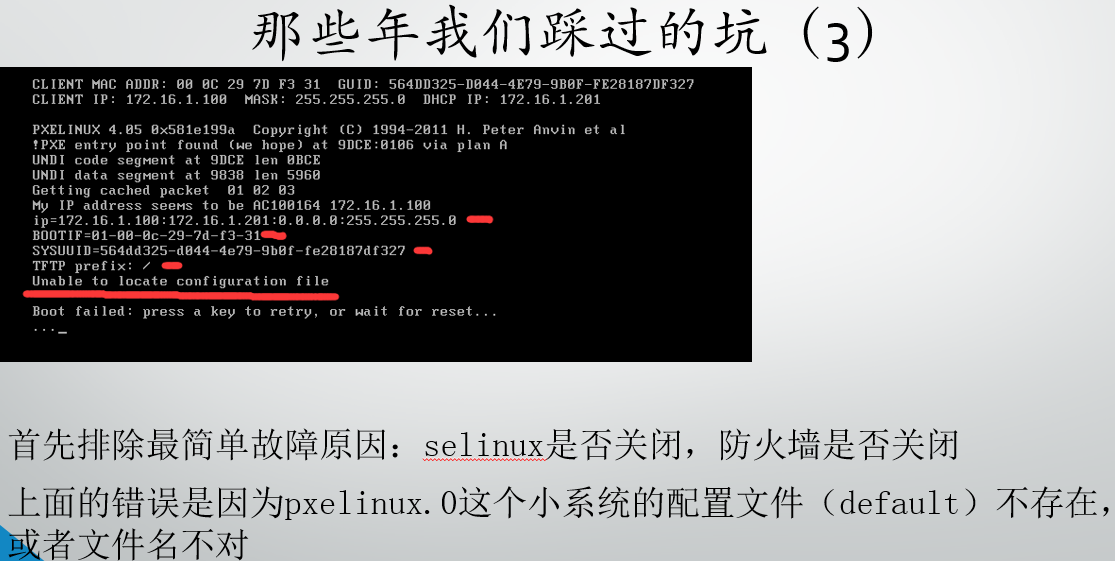
关闭selinux
setenforce 0
vim /selinux/config
关闭防火墙
systemctl stop firewalld.service
状态
systemctl status firewalld.service
关闭开机启动
system disable fierwalld.service
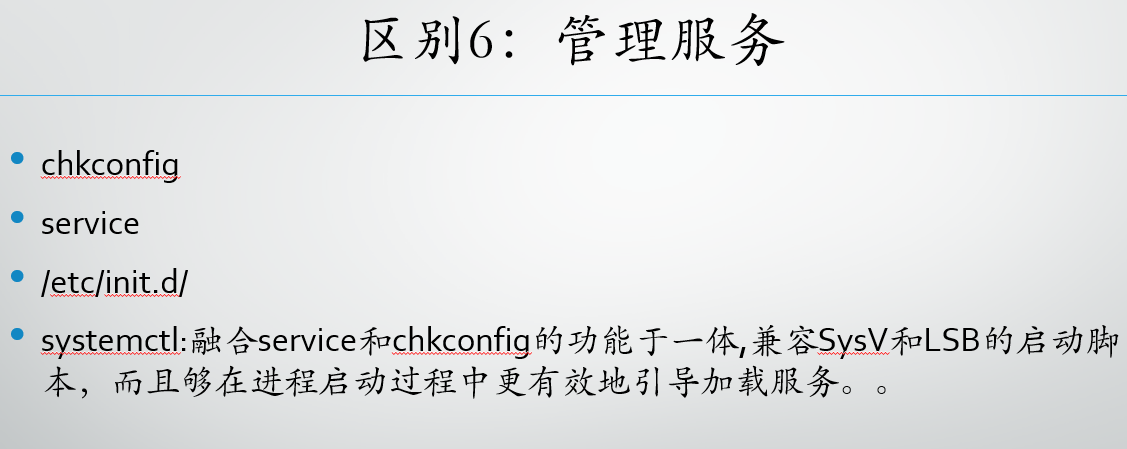
centos 7中常用的软件状态命令
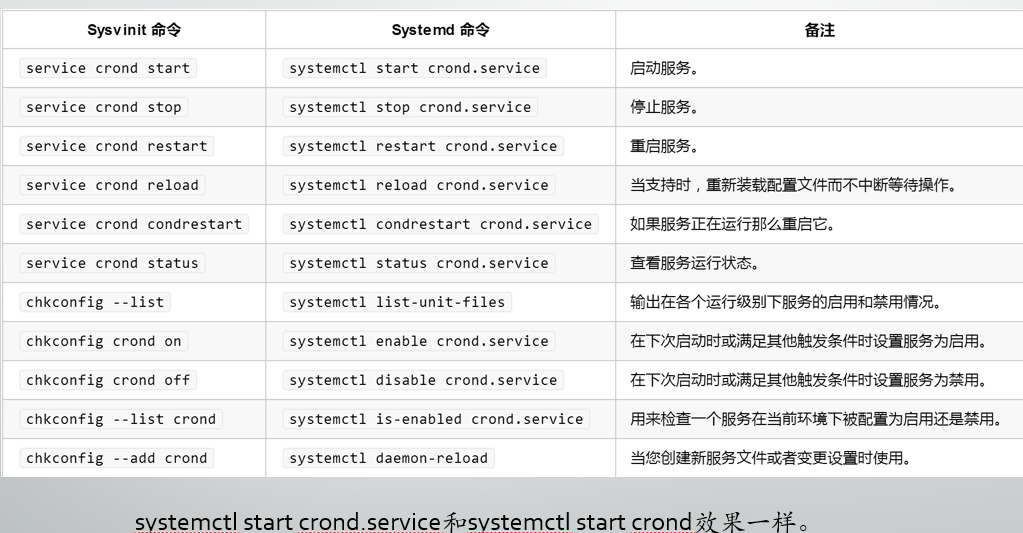
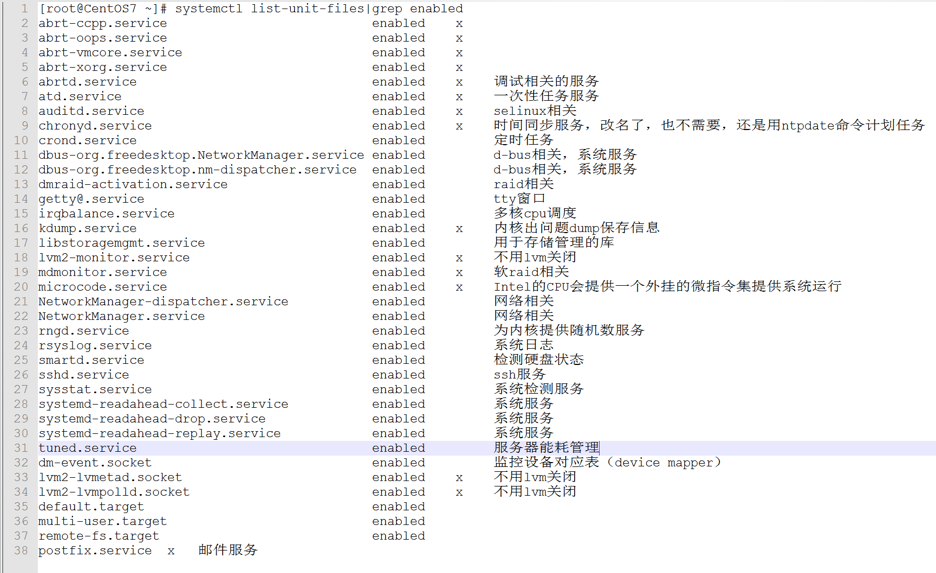
systemctl (start、stop、status、disable、enable)
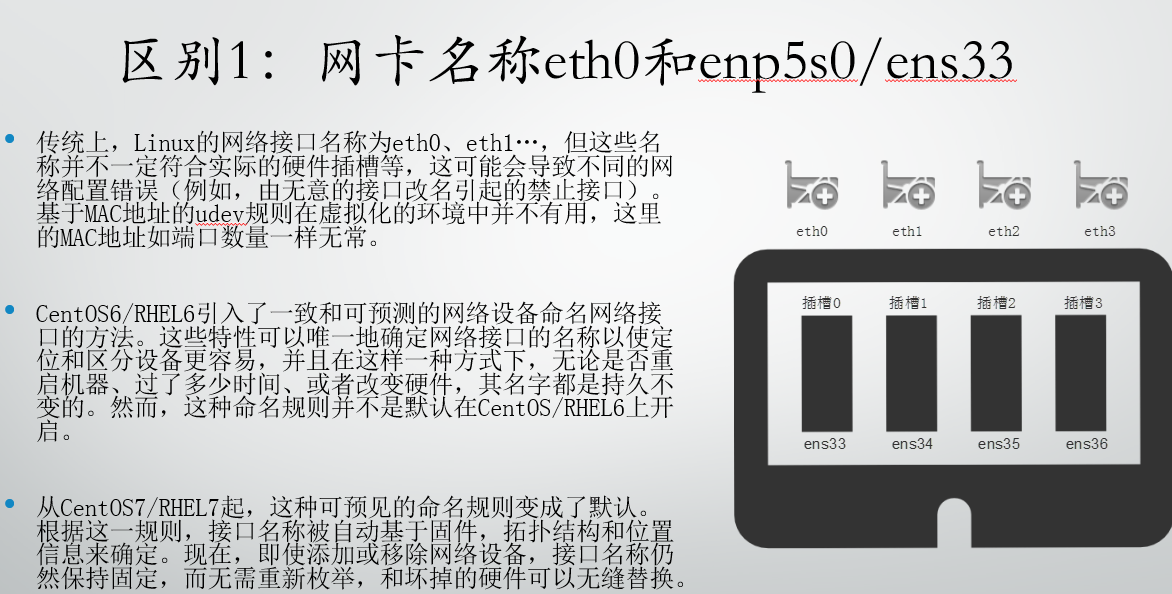
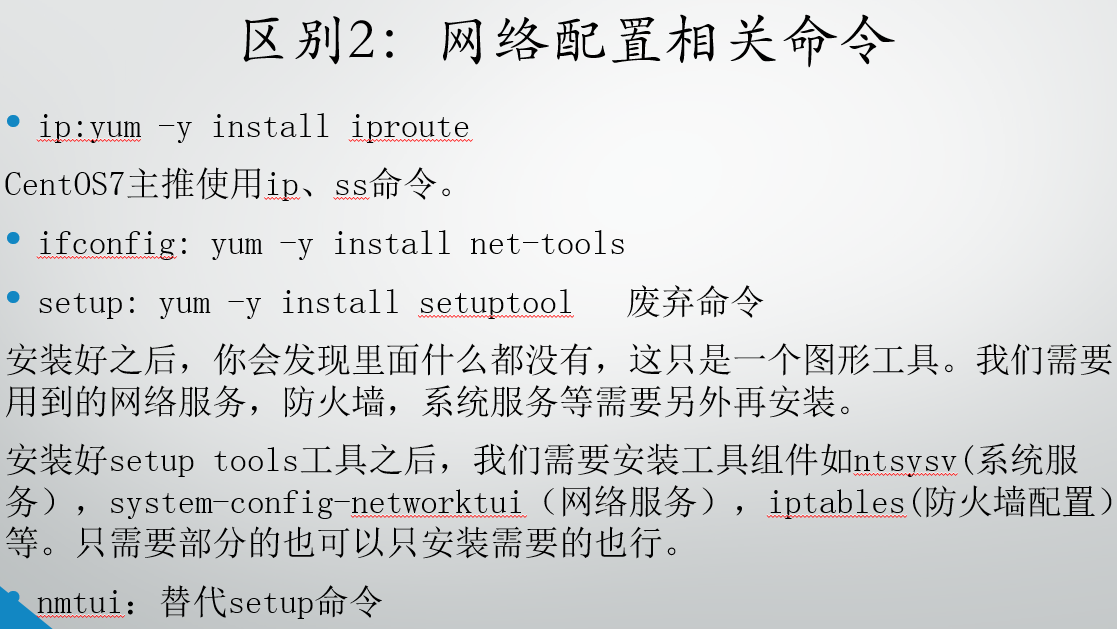
centos 6与7的其他区别


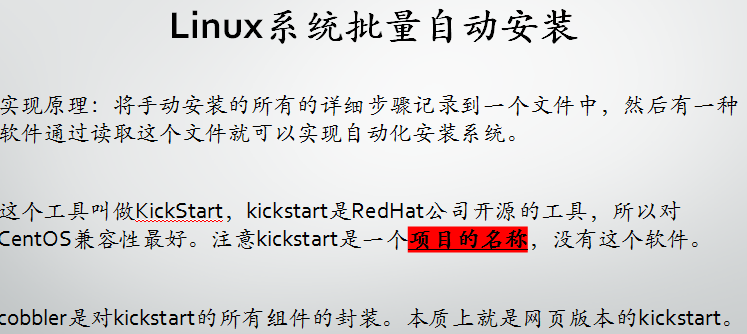
二 自动部署系统
环境准备 克隆主机
==============================================
# cat /etc/redhat-release
CentOS Linux release 7.5.1804 (Core)
# getenforce
Disabled
# systemctl stop NetworkManager
# systemctl disable NetworkManager
# systemctl status NetworkManager 确认关闭及开机不启动
在开启状态时 关闭的网卡不能启动

# hostname -I
10.0.0.201 172.16.1.201
删除网卡的UUID
# vim /etc/sysconfig/network-scripts/ifcfg-eth0
# vim /etc/sysconfig/network-scripts/ifcfg-eth1
再次确认 selinux和firewalld关闭并且开机不自动
#getenforce
# systemctl status firewalld.service
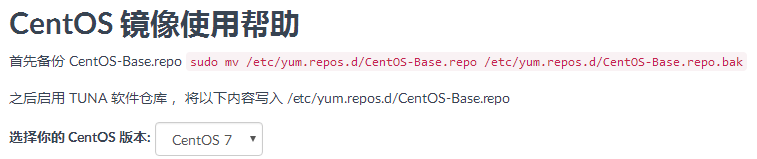
更改yum源 默认阿里源
进入阿里镜像站在centos 帮助里下载相应版本的yum源
wget -O /etc/yum.repos.d/CentOS-Base.repo http://mirrors.aliyun.com/repo/Centos-7.repo
再到epel源帮助里下载相应版本
wget -O /etc/yum.repos.d/epel.repo http://mirrors.aliyun.com/repo/epel-7.repo
#yum clean all 清除缓存
# yum makecache 生成缓存
清华源 找到相应的复制粘贴到文件

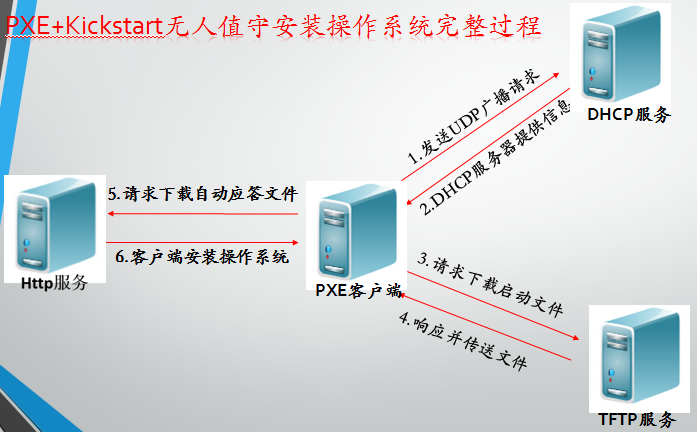
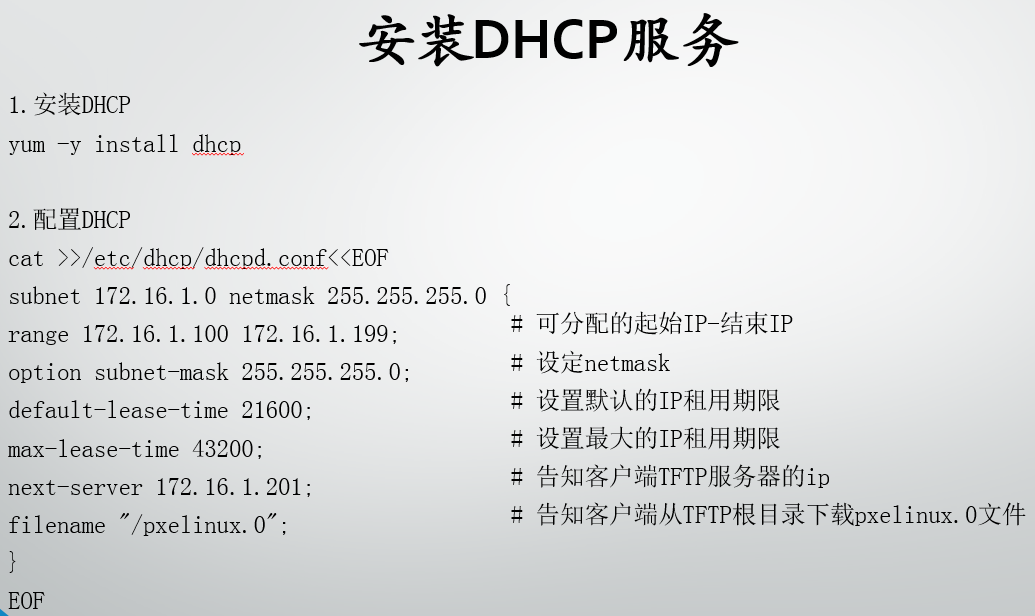
部署DHCP
==============================================
改下主机名# hostnamectl set-hostname kickstart
[root@localhost ~]# cat >>/etc/dhcp/dhcpd.conf<<EOF
subnet 172.16.1.0 netmask 255.255.255.0 {
range 172.16.1.100 172.16.1.199;
option subnet-mask 255.255.255.0;
default-lease-time 21600;
max-lease-time 43200;
next-server 172.16.1.201;
filename "/pxelinux.0";
}
EOF
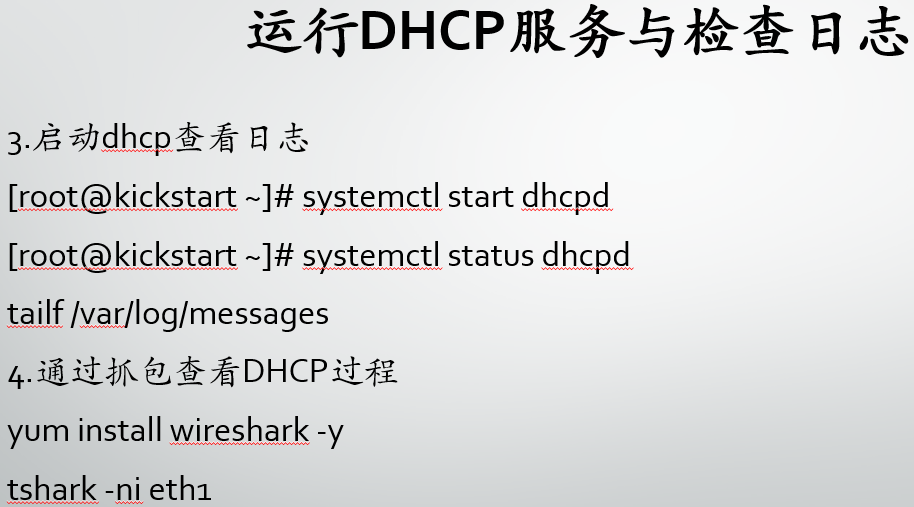
使用之前安装的有172.16.1.0区段的虚拟机进行抓包
安装抓包软件 # yum install wireshark -y
tshark -ni eth1
部署TFTP
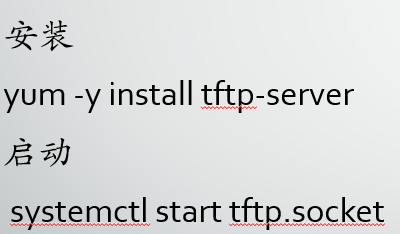
不需要开机启动
重置虚拟机 ,找到了tftp
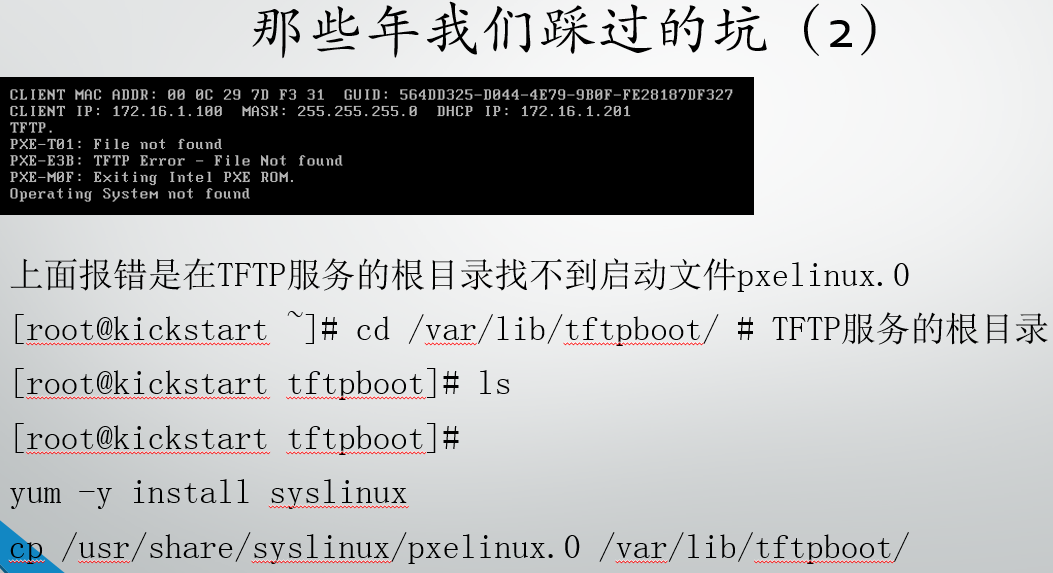

重置虚拟机也找到了pxelinux.0的文件
配置文件在光盘的镜像文件里有
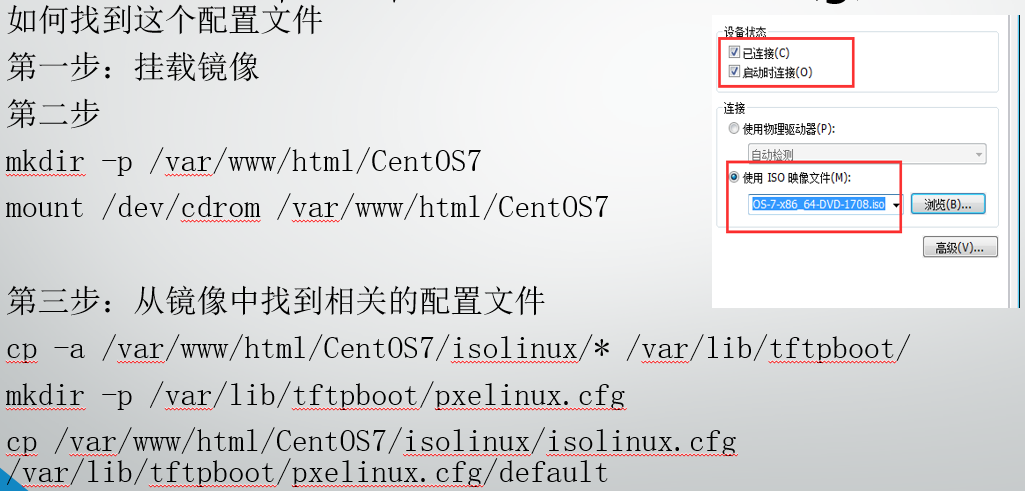

安装http服务

# systemctl is-active httpd.service tftp.socket dhcpd.service
active
active
active
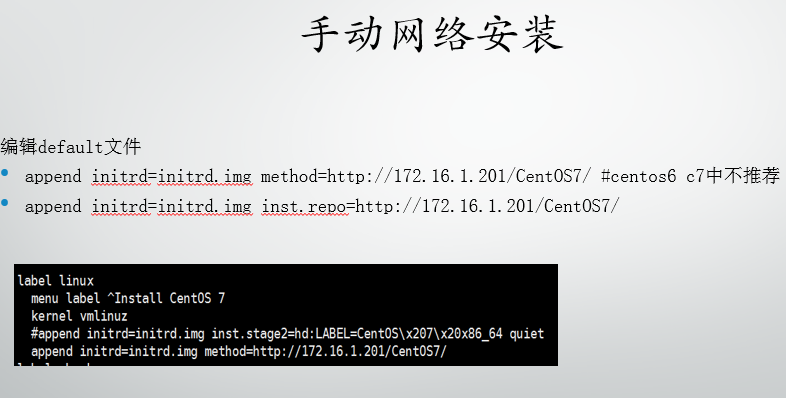
append initrd=initrd.img method=http://172.16.1.201/CentOS7/
append initrd=initrd.img inst.repo=http://172.16.1.201/CentOS7/
只要以下配置就不需要设置内核
append initrd=initrd.img inst.repo=http://172.16.1.201/CentOS7/ net.ifnames=0 biosdevname=0
重置虚拟机开始 安装
自动安装系统
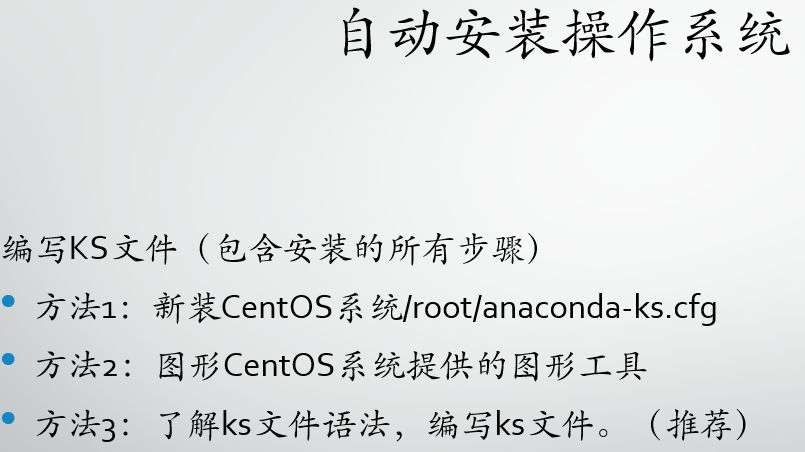
怎么实现自动应答
# vim /var/lib/tftpboot/pxelinux.cfg/default
清空再编写
#oldboyedu centos7 kickstart configure
default oldboy-ks
timeout 50
prompt 0
label oldboy-ks
kernel vmlinuz
append initrd=initrd.img inst.ks=http://172.16.1.201/ks_config/CentOS-7-ks.cfg ksdevice=eth1 net.ifnames=0 biosdevname=0
=============================================
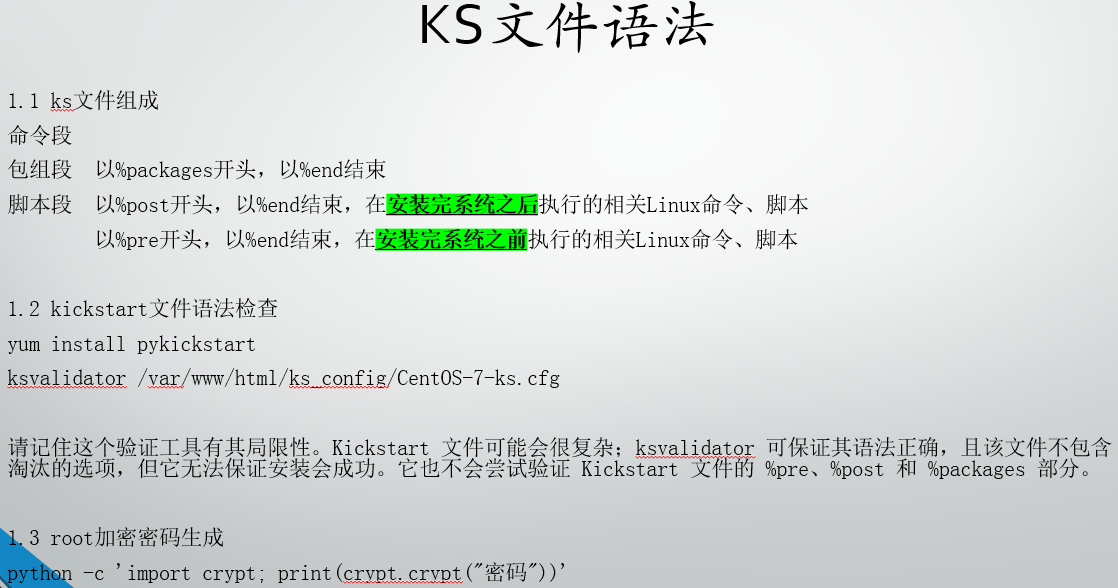
#vim CentOS-7-ks.cfg ip地址进入系统在设置
# Kickstart Configurator for CentOS 7 by yao zhang
install
url --url="http://172.16.1.201/CentOS7/"
text
lang en_US.UTF-8
keyboard us
zerombr
bootloader --location=mbr --driveorder=sda --append="crashkernel=auto rhgb quiet"
network --bootproto=static --device=eth0 --gateway=10.0.0.254 --ip=10.0.0.202 --nameserver=223.5.5.5 --netmask=255.255.255.0 --activate
network --bootproto=static --device=eth1 --ip=172.16.1.202 --netmask=255.255.255.0 --activate
network --hostname=Cobbler
#network --bootproto=dhcp --device=eth1 --onboot=yes --noipv6 --hostname=CentOS7
timezone --utc Asia/Shanghai
authconfig --enableshadow --passalgo=sha512
rootpw --iscrypted $6$X20eRtuZhkHznTb4$dK0BJByOSAWSDD8jccLVFz0CscijS9ldMWwpoCw/ZEjYw2BTQYGWlgKsn945fFTjRC658UXjuocwJbAjVI5D6/
clearpart --all --initlabel
part /boot --fstype xfs --size 1024
part swap --size 1024
part / --fstype xfs --size 1 --grow
firstboot --disable
selinux --disabled
firewall --disabled
logging --level=info
reboot
%packages
@^minimal
@compat-libraries
@debugging
@development
tree
nmap
sysstat
lrzsz
dos2unix
telnet
wget
vim
bash-completion
%end
%post
systemctl disable postfix.service
%end
==========================================================
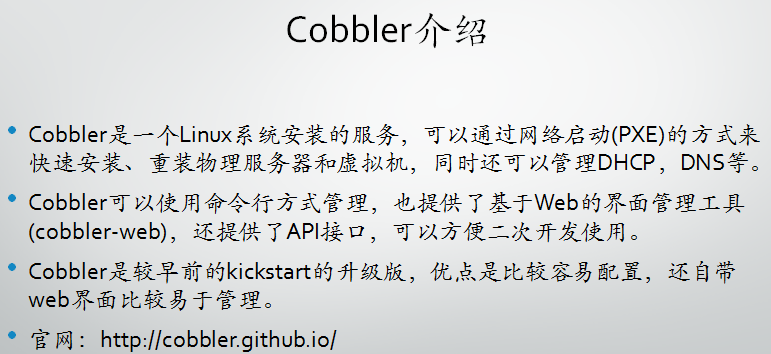
cobbler部署
# vim /etc/sysconfig/network-scripts/ifcfg-eth0
重启# systemctl restart network.service
官网:http://cobbler.github.io
确认epel源
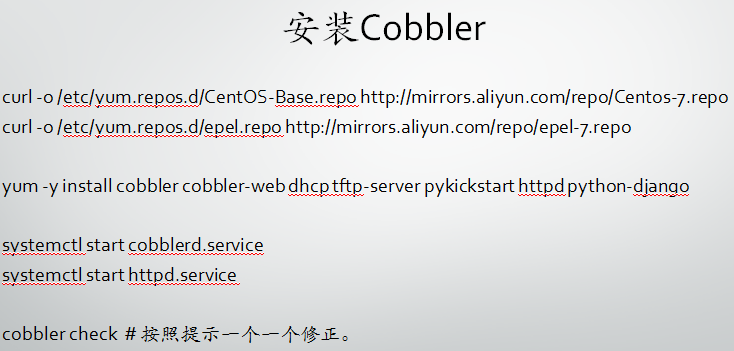
# curl -o /etc/yum.repos.d/CentOS-Base.repo http://mirrors.aliyun.com/repo/Centos-7.repo
# curl -o /etc/yum.repos.d/epel.repo http://mirrors.aliyun.com/repo/epel-7.repo
如果系统是centos6 会有个坑 他会一直安装不上Django14
yum -y install cobbler cobbler-web dhcp tftp-server pykickstart httpd python-django
cobbler-2.8.3-2.el7.x86_64
tftp-server-5.2-22.el7.x86_64
cobbler-web-2.8.3-2.el7.noarch
httpd-2.4.6-80.el7.centos.x86_64
pykickstart-1.99.66.18-1.el7.noarch
dhcp-4.2.5-68.el7.centos.1.x86_64
开启服务
# systemctl start cobblerd.service
# systemctl start httpd.service
cobbler check 检查配置
=====================================================
一
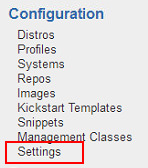
# vim /etc/cobbler/settings
manage_dhcp: 1 改为1表示cobb了让可以管理控制dhcp
# vim /etc/cobbler/dhcp.template 管理cobbler中dhcp默认的配置
subnet 172.16.1.0 netmask 255.255.255.0 {
#option routers 192.168.1.5;
#option domain-name-servers 192.168.1.1;
option subnet-mask 255.255.255.0;
range dynamic-bootp 172.16.1.100 172.16.1.254;
或者
防止吴重装
# sed -i 's/pxe_just_once: 0/pxe_just_once: 1/' /etc/cobbler/settings
配置cobbler同意管理dhcp
#sed -i 's/manage_dhcp: 0/manage_dhcp: 1/' /etc/cobbler/settings
配置dhcp cobbler模板
#sed -i.ori 's#192.168.1#172.16.1#g;22d;23d' /etc/cobbler/dhcp.template
==========================================================
二
配置 改为本机ip # vim /etc/cobbler/settings
server: 172.16.1.202 next_server: 172.16.1.202
==========================================================
三
# vim /etc/xinetd.d/tftp 把yes改为no

==========================================================
四
下载 # cobbler get-loaders
==========================================================
五
开启
# systemctl start rsyncd
# systemctl enable rsyncd
==========================================================
六不管
=========================================================
七
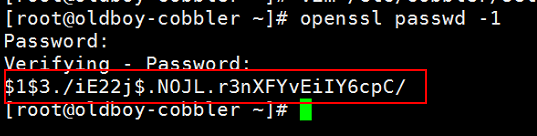
cobbler装机默认的root密码

# openssl passwd -1 把编译好的密码 填入/etc/cobbler/settings
=================================================================
八
fencing tools 工具
=============================================================
cobbler sync 生效之前的配置爱
查看服务状态
# systemctl is-active cobblerd.service httpd.service tftp.socket rsyncd.service


登录
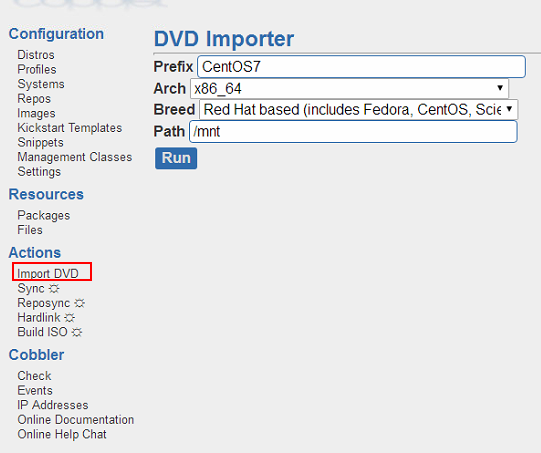
设置名字 导入镜像
确认虚拟机插入了光盘 然后挂载 # mount /dev/cdrom /mnt/
单击 run
单击 Events
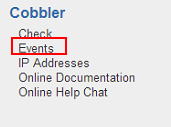

再回头看目录就有了

通过rsync同步过来 直到完成
![]()
===========================================================================
简单的配置
发行版本 修改内核
创建一个新模板 复制粘贴进去
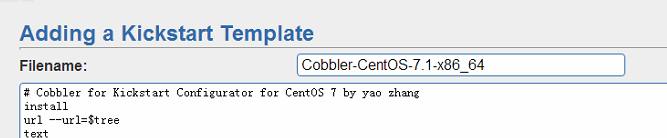
# Cobbler for Kickstart Configurator for CentOS 7 by yao zhang
install
url --url=$tree
text
lang en_US.UTF-8
keyboard us
zerombr
bootloader --location=mbr --driveorder=sda --append="crashkernel=auto rhgb quiet"
#Network information
$SNIPPET('network_config')
#network --bootproto=dhcp --device=eth0 --onboot=yes --noipv6 --hostname=CentOS7
timezone --utc Asia/Shanghai
authconfig --enableshadow --passalgo=sha512
rootpw --iscrypted $default_password_crypted
clearpart --all --initlabel
part /boot --fstype xfs --size 1024
part swap --size 1024
part / --fstype xfs --size 1 --grow
firstboot --disable
selinux --disabled
firewall --disabled
logging --level=info
reboot
%pre
$SNIPPET('log_ks_pre')
$SNIPPET('kickstart_start')
$SNIPPET('pre_install_network_config')
# Enable installation monitoring
$SNIPPET('pre_anamon')
%end
%packages
@^minimal
@compat-libraries
@core
@debugging
@development
bash-completion
chrony
dos2unix
kexec-tools
lrzsz
nmap
sysstat
telnet
tree
vim
wget
%end
%post
systemctl disable postfix.service
%end
==============================================================
关联模板


配置自动安装
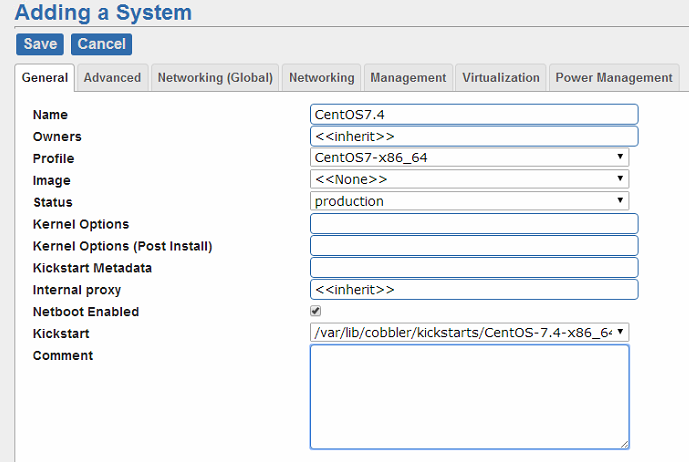
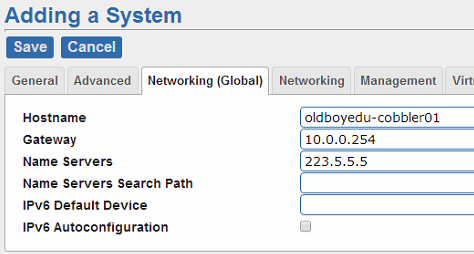
然后主机名 网关
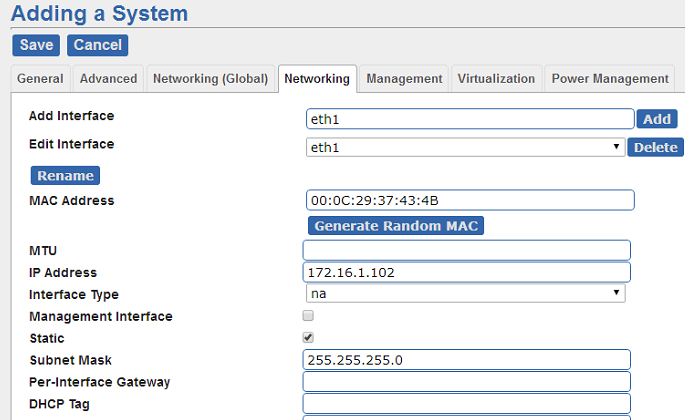
添加网卡 需要单击add 不然后面选不了na静态
MAC地址在虚拟机硬件中高级里复制过来
生效配置

点一下 sync
然后创建虚拟机 自动安装