不问anaconda是什么,只问anaconda里有什么。anaconda 里有python、numpy等科学计算库,可以方便安装 pytorch、tensorflow等深度学习库,可以创建虚拟环境。
1. 安装anaconda
操作系统为 Fedora workstation 29 x86_64
下载个人版 https://repo.anaconda.com/archive/Anaconda3-2021.05-Linux-x86_64.sh 根据提示安装,设置安装位置等。
如何查看安装是否成功?可以使用conda list | grep numpy,如果运行成功且能看到numpy 库,说明安装成功。
1.1 激活conda环境
如果激活conda环境?安装脚本默认往~/.bashrc里写入激活脚本,
# >>> conda initialize >>>
# !! Contents within this block are managed by 'conda init' !!
__conda_setup="$('/home/software/anaconda3/bin/conda' 'shell.bash' 'hook' 2> /dev/null)"
if [ $? -eq 0 ]; then
    eval "$__conda_setup"
else
    if [ -f "/home/software/anaconda3/etc/profile.d/conda.sh" ]; then
        . "/home/software/anaconda3/etc/profile.d/conda.sh"
    else
        export PATH="/home/software/anaconda3/bin:$PATH"
    fi
fi
unset __conda_setup
# <<< conda initialize <<<
使用source ~/.bashrc即可自动激活
如果取消自动激活需要使用conda config --set auto_activate_base false 修改~/.condarc
show_channel_urls: true
channels:
  - https://mirrors.tuna.tsinghua.edu.cn/anaconda/pkgs/main/
  - https://mirrors.tuna.tsinghua.edu.cn/anaconda/pkgs/free/
  - defaults
auto_activate_base: false
手动激活运行 conda activate 终端bash界面命令行会显示
(base) [user@localhost anaconda3]$ conda activate
(base) [user@localhost anaconda3]$
这时如果运行 python 则显示为 anaconda 里的python 版本
(base) [user@localhost anaconda3]$ python
Python 3.8.8 (default, Apr 13 2021, 19:58:26)
[GCC 7.3.0] :: Anaconda, Inc. on linux
Type "help", "copyright", "credits" or "license" for more information.
>>>
使用 conda deactivate手动进行退出。
1.2 修改镜像源
conda config --add channels https://mirrors.tuna.tsinghua.edu.cn/anaconda/pkgs/free/
conda config --add channels https://mirrors.tuna.tsinghua.edu.cn/anaconda/pkgs/main/
conda config --set show_channel_urls yes
为了保证使用的是tsinghua的源,可以把~/.condarc中的 - defaults删掉。
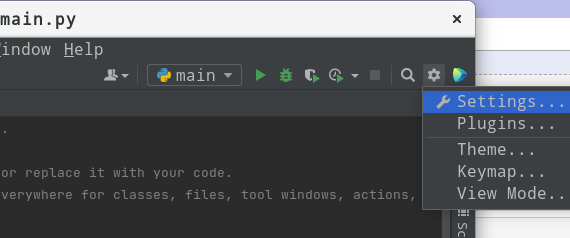
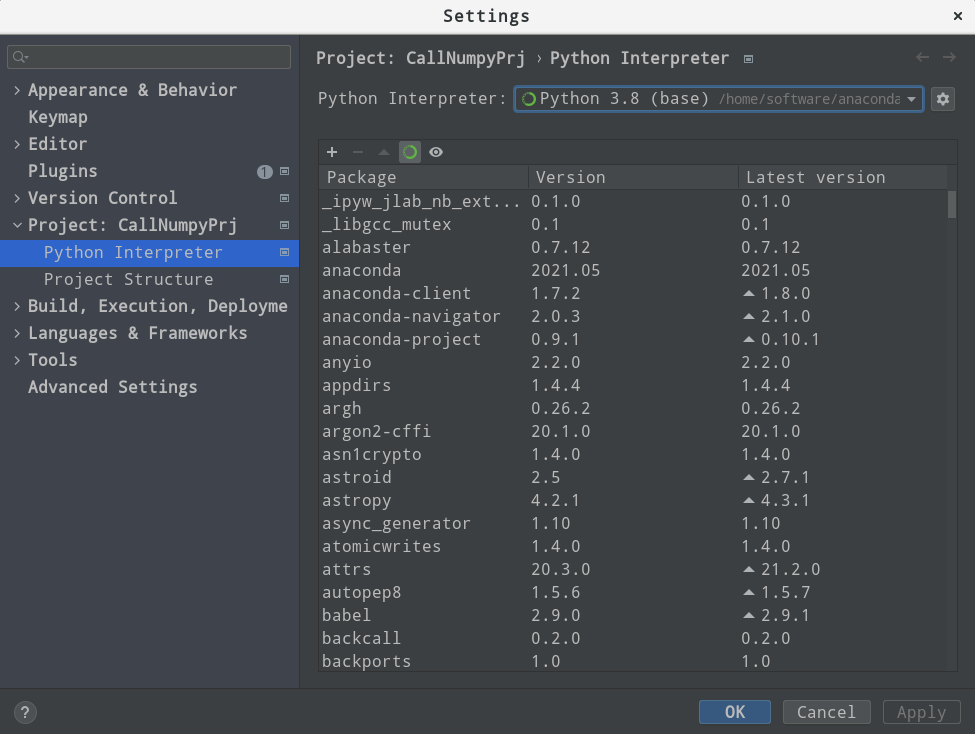
1.3 pycharm 使用 anaconda
PyCharm 2021.2 (Professional Edition)
Build #PY-212.4746.96, built on July 27, 2021
在项目中设置 anaconda 里的python环境。
1.4 pycharm 中运行示例
点击查看代码
# This is a sample Python script.

# Press Shift+F10 to execute it or replace it with your code.
# Press Double Shift to search everywhere for classes, files, tool windows, actions, and settings.

import numpy as np


def print_hi(name):
    # Use a breakpoint in the code line below to debug your script.
    a = np.arange(15).reshape(3, 5)
    print(a)
    print(f'Hi, {name}')  # Press Ctrl+F8 to toggle the breakpoint.


# Press the green button in the gutter to run the script.
if __name__ == '__main__':
    print_hi('PyCharm')

# See PyCharm help at https://www.jetbrains.com/help/pycharm/
2. 安装科学计算库
先看conda list 默认是否安装。这里安装了 numpy 1.20.1, scikit-learn 0.24.1, scipy 1.6.2, pandas 1.2.4.
2.1 安装 pytorch cpu 版本
https://pytorch.org/ 提供了安装命令
conda install pytorch torchvision torchaudio cpuonly -c pytorch
成功安装 pytorch 1.9.1 cpu-only
示例程序:
[user@localhost anaconda3]$ conda activate
(base) [user@localhost anaconda3]$ python
Python 3.8.8 (default, Apr 13 2021, 19:58:26)
[GCC 7.3.0] :: Anaconda, Inc. on linux
Type "help", "copyright", "credits" or "license" for more information.
>>> import torch
>>> import numpy as np
>>> data = [[1, 2],[3, 4]]
>>> x_data = torch.tensor(data)
>>> print(x_data)
tensor([[1, 2],
        [3, 4]])
>>>
2.2 安装 tensorflow cpu 版本
https://www.tensorflow.org/ 没有提供 conda 的安装命令,使用 https://anaconda.org/anaconda/tensorflow 的命令:
conda install -c anaconda tensorflow
示例程序一:
[user@localhost anaconda3]$ conda activate
(base) [user@localhost anaconda3]$ python
Python 3.8.8 (default, Apr 13 2021, 19:58:26)
[GCC 7.3.0] :: Anaconda, Inc. on linux
Type "help", "copyright", "credits" or "license" for more information.
>>> import tensorflow as tf
>>> from tensorflow import keras as ks
>>> print("TensorFlow version:", tf.__version__)
>>> print("Keras version:", ks.__version__)
>>>
import tensorflow as tf

mnist = tf.keras.datasets.mnist

(x_train, y_train), (x_test, y_test) = mnist.load_data()
x_train, x_test = x_train / 255.0, x_test / 255.0

model = tf.keras.models.Sequential([
  tf.keras.layers.Flatten(input_shape=(28, 28)),
  tf.keras.layers.Dense(128, activation='relu'),
  tf.keras.layers.Dropout(0.2),
  tf.keras.layers.Dense(10, activation='softmax')
])

model.compile(optimizer='adam',
              loss='sparse_categorical_crossentropy',
              metrics=['accuracy'])

model.fit(x_train, y_train, epochs=5)

model.evaluate(x_test,  y_test, verbose=2)
[1] https://docs.anaconda.com/anaconda/install/linux/
[2] https://askubuntu.com/questions/1026383/why-does-base-appear-in-front-of-my-terminal-prompt
[3] https://stackoverflow.com/questions/55171696/how-to-remove-base-from-terminal-prompt-after-updating-conda
[4] https://zhuanlan.zhihu.com/p/348120084