一、安装并配置必要的依赖关系
首先要在CentOS系统上面安装所需的依赖:ssh、防火墙、postfix(用于邮件通知)、wegt,以下这些命令也会打开系统防火墙中的HTTP和SSH端口访问。
1、安装SSH协议
yum install -y curl policycoreutils-python openssh-server
2、设置SSH服务开机自启动
systemctl enable sshd
3、启动SSH服务
systemctl start sshd
4、安装防火墙
yum install firewalld systemd -y
5、开启防火墙
service firewalld start
6、添加HTTP服务到firewalld
firewall-cmd --permanent --add-service=http
其中,pemmanent表示永久生效,若不加--permanent系统下次启动后就会失效。
7、重启防火墙
systemctl reload firewalld
8、安装Postfix以发送邮件
yum install postfix
9、将postfix服务设置成开机自启动
systemctl enable postfix
10、启动postfix
systemctl start postfix
11、安装wget和vim
yum -y install wget vim
二、添加GitLab镜像源并安装gitlab服务器
1、添加gitlab镜像
wget https://mirrors.tuna.tsinghua.edu.cn/gitlab-ce/yum/el7/gitlab-ce-10.5.7-ce.0.el7.x86_64.rpm

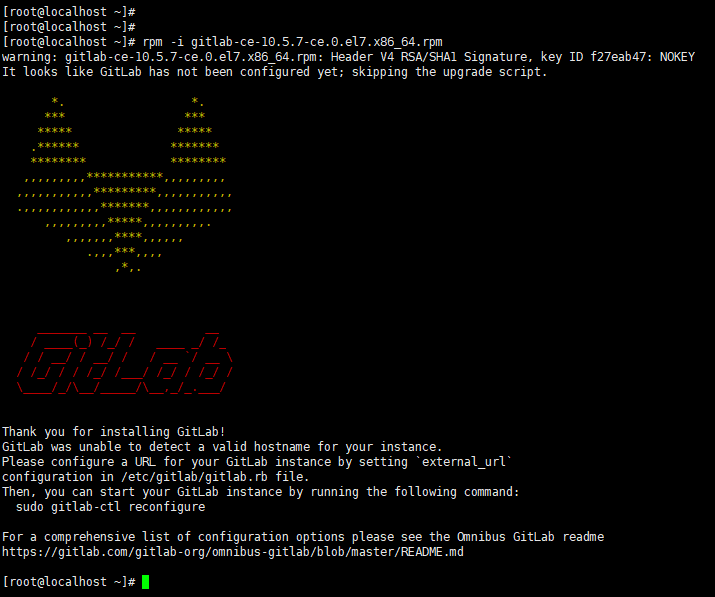
2、安装Gitlab
rpm -i gitlab-ce-10.5.7-ce.0.el7.x86_64.rpm

安装过程会需要一些时间,如果出现下图所示的界面,则表示Gitlab安装成功:
3、修改gitlab配置文件指定服务器ip和自定义端口:
命令:vim /etc/gitlab/gitlab.rb

然后进入编辑器,这是输入小写的“i”进入编辑模式:

按Esc键退出编辑模式,然后输入命令“:wq”保存并退出。

4、将9090端口添加到防火墙中
firewall-cmd --zone=public --add-port=9090/tcp --permanent

5、重启防火墙
systemctl reload firewalld

6、重置gitlab
gitlab-ctl reconfigure
重置过程会需要一段时间:
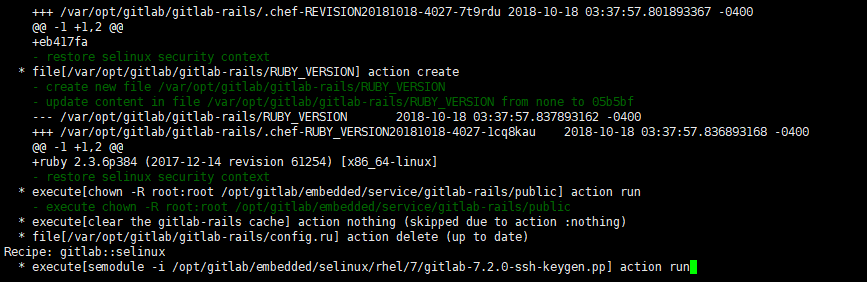
出现如下的界面表示重置成功:

7、启动gitlab
gitlab-ctl restart
8、初始化获取账号密码
a、 切换目录:cd /opt/gitlab/bin

b、gitlab-rails console production 命令 开始初始化密码

c、 u=User.where(id:1).first

d、u.password='12345678'设置密码

e、u.password_confirmation='12345678' 再次确认密码

f、u.save!    进行保存(切记切记 后面的 !)

g、如果看到 true ,恭喜你已经成功了