在当前项目目录下,使用Angular-CLI生成一个组件:heroes
ng generate component heroes
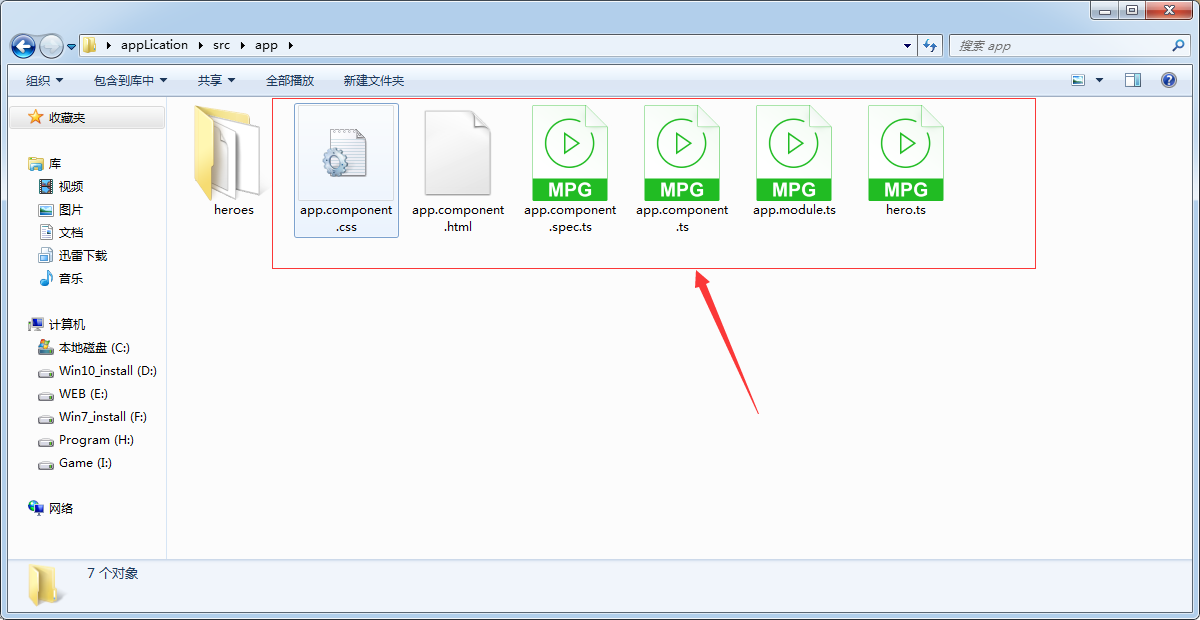
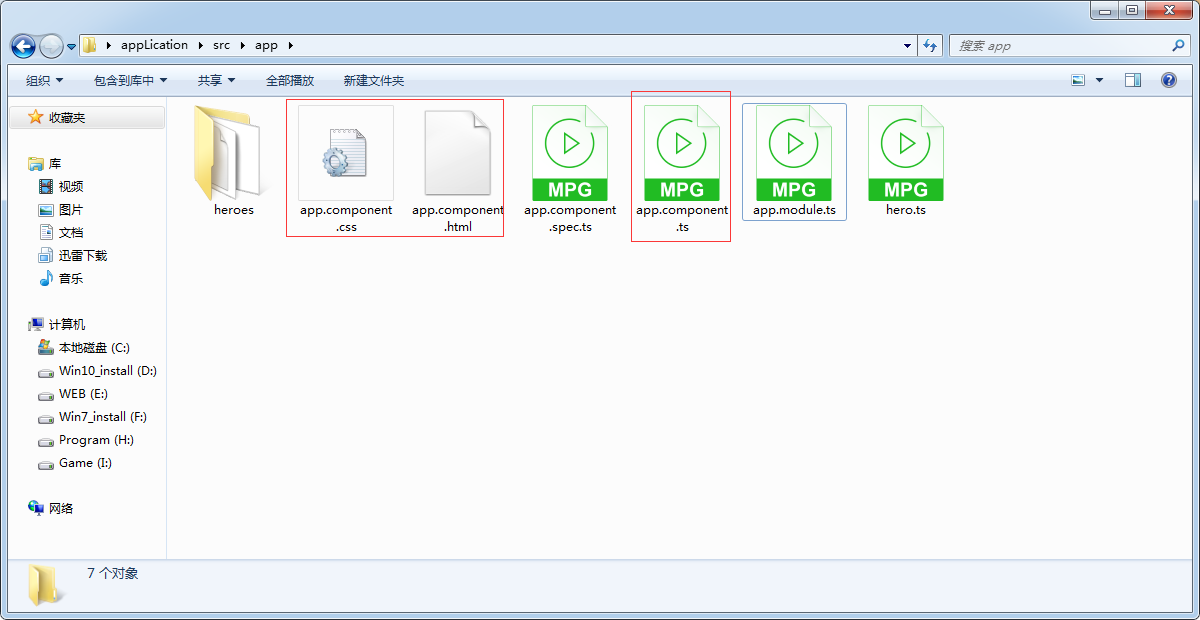
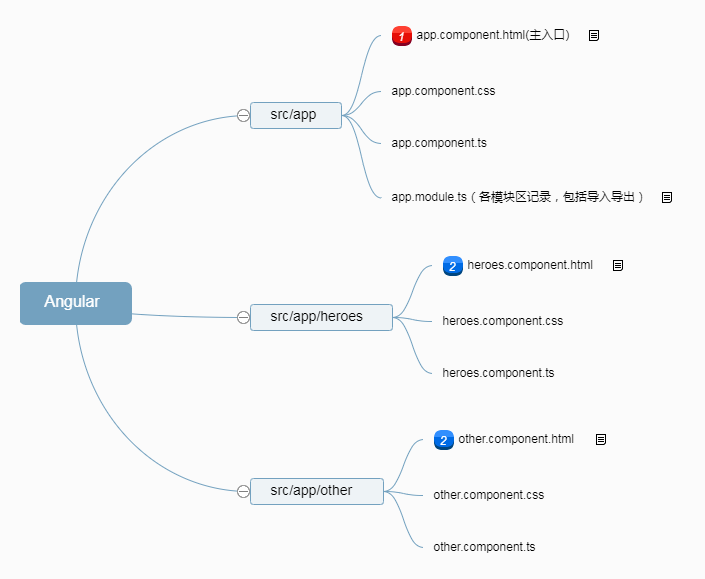
主界面(也就是一个主模块+多个单模块,例如我们创建的heroes(单模块也有自己的htmlcss s文件,可以在主页面导入它的视图)):
//类似CSS
app.component.css
//类似HTML
app.component.html
//TypeScript
app.component.ts
//app.component.html
<!--
  1.这里和普通的HTML文件差不多,只不过多了模板变量
  2.{{value}},双花括号是Angular的插值绑定语法。此插值绑定title在HTML标头标签内呈现组件的属性值。
 -->
<div class="inCenter">
    <h1>
        Welcome to {{ head }}!
    </h1>
</div>

<!-- 显示 HeroesComponent视图 -->
<app-heroes></app-heroes>
//app.component.css
.inCenter {
    text-align: center;
    color: #f00;
}
//app.component.ts
import { Component } from '@angular/core';

@Component({
  // selector:选择器
  selector: 'app-root',
  // 模板地址
  templateUrl: './app.component.html',
  // 样式地址(数组)
  styleUrls: ['./app.component.css']
})
export class AppComponent {
  title = 'fcuk';
  head =  '66s';
}
//app.module.ts
/*
Angular需要知道应用程序的各个部分如何组合在一起以及应用程序需要哪些其他文件和库。这些信息被称为元数据
一些元数据位于您添加到组件类的装饰器中。其他关键元数据在装饰器中。@Component@NgModule
最重要的装饰器注释顶级AppModule类。@NgModule
Angular CLI AppModule在src/app/app.module.ts创建项目时生成了一个类。这是你选择进入的地方FormsModule。
**/


// 1.导入模块
import { BrowserModule } from '@angular/platform-browser';
import { FormsModule } from '@angular/forms'; // <-- NgModel 在这里
import { NgModule } from '@angular/core';

// 2.导入组件
import { AppComponent } from './app.component';
import { HeroesComponent } from './heroes/heroes.component';


@NgModule({

  /**
   * AppModule 声明这两个应用程序组件,AppComponent和HeroesComponent。
   */
  declarations: [
    AppComponent,
    HeroesComponent
  ],
  imports: [
    BrowserModule,
    /**
     * 然后添加FormsModule到元数据的数组中,
     * 其中包含应用程序需要的外部模块列表。@NgModuleimports
     */

     /**
      * 每个组件必须在一个 NgModule中声明。
      * 你没有声明HeroesComponent。那么,为什么该应用程序工作?
      * 它的工作原因是Angular CLI HeroesComponent在AppModule它生成该组件时进行了声明。
      * 打开src/app/app.module.ts并HeroesComponent在顶部附近找到导入。
      */
    FormsModule
  ],
  providers: [],
  bootstrap: [AppComponent]
})
export class AppModule { }
//hero.ts
// 这个是创建的Hero类
export class Hero{
    id: number;
    name: string;
}
/heroes/heroes.component.html

<p>
    heroes works{{hero}}!
</p>

<!-- 显示对象值 -->

<!-- 格式与 UppercasePipe,你可以创建你自己的格式化字符串、货币金额、日期等 -->
<h2>{{ hero.name | uppercase }} Details</h2>
<div><span>id: </span>{{hero.id}}</div>
<div><span>name: </span>{{hero.name}}</div>


<div>
    <label>name:
    <input [(ngModel)]="hero.name" placeholder="name">
  </label>
</div>
/heroes/heroes.component.css
heroes/heroes.component.ts
import { Component, OnInit } from '@angular/core';

// 表单模块
// import { FormsModule } from '@angular/forms';
// 导入组件hero.js
import { Hero } from '../hero';

@Component({
  //组件的CSS元素选择器
  //在CSS元素选择, 'app-heroes'是相匹配的标识父组件模板内此组件的HTML元素的名称
  selector: 'app-heroes',
  //组件模板文件的位置
  templateUrl: './heroes.component.html',
  //组件的私有CSS样式的位置
  styleUrls: ['./heroes.component.css']
})
export class HeroesComponent implements OnInit {

  // Hero对象值
  hero: Hero = {
    id: 1,
    name: 'Windstorm'
  }
  constructor() { }

  //这ngOnInit是一个生命周期钩子 Angular ngOnInit在创建组件后立即调用。这是放置初始化逻辑的好地方
  ngOnInit() {
  }

}