1、安装Gitlab
Gitlab分为社区版和企业版(收费),这里安装的是ce社区版本
方式一:
Gitlab官方有提供好的rpm包仓库,所以采用yum安装即可。
[root@localhost ~]# curl -s https://packages.gitlab.com/install/repositories/gitlab/gitlab-ce/script.rpm.sh | sudo bash #添加yum源
[root@localhost ~]# yum makecache #更新yum缓存
[root@localhost ~]# yum install gitlab-ce #默认安装最新版;还可以yum install gitlab-ce-x.x.x指定版本来安装
方式二:
如果官方提供的源下载比较慢,可以采用国内镜像源如清华的(https://mirrors.tuna.tsinghua.edu.cn/gitlab-ce/yum/el7/)来安装
[root@localhost ~]# vim /etc/yum.repos.d/gitlab-ce.repo
[gitlab-ce]
name=Gitlab
baseurl=https://mirrors.tuna.tsinghua.edu.cn/gitlab-ce/yum/el$releasever/
gpgcheck=0
enabled=1
[root@localhost ~]# yum makecache
[root@localhost ~]# yum -y install gitlab-ce
gitlab主要目录:
/var/opt/gitlab/git-data/repositories/:库默认存储目录
/opt/gitlab/:应用代码和相应的依赖程序
/var/opt/gitlab/:gitlab-ctl reconfigure命令编译后的应用数据和配置文件,不需要人为修改配置
/etc/gitlab:配置文件目录
/var/log/gitlab:此目录下存放了gitlab各个组件产生的日志
/var/opt/gitlab/backups/:备份文件生成的目录
2、修改配置
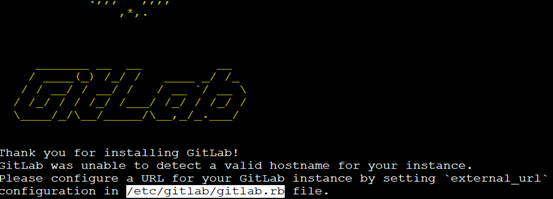
安装后,按照提示修改配置文件中的url地址为本地服务器的地址:
[root@localhost ~]# vim /etc/gitlab/gitlab.rb
external_url 'http://192.168.100.161'
[root@localhost ~]# gitlab-ctl reconfigure #重新加载配置
浏览器访问:
浏览器访问,第一次登录需要设置密码(不小于8位),登陆用户名为root
gitlab常用命令:
gitlab-ctl start # 启动所有 gitlab 组件;
gitlab-ctl stop # 停止所有 gitlab 组件;
gitlab-ctl restart # 重启所有 gitlab 组件;
gitlab-ctl reconfigure # 启动服务;
vim /etc/gitlab/gitlab.rb # 修改默认的配置文件;
gitlab-rake gitlab:check SANITIZE=true --trace # 检查gitlab;
gitlab-ctl status # 查看服务状态;
gitlab-ctl tail nginx # 查看日志;