开始:
Mongo Shell
安装后,输入mongo进入控制台:
//所有帮助
> help
//数据库的方法
> db.help()
> db.stats()  //当前数据库的状态,包括collections属性,显示有多少个。

> show dbs  //显示所有的数据库
Insert Document
使用控制台insert和执行查询语法:
db.inventory.insertMany({
   { item: "journal", qty: 25, status: "A",
       size: { h: 14, w: 21, uom: "cm" }, tags: [ "blank", "red" ] }
})
db.collection.insertOne()
Query Document
例子:
db.inventory.find({status: "D"})
查询嵌套属性: "field.field": value
db.inventory.find( { "size.uom": "cm" } )
查询在数组中的一个元素: filed:value之一
db.inventory.find({tags: "red"})
查询一个数组:
db.inventory.find( { tags: ["red", "blank"] } )
Databases and Collections
MongoDB在collections内存储数据记录,BSON documents等;
collections则存在于数据库内。
Database
选择一个数据库:
use myDB
创建一个数据库
use myNewDB

db.myNewCollection1.insertOne({x: 1})

解释:
如果myNewDB不存在,当你第一次向这个数据库存入数据时,就会创建这个数据库。
因此,你可以使用use方法切换到一个不存在的数据库,然后执行插入数据的操作,在mongo shell.

insertOne方法创建了数据库myNewDB,同时也创建了collection:  myNewCollection1(如果它们不存在)
Collections
MongoDB在collections内存储documents。
collections 类似关系数据库的table。
//如果collection不存在,则第一次存入数据时创建它。
db.myNewCollection2.insertOne({ x: 1})
明确的创建
主要用于设置一些选项。
// 明确创建一个collection
// 可以设置一些选项:最大的size, documentation validatin rules。
// 如果你不指定这些选项,就没必要使用这个方法了
db.createCollection()
Document Validation(version3.2新功能)
一般来说collection无需要它的documents有相同的结构。
即在一个collection内,documents不需要有相同的fields和数据类型。
mongoDB是一个非关系性的数据库。
但,3.2version 增加了这个验证功能See Schema Validation for details.
修改Document Structure
可以改变一个collection内的documents的结构,包括增加新fields, remove fields,或者改变field的值。
Views(new in version3.4)
支持创建只读的views。 从existing collections或者其他views创建。
Documents
相当于关系型数据库的每条记录。
MongoDB储存数据记录的格式是 BSON.
BSON is a binary representation of JSON documents, 比JSON的数据类型多。
See also BSON Types.
{
   field1: value1,
   field2: value2,
   field3: value3,
   ...
   fieldN: valueN
}
一个filed的值可以是任何形式的BSON数据类型:
var mydoc = {
               _id: ObjectId("5099803df3f4948bd2f98391"),
               name: { first: "Alan", last: "Turing" },
               birth: new Date('Jun 23, 1912'),
               death: new Date('Jun 07, 1954'),
               contribs: [ "Turing machine", "Turing test", "Turingery" ],
               views : NumberLong(1250000)
            }
contribes是array of strings的数据类型。
filed names是字符串, 不能有null, 顶级的filed name不能以$开始
Dot标记
MongoDB使用dot来存取一个array的元素, 或者一个嵌套的document(hash)的field。
BSON Types
https://docs.mongodb.com/manual/reference/bson-types/
摘录:
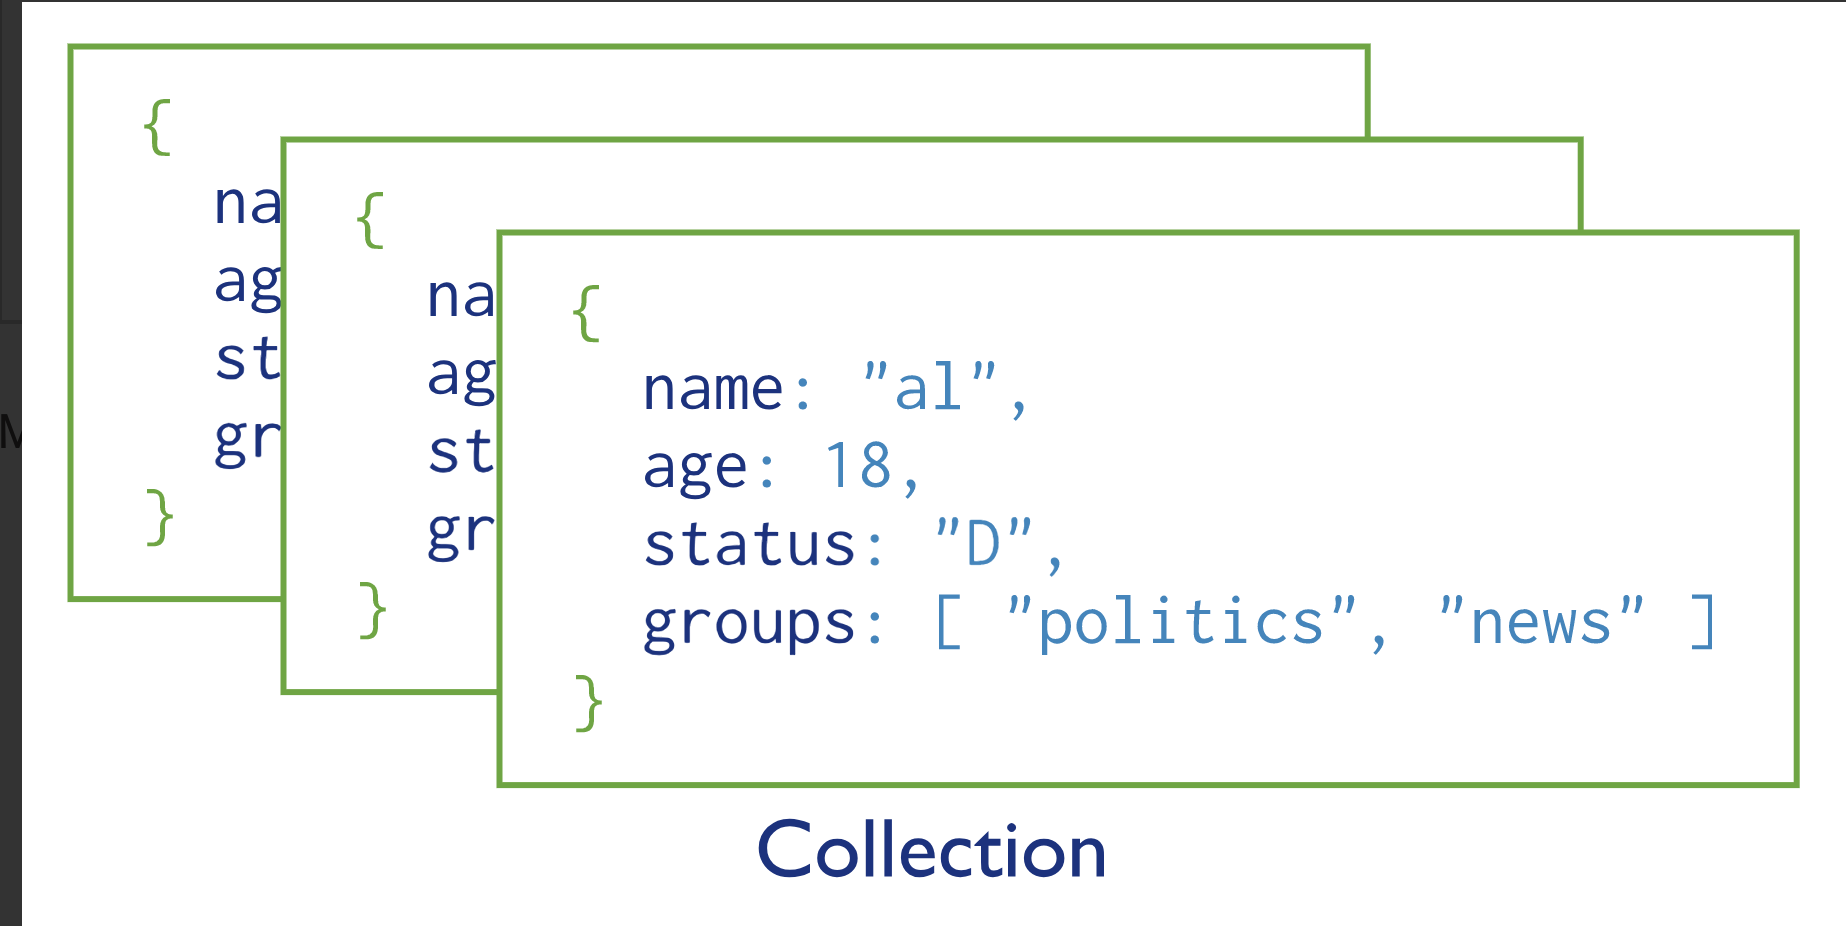
MongoDB的数据结构
Start Thinking in JSON
While a table might seem like a good place to store data, as you can see from the example above, there are fields in this data set that require multiple values and would not be easy to search or display if modeled in a single column (for example – size and tags).
In a SQL database you might solve this problem by creating a relational table.
In MongoDB, data is stored as documents. These documents are stored in MongoDB in JSON (JavaScript Object Notation) format.
JSON documents support embedded fields, so related data and lists of data can be stored with the document instead of an external table.
可嵌套的fileds数据结构解决了相关的数据的查询。和关系型数据库不一样。
一个JSON document
{"name": "notebook", "qty": 50}
一个完成的JSON document:
rating, tags,无需像关系型数据库那样,单独使用一个table,然后设置外键,主键, 进行表的关联。
{
 "name": "notebook",
 "qty": 50,
 "rating": [ { "score": 8 }, { "score": 9 } ],
 "size": { "height": 11, "width": 8.5, "unit": "in" },
 "status": "A",
 "tags": [ "college-ruled", "perforated"]
}
安装
见之前的博客,或者
看guide: 3种系统的安装手册:
https://docs.mongodb.com/guides/server/install/
Enable Authentication on MongoDB
https://docs.mongodb.com/guides/server/auth/
This guide describes how to enable authentication on your local MongoDB instance.
创建用户账号。
1.check your Environment!
ps | grep 'mongod'

//如果一个mongod instance正在运行,会看到
//89780 ttys026
在控制台开启一个实例:
mongo
//mongo --host <HOSTNAME> --port <PORT>
创建一个全权限的管理员:
db.createUser(
...   {
...     user: "myUserAdmin",
...     pwd: "abc123",
...     roles: [ { role: "userAdminAnyDatabase", db: "admin" } ]
...   }
... )
Successfully added user: {
    "user" : "myUserAdmin",
    "roles" : [
        {
            "role" : "userAdminAnyDatabase",
            "db" : "admin"
        }
    ]
}
创建一个普通的用户:
> use admin
//switched to db admin
> db.createUser(
... {
...   user: 'userreadwrite',
...   pwd: 'abc123',
...   roles: [{ role: 'readWriteAnyDatabase', db: "admin"}]
... }
... )
//Successfully added user: {
    "user" : "userreadwrite",
    "roles" : [
        {
            "role" : "readWriteAnyDatabase",
            "db" : "admin"
        }
    ]
}
检查你的users:
> show users
{
    "_id" : "admin.myUserAdmin",
    "user" : "myUserAdmin",
    "db" : "admin",
    "roles" : [
        {
            "role" : "userAdminAnyDatabase",
            "db" : "admin"
        }
    ],
    "mechanisms" : [
        "SCRAM-SHA-1",
        "SCRAM-SHA-256"
    ]
}
{
    "_id" : "admin.userreadwrite",
    "user" : "userreadwrite",
    "db" : "admin",
    "roles" : [
        {
            "role" : "readWriteAnyDatabase",
            "db" : "admin"
        }
    ],
    "mechanisms" : [
        "SCRAM-SHA-1",
        "SCRAM-SHA-256"
    ]
}
退出mongo shell
重启MongoDB实例,必须加上-auth选项。
mongod --dbpath <path to data directory> --auth
登陆mongo shell使用选项:
本例子:
mongo -u userreadwrite -p abc123
mongo -h:得到的参数
Authentication Options:
  -u [ --username ] arg               username for authentication
  -p [ --password ] arg               password for authentication
  --authenticationDatabase arg        user source (defaults to dbname)
  --authenticationMechanism arg       authentication mechanism
  --gssapiServiceName arg (=mongodb)  Service name to use when authenticating
                                      using GSSAPI/Kerberos
  --gssapiHostName arg                Remote host name to use for purpose of
                                      GSSAPI/Kerberos authentication
Connect to MongoDB
选择开发类型deployment type: cloud云, local本地
选择客户端:shell:
Mongo Shell, Compass, node.js, 等待
使用本地开发,用Mongo Shell:
为了能够连接到MongoDB, 你需要使用a URI string, 类似URL。
当连接到一个MongoDB deployment, 它作为参数提供给mongo shell,Compass,和MongoDB drivers.
如果你已经建立了一个user, 就可以使用这个用户名和密码连接:
运行下面的代码
$ mongod --auth  //会打开一个数据库实例,这实例要求有用户验证。

//在另一个新窗口输入:
// mongo mongodb://$[hostlist]/$[database]?authSource=$[authSource] --username $[username]
$ mongo mongodb://localhost -u userreadwrite
//MongoDB shell version v4.0.5
//Enter password:  //输入密码
//connecting to: mongodb://localhost:27017/?gssapiServiceName=mongodb
//Implicit session: session { "id" : UUID("8c9cb343-e27c-43fa-aa28-e20097d1fabc") }
//MongoDB server version: 4.0.5
>
使用插入语法:
mongo mongodb://localhost
$ use test

//插入一条语句:
//如果不提供_id field, MongoDB会增加_id field,值是一个ObjectId value。

> db.inventory.insertOne(
... {
...   "item": "canvas",
...   "qyt": 122,
...   "tags": ["cotton"],
...   "size": {"height": 28, "width": 22.4, "uom": "cm"}
... }
... )
//{
//    "acknowledged" : true,
//    "insertedId" : ObjectId("5c3ee8571b8c6250d59a4389")
//}
- 和SQL tables不一样, MongoDB collections有动态的结构。一个单一的collection可以储存不同结构的documents。
- 和SQL不一样,不需要DDL operation 来增加或者移除fields或者修改field types。你可以直接update documents。
使用NODE.JS连接到你的数据库实例:
首先,安装node.js客户端,和driver:Node.js Driver documentation
然后,得到你的MongoDB connection string(URI)
然后,在一个脚本写代码:
如果想要使用user登陆,见下面代码:
//控制台
$ mongod --auth
Node.js脚本:
const MongoClient = require('mongodb').MongoClient;
const assert = require('assert');

// Connection URL语法结构:
//const url = 'mongodb://$[username]:$[password]@$[hostlist]/$[database]?authSource=$[authSource]';
const url = `mongodb://userreadwrite:abc123@${dbHost}:${dbPort}`;

// 使用MongoClient的类方法connect,也可以使用实例方法connect.
MongoClient.connect(url, function(err, client) {
  assert.equal(null, err);
  client.close();
});
解释:
MongoClient.connect(url, options, callback) ->{Promise.<MongoClient>}
- callback是指MongoClient中的connectCallback函数,这个函数有2个参数:
- error: 一个error实例,反应执行期间的错误。
- client: 就是MongoClient的连接的实例。
- 如果没有传入callback参数,则返回Promise.<MongoClient>, Promise格式的mongoClient实例。
实例可以使用: connect(callback) 方法,如果没有callback,则返回它自身。
实例可以使用db(dbName, options)->{Db}
- 创建一个新的Db实例,注意这个实例和原始实例是父子关系。
使用插入语法:
在connect block内,设置db给test database:
const db = client.db('test')
插入一个单一的Document:
下面的例子插入一个新的document到inventory collection。
db.collection("inventory").insertOne({
  item: "canvas",
  qty: 100,
  tags: ["cotton"],
  size: { h: 28, w: 35.5, uom: "cm" }
})
.then((result) => {
  //处理result
})
⚠️如果是MongoDB实例需要验证--auth, 但连接的url字符串没有用户名和密码,那么则插入不会成功,result返回null.
下面代码是driver3-insert.js脚本的执行结果:
// 提供用户名和密码给url,最后
$ node driver3-insert.js
Connected successfully to server
Inserted 3 documents into the collection,
 { result: { ok: 1, n: 3 },
  ops:
   [ { a: 12, _id: 5c3ef39539f6c6f359d996b9 },
     { b: 2, _id: 5c3ef39539f6c6f359d996ba },
     { b: 3, _id: 5c3ef39539f6c6f359d996bb } ],
  insertedCount: 3,
  insertedIds:
   { '0': 5c3ef39539f6c6f359d996b9,
     '1': 5c3ef39539f6c6f359d996ba,
     '2': 5c3ef39539f6c6f359d996bb } }
// 没有提供用户名和密码或者,提供错误:
Connected successfully to server
Inserted 3 documents into the collection,
 null
Node.js: Collection类的实例方法:
insertOne() ,findAndModify(), remove(), save(), update()等大多数Collection的实例方法,
在不传入callback时,会返回一个promise对象。
Read Data from MongoDB
Mongo Shell:
$ mongo
> use test
//假设test database内已经有inventory collection.
> db.inventory.find({})
//这个查询,无需cursor 迭代,因为shell会返回所有结果。
Node.js
const db = client.db("test");

var cursor = db.collection('inventory').find({})

//迭代这个结果
function iterateFun(doc) {
  console.log(JSON.stringify(doc, null, 4))
}

function errorFunc(error) {
  console.log(error);
}

cursor.forEach(iterateFunc, errorFunc)
Read Data using Operators and Compound Queries
使用or,and等语法,组合查询。
一个问题:
在MongoDb shell
// 这种写法,my不能使用forEach方法。
my = db.inventory.find({status: "D"} )

//必须用, 才能使用forEach,而且只能用一次!!!
var my = db.inventory.find({status: "D"} )
node.js代码演示:
//确认一下mongod开启
$ ps | grep 'mongod'
//没有的话
$ mongo

//写driver3-query-many.js

const MongoClient = require('mongodb').MongoClient
const assert = require('assert')
const dbHost = '127.0.0.1'
const dbPort = 27017

const url = `mongodb://${dbHost}:${dbPort}`

const dbName = 'test'

const client = new MongoClient(url)

client.connect(function(err) {
  assert.equal(null, err)
  console.log("Connected correctly to server")
  //设置db到test database
  const db = client.db(dbName)
})
在mongoDb shell中查看一下,test database是否有inventory collection及documents,
没有的话就插入一些数据:
//此时是在控制台
>use test
>db.inverntory.insert([
  { item: "journal",
    qty: 25,
    size: { h: 14, w: 21, uom: "cm" },
    status: "A"},
  { item: "notebook",
    qty: 50,
    size: { h: 8.5, w: 11, uom: "in" },
    status: "A"},
  { item: "paper",
    qty: 100,
    size: { h: 8.5, w: 11, uom: "in" },
    status: "D"},
  { item: "planner",
    qty: 75, size: { h: 22.85, w: 30, uom: "cm" },
    status: "D"},
  { item: "postcard",
    qty: 45,
    size: { h: 10, w: 15.25, uom: "cm" },
    status: "A"}
])

//或者在node.js脚本中加上
db.collection('inventory').insertMany([ ... ]).then((result) => { //...})
最后,使用find()查询,并打印结构:
//在client.collect()的callback块内
var cursor = db.collection('inventory').find({
    // size: { h: 14, w: 21, uom: "cm" }
    // "size.uom": "in"    //使用嵌套的查询
     "size.h": { $lt: 15 }   // 使用条件查询, $lt,代表小于
})

cursor.toArray((error, documents) => {
  documents.forEach((item) => {
    console.log(item)
  })
})
client.close()   //最后关闭db,和连接。
除使用toArray方法,也可以使用
forEach(iterator, endcallback)方法:
参数:
第一个是:iteratorCallback(doc)
第二个是: endCallback(error)
forEach不提供返回的回调函数。
⚠️,Node.js driver中的方法的参数的名字必须和文档上一样!
cursor.forEach(iterateFunc, errorFunc)

function iterateFunc(doc) {
   console.log(JSON.stringify(doc, null, 4));
}

function errorFunc(error) {
   console.log(error);
}
执行:
node driver3-query-many.js
Read Data with Compound Queries
1. 使用暗示的and查询, 和小于less than符号$lt
下面的例子取回所有inventory collection内的文档,条件是status 等于"A", 并且qty小于30
var cursor = db.collection('inventory').find({
  status: "A",
  qty: { $lt: 30}
})
暗示的and,其实就是一个逗号 “,” (明确的写法)
小于less than: $lt {field: {$lt: value} }
大于greater than: $gt
2 使用or查询: $or
下面的例子取回所有inventory collection内的文档,条件是status 等于"A", 或者qty小于30
var cursor = db.collection('inventory').find({
  $or: [{status: "A"}, {qty: {$lt: 30}}]
})
使用多个组合条件,取回Data
1。使用暗示的and查询,和一个or分句clause
下面的例子,取回的document的筛选条件是:
第一个条件:status等于“A”,
第二个条件:它的qty必须小于30或者item的第一个字母是"p"
var cursor = db.collection('inventory').find({
  status: "A",
  $or: [ { qty: { $lt: 30 } }, { item: { $regex: "^p" } } ]
});
注意⚠️MongoDB支持正则表达式。
$regex符号,是正则表达式,
Logical Query Operators
除了上面的案例提到的$and, $or
还有
- $not: 例子de.inventory.find( { price: { $not : { $gt: 1.99 }}}), 意思是找到小于或等于1.99的doc。
- $nor: 关于an array of one or more query expression, 选择的文档要求所有的query表达式都fail!
⚠️
$not符号,需要与其他符号一起使用才行。
$not符号,不能和$regex一起使用,但可以与/ /一起使用,例子:
db.inventory.find({item: { $not: /^p.*/}})
$nor例子:
db.inventory.find( { $nor: [ { price: 1.99 }, { sale: true } ] } )
上面的例子,返回的有4种可能,文档:
- 包含price字段的值不等于1.99,并且sale的值不等于true
- 包含price字段的值不等于1.99,但是sale字段不存在于这个document
- 内没有price字段, 但是包含sale字段,并且sale的值不等于true
- 内没有price字段,也没有sale字段。
Comparison Query Operators
$eq相等符号,一般都被省略
$gt: greater than,
$gte: greater than or equal
$in: 一个field的值是在in内的任意一个值。
{ field: { $in: [<value1>, <value2>, ... <valueN> ] } }
$lt: less than
$lte: less than or equal
$ne: not equal
$nin: not in
{ <field>: { $regex: /pattern/, $options: '<options>' } }
{ <field>: { $regex: 'pattern', $options: '<options>' } }
{ <field>: { $regex: /pattern/<options> } }
//或者使用:
{ <field>: /pattern/<options> }
Update Data in MongoDB
MongoDB shell
MongoDb提供update操作符号来修改值。
一些update操作符号,如果filed不存在,会创建这个filed。
下面的操作符号更新第一个符合条件document 。这个操作符号使用:
- $set: 更新要修改的值。
- $currentDate: 设置lastModified字段的值为当前时间data
db.inventory.updateOne(
  { "item" : "paper"},  //查询条件,找到要更新的documents
  {
     $set: { "size.uom" : "cm", "status" : "P"},
     $currentDate: { "lastModified": true}
  }
)
例子:因为'lastModified'不存在,所以新建了这个字段。
> db.inventory.findOne({"qty": { $lt: 50}})
{ "_id" : ObjectId("5c3dcb30b5986e67b555931d"), "item" : "journal", "qty" : 25, "status" : "A", "size" : { "h" : 14, "w" : 21, "uom" : "cm" }, "tags" : [ "blank", "red" ] }

//使用updateOne后
> db.inventory.findOne({"qty": { $lt: 50}})
{
    "_id" : ObjectId("5c3dcb30b5986e67b555931d"),
    "item" : "journal",
    "qty" : 25,
    "status" : "P",
    "size" : {
        "h" : 14,
        "w" : 21,
        "uom" : "cm"
    },
    "tags" : [
        "blank",
        "red"
    ],
    "lastModified" : ISODate("2019-01-17T01:54:47.720Z")
}
Node.js driver
区别是updateOne()如果不提供一个回调函数,会返回一个promise。因此可以连接then()。
promise和回调函数内的参数当然是一样的。promise是对回调函数的替代。
const MongoClient = require('mongodb').MongoClient
const dbHost = '127.0.0.1'
const dbPort = 27017
const assert = require('assert')

const url = `mongodb://${dbHost}:${dbPort}`

const dbName = "test"

MongoClient.connect(url, function(error, client) {
  assert.equal(null, error)
  console.log("Connected correctly to server")

  const db = client.db(dbName)

  db.collection('inventory').updateOne(
    {item: 'paper'},
    {
      $set: {"size.uom": "cm", status: "p"},
      $currentDate: { lastModified: true}
    },
  )
  .then((result) => {
    console.log(result.message)
  })
  client.close()
})
collection(name, callback)->{Collection}
从数据库实例中取一个指定的collection。
参数callback:类型是collectionResultCallback(error, collection)
- collection是取回的collection实例。
updateOne(filter, update, options, callback) -> {Promise}
在一个collection内,更新一个单一的document。
参数callback:类型是updateWriteOpCallback(error, result)
Delete Data from MongoDB
Mongo Shell
>ps -e | grep 'mongod'

//mongo mongodb://$[hostlist]/$[database]?authSource=$[authSource] --username $[username]
>mongo
>use test
>db.inventory.deleteOne(
    { "status": "D" } // specifies the document to delete
)
//提示:{ "acknowledged" : true, "deletedCount" : 1 }
多个删除使用deleteMany
Node.js
db.collection('inventory').deleteOne({
  status: "D"
})
.then(function(result) {
  // process result
})
可以使用result.deletedCount得到删除的数量。
注意remove方法已经被抛弃了。
Import Data into MongoDB
mongoimport是一个组件。位于MongoDB 仓库的/bin目录
下载数据,保存为inventory.crud.json file
本地lcoal:
默认, mongoimport将进口数据到一个MongoDB实例,这个实例位于localhost., port27017。
如果想要进口数据到一个MongoDb实例,这个实例运行在不同的host or port,
- 使用 --file option 匹配文件的地址和名字
- 加上
--hostand --port options. - 使用
--dropoption, 如果collection已经存在,会去掉这个collection,从新引入。
mongoimport --db test --collection inventory
       --authenticationDatabase admin --username <user> --password <password>
       --drop --file ~/Downloads/inventory.crud.json
例子:在terminal
⮀ mongoimport --db test --collection inventory --drop --file ~/Downloads/inventory.crud.json
2019-01-17T19:50:04.185+0800    connected to: localhost
2019-01-17T19:50:04.185+0800    dropping: test.inventory
2019-01-17T19:50:05.747+0800    imported 5 documents