首先创建一个邮箱账号,建议@126.com,@163.com,@qq.com 都可以
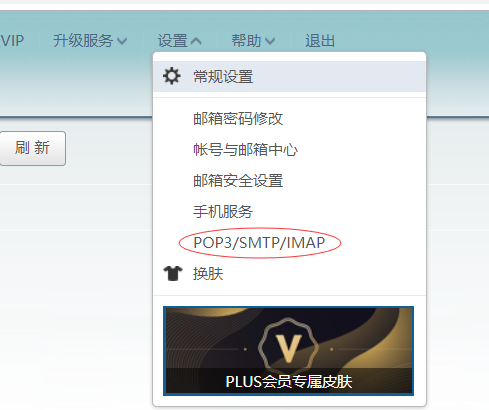
开启smtp,以下是使用图解:

创建SpringBoot项目导入依赖
   <dependency>
            <groupId>org.springframework.boot</groupId>
            <artifactId>spring-boot-starter-web</artifactId>
        </dependency>
        <!-- 支持发送邮件 -->
        <dependency>
            <groupId>org.springframework.boot</groupId>
            <artifactId>spring-boot-starter-mail</artifactId>
        </dependency>
application.properties文件中配置:
spring.mail.default-encoding=UTF-8
spring.mail.host=smtp.163.com
#发送者的邮箱密码
spring.mail.password=xxxxx
#端口
spring.mail.port=25
#协议
spring.mail.protocol=smtp
#发送者的邮箱账号
spring.mail.username=xxxxxxx@163.com
server.port=8081
以文本的形式发送:
package com.example.demo;

import org.springframework.beans.factory.annotation.Autowired;
import org.springframework.beans.factory.annotation.Value;
import org.springframework.mail.SimpleMailMessage;
import org.springframework.mail.javamail.JavaMailSender;
import org.springframework.web.bind.annotation.GetMapping;
import org.springframework.web.bind.annotation.RestController;

/**
 * @author
 * @site
 * @company
 * @create 2020-03-07 1:06
 */
@RestController
public class MailController {

    @Autowired
    JavaMailSender jsm;

    @Value("${spring.mail.username}")
    private String username;

    @GetMapping("/send")
    public String send(){
        //建立邮箱消息
        SimpleMailMessage message = new SimpleMailMessage();
        //发送者
        message.setFrom(username);
       //接收者
        message.setTo("1352192872@qq.com");
       //发送标题
        message.setSubject("测试");
        //发送内容
        message.setText("测试数据");
        jsm.send(message);
        return "1";
    }
}
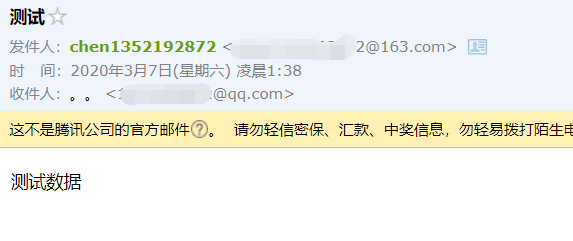
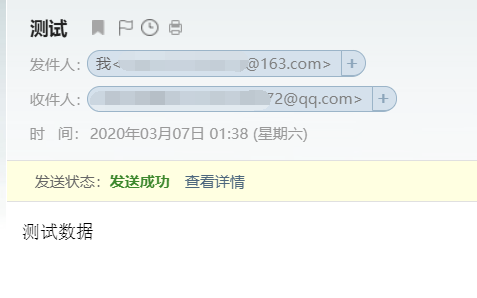
结果:
发送方:
接收方: