官网地址:http://nginx.org/
进到官网
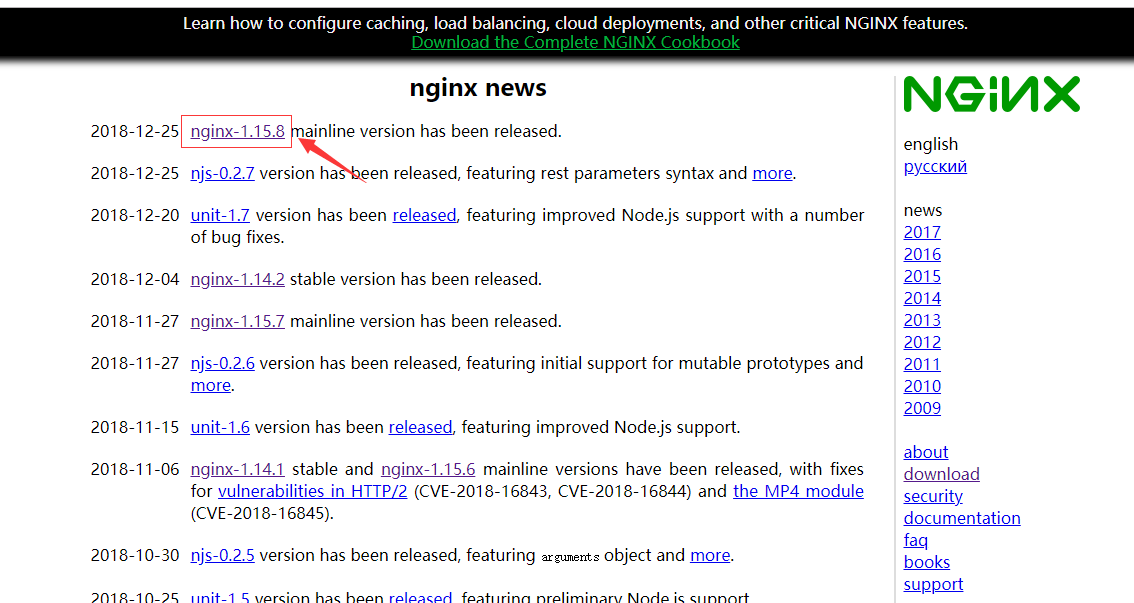
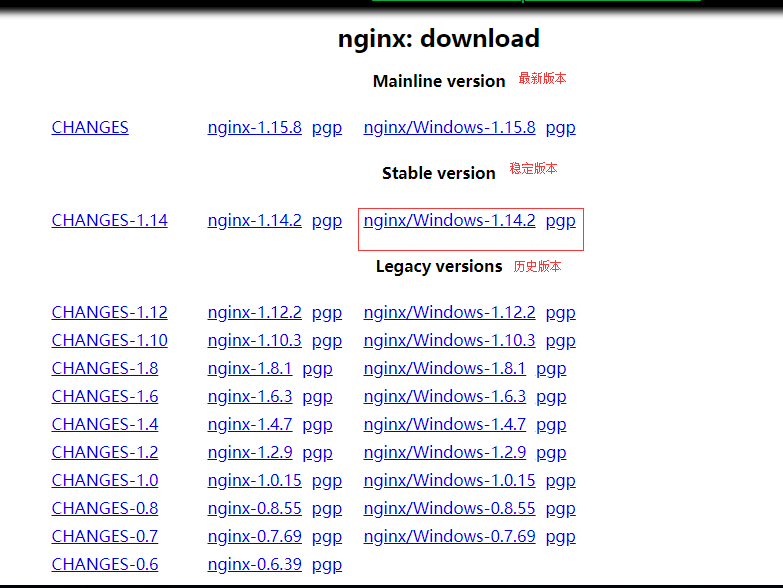
我这里下载的是 稳定版的 windows版本。
开始我们的简单测试
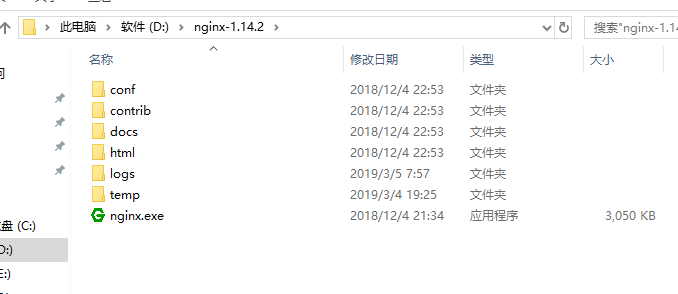
步骤一:找到nginx的压缩包,(随意找个地方)解压
步骤二:进入conf文件夹
步骤三:在F盘中 新建一个test.html 文件 (这里是方便测试) !!!!! ----> 静态资源
步骤四:修改nginx.conf文件
nginx.conf 文件 修改如下

步骤五:进行访问从而找到静态资源
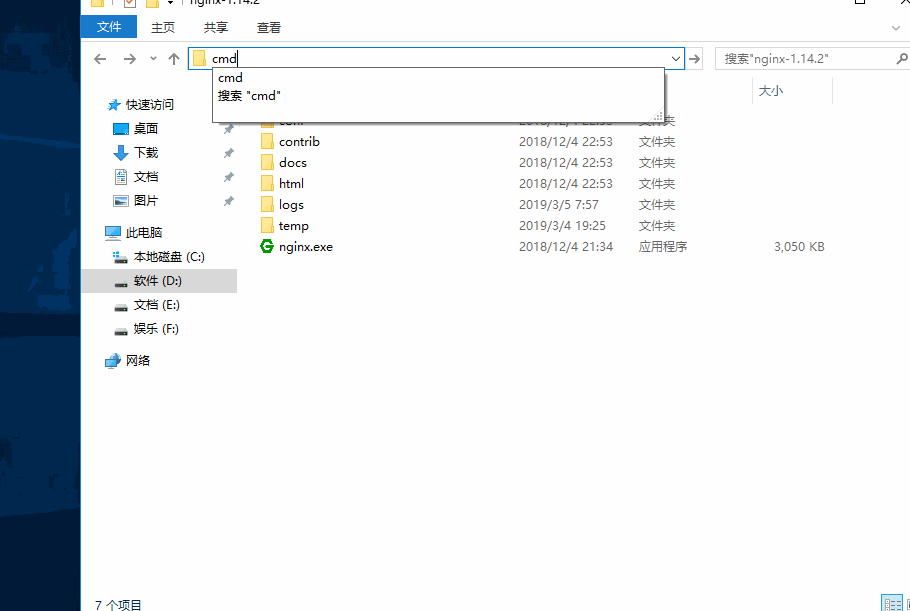
1、找到nginx的安装目录 然后 cmd 直接进入命令行窗口
2、start nginx (启动 Nginx )
3、进行访问我们刚刚弄的test.html 静态资源
4、结果如下:
浏览器输入 localhost:80/test.html
可直接获取访问到的资源

步骤六:访问后端API
1、找到一个前后端分离的项目(比较好演示而已),只需后端项目的Tomcat启动就好了
2、比如我的后端项目配置如下
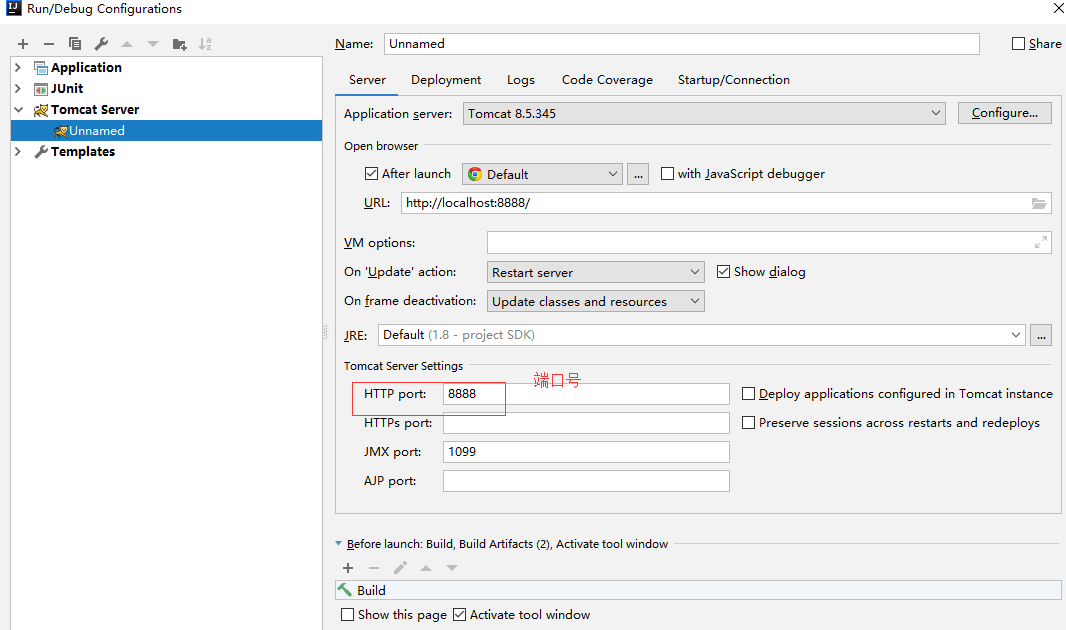
3、然后 启动 项目 (我这里使用的是 idea)
4、修改 nginx.conf 文件
加一段语法

proxy_pass http://server:port /; ---> 后端Tomcat访问的真实地址
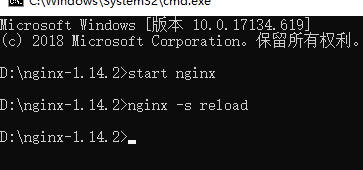
5、修改完成后、保存 ,来到 cmd命令窗口
输入 nginx -s reload
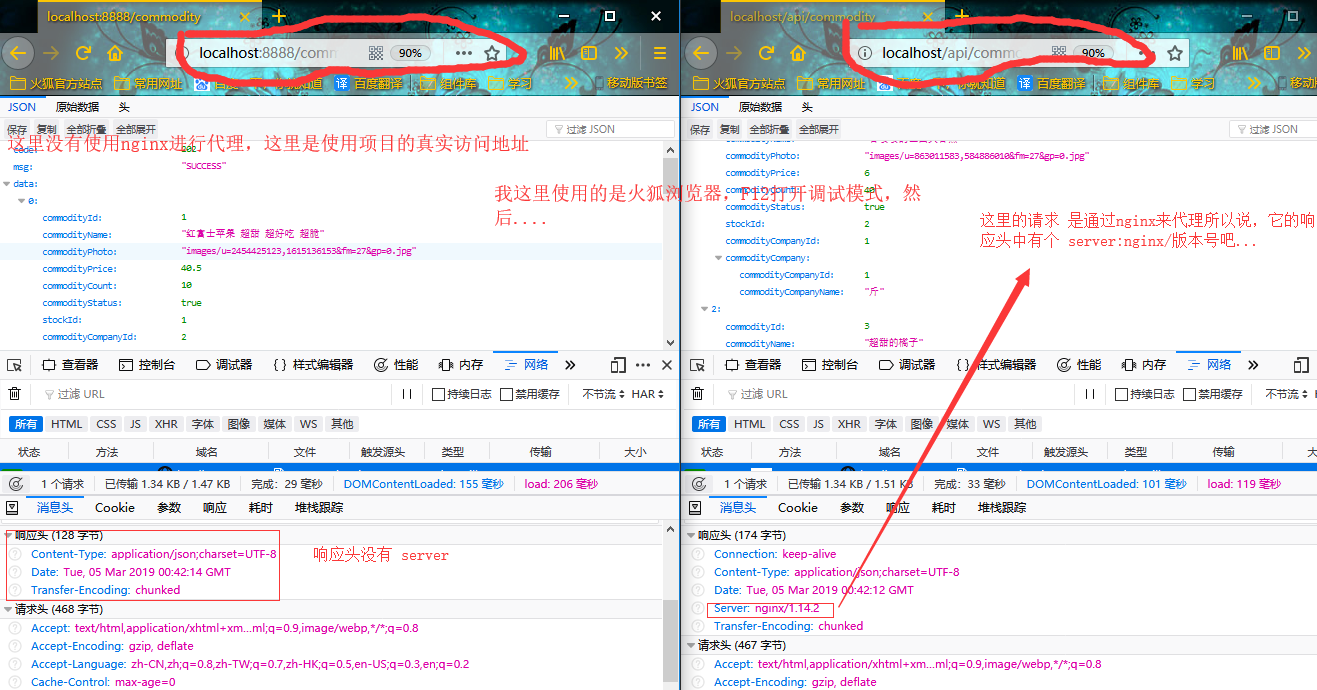
进行访问结果如下:

那怎么看 我的请求是否被nginx代理了呢?
很简单的
如图:
本次演示 nginx.conf 文件完整配置如下:
|
1
2
3
4
5
6
7
8
9
10
11
12
13
14
15
16
17
18
19
20
21
22
23
24
25
26
27
28
29
30
31
32
33
34
35
36
37
38
39
40
41
42
43
44
45
46
47
48
49
50
51
52
53
54
55
56
57
58
59
60
61
62
63
64
65
66
67
68
69
70
71
72
73
74
75
76
77
78
79
80
81
82
83
84
85
86
87
88
89
90
91
92
93
94
95
96
97
98
99
100
101
102
103
104
105
106
107
108
109
110
111
112
113
114
115
116
117
118
119
120
121
122
123
124
125
126
127
128
129
130
131
132
133
134
135
|
#user nobody;worker_processes 1;#工作进程的个数,可以配置多个#error_log logs/error.log;#error_log logs/error.log notice;#error_log logs/error.log info;#pid logs/nginx.pid;events { worker_connections 1024;#单个进程最大连接数(最大连接数 = 连接数 * 进程数)}http { include mime.types;#文件扩展名与文件类型映射表 default_type application/octet-stream;#默认文件类型 #log_format main '$remote_addr - $remote_user [$time_local] "$request" ' # '$status $body_bytes_sent "$http_referer" ' # '"$http_user_agent" "$http_x_forwarded_for"'; #access_log logs/access.log main; #开启高效文件传输模式,sendfile指令指定nginx是否调用sendfile函数来输出文件 #对于普通应用设为 on,如果用来进行下载等应用磁盘IO重负载应用,可设置为off #以平衡磁盘与网络I/O处理速度,降低系统的负载 #注意:如果图片显示不正常把这个改成off sendfile on; #tcp_nopush on; #keepalive_timeout 0; #长连接超时时间,单位是秒 keepalive_timeout 65; #启用Gizp压缩 #gzip on; #当前的Nginx的配置 server { #监听80端口,可以改成其他端口 listen 80; server_name localhost;#当前服务的域名 #charset koi8-r; #access_log logs/host.access.log main; #访问页面 location /{ root F:/;#根目录 index test.html; } #访问Tomcat API location /api { #proxy_set_header Host $host; #proxy_set_header X-Real-IP $remote_addr; #proxy_set_header X-Forwarded-For $proxy_add_x_forwarded_for; proxy_pass http://192.168.6.184:8888/; } #error_page 404 /404.html; # redirect server error pages to the static page /50x.html # error_page 500 502 503 504 /50x.html; location = /50x.html { root html; } # proxy the PHP scripts to Apache listening on 127.0.0.1:80 # #location ~ .php$ { # proxy_pass http://127.0.0.1; #} # pass the PHP scripts to FastCGI server listening on 127.0.0.1:9000 # #location ~ .php$ { # root html; # fastcgi_pass 127.0.0.1:9000; # fastcgi_index index.php; # fastcgi_param SCRIPT_FILENAME /scripts$fastcgi_script_name; # include fastcgi_params; #} # deny access to .htaccess files, if Apache's document root # concurs with nginx's one # #location ~ /.ht { # deny all; #} } # another virtual host using mix of IP-, name-, and port-based configuration # #server { # listen 8000; # listen somename:8080; # server_name somename alias another.alias; # location / { # root html; # index index.html index.htm; # } #} # HTTPS server # #server { # listen 443 ssl; # server_name localhost; # ssl_certificate cert.pem; # ssl_certificate_key cert.key; # ssl_session_cache shared:SSL:1m; # ssl_session_timeout 5m; # ssl_ciphers HIGH:!aNULL:!MD5; # ssl_prefer_server_ciphers on; # location / { # root html; # index index.html index.htm; # } #}} |