所需环境
opencv3.x + cuda9.0
安装 caffe
首先在你要安装的路径下 clone :
git clone https://github.com/BVLC/caffe.git
进入 caffe ,将 Makefile.config.example 文件复制一份并更名为 Makefile.config ,也可以在 caffe 目录下直接调用以下命令完成复制操作 :
sudo cp Makefile.config.example Makefile.config
复制一份的原因是编译 caffe 时需要的是 Makefile.config 文件,而Makefile.config.example 只是caffe 给出的配置文件例子,不能用来编译 caffe。
然后修改 Makefile.config 文件,在 caffe 目录下打开该文件:
sudo gedit Makefile.config
修改 Makefile.config 文件内容:
1.应用 cudnn
将
#USE_CUDNN := 1
修改成:
USE_CUDNN := 1
2.应用 opencv 版本
将
#OPENCV_VERSION := 3
修改为:
OPENCV_VERSION := 3
3.使用 python 接口
将
#WITH_PYTHON_LAYER := 1
修改为
WITH_PYTHON_LAYER := 1
4.修改 python 路径
INCLUDE_DIRS := $(PYTHON_INCLUDE) /usr/local/include
LIBRARY_DIRS := $(PYTHON_LIB) /usr/local/lib /usr/lib
修改为:
INCLUDE_DIRS := $(PYTHON_INCLUDE) /usr/local/include /usr/include/hdf5/serial
LIBRARY_DIRS := $(PYTHON_LIB) /usr/local/lib /usr/lib /usr/lib/x86_64-linux-gnu /usr/lib/x86_64-linux-gnu/hdf5/serial
这里贴出 我的Makefile.config文件 方便大家参考
然后修改 caffe 目录下的 Makefile 文件:
将:
NVCCFLAGS +=-ccbin=$(CXX) -Xcompiler-fPIC $(COMMON_FLAGS)
替换为:
NVCCFLAGS += -D_FORCE_INLINES -ccbin=$(CXX) -Xcompiler -fPIC $(COMMON_FLAGS)
将:
LIBRARIES += glog gflags protobuf boost_system boost_filesystem m hdf5_hl hdf5
改为:
LIBRARIES += glog gflags protobuf boost_system boost_filesystem m hdf5_serial_hl hdf5_serial
然后修改 /usr/local/cuda/include/host_config.h 文件 :
将
#error-- unsupported GNU version! gcc versions later than 4.9 are not supported!
改为
//#error-- unsupported GNU version! gcc versions later than 4.9 are not supported!
OK ,可以开始编译了,在 caffe 目录下执行 :
make all -j8
这是如果之前的配置或安装出错,那么编译就会出现各种各样的问题,所以前面的步骤一定要细心。
编译成功后可运行测试:
sudo make runtest -j8
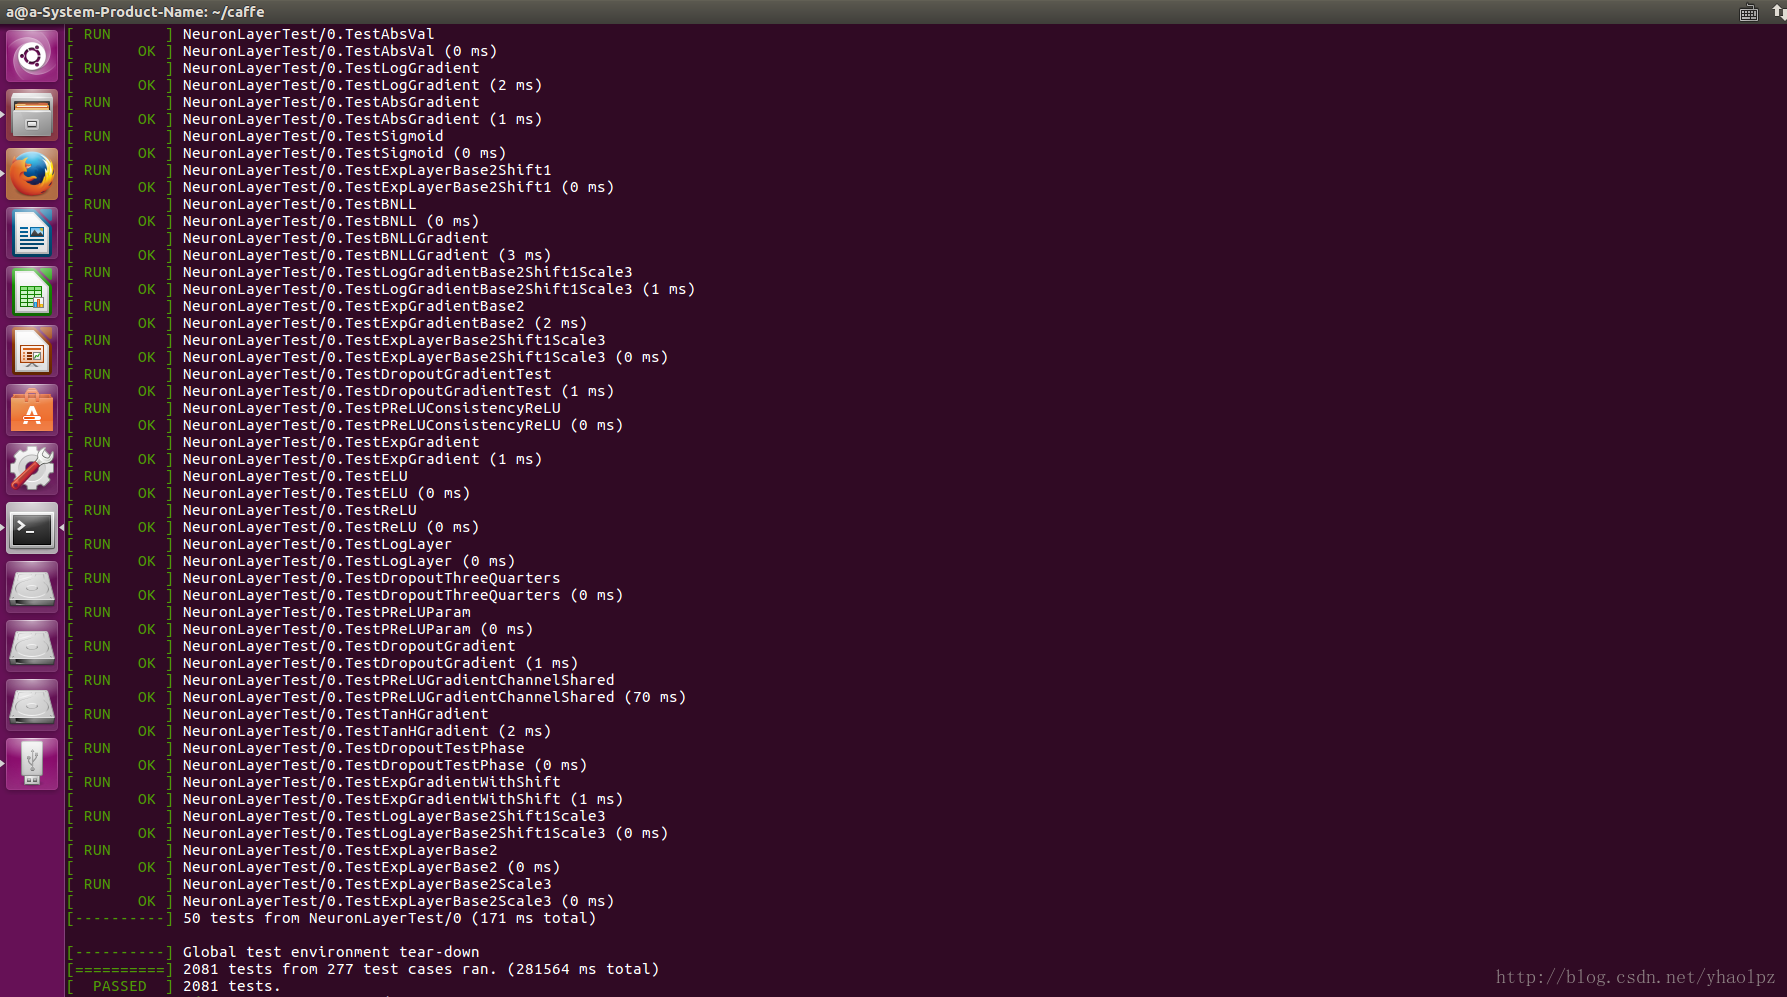
如果显示结果为上图所示,则表示 caffe 已经成功安装。
10、安装 pycaffe notebook 接口环境
在上一步成功安装 caffe 之后,就可以通过 caffe 去做训练数据集或者预测各种相关的事了,只不过需要在命令行下通过 caffe 命令进行操作,而这一步 pycaffe 的安装以及 notebook 环境配置只是为了更方便的去使用 caffe ,实际上大多数都是通过 python 来操作 caffe 的,而 notebook 使用浏览器作为界面,可以更方便的编写和执行 python 代码。
首先编译 pycaffe :
cd caffe

sudo make pycaffe -j8
编译 pycaffe 成功后,验证一下是否可以在 python 中导入 caffe 包,首先进入 python 环境:
python
然后导入 caffe :
>>> import caffe
若不报错则表示 caffe 的 python 接口已正确编译,但是应该不会那么顺利,以下是我导入 caffe 时出现的错误:
错误1:
File "<stdin>", line 1, in <module> ImportError: No module named caffe
解决方法:
sudo echo export PYTHONPATH="~/caffe/python" >> ~/.bashrc

source ~/.bashrc
错误2:
ImportError: No module named skimage.io
解决方法:
pip install -U scikit-image #若没有安装pip: sudo apt install python-pip
或
sudo apt-get install python-skimage
错误2:
ImportError: No module named google.protobuf.internal
解决方法:
sudo apt-get install python-protobuf
注:大部分内容转自:原文:https://blog.csdn.net/yhaolpz/article/details/71375762