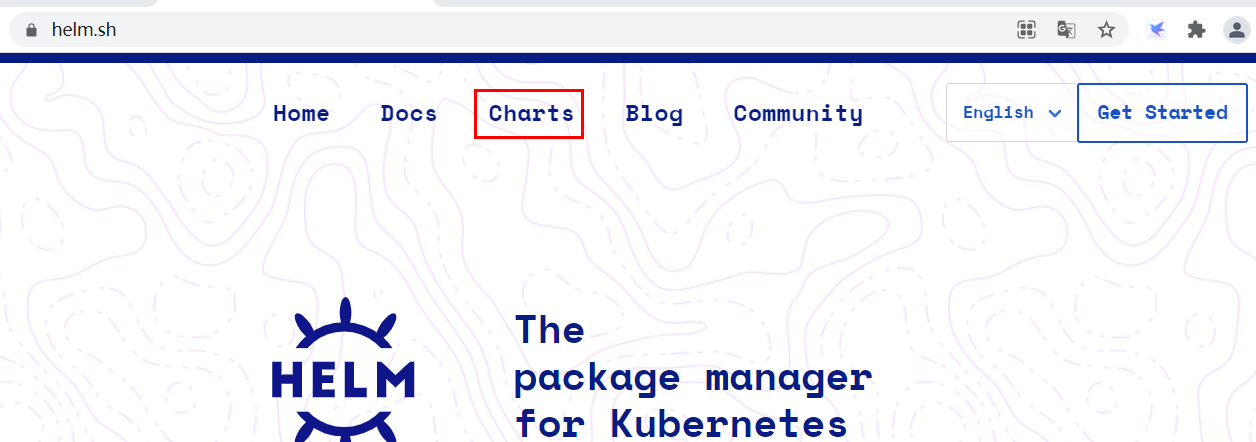
一、helm介绍
没有helm之前,K8S部署应用时,需要一次部署deployment,svc等,步骤繁琐;且随着很多项目微服务话,复杂应用在容器中部署及管理显得很复杂,helm通过打包方式(类似Linux中yum将各种rpm包进行打包)支持发布的版本管理和控制,很大程度简化K8S应用的部署和管理。
helm本质就是让K8S的应用管理可配置,能动态生成,通过动态生成K8S资源清单文件yaml(即yaml文件并不是一成不变的,可通过传递类似环境变量的数据来修改yaml文件),然后调用kubectl自动执行K8S资源部署。
helm,是官方提供的类似yum的包管理器,是部署环境的流程封装,其有2个重要概念:chart和release。
chart:是创建一个应用的信息集合,包括各种K8S对象的配置模板,参数定义,依赖关系,文档说明等。chart是应用部署的自包含逻辑单元。可以将chart想象成apt、yum中的软件安装包。
release:是chart的运行实例,代表一个正在运行的应用。当chart被安装到K8S集群,旧生成一个release。chart能够多次安装到同一个集群,每次安装都是一个release。
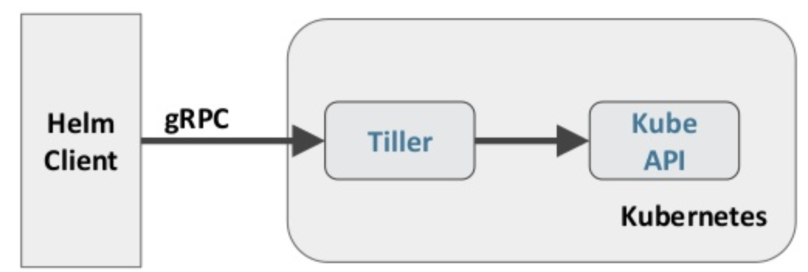
helm包含2个组件:helm客户端、tiller服务器。 helm客户端负责chart和release的创建和管理,并和tiller交互;tiller服务器运行在K8S集群中,它会处理helm客户端的请求,与K8S API server交互。
##部署helm
wget https://storage.googleapis.com/kubernetes-helm/helm-v2.13.1-linux-amd64.tar.gz
tar -xzvf helm-v2.13.1-linux-amd64.tar.gz
cd linux-amd64
cp helm /usr/local/bin/
chmod a+x /usr/local/bin/helm
ll /usr/local/bin/helm
##部署tiller
cat >rbac-config.yaml<<eof
apiVersion: v1
kind: ServiceAccount
metadata:
    name: tiller
    namespace: kube-system
---
apiVersion: rbac.authorization.k8s.io/v1beta1
kind: ClusterRoleBinding
metadata:
    name: tiller
roleRef:
    apiGroup: rbac.authorization.k8s.io
    kind: ClusterRole
    name: cluster-admin
subjects:
    - kind: ServiceAccount
      name: tiller
      namespace: kube-system
eof
kubectl apply -f rbac-config.yaml
helm init --service-account tiller --skip-refresh #在K8S集群中部署tiller;
kubectl get pod -n kube-system -l app=helm

案例1:helm自定义模板
###helm自定义模板
mkdir hello-world
cd hello-world
##创建自描述文件chart.yaml,该文件必须有name和version字段;
cat <<eof>chart.yaml
name: hello-world
version: 1.0.0 #可随便定义;
eof
##创建模板文件,用于生成K8S资源清单manifests;
mkdir templates #严禁修改文件夹名称;
cat <<eof>templates/deployment.yaml
apiVersion: extensions/v1beta1
kind: Deployment
metadata:
name: hello-world
spec:
replicas: 1
template:
metadata:
labels:
app: hello-world
spec:
containers:
- name: hello-world
image: hub.atguigu.com/library/nginx:1.21.0
ports:
- containerPort: 80
protocol: TCP
eof
cat <<eof> templates/service.yaml
apiVersion: v1
kind: Service
metadata:
name: hello-world
spec:
type: NodePort
ports:
- port: 80
targetPort: 80
protocol: TCP
selector:
app: hello-world
eof
ls
helm install ./
helm ls #列出已部署的release;此时版本为1;
helm status knotted-cheetah #查询名为knotted-cheetah的release状态;
helm upgrade knotted-cheetah ./ #更新release版本,此时版本为2;
helm ls
helm history knotted-cheetah #查看release的历史记录;
#创建用于修改应用的配置文件values.yaml
cat <<eof> values.yaml
image:
repository: hub.atguigu.com/library/httpd
tag: '2.4.48'
eof
#利用values.yaml中的镜像替换原镜像
cat <<eof> templates/deployment.yaml
apiVersion: extensions/v1beta1
kind: Deployment
metadata:
name: hello-world
spec:
replicas: 1
template:
metadata:
labels:
app: hello-world
spec:
containers:
- name: hello-world
image: {{ .Values.image.repository}}:{{ .Values.image.tag}} #go语言的写法;
ports:
- containerPort: 80
protocol: TCP
eof
helm upgrade knotted-cheetah ./ #按照当前目录下文件进行更新release;
helm upgrade knotted-cheetah -f values.yaml ./ #指定按照values.yaml进行跟新;
helm upgrade knotted-cheetah ./ --set image.tag="latest" #更新release指定tag值,其他字段也可人为指定;
# helm delete knotted-cheetah #删除release;
# helm delete --purge knotted-cheetah #移除所有与指定release相关的K8S资源和该release的所有记录;
# helm ls deleted #列出删除的release;
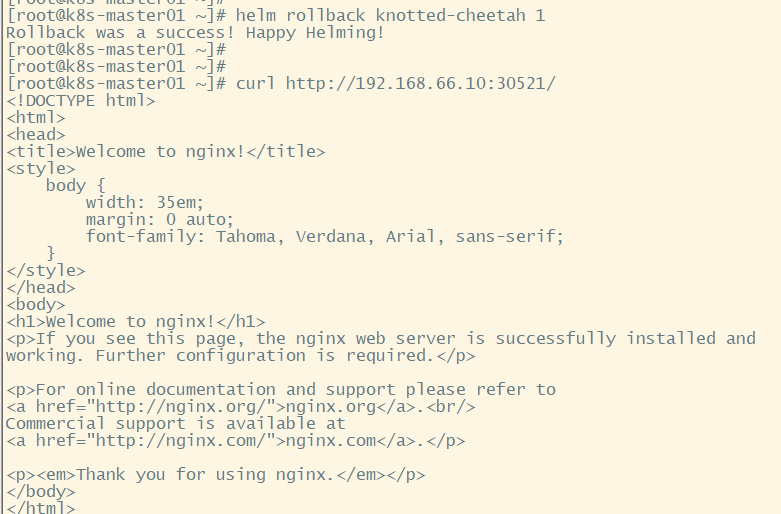
helm rollback knotted-cheetah 1 #回滚至版本1;
案例2:helm发布应用集群