- 当前环境
  0 15:02:10 root@jira,172.16.2.8:~ # cat /etc/redhat-release
CentOS Linux release 7.9.2009 (Core)
  0 15:02:17 root@jira,172.16.2.8:~ # java -version
java version "1.8.0_201"
- 下载Jira安装包。
  0 15:05:13 root@jira,172.16.2.8:~ # mkdir -p  /server/packages
  0 15:07:17 root@jira,172.16.2.8:~ # cd /server/packages
  0 15:07:18 root@jira,172.16.2.8:/server/packages # wget https://www.atlassian.com/software/jira/downloads/binary/atlassian-jira-software-7.4.1-x64.bin
- 开始安装
  0 16:31:37 root@jira,172.16.2.8:/server/packages # chmod +x atlassian-jira-software-7.4.1-x64.bin
  0 16:31:45 root@jira,172.16.2.8:/server/packages # ./atlassian-jira-software-7.4.1-x64.bin
  0 16:33:15 root@jira,172.16.2.8:/server/packages # mkdir -p /server/app/jira /server/data/jira /server/logs/jira
  0 16:33:45 root@jira,172.16.2.8:/server/packages # ./atlassian-jira-software-7.4.1-x64.bin
Unpacking JRE ...
Starting Installer ...
三月 13, 2021 4:57:54 下午 java.util.prefs.FileSystemPreferences$2 run
信息: Created system preferences directory in java.home.

This will install JIRA Software 7.4.1 on your computer.
OK [o, Enter], Cancel [c]    # 回车

Choose the appropriate installation or upgrade option.
Please choose one of the following:
Express Install (use default settings) [1], Custom Install (recommended for advanced users) [2, Enter], Upgrade an existing JIRA installation [3]
2        # 自定义安装

Where should JIRA Software be installed?
[/opt/atlassian/jira]
/server/app/jira      # 执行安装目录
Default location for JIRA Software data
[/var/atlassian/application-data/jira]
/server/data/jira      # 指定数据目录
Configure which ports JIRA Software will use.
JIRA requires two TCP ports that are not being used by any other
applications on this machine. The HTTP port is where you will access JIRA
through your browser. The Control port is used to startup and shutdown JIRA.
Use default ports (HTTP: 8080, Control: 8005) - Recommended [1, Enter], Set custom value for HTTP and Control ports [2]      # 回车

JIRA can be run in the background.
You may choose to run JIRA as a service, which means it will start
automatically whenever the computer restarts.
Install JIRA as Service?
Yes [y, Enter], No [n]    # 回车

Details on where JIRA Software will be installed and the settings that will be used.
Installation Directory: /server/app/jira
Home Directory: /server/data/jira
HTTP Port: 8080
RMI Port: 8005
Install as service: Yes
Install [i, Enter], Exit [e]      # 回车


Extracting files ...


Please wait a few moments while JIRA Software is configured.
Installation of JIRA Software 7.4.1 is complete
Start JIRA Software 7.4.1 now?
Yes [y, Enter], No [n]
n    # 先不启动jira
Installation of JIRA Software 7.4.1 is complete
Your installation of JIRA Software 7.4.1 is now ready.
Finishing installation ...
- 下载mysql-connector-java驱动,并上到到jira的lib目录下,启动jira。
  0 18:25:24 root@jira,172.16.2.8:/server/packages # cd /server/app/jira/atlassian-jira/WEB-INF/lib/
  0 18:25:30 root@jira,172.16.2.8:/server/app/jira/atlassian-jira/WEB-INF/lib # ll mysql-connector-java-8.0.22.jar
-rw-r--r-- 1 root root 2389216 3月   4 13:20 mysql-connector-java-8.0.22.jar
  0 18:25:36 root@jira,172.16.2.8:/server/app/jira/atlassian-jira/WEB-INF/lib # /etc/init.d/jira start
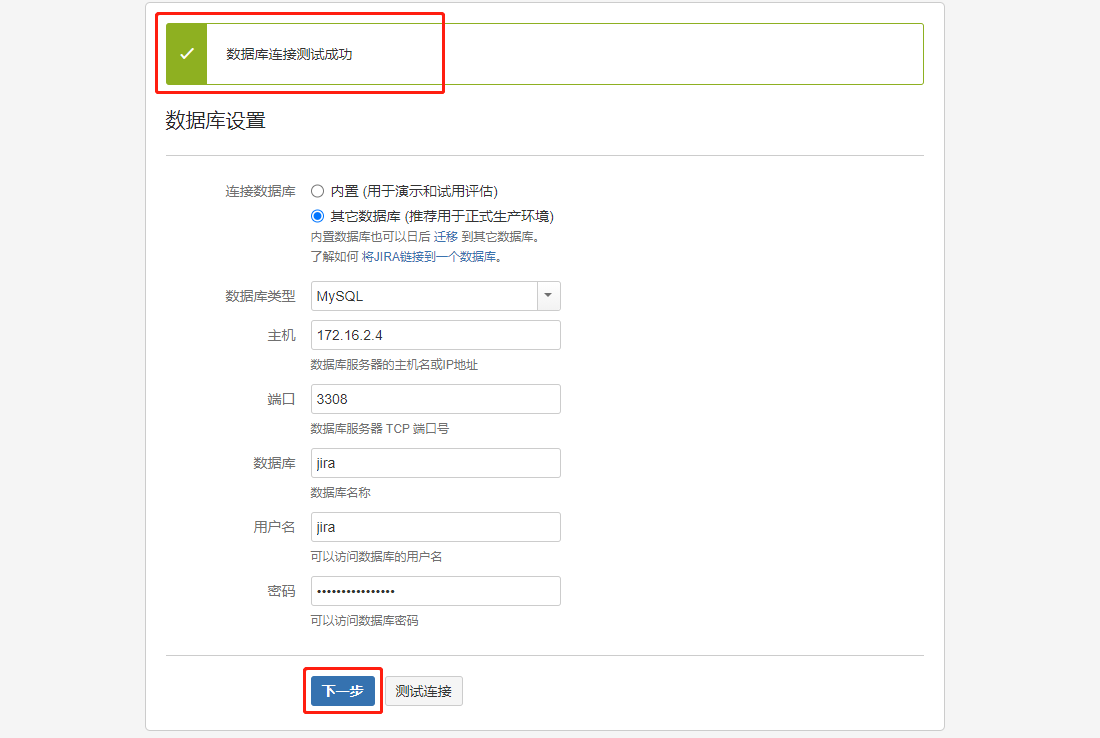
- 安装mysql并做相关jira配置。我这里在别的机器安装的是5.7.32,不过其实步骤都一样。
# 此例my.cnf配置如下
[client]
port=3306
socket=/usr/local/mysql/mysql.sock

[mysql]
prompt="\u@\h \R:\m:\s [\d]> "

[mysqld]
user=mysql
port=3308
basedir=/usr/local/mysql
datadir=/server/data/mysql
socket=/usr/local/mysql/mysql.sock
pid-file=/usr/local/mysql/mysqld.pid
log-error=/server/logs/mysql/error.log
character-set-server=utf8mb4
log_timestamps = SYSTEM
default_time_zone = "+8:00"
# 登录数据库,创建jira库,并创建账号。
root@localhost 17:27:44 [(none)]> CREATE DATABASE `jira` DEFAULT CHARACTER SET utf8 COLLATE utf8_bin;
root@localhost 17:27:55 [(none)]> grant all privileges on jira.* to 'jira'@'172.16.%' identified by 'l#ssxxaamJmrs2';
root@localhost 17:28:10 [(none)]> flush privileges;
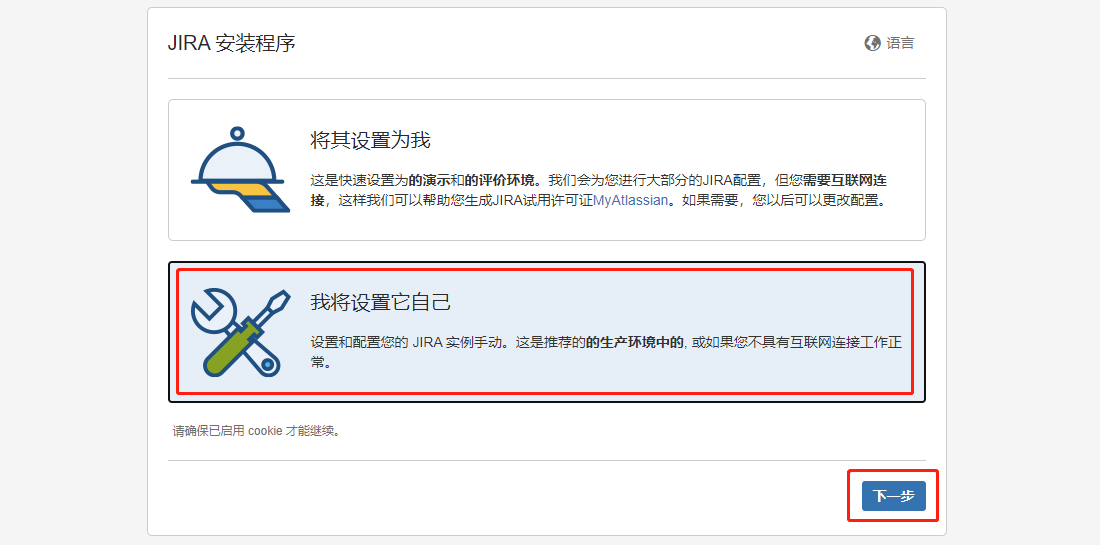
- 接下来开始web端的配置,浏览器打开http://x.x.x.x:8080

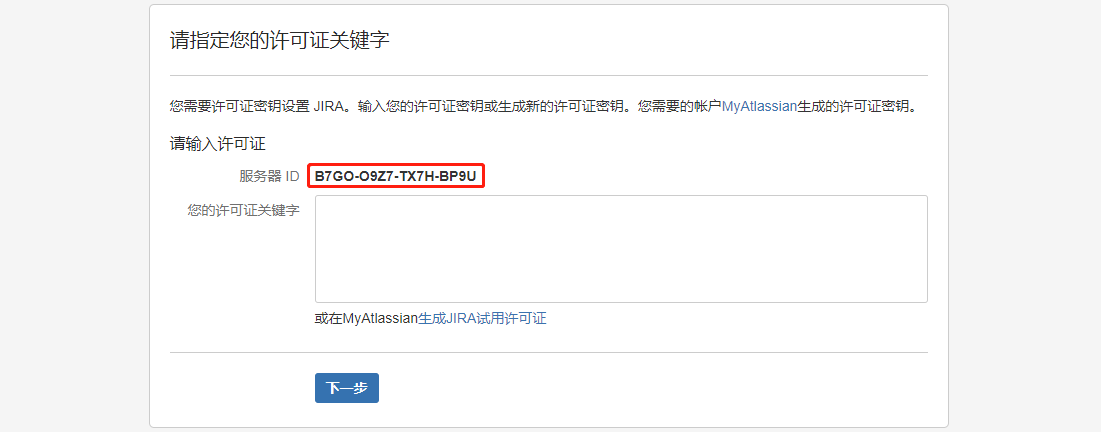
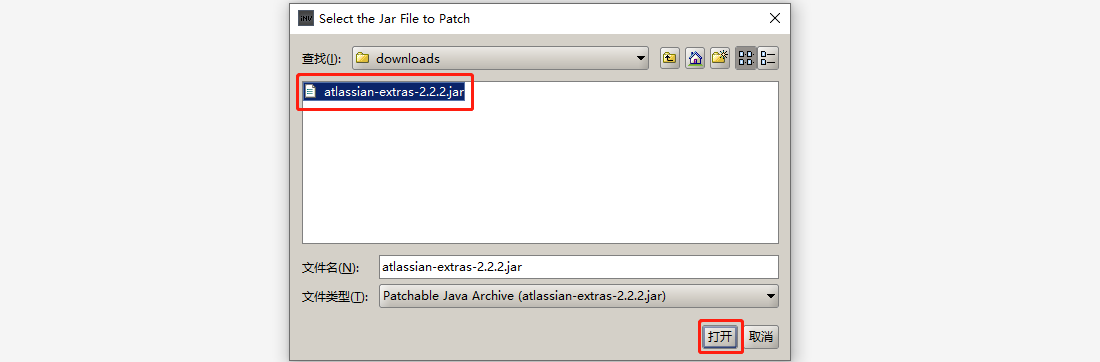
- 记录上面的服务器ID,然后将atlassian-extras-3.2.jar备份,然后下载到Windows上,重名名为atlassian-extras-2.2.2.jar。
0 18:35:40 root@jira,172.16.2.8:/server/app/jira/atlassian-jira/WEB-INF/lib # cp atlassian-extras-3.2.jar{,.bak}
- 下载破解工具(提取码:v7g1),在Windows运行(Windows需安装java环境)。
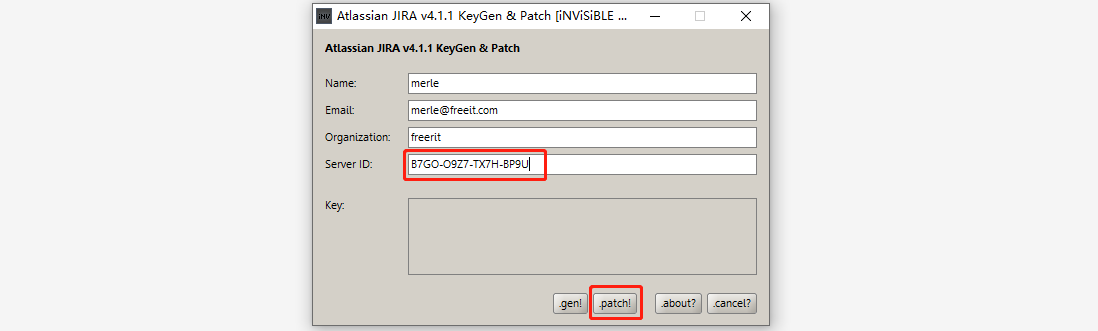
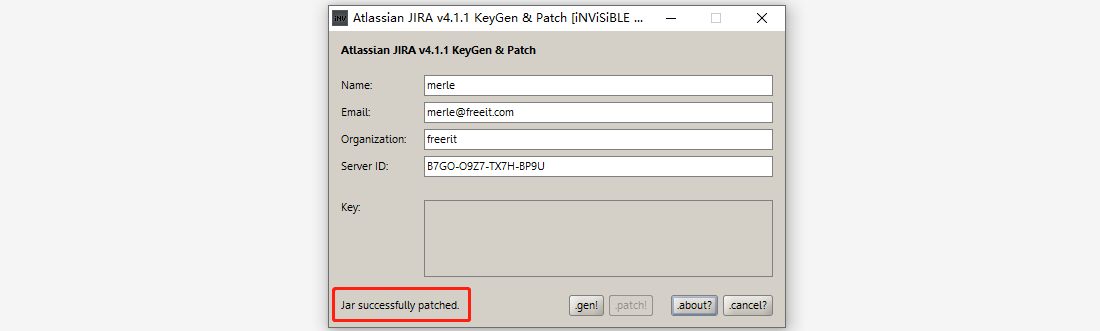

- 将破解后的jar包改回atlassian-extras-3.2.jar的名字,并上传到jira的lib目录下,覆盖掉原来的文件,然后重启jira。
  0 18:43:50 root@jira,172.16.2.8:/server/app/jira/atlassian-jira/WEB-INF/lib # ll atlassian-extras-3.2.jar
-rw-r--r-- 1 root root 155258 7月   5 2017 atlassian-extras-3.2.jar
  0 18:44:05 root@jira,172.16.2.8:/server/app/jira/atlassian-jira/WEB-INF/lib # /etc/init.d/jira stop
  0 18:44:30 root@jira,172.16.2.8:/server/app/jira/atlassian-jira/WEB-INF/lib # /etc/init.d/jira start
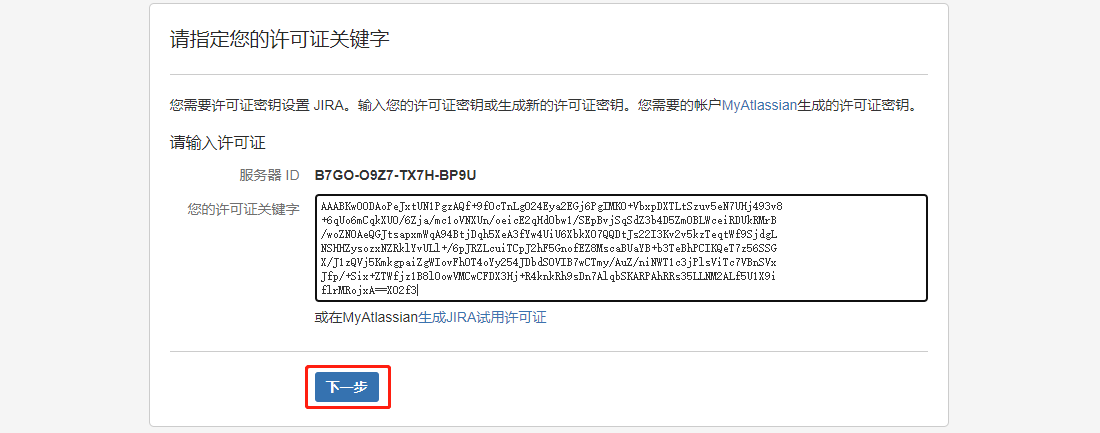
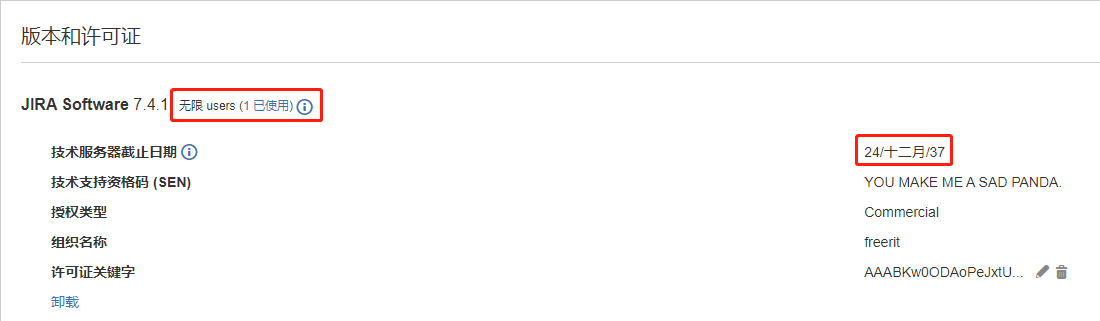
- 继续web端的配置,拷贝上面生成的密钥,拷贝至许可证位置。
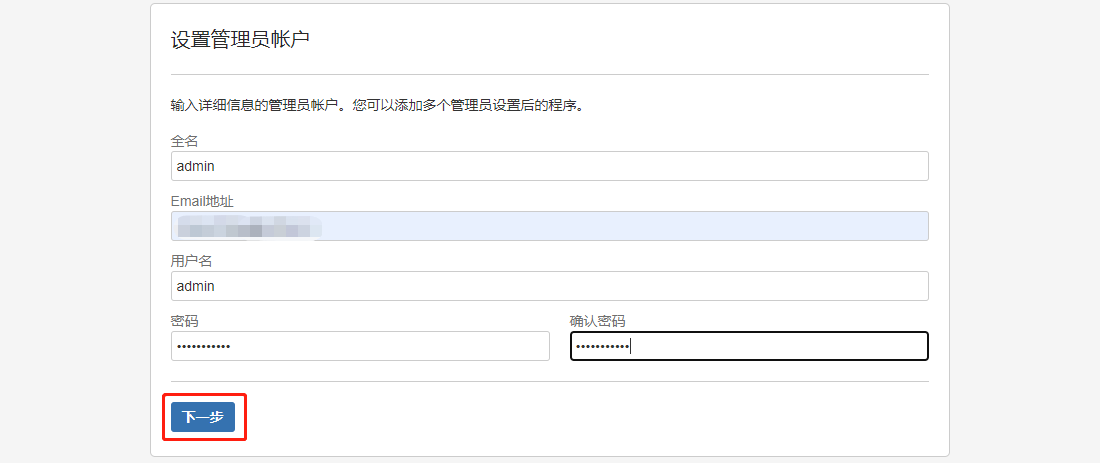


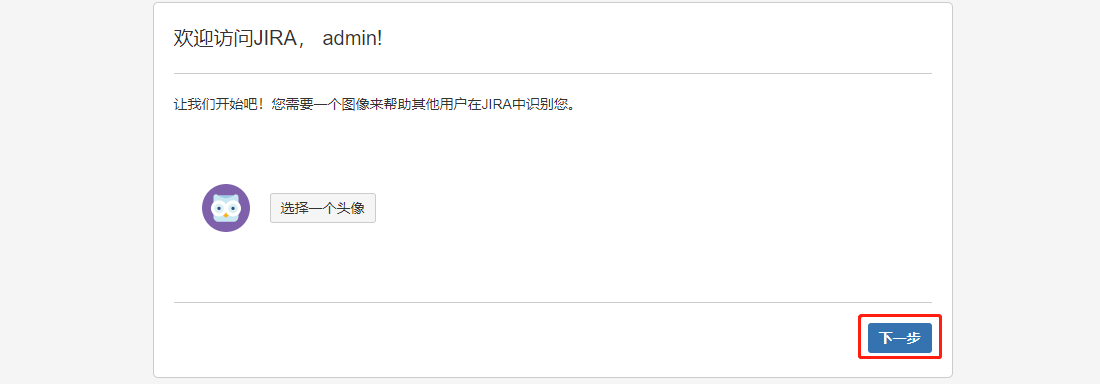
- 注销重新登录,验证许可证信息,位置在右上角齿轮->应用程序。
写作不易,转载请注明出处,谢谢~~