虽然时间轴早已不是什么新鲜事物了,个人只是感兴趣所以就研究一下,最近从网上搜索了一个个人感觉比较好的时间轴demo,下载下来研究了一下并做了下修改.具体的效果如下图:(该demo实现的是滚动加载图片)
代码地址:http://files.cnblogs.com/files/cby-love/html5响应式时间轴.zip

如何实现滚动加载图片的?最主要是以下的代码部分:
(function() {
  $(document).ready(function() {
    var timelineAnimate;
    timelineAnimate = function(elem) {
      return $(".timeline.animated .timeline-row").each(function(i) {
        var bottom_of_object, bottom_of_window;
        bottom_of_object = $(this).position().top + $(this).outerHeight();
        bottom_of_window = $(window).scrollTop() + $(window).height();
        if (bottom_of_window > bottom_of_object) {
          return $(this).addClass("active");
        }
      });
    };
    timelineAnimate();
    return $(window).scroll(function() {
      return timelineAnimate();
    });
  });

}).call(this);
因为我们的样例中实际上还不是纯粹的动态加载图片(即动态生成html标签和dom元素,后续可以再去实现),只是把原来页面中的隐藏或者说把opacity属性值由0变为1了.通过看以上代码,这个地方实际上是有个小算法的.
if (bottom_of_window > bottom_of_object) 才会去给当前对象(即类控制器为.timeline.animated .timeline-row的对象)添加类选择器active(暂且先不具体该类选择器实现什么效果)
我们先讨论下这两个值bottom_of_window和bottom_of_object
bottom_of_window = $(window).scrollTop() + $(window).height();
$(window).scrollTop()表示当前滚动条的位置距离页面顶端的距离,其实可以理解为页面滚动条拉到某个位置,顶部隐藏的页面内容的高度;
$(window).height()表示当前可视页面区域的高度;

bottom_of_object = $(this).position().top + $(this).outerHeight();
$(this).position().top表示当前元素距离父元素的距离,个人理解为应该就是margintop的值吧,
$(this).outerHeight()表示当前元素的高度还有padding+border,但不包括margin
如下盒子模型:

当if (bottom_of_window > bottom_of_object)为真的情况下,我们看到执行了return $(this).addClass("active"),这段代码起什么作用呢,其实作用就是
用户在拖动滚动条时时间轴内容的过渡效果,我们可以看到添加效果是向.timeline.animated .timeline-row添加的,我们查看样式文件关于这个类选择器的所在对象都有什么
样式效果:
.timeline.animated .timeline-row .timeline-content {
    opacity: 0;
    left: 20px;
    -webkit-transition: all 0.8s;
    -moz-transition: all 0.8s;
    transition: all 0.8s; }
  .timeline.animated .timeline-row:nth-child(odd) .timeline-content {
    left: -20px; }
  .timeline.animated .timeline-row.active .timeline-content {
    opacity: 1;
    left: 0; }
  .timeline.animated .timeline-row.active:nth-child(odd) .timeline-content {
    left: 0; }
很明显在执行$(this).addClass("active")之后,以下样式起作用了.
.timeline.animated .timeline-row.active .timeline-content {
    opacity: 1;
    left: 0; }
为什么会有一个过渡的飘入效果呢,其实就是定义了
.timeline.animated .timeline-row .timeline-content {
    opacity: 0;
    left: 20px;
    -webkit-transition: all 0.8s;
    -moz-transition: all 0.8s;
    transition: all 0.8s; }
transition(css3标签)定义了类选择器.timeline.animated .timeline-row .timeline-content的包含对象只有有任何样式更改都会有一个0.8.s时间的过渡效果,当然这个时间
我们可以重新去修改。
因为我们在执行$(this).addClass("active")之前,我们时间轴左边的对象的样式如下(我们暂且先说时间轴左边的)
.timeline.animated .timeline-row:nth-child(odd) .timeline-content {
opacity: 0;

left: -20px; }
执行之后样式如下:
.timeline.animated .timeline-row.active .timeline-content {
    opacity: 1;
    left: 0; }
所以会有一个从左到右的一个实现效果,因为透明度和左边距都变了。
时间轴右边的对象为什么是从右到左的一个切入效果呢,首先执行$(this).addClass("active")之前,时间轴右边对象样式为
.timeline.animated .timeline-row .timeline-content {
    opacity: 0;
    left: 20px;
    -webkit-transition: all 0.8s;
    -moz-transition: all 0.8s;
    transition: all 0.8s; }
我们看到left为20px,opacity(透明度为0),执行$(this).addClass("active")之后
 .timeline.animated .timeline-row.active .timeline-content {
    opacity: 1;
    left: 0; }
left为0,opacity(透明度为1),transition为0.8s,所以有一个从右到左的一个过渡效果了.
以上代码有一个考究的地方
.timeline-row:nth-child(odd)中的nth-child(odd)选择器,因为css的解析顺序是从右到左,所以这个地方的意思表示.timeline-row为奇数的对象(属于其父元素的第奇数个timeline-row)
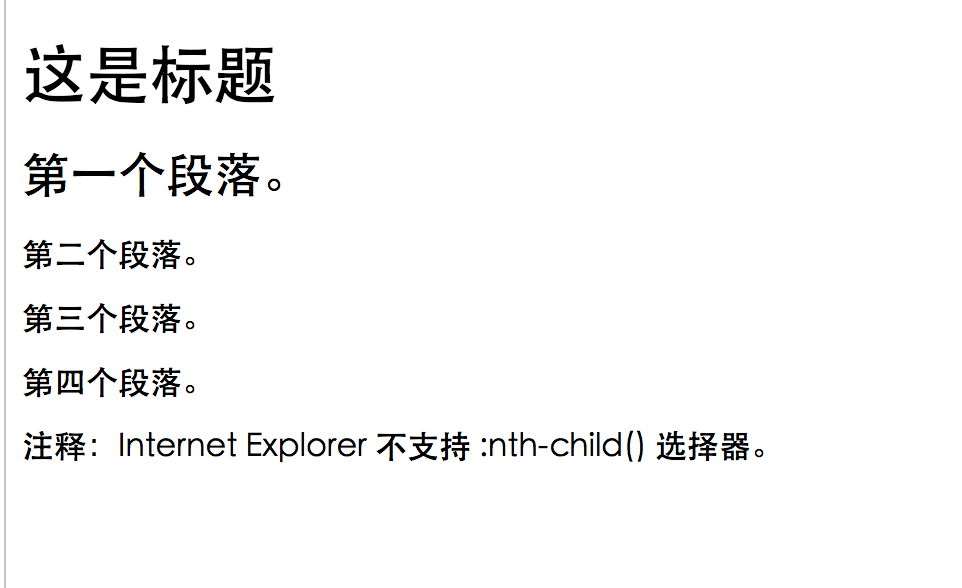
假如有以下代码,
<!DOCTYPE html>
<html>
<head>
<style>
p:nth-child(2)
{
background:#ff0000;
}
</style>
</head>
<body>

<h1>这是标题</h1>
<p>第一个段落。</p>
<p>第二个段落。</p>
<p>第三个段落。</p>
<p>第四个段落。</p>

<p><b>注释:</b>Internet Explorer 不支持 :nth-child() 选择器。</p>

</body>
</html>
其中p:nth-child(2)表示p的父元素中第二个子元素,并且这个子元素是p,这时候第二个子元素正好是P所以显示效果如下

如果改为以下
<h1>这是标题</h1>
<h2>第一个段落。</h2>
<p>第二个段落。</p>
<p>第三个段落。</p>
<p>第四个段落。</p>
这时候效果如下
因为p:nth-child(2)第二个子元素是h2,而不是p所以没找到匹配的元素,所以背景色也没生效.
先研究到这里,后续有时间准备让页面元素动态加载,而不是在页面上早早显示出来,只是通过控制透明度来显示或者隐藏.