1、使用scope来实现权限控制
认证服务器,可以根据不同的应用发出不同scope的令牌,同样,资源服务器也可以通过scope来控制访问权限。
场景:对于订单服务器,GET请求要求令牌的scope必须有read,POST请求必须有write。
1.1、订单服务提供两个请求一个POST,一个GET
/**
 * 订单控制层
 *
 * @author caofanqi
 * @date 2020/1/31 14:26
 */
@Slf4j
@RestController
@RequestMapping("/orders")
public class OrderController {

    private RestTemplate restTemplate = new RestTemplate();

    @PostMapping
    public OrderDTO create(@RequestBody OrderDTO orderDTO, @AuthenticationPrincipal String username) {
        log.info("username is :{}",username);
        PriceDTO price = restTemplate.getForObject("http://127.0.0.1:9070/prices/" + orderDTO.getProductId(), PriceDTO.class);
        log.info("price is : {}", price.getPrice());
        return orderDTO;
    }


    @GetMapping("/{productId}")
    public OrderDTO get(@PathVariable Long productId) {
        OrderDTO orderDTO = new OrderDTO();
        orderDTO.setProductId(productId);
        return orderDTO;
    }

}
1.2、资源服务器配置类重写public void configure(HttpSecurity http)方法。
/**
 * 资源服务器配置
 *
 * @author caofanqi
 * @date 2020/2/1 20:10
 */
@Configuration
@EnableResourceServer
public class ResourceServerConfig extends ResourceServerConfigurerAdapter {


    @Override
    public void configure(ResourceServerSecurityConfigurer resources) throws Exception {
        //该资源服务器id
        resources.resourceId("order-server");
    }


    @Override
    public void configure(HttpSecurity http) throws Exception {
        http.authorizeRequests()
                .antMatchers(HttpMethod.GET).access("#oauth2.hasScope('read')")
                .antMatchers(HttpMethod.POST).access("#oauth2.hasScope('write')")
                .anyRequest().authenticated();
    }

}
1.3、测试访问权限
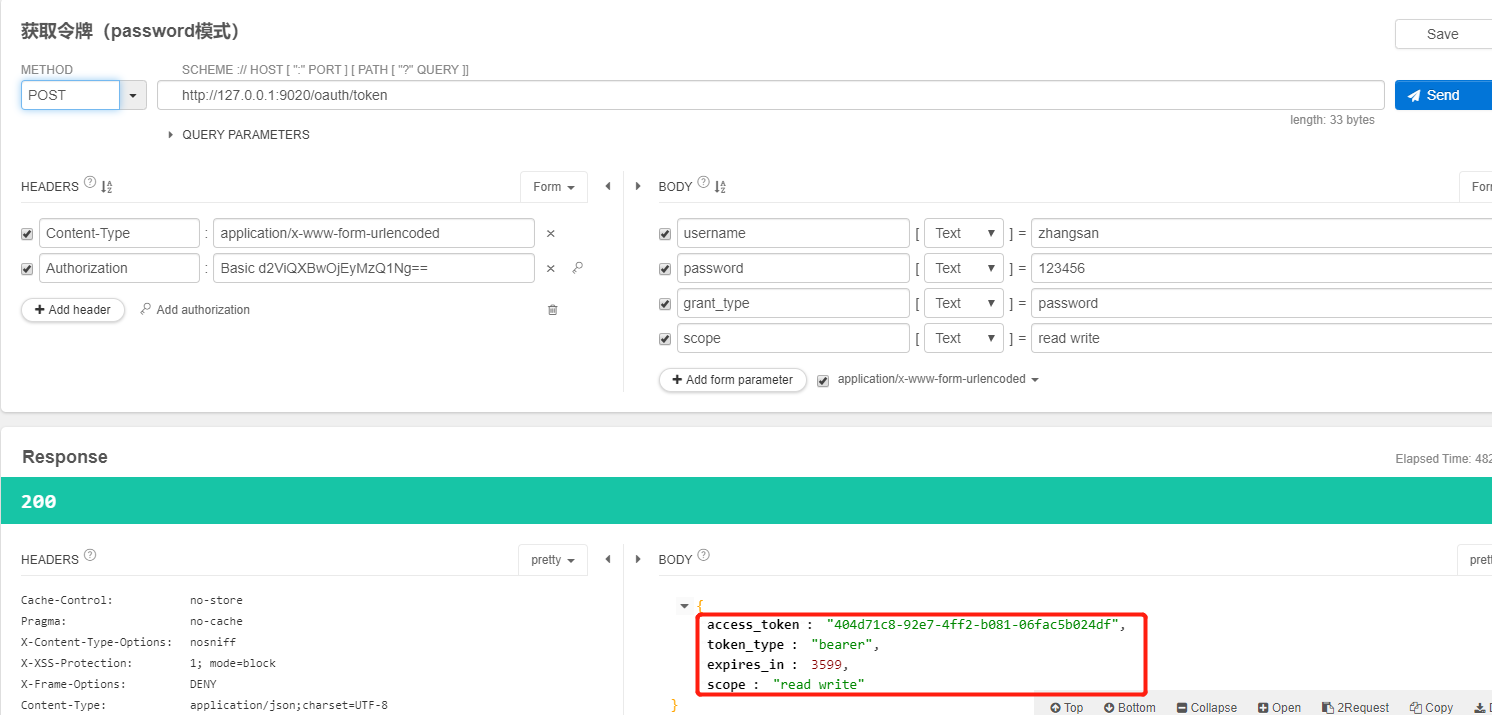
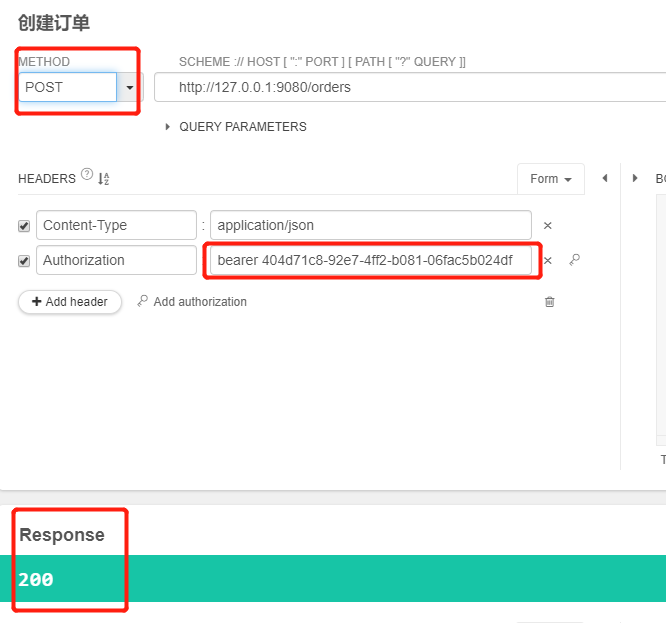
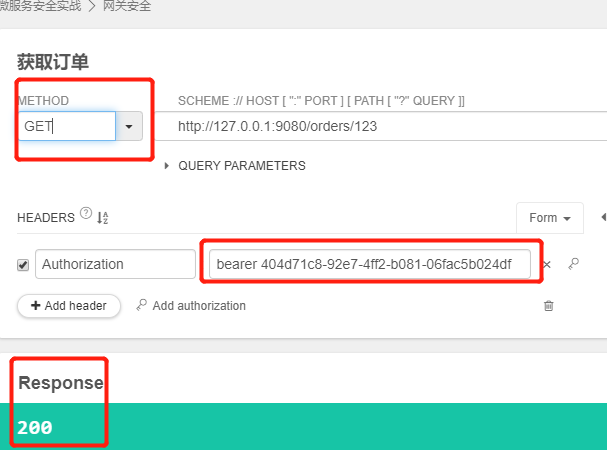
1.3.1、申请scope为read,write的令牌,既可以访问POST请求,又可以访问GET请求。
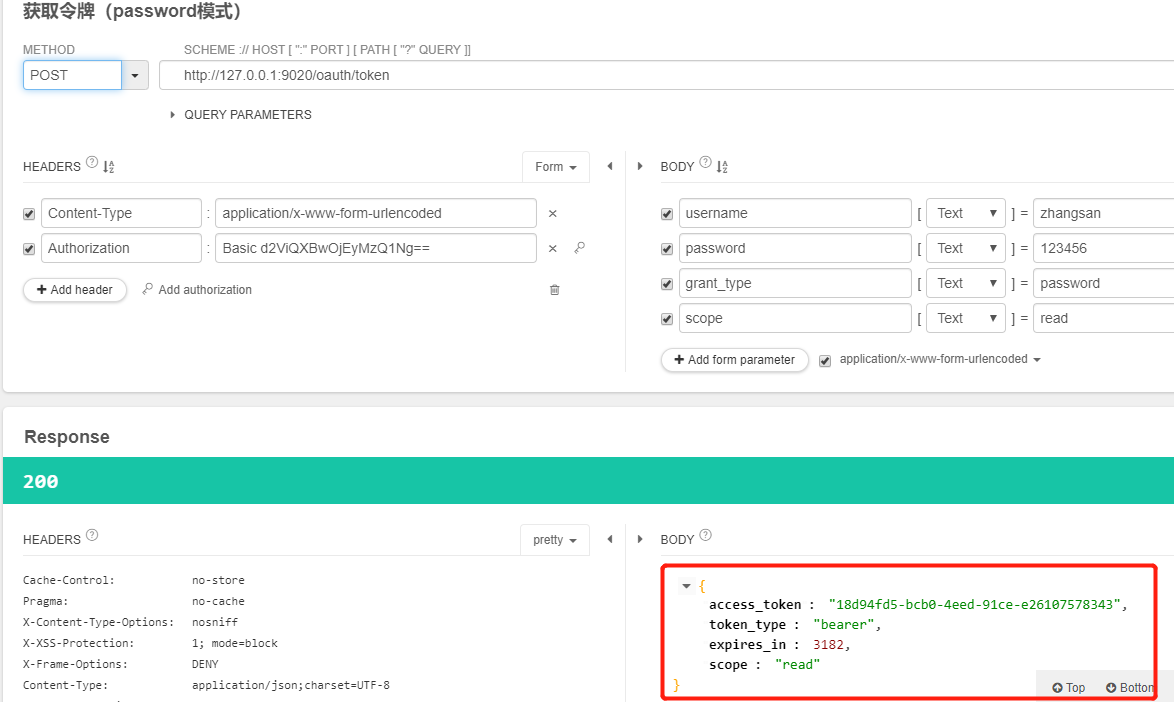
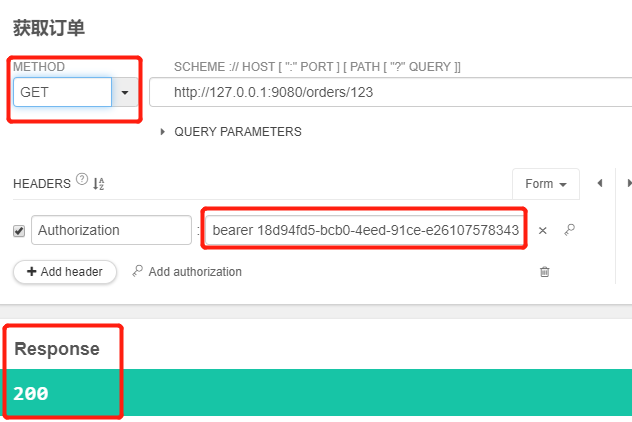
1.3.2、申请scope为read的令牌,只能访问GET请求,POST请求没有权限

1.3.3、同样,申请scope为write的令牌,只能访问POST请求,GET请求没有权限(图略)。
2、通过@AuthenticationPrincipal获取用户信息
在前面我们通过@AuthenticationPrincipal可以直接获得用户的username,现在我们想要获得整个user对象。
2.1、WebSecurityConfig配置类中,为ResourceServerTokenServices添加token转换器
    /**
     *  远程校验令牌相关配置
     */
    @Bean
    public ResourceServerTokenServices tokenServices(){
        RemoteTokenServices tokenServices = new RemoteTokenServices();
        tokenServices.setClientId("orderService");
        tokenServices.setClientSecret("123456");
        tokenServices.setCheckTokenEndpointUrl("http://127.0.0.1:9020/oauth/check_token");
        tokenServices.setAccessTokenConverter(getAccessTokenConverter());
        return tokenServices;
    }

    private AccessTokenConverter getAccessTokenConverter() {
        DefaultAccessTokenConverter accessTokenConverter = new DefaultAccessTokenConverter();
        DefaultUserAuthenticationConverter userTokenConverter = new DefaultUserAuthenticationConverter();
        userTokenConverter.setUserDetailsService(userDetailsService);
        accessTokenConverter.setUserTokenConverter(userTokenConverter);
        return accessTokenConverter;
    }
2.2、实现UserDetailsService接口
/**
 * 查找用户信息
 *
 * @author caofanqi
 * @date 2020/2/2 0:34
 */
@Component
public class UserDetailsServiceImpl implements UserDetailsService {


    @Override
    public UserDetails loadUserByUsername(String username) throws UsernameNotFoundException {
        UserDO userDO = new UserDO();
        userDO.setId(1234L);
        userDO.setUsername(username);
        userDO.setPassword(new BCryptPasswordEncoder().encode("123456"));
        return userDO;
    }
}
2.3、@AuthenticationPrincipal后直接跟loadUserByUsername方法返回的对象即可
    @PostMapping
    public OrderDTO create(@RequestBody OrderDTO orderDTO, @AuthenticationPrincipal UserDO userDO) {
        log.info("userId is :{}", userDO.getId());
        PriceDTO price = restTemplate.getForObject("http://127.0.0.1:9070/prices/" + orderDTO.getProductId(), PriceDTO.class);
        log.info("price is : {}", price.getPrice());
        return orderDTO;
    }
2.4、测试,控制台打印结果如下

2.5、@AuthenticationPrincipal支持Spel表达式
    @PostMapping
    public OrderDTO create(@RequestBody OrderDTO orderDTO, @AuthenticationPrincipal(expression = "#this.id") Long userId) {
        log.info("userId is :{}",userId);
        PriceDTO price = restTemplate.getForObject("http://127.0.0.1:9070/prices/" + orderDTO.getProductId(), PriceDTO.class);
        log.info("price is : {}", price.getPrice());
        return orderDTO;
    }
前面我们在认证服务器配置的客户端信息是直接写在代码里的,存在内存中,这样新增或删除一个客户端应用,都要改代码,重启认证服务器。token信息也都是存在内存里的,重启认证服务器后,token就没了。而且如果认证服务器是集群的话,发令牌的是A机器,验令牌的可能是B机器,这样也是不行的,需要将token持久化到数据库或者redis。我们选择将数据存放到MySQL数据库。
3.1、创建认证服务器需要的表,其中oauth_client_details存放客户端应用信息,oauth_access_token存放发放的令牌信息
create table oauth_client_details (
  client_id VARCHAR(256) PRIMARY KEY,
  resource_ids VARCHAR(256),
  client_secret VARCHAR(256),
  scope VARCHAR(256),
  authorized_grant_types VARCHAR(256),
  web_server_redirect_uri VARCHAR(256),
  authorities VARCHAR(256),
  access_token_validity INTEGER,
  refresh_token_validity INTEGER,
  additional_information VARCHAR(4096),
  autoapprove VARCHAR(256)
);

create table oauth_client_token (
  token_id VARCHAR(256),
  token BLOB,
  authentication_id VARCHAR(256) PRIMARY KEY,
  user_name VARCHAR(256),
  client_id VARCHAR(256)
);

create table oauth_access_token (
  token_id VARCHAR(256),
  token BLOB,
  authentication_id VARCHAR(256) PRIMARY KEY,
  user_name VARCHAR(256),
  client_id VARCHAR(256),
  authentication BLOB,
  refresh_token VARCHAR(256)
);

create table oauth_refresh_token (
  token_id VARCHAR(256),
  token BLOB,
  authentication BLOB
);

create table oauth_code (
  code VARCHAR(256), authentication BLOB
);

create table oauth_approvals (
    userId VARCHAR(256),
    clientId VARCHAR(256),
    scope VARCHAR(256),
    status VARCHAR(10),
    expiresAt DATETIME,
    lastModifiedAt DATETIME
);
3.2、将客户端相关信息存放到oauth_client_details表中

3.3、pom中添加数据库连接等依赖,application.yml中添加数据库连接信息
3.4、修改认证服务器配置类
/**
 * OAuth2认证服务器配置类
 * 需要继承AuthorizationServerConfigurerAdapter类,覆盖里面三个configure方法
 * 并添加@EnableAuthorizationServer注解,指定当前应用做为认证服务器
 *
 * @author caofanqi
 * @date 2020/1/31 18:04
 */
@Configuration
@EnableAuthorizationServer
public class OAuth2AuthServerConfig extends AuthorizationServerConfigurerAdapter {


    @Resource
    private AuthenticationManager authenticationManager;

    @Resource
    private DataSource dataSource;

    /**
     * 配置授权服务器的安全性
     * checkTokenAccess:验证令牌需要什么条件,isAuthenticated():需要经过身份认证。
     * 此处的passwordEncoders是为client secrets配置的。
     */
    @Override
    public void configure(AuthorizationServerSecurityConfigurer security) throws Exception {
        security.checkTokenAccess("isAuthenticated()").passwordEncoder(new BCryptPasswordEncoder());
    }


    /**
     * 配置客户端服务
     */
    @Override
    public void configure(ClientDetailsServiceConfigurer clients) throws Exception {
        //从数据库中读取
        clients.jdbc(dataSource);
    }

    /**
     * 配置授权服务器终端的非安全特征
     * authenticationManager 校验用户信息是否合法
     * tokenStore:token存储
     */
    @Override
    public void configure(AuthorizationServerEndpointsConfigurer endpoints) throws Exception {
        endpoints.authenticationManager(authenticationManager).tokenStore(new JdbcTokenStore(dataSource));
    }

}
3.5、启动项目,请求令牌,可以发现oauth_access_token中多了一条记录

使用该令牌去访问资源服务器,可以正常访问,重启 认证服务器依然生效。
项目源码:https://github.com/caofanqi/study-security/tree/dev-Refactoring