Gitlab是依赖于Git的远程代码仓库,类似于GitHub、Gitee,不同的是GitHub、Gitee的公网上代码仓库, Gitlab是可以私有化部署的免费远程代码仓库
# Gitlab是可以私有化部署的免费远程代码仓库
# GitHub、Gitee的公网上代码仓库
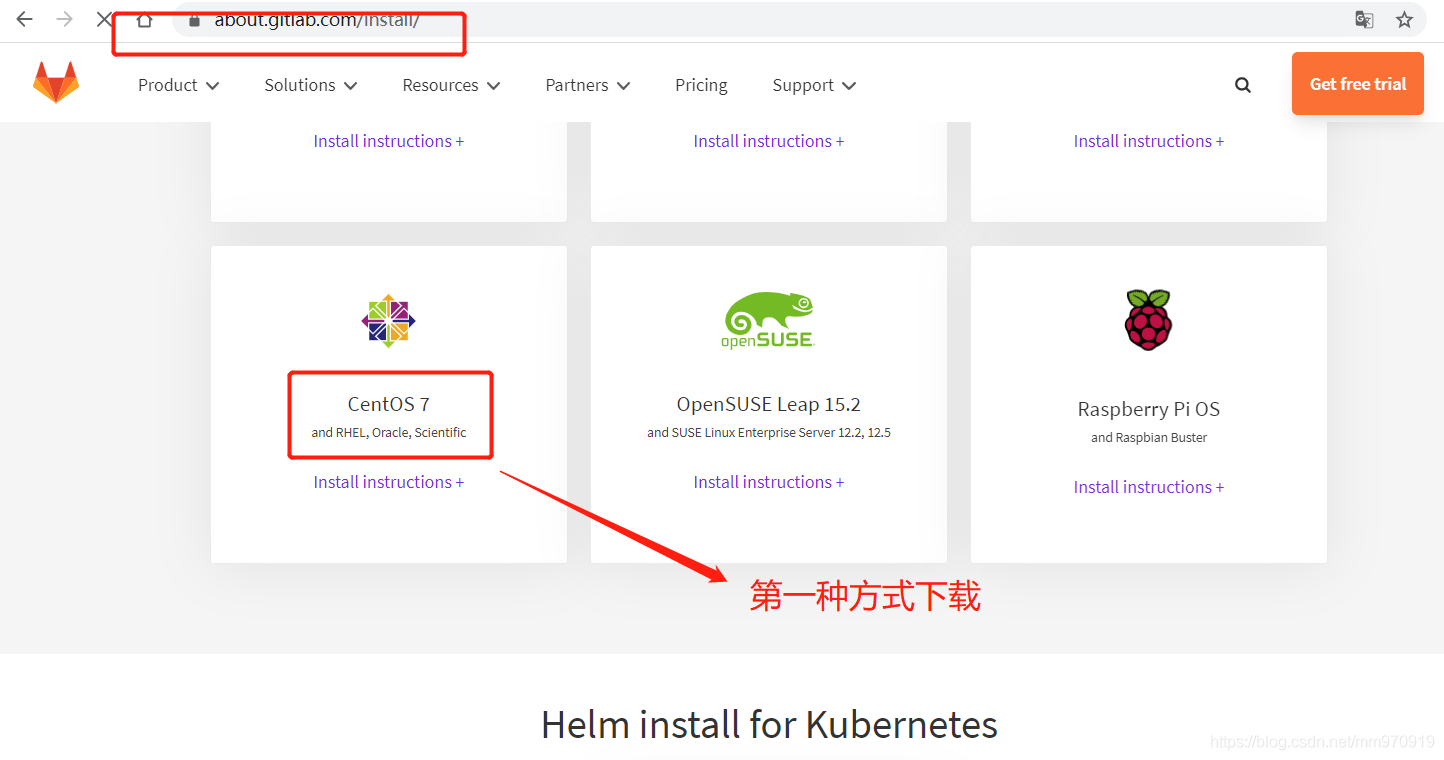
1.部署GitLab
至少内存4G,否则电脑带不起来
ce社区版 和ee 企业版区别
CE 比 EE 要少一些服务,EE 需要购买额外服务(自己对自己写的代码,都特别自信,却很有bug,所有提出了code review)
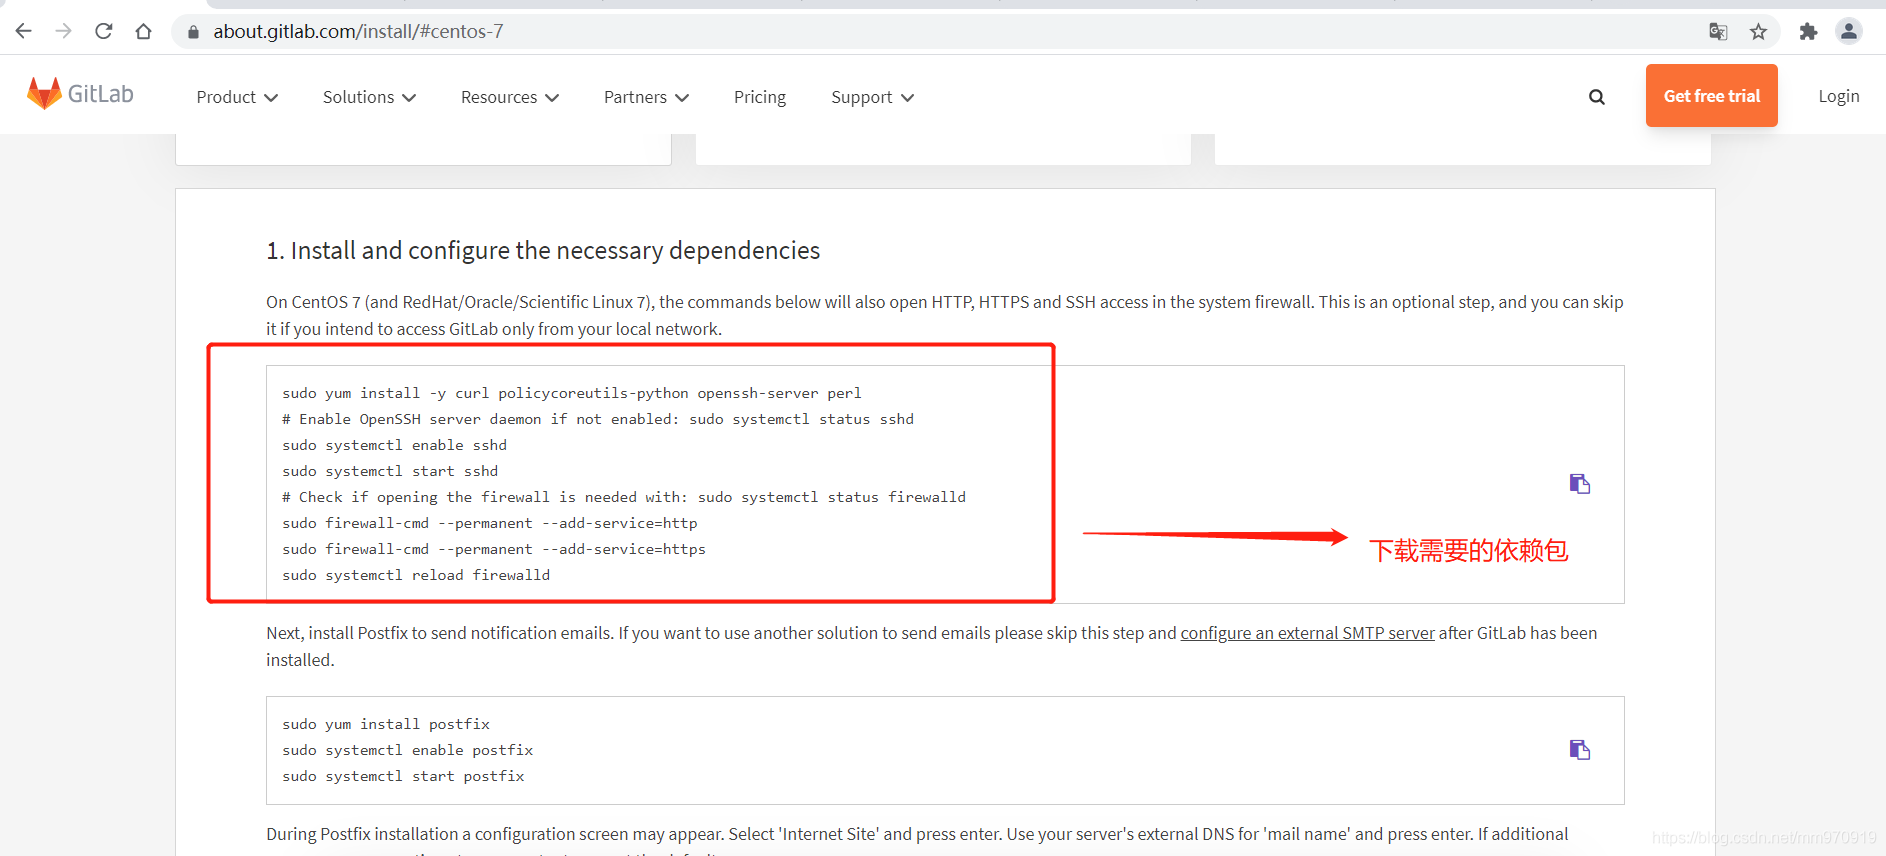

# 1.安装基础依赖包
[root@gitlab gitlab]# yum install -y curl policycoreutils-python openssh-server perl
[root@gitlab gitlab]# yum install postfix
# 关闭防火墙
[root@gitlab gitlab]# systemctl disable --now firewalld
# 关闭selinux
[root@gitlab gitlab]# sed -i 's#enforcing#disabled#g' /etc/sysconfig/selinux
# 临时关闭
[root@gitlab gitlab]# setenforce 0
# 2.下载安装包
[root@gitlab gitlab]# wget https://mirrors.tuna.tsinghua.edu.cn/gitlab-ce/yum/el7/gitlab-ce-13.0.3-ce.0.el7.x86_64.rpm
# 3.安装GitLab
# 安装依赖包
[root@gitlab gitlab]# yum install gitlab-ce-13.0.3-ce.0.el7.x86_64.rpm
# 4.修改配置文件
[root@gitlab gitlab]# vim /etc/gitlab/gitlab.rb
external_url 'http://192.168.15.14'
nginx['listen_port'] = 80
#nginx['listen_https'] = 443 #如果需要https再配置端口
# nginx['ssl_certificate'] = "/etc/gitlab/ssl/#{node['fqdn']}.crt" 生成https证书
# nginx['ssl_certificate_key'] = "/etc/gitlab/ssl/#{node['fqdn']}.key" 配置https证书
# 5.刷新配置(默认启动)
[root@gitlab gitlab]# gitlab-ctl reconfigure #大c致需要几分钟
Running handlers: # 安装代表成功
Running handlers complete
Chef Client finished, 542/1469 resources updated in 05 minutes 13 seconds
gitlab Reconfigured!
# 查看端口(会启动多种端口)
[root@gitlab gitlab]# gitlab-ctl start #启动
[root@gitlab gitlab]# netstat -lntp
Active Internet connections (only servers)
Proto Recv-Q Send-Q Local Address Foreign Address State PID/Program name
tcp 0 0 0.0.0.0:8060 0.0.0.0:* LISTEN 2852/nginx: master
tcp 0 0 127.0.0.1:9121 0.0.0.0:* LISTEN 3350/redis_exporter
tcp 0 0 127.0.0.1:9090 0.0.0.0:* LISTEN 3359/prometheus
tcp 0 0 127.0.0.1:9187 0.0.0.0:* LISTEN 3410/postgres_expor
tcp 0 0 127.0.0.1:9093 0.0.0.0:* LISTEN 3396/alertmanager
tcp 0 0 127.0.0.1:9100 0.0.0.0:* LISTEN 3343/node_exporter
tcp 0 0 127.0.0.1:9229 0.0.0.0:* LISTEN 3333/gitlab-workhor
tcp 0 0 0.0.0.0:111 0.0.0.0:* LISTEN 744/rpcbind
tcp 0 0 127.0.0.1:9168 0.0.0.0:* LISTEN 3348/puma 4.3.3.git
tcp 0 0 0.0.0.0:80 0.0.0.0:* LISTEN 2852/nginx: master
tcp 0 0 127.0.0.1:8082 0.0.0.0:* LISTEN 3265/sidekiq 5.2.7
tcp 0 0 127.0.0.1:9236 0.0.0.0:* LISTEN 3324/gitaly
tcp 0 0 0.0.0.0:22 0.0.0.0:* LISTEN 1133/sshd
tcp 0 0 127.0.0.1:3000 0.0.0.0:* LISTEN 3417/grafana-server
tcp 0 0 127.0.0.1:25 0.0.0.0:* LISTEN 1287/master
tcp6 0 0 :::9094 :::* LISTEN 3396/alertmanager
tcp6 0 0 :::111 :::* LISTEN 744/rpcbind
tcp6 0 0 ::1:9168 :::* LISTEN 3348/puma 4.3.3.git
tcp6 0 0 :::22 :::* LISTEN 1133/sshd
tcp6 0 0 ::1:25 :::* LISTEN 1287/master
# 查看状态
[root@gitlab ~]# gitlab-ctl status
run: alertmanager: (pid 1383) 1595s; run: log: (pid 1382) 1595s
run: gitaly: (pid 1368) 1595s; run: log: (pid 1355) 1595s
run: gitlab-exporter: (pid 1372) 1595s; run: log: (pid 1363) 1595s
run: gitlab-workhorse: (pid 1371) 1595s; run: log: (pid 1361) 1595s
run: grafana: (pid 1386) 1595s; run: log: (pid 1379) 1595s
run: logrotate: (pid 1375) 1595s; run: log: (pid 1374) 1595s
run: nginx: (pid 1373) 1595s; run: log: (pid 1352) 1595s
run: node-exporter: (pid 1366) 1595s; run: log: (pid 1364) 1595s
run: postgres-exporter: (pid 1381) 1595s; run: log: (pid 1380) 1595s
run: postgresql: (pid 1369) 1595s; run: log: (pid 1356) 1595s
run: prometheus: (pid 1385) 1595s; run: log: (pid 1378) 1595s
run: puma: (pid 1360) 1595s; run: log: (pid 1359) 1595s
run: redis: (pid 1370) 1595s; run: log: (pid 1358) 1595s
run: redis-exporter: (pid 1384) 1595s; run: log: (pid 1362) 1595s
run: sidekiq: (pid 1367) 1595s; run: log: (pid 1365) 1595s
# 6.查看详细信息(客户端工具)
[root@gitlab ~]# gitlab-ctl service-lis
[root@gitlab ~]# gitlab-ctl
#停止服务
[root@gitlab gitlab]# gitlab-ctl stop nginx
#开启服务
[root@gitlab gitlab]# gitlab-ctl start nginx
# 7.IP访问
192.168.15.100
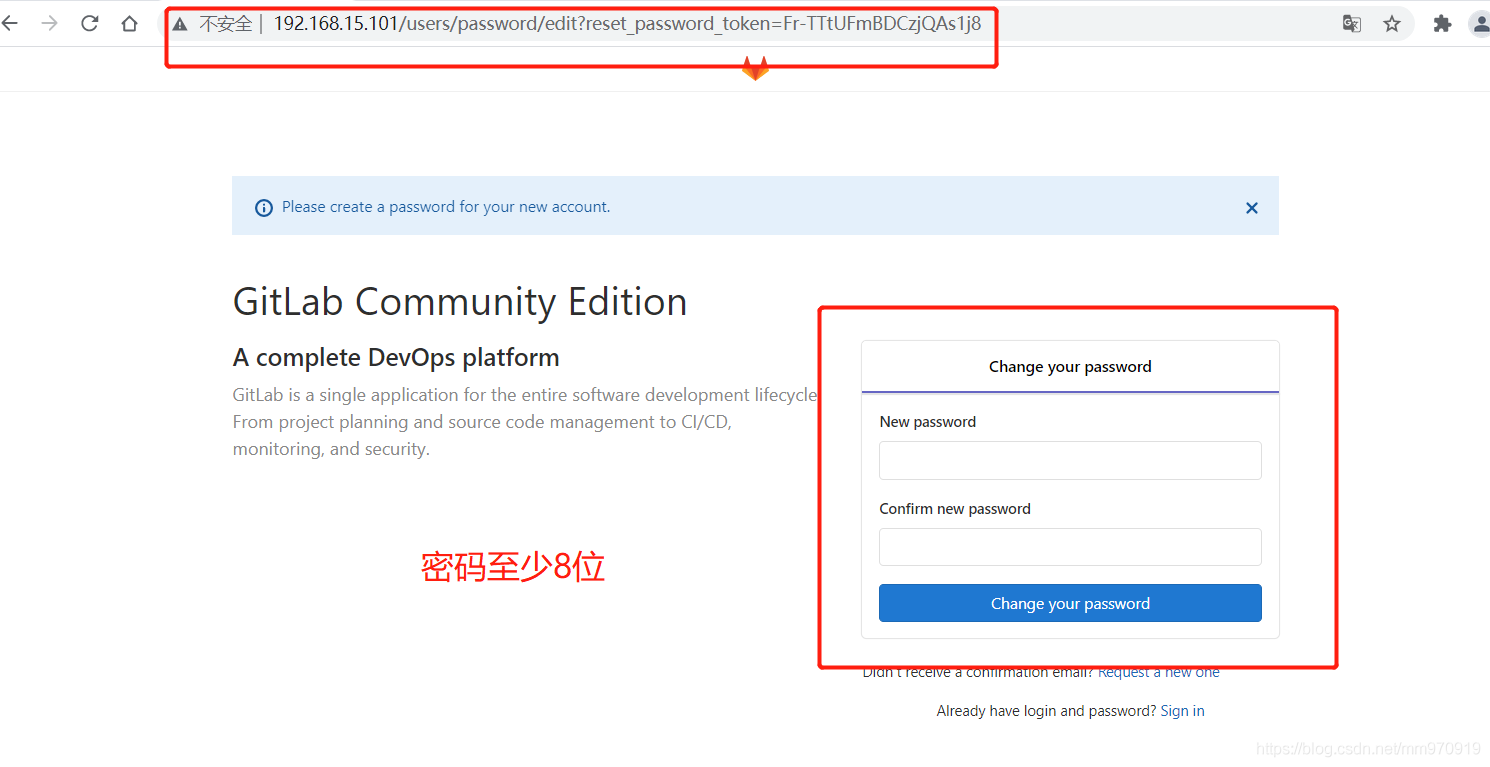
#修改密码 要求8位以上 用户名: root
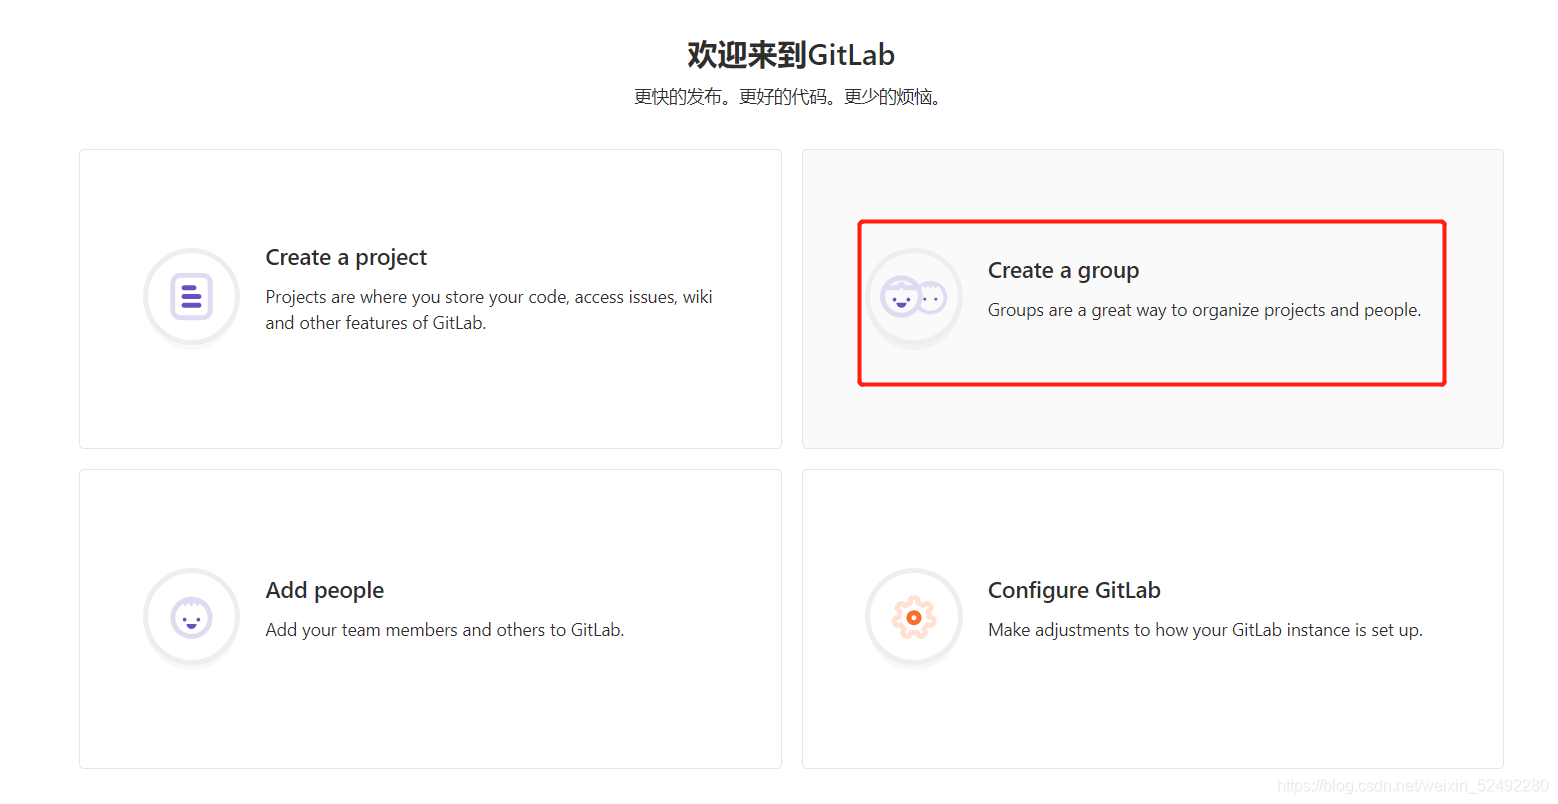
创建用户组、用户及项目
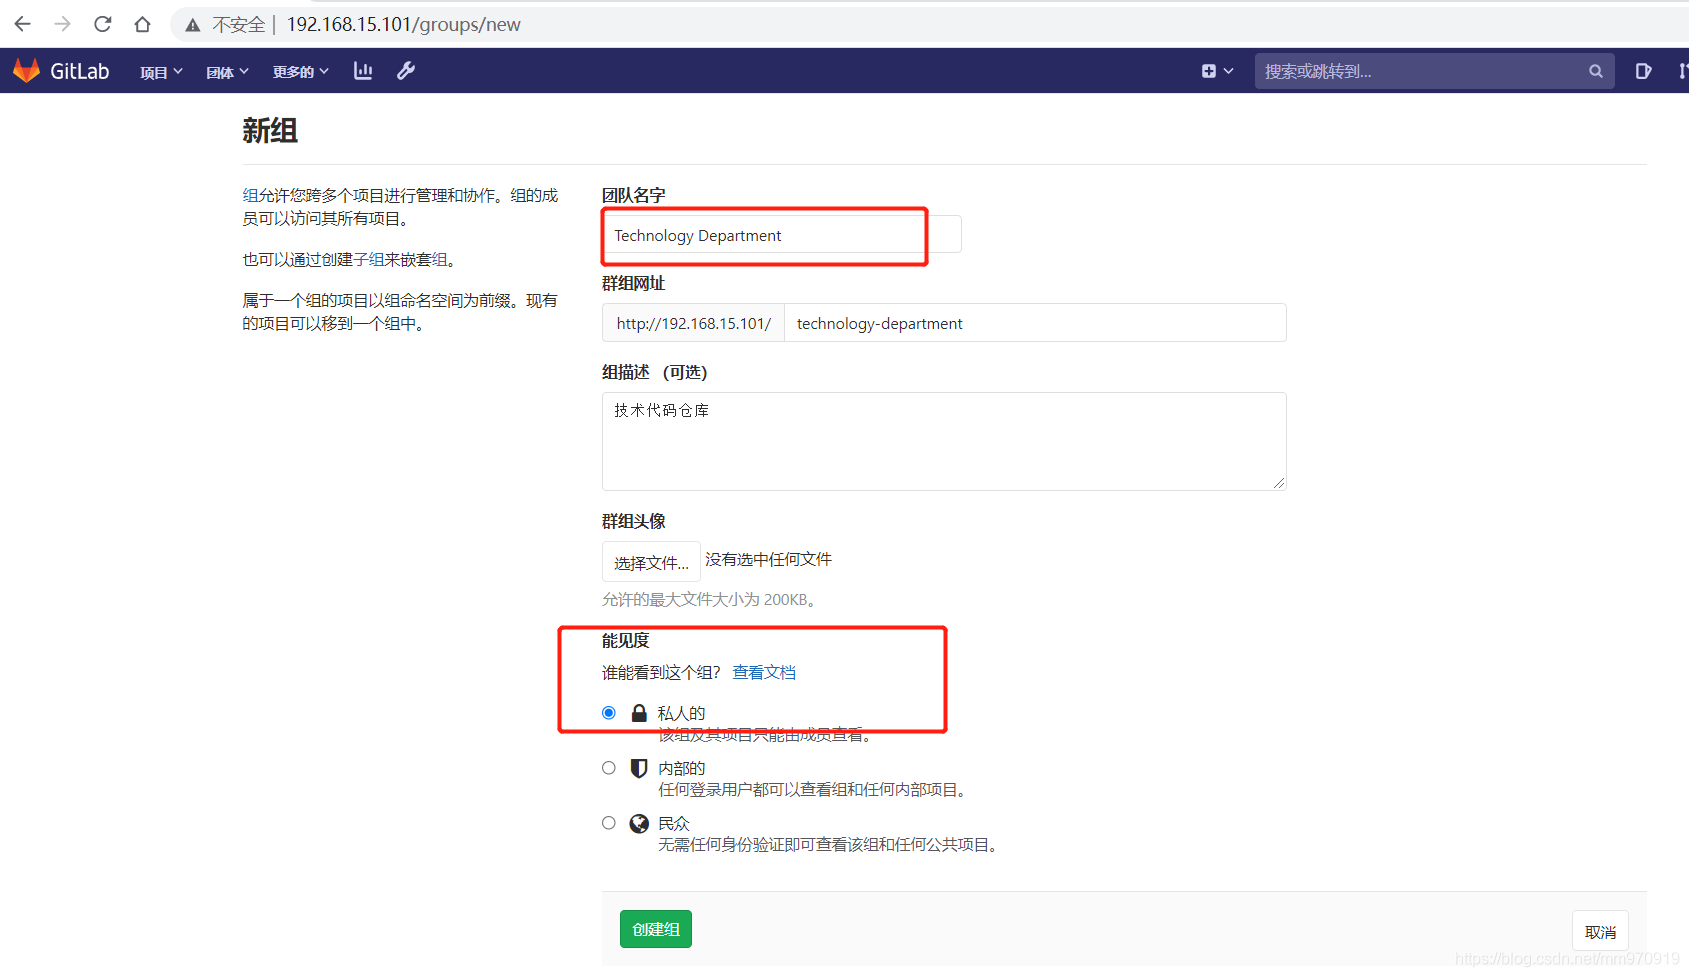
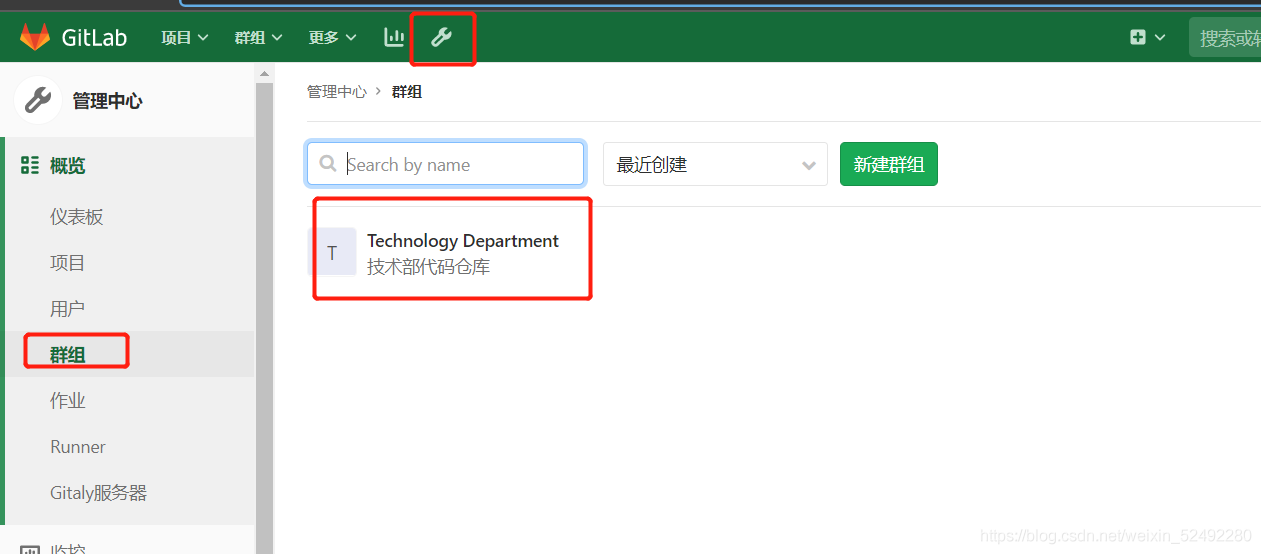
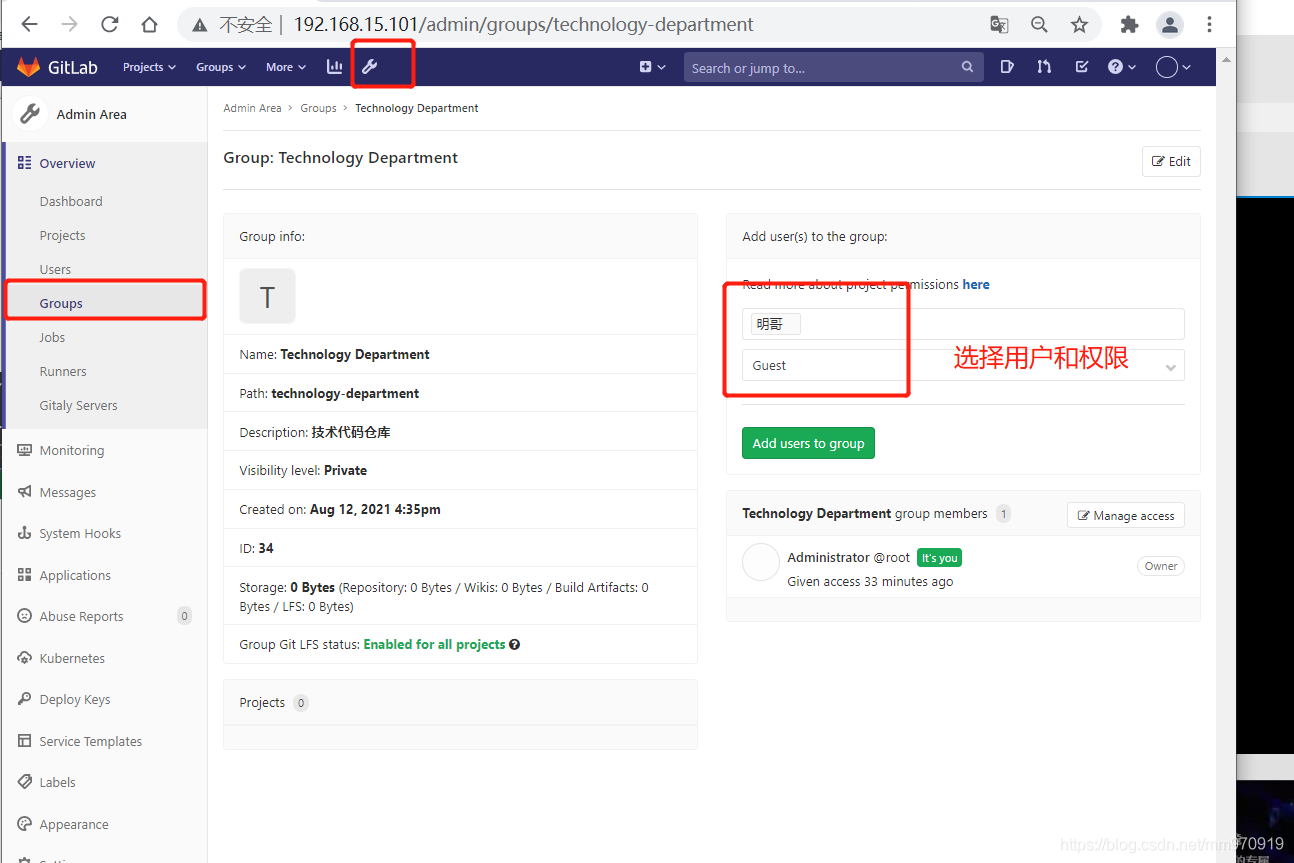
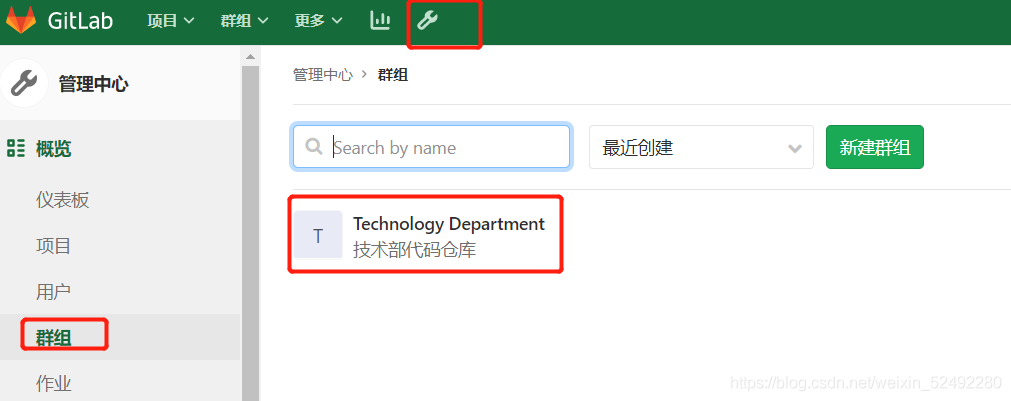
2.创建用户组
[root@k8s-m-02 data]# cd
[root@k8s-m-02 ~]# cd jenkins/
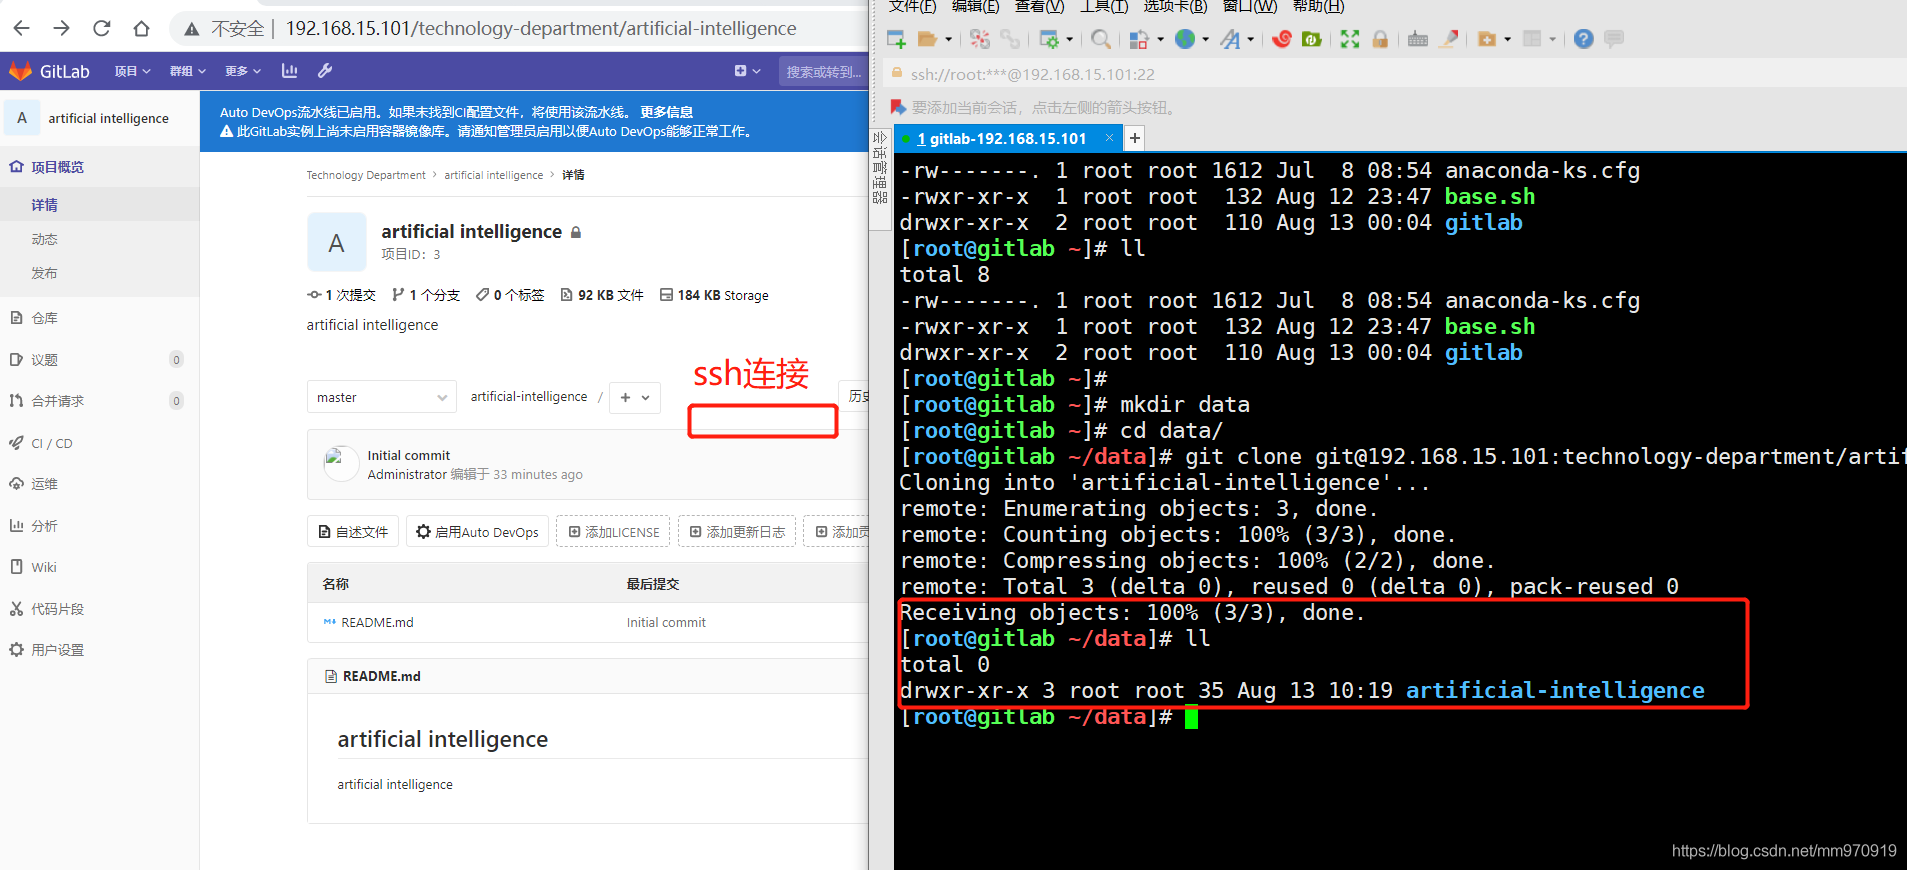
[root@k8s-m-02 jenkins]# git clone git@192.168.15.14:linux-gitlab/html.git
Cloning into 'html'...
warning: You appear to have cloned an empty repository.
[root@k8s-m-02 jenkins]# ll
total 4
drwxr-xr-x 3 root root 18 Aug 15 16:32 html
[root@k8s-m-02 html]# echo "hello world" > index.html
[root@k8s-m-02 html]# git add .
[root@k8s-m-02 html]# git commit -m 'init'
[master (root-commit) afd6361] init
1 file changed, 1 insertion(+)
create mode 100644 index.html
[root@k8s-m-02 html]# git branch
* master
[root@k8s-m-02 html]# git push origin master
Counting objects: 3, done.
Writing objects: 100% (3/3), 221 bytes | 0 bytes/s, done.
Total 3 (delta 0), reused 0 (delta 0)
To git@192.168.15.14:linux-gitlab/html.git
* [new branch] master -> master
#此时代码已上传

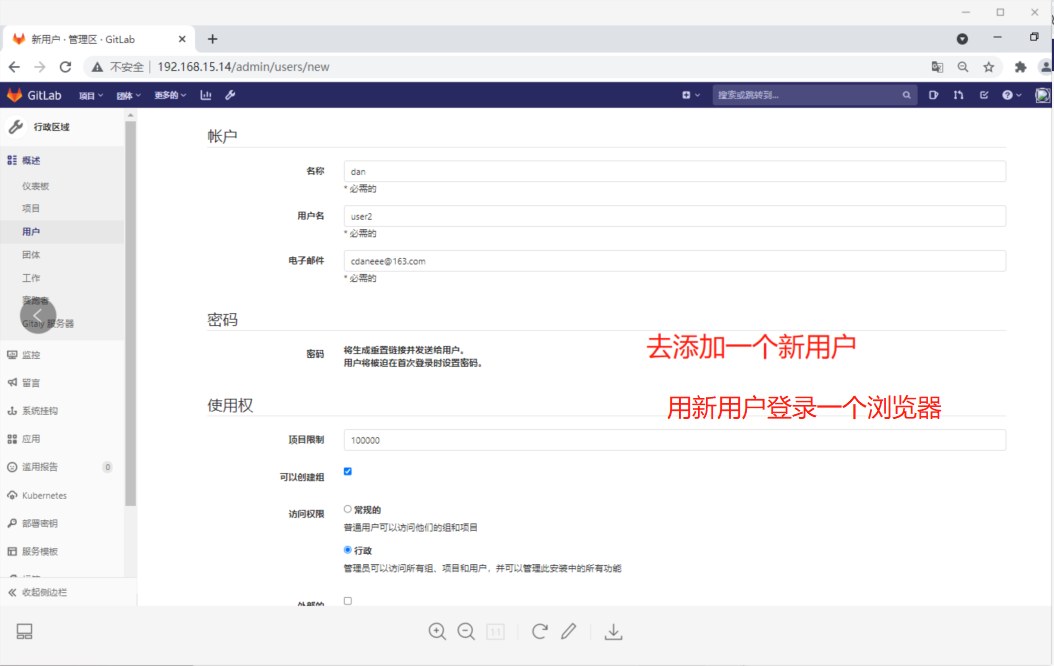
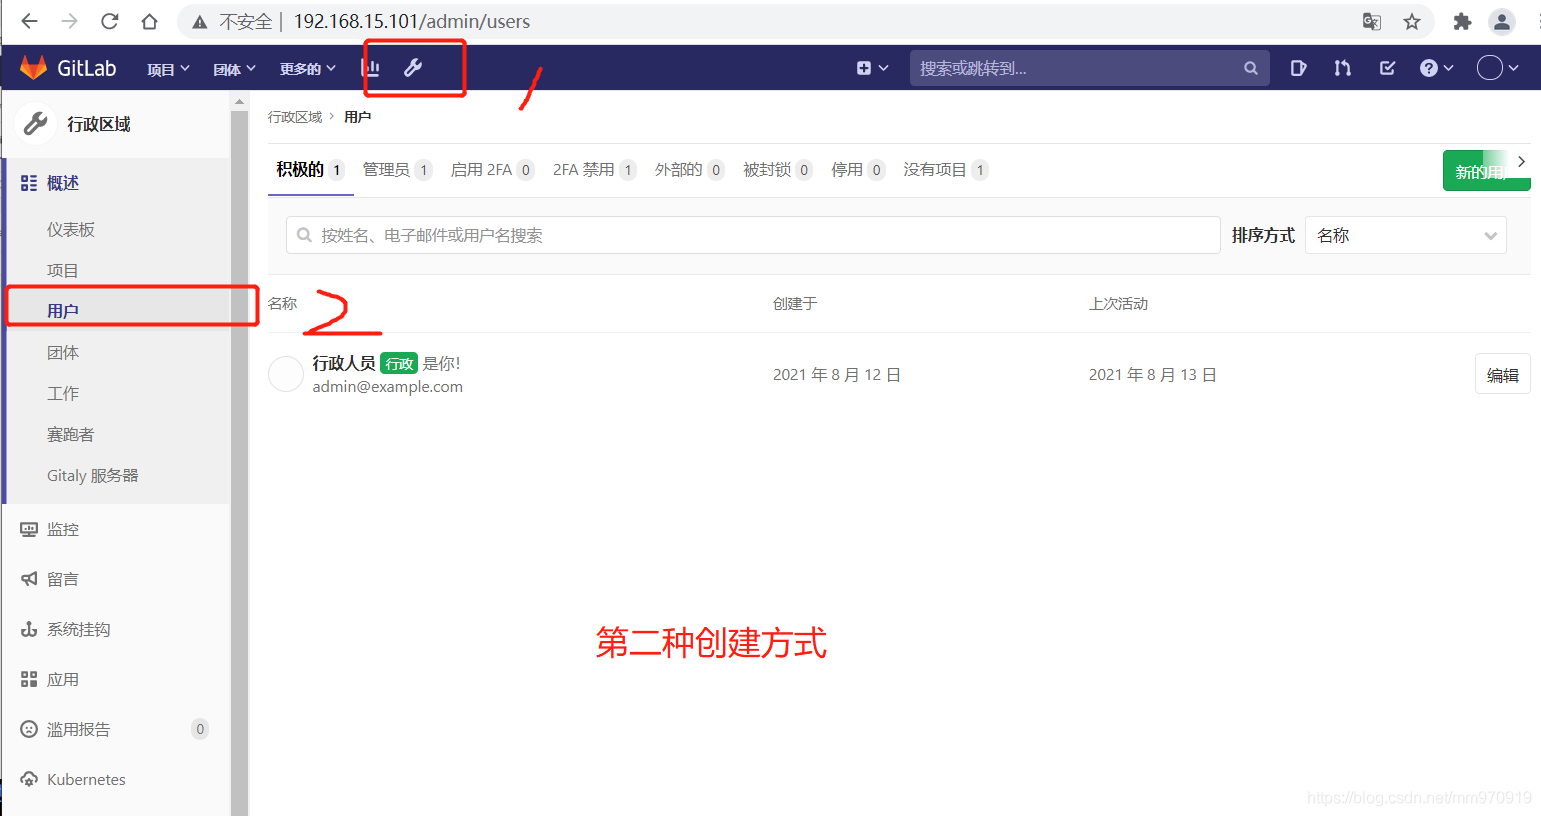
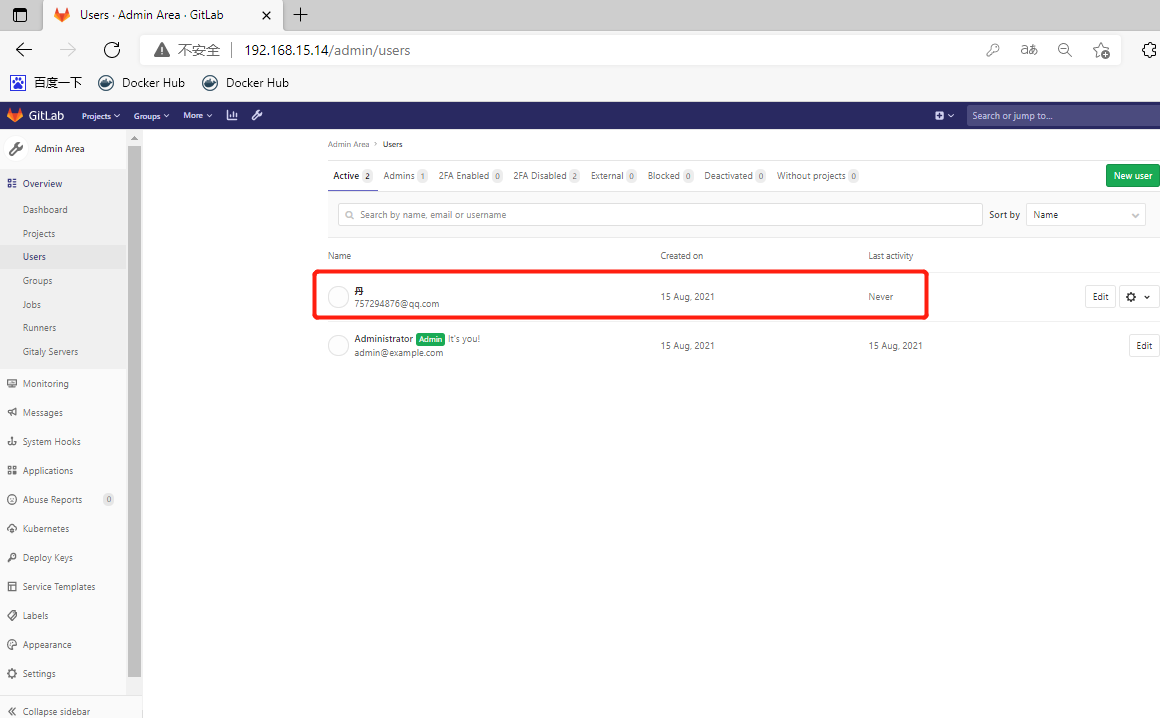
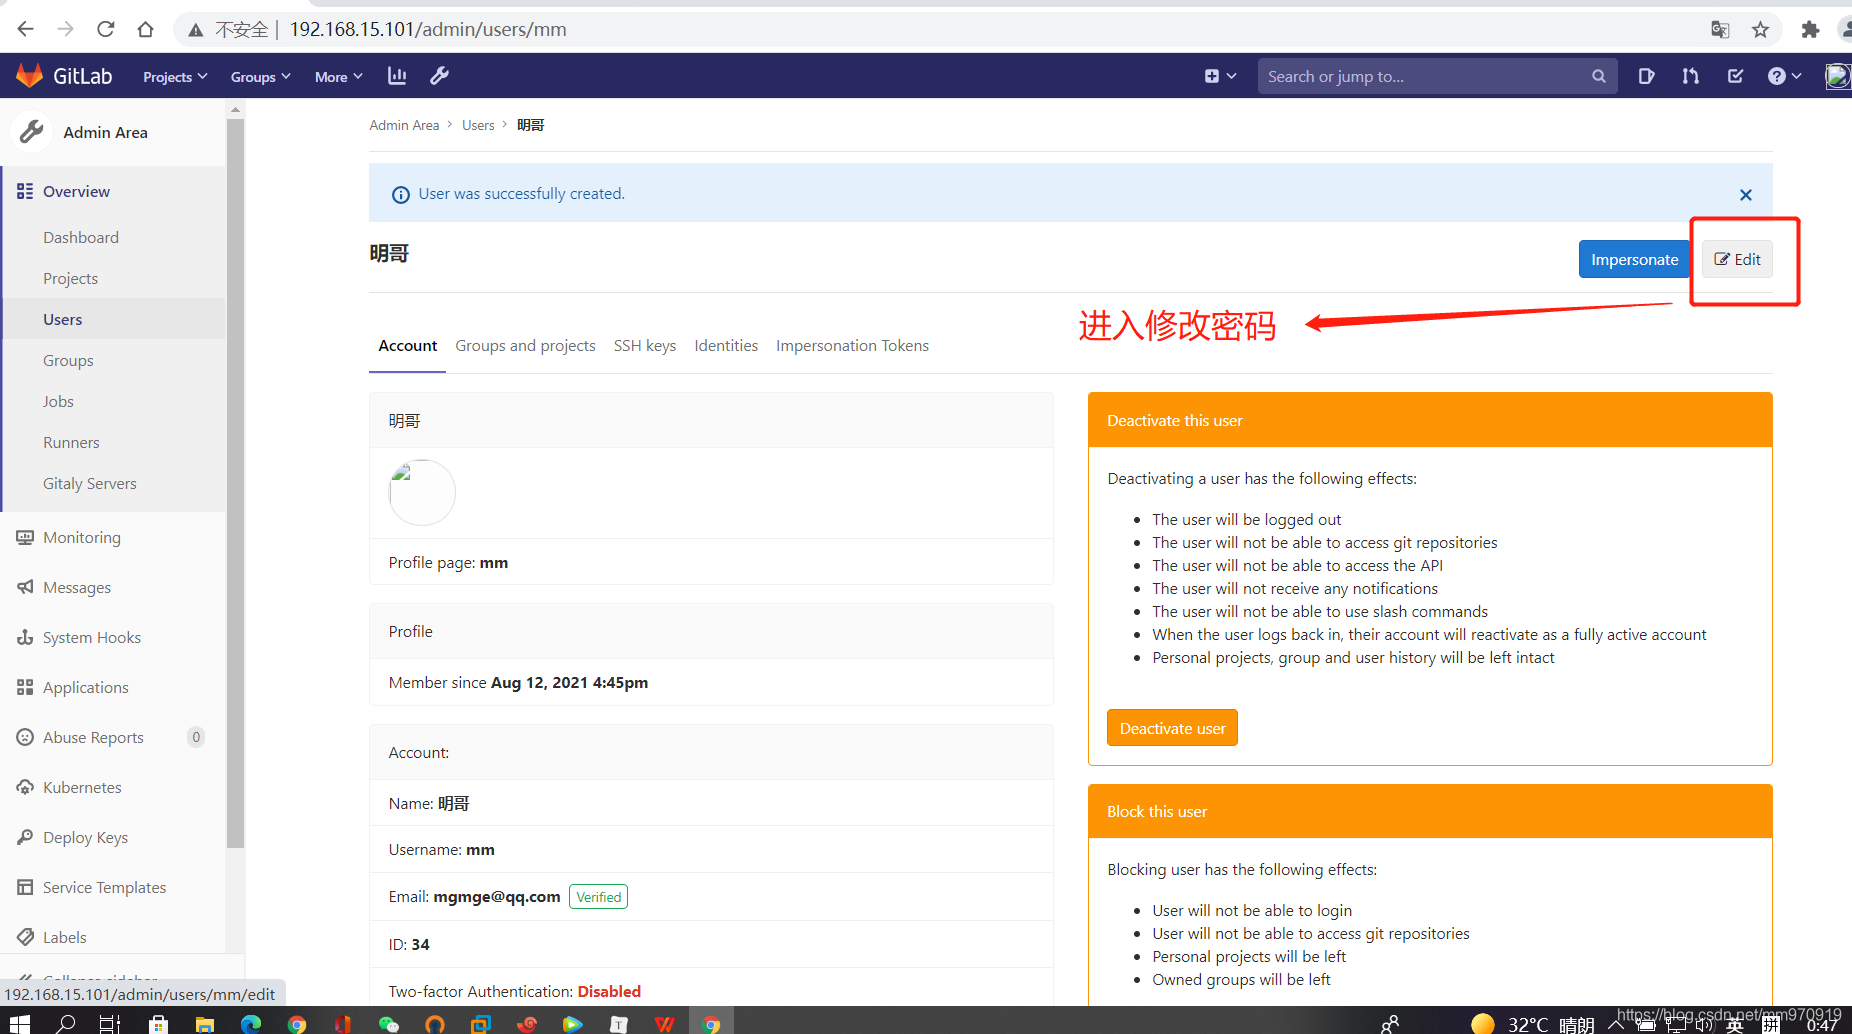
3.创建用户


3.给用户授权

、添加用户有5种角色
1.Guest:可以创建issue、发表评论,不能读写版本库
2.Reporter:可以克隆代码,不能提交,QA、PM 可以赋予这个权限
3.Developer:可以克隆代码、开发、提交、push,普通开发可以赋予这个权限
4.Maintainer:可以创建项目、添加tag、保护分支、添加项目成员、编辑项目,核心开发可以赋予这个 权限
5.Owner:可以设置项目访问权限 - Visibility Level、删除项目、迁移项目、管理组成员,开发组组 长可以赋予这个权限

可以在打开一个浏览器,可以使用user1普通用户登录
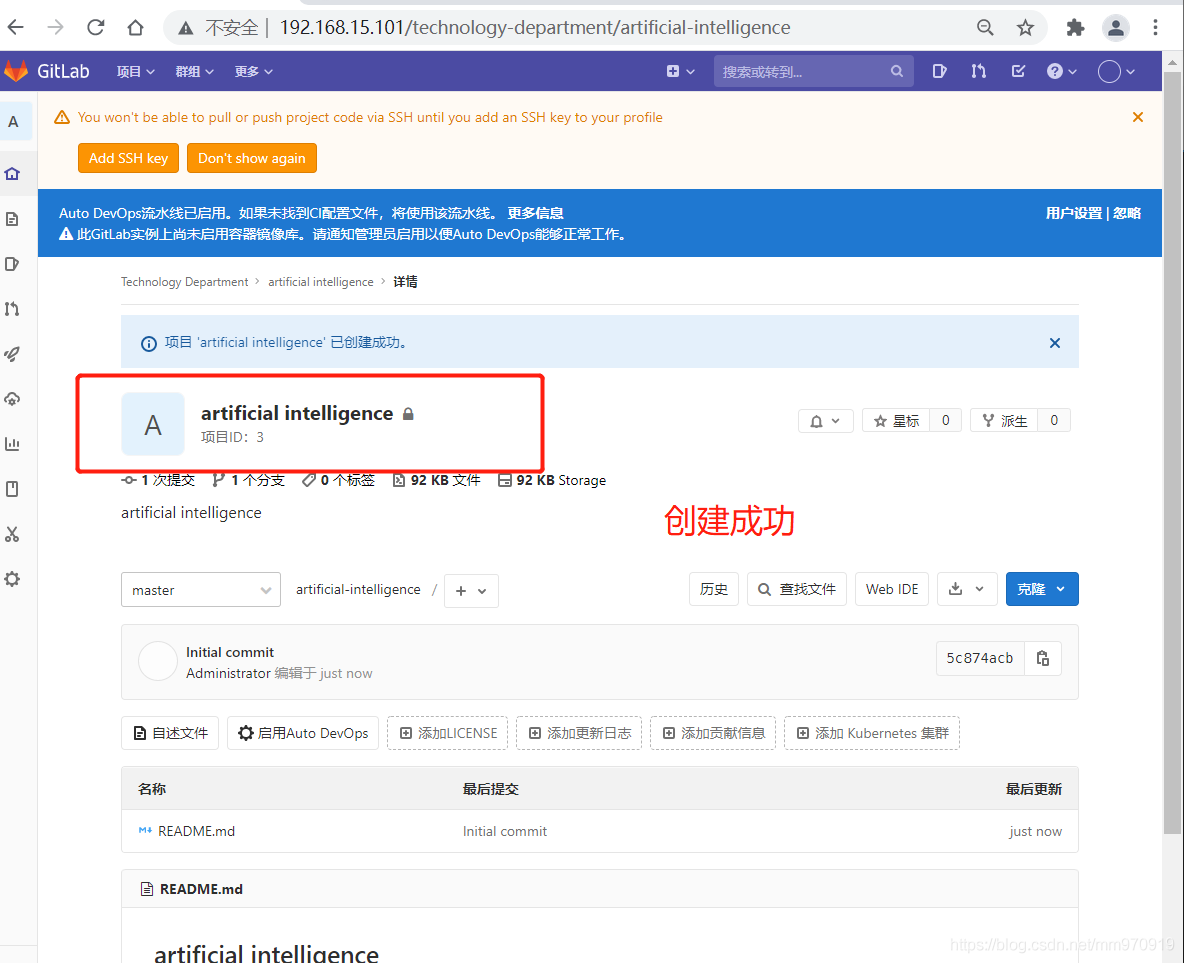
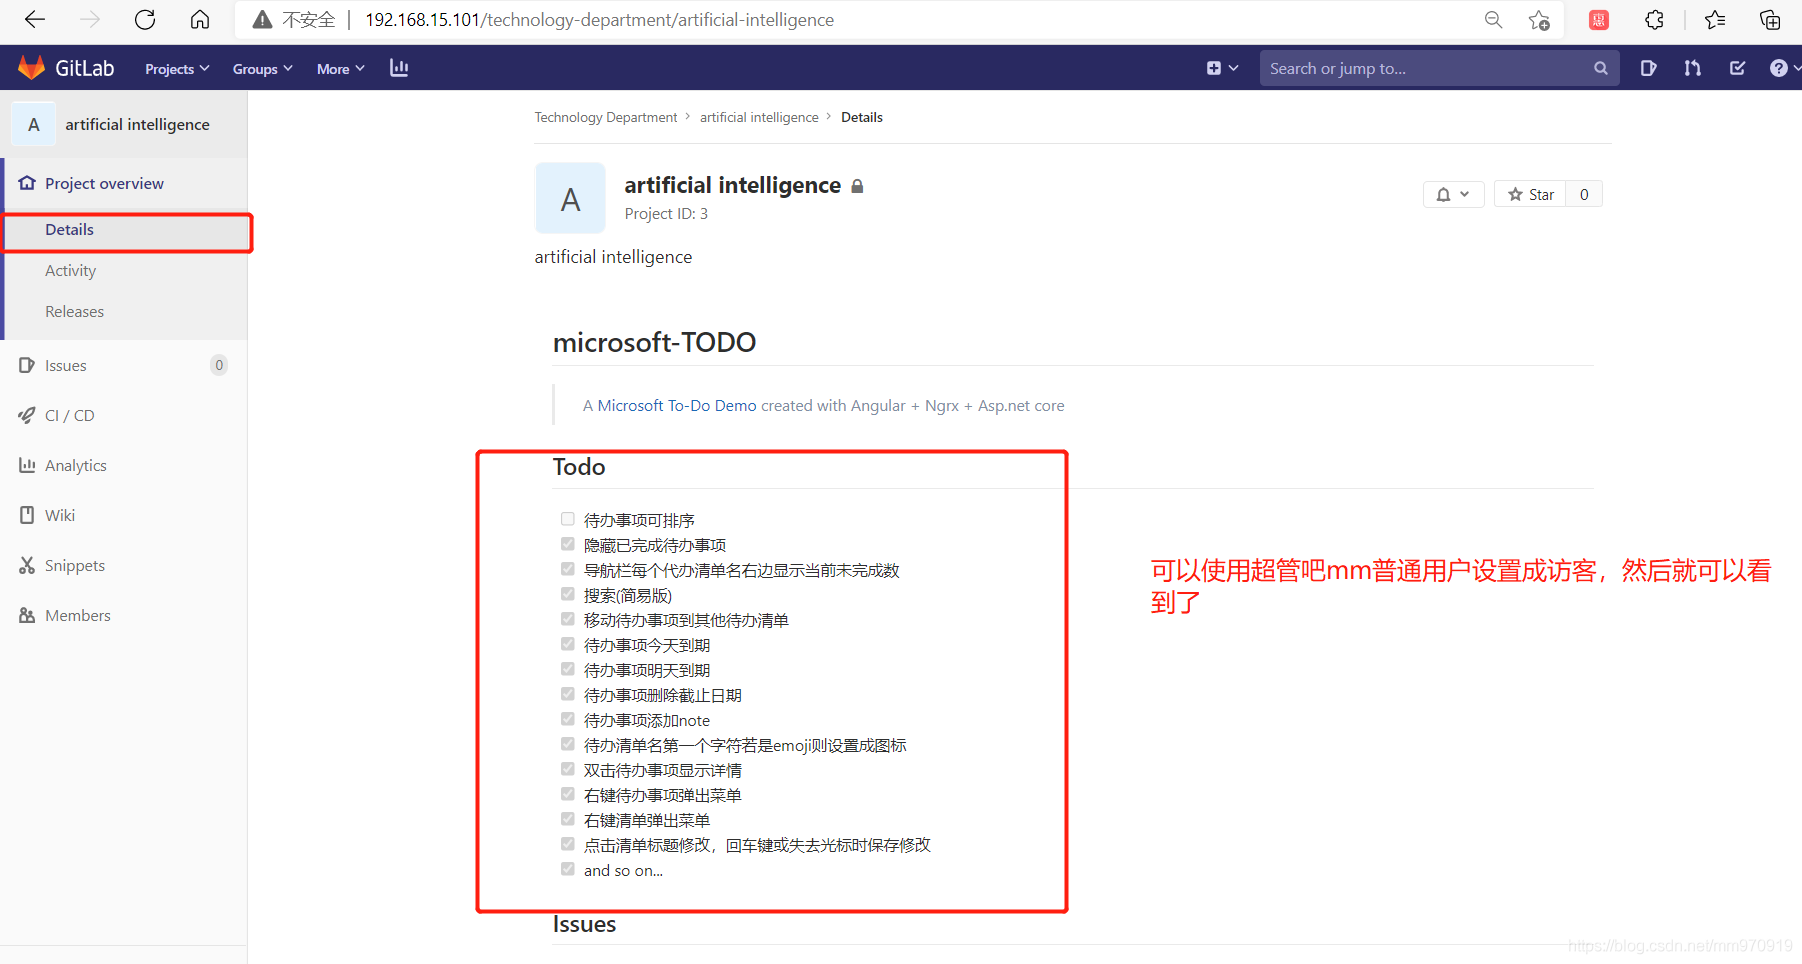
4.创建项目


5.添加组员至组内
1.Guest:可以创建issue、发表评论,不能读写版本库
2.Reporter:可以克隆代码,不能提交,QA、PM 可以赋予这个权限
3.Developer:可以克隆代码、开发、提交、push,普通开发可以赋予这个权限
4.Maintainer:可以创建项目、添加tag、保护分支、添加项目成员、编辑项目,核心开发可以赋予这个 权限
5.Owner:可以设置项目访问权限 - Visibility Level、删除项目、迁移项目、管理组成员,开发组组 长可以赋予这个权限
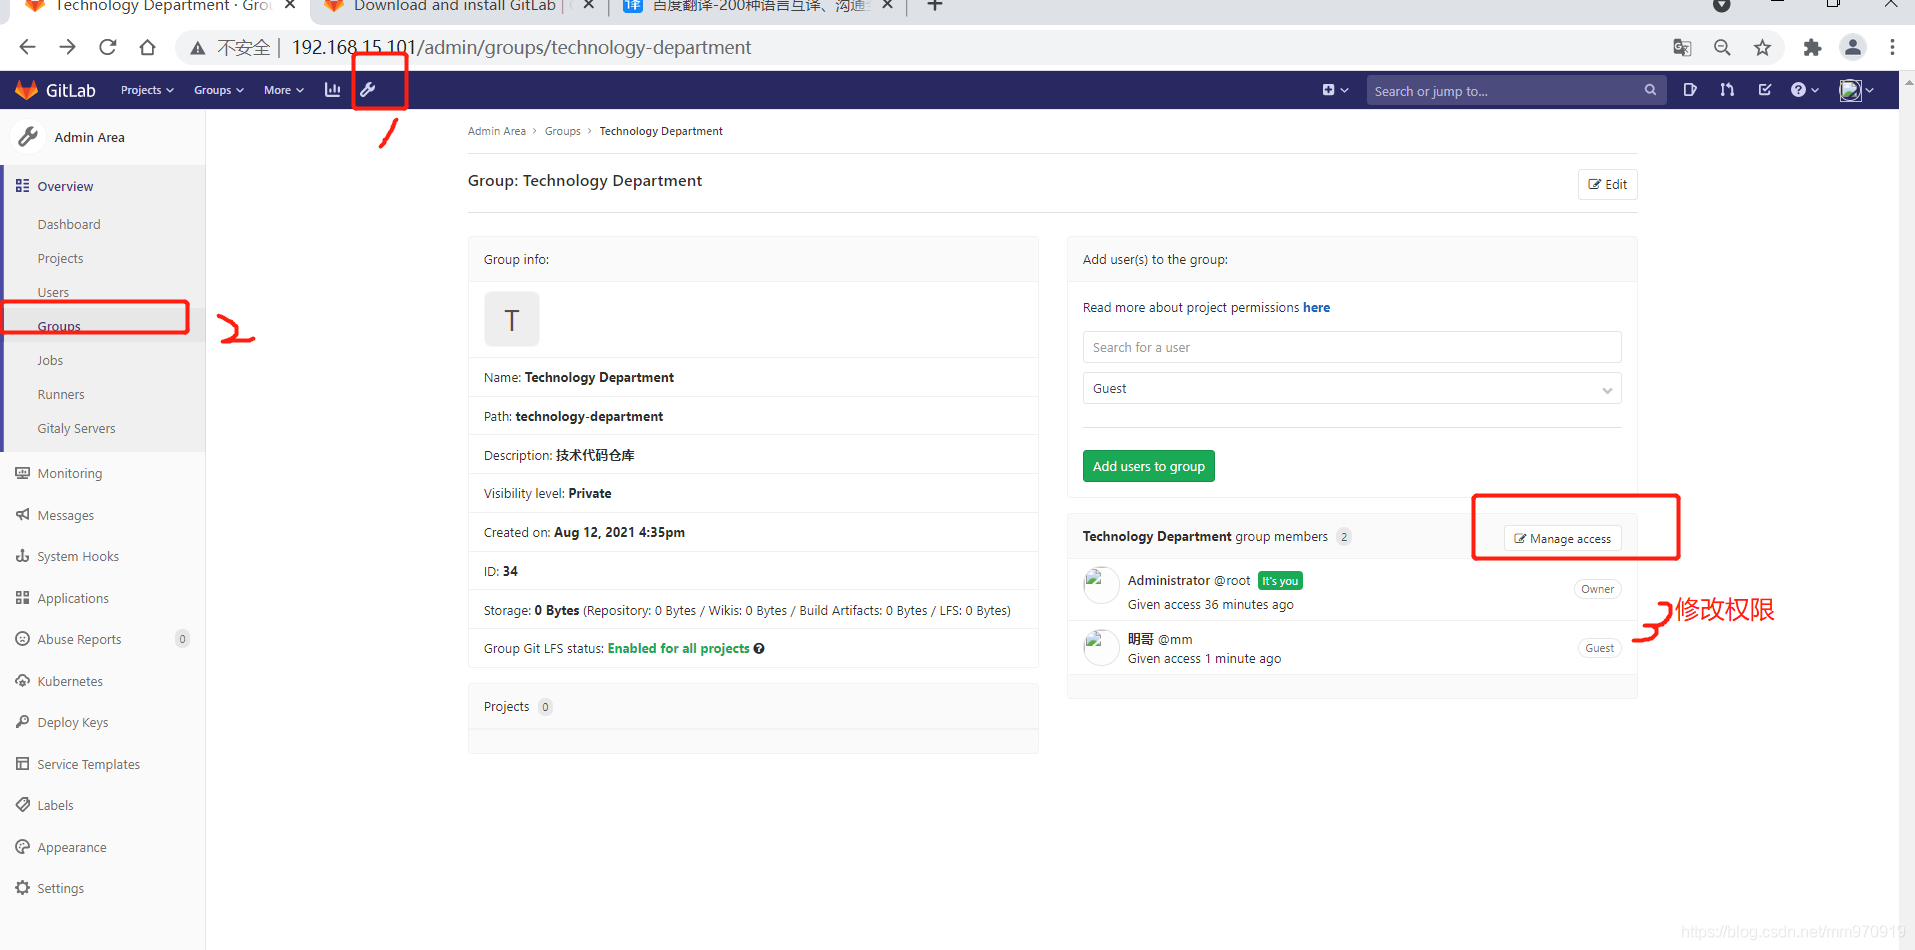
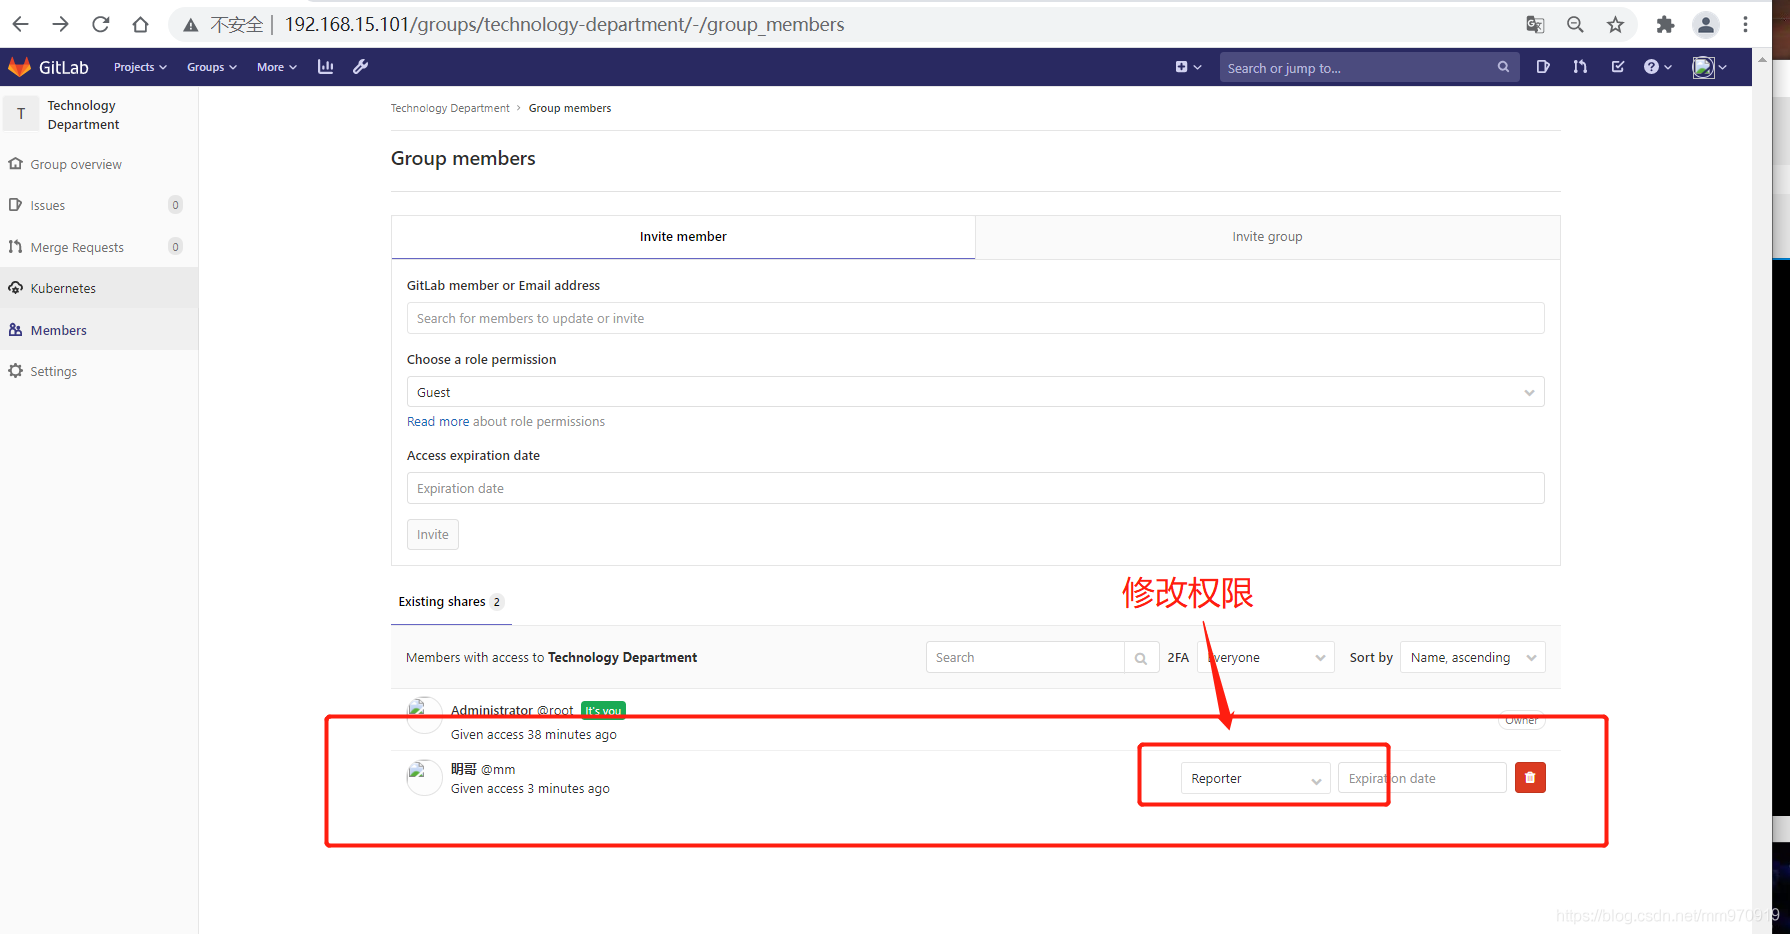
6.修改权限


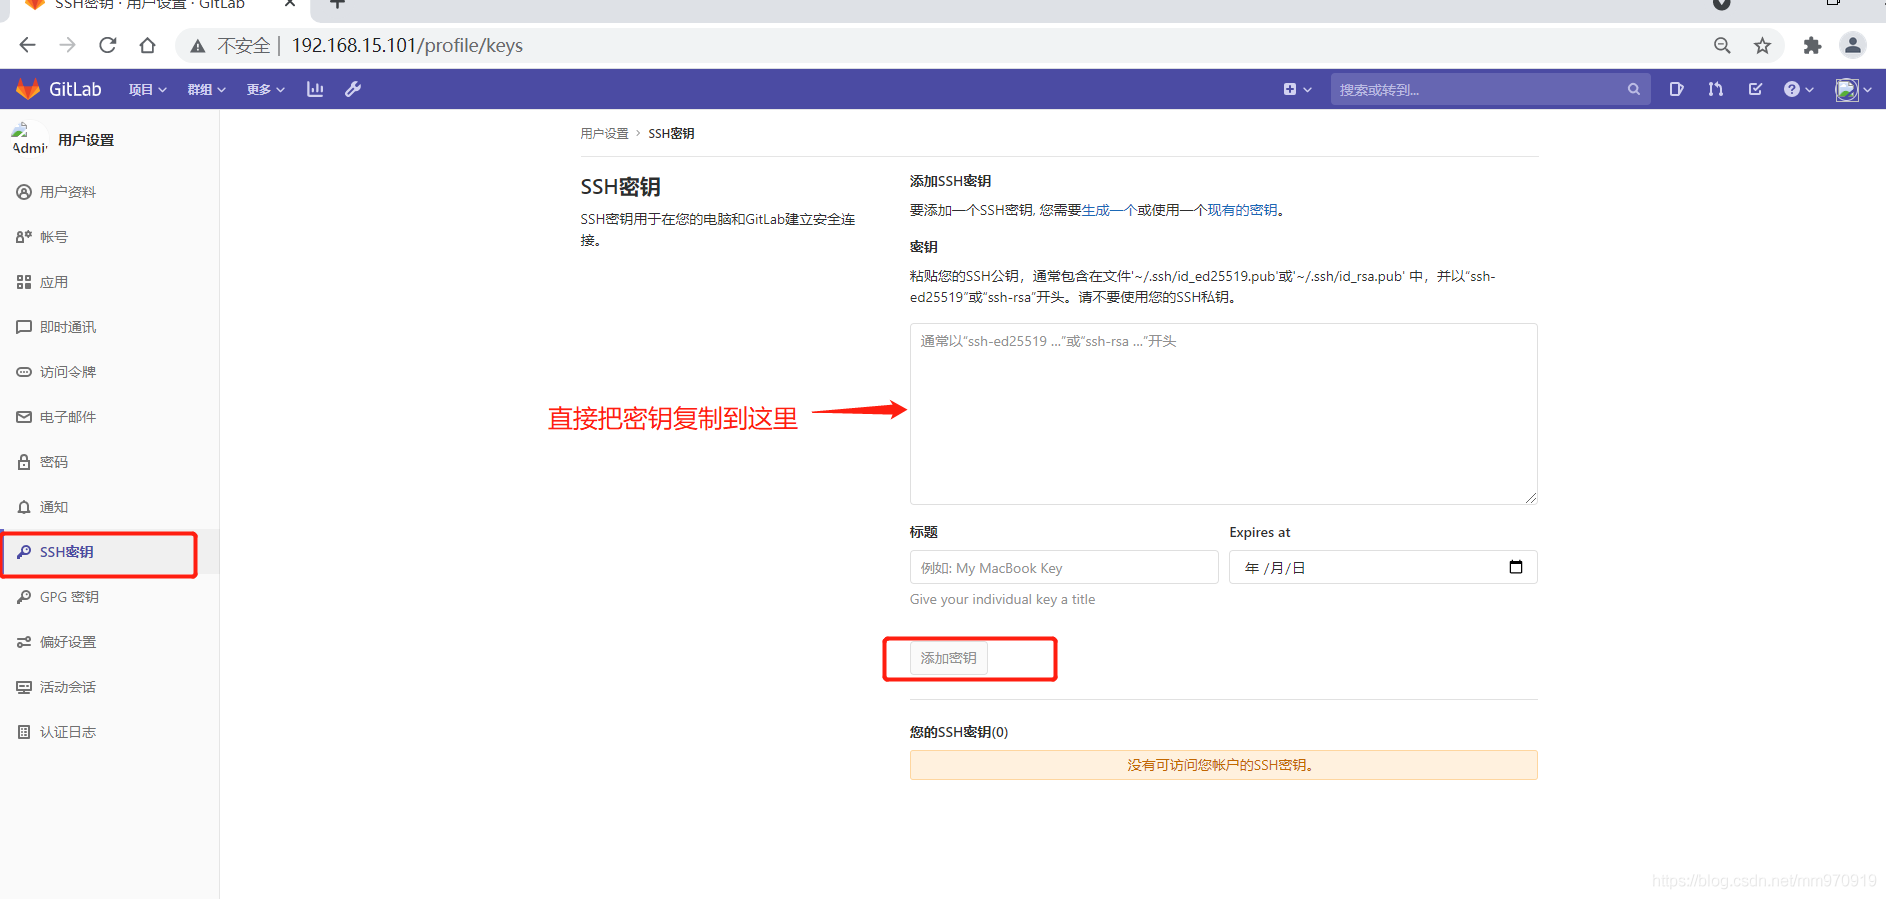
7.密钥登录
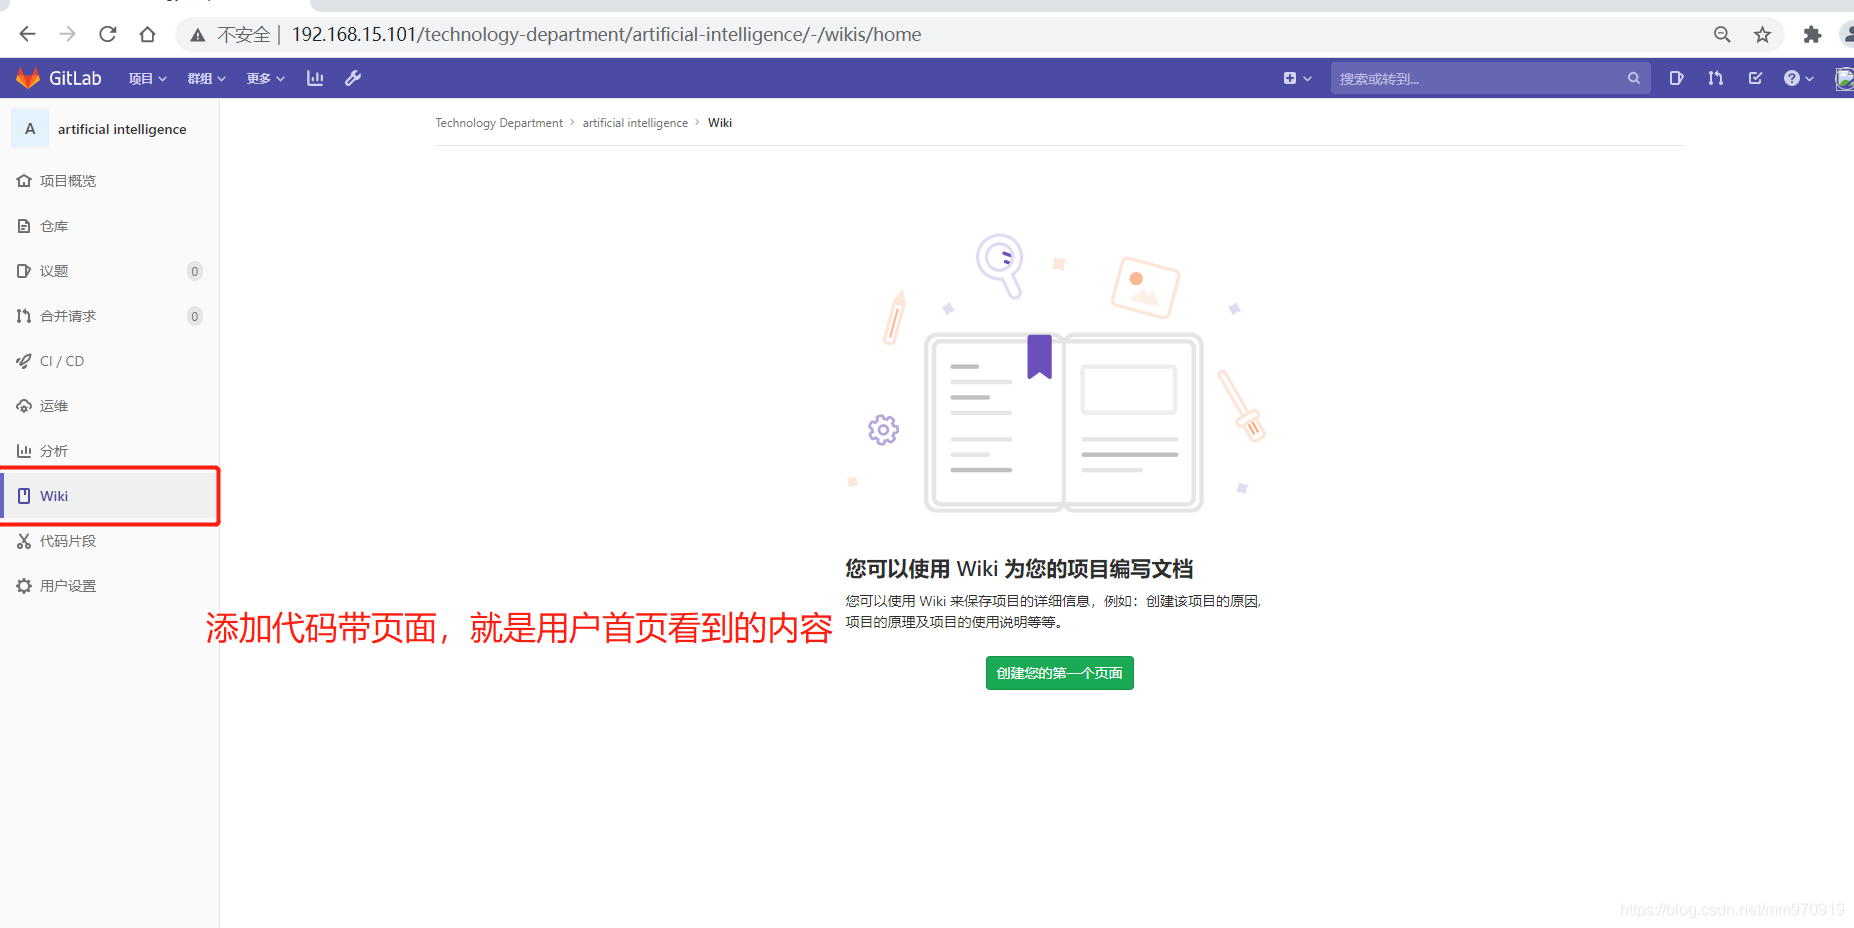
8.wiki

9.ssh

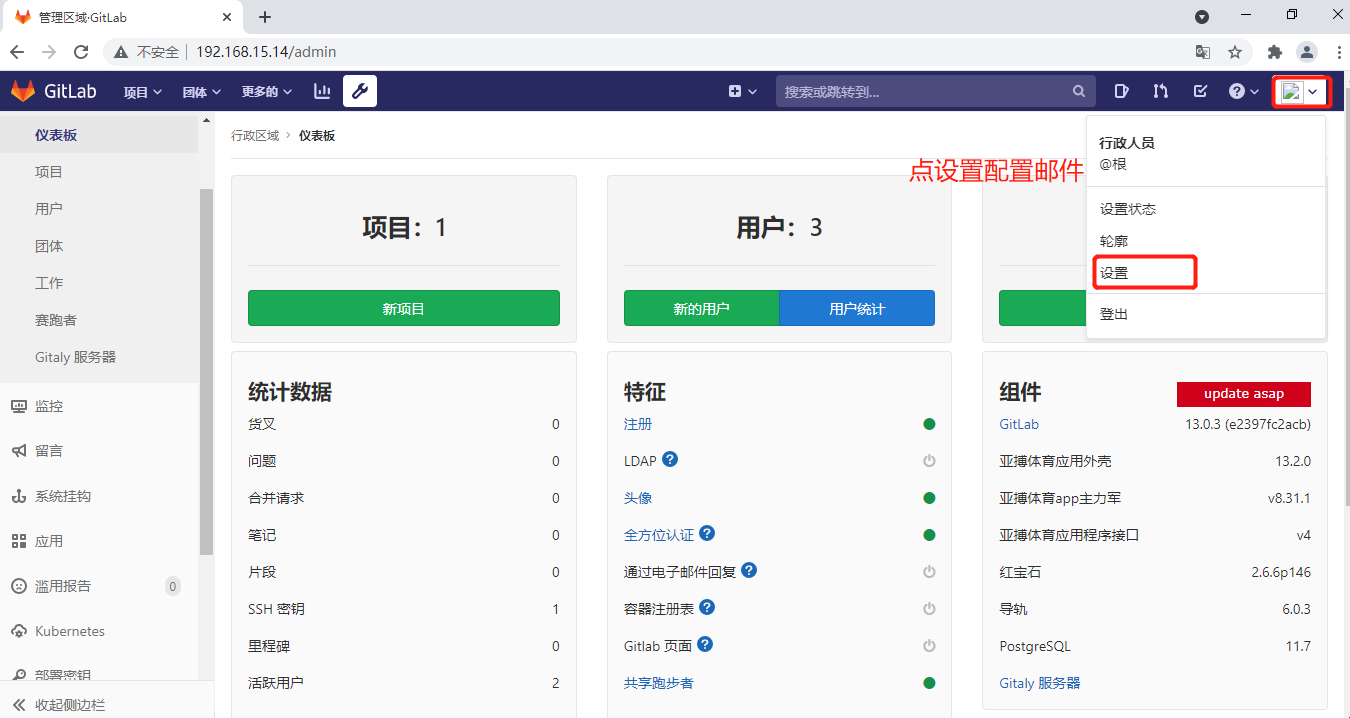
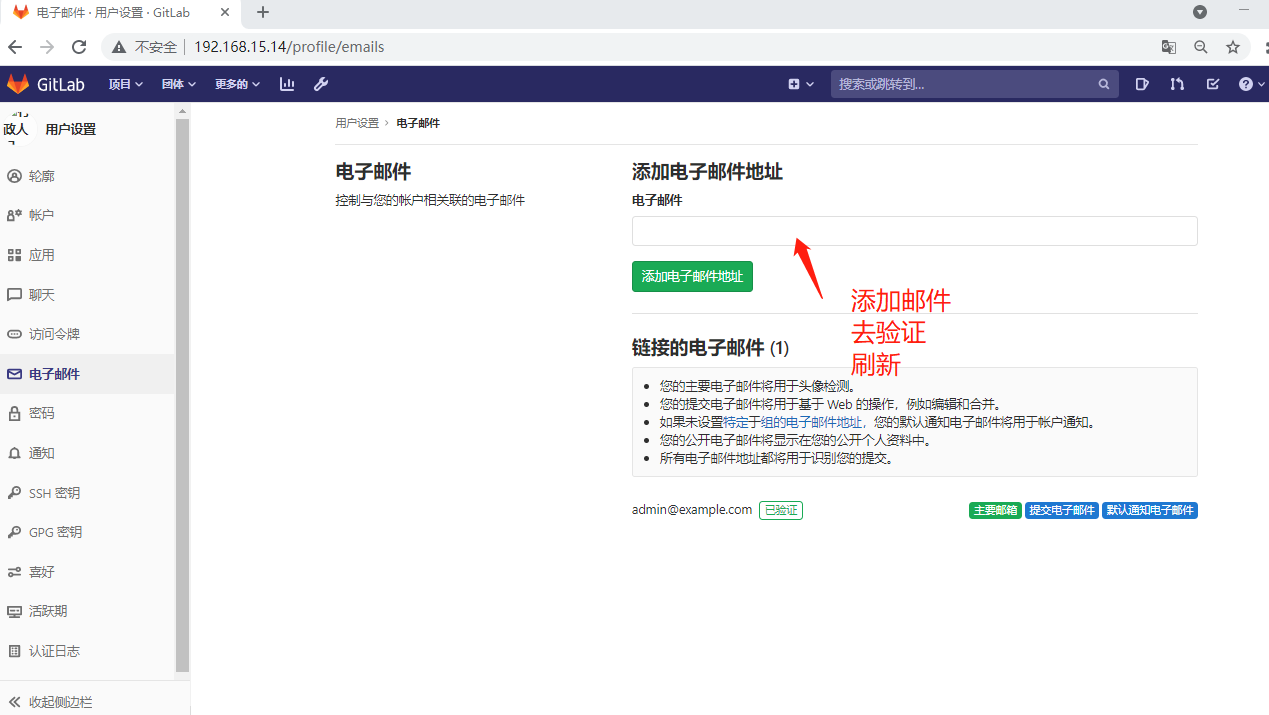
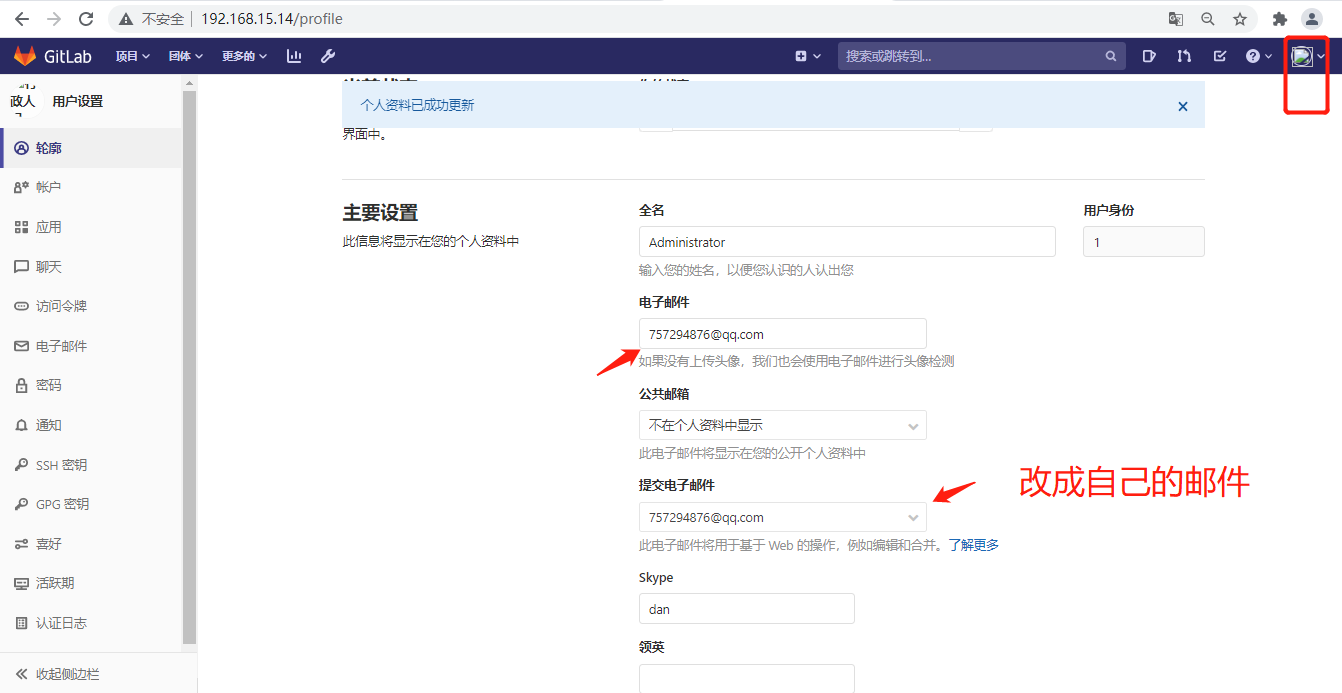
10.gitlab邮箱配置
# 编辑/etc/gitlab/gitlab.rb

gitlab_rails['smtp_enable']=true				# 启用邮件服务
gitlab_rails['smtp_address']="smtp.qq.com"		# 指定发送邮件的服务
gitlab_rails['smtp_port']=465					# 发送邮件服务的端口号,qq是456,163邮件是465/994
gitlab_rails['smtp_user_name']="alvincy@qq.com"	# 发送邮件的邮箱
gitlab_rails['smtp_password']="r***********dg"  # 授权码
gitlab_rails['smtp_domain']="smtp.qq.com"		# 发送油价的邮箱
gitlab_rails['smtp_authentication']="login"		# 登录事件
gitlab_rails['smtp_enable_starttls_auto']=true	# 是否启用ttl
gitlab_rails['smtp_tls']=true					# 是否启用tls(https)
gitlab_rails['gitlab_email_from']='alvincy@qq.com'	# 发送邮件的邮箱
gitlab_rails['gitlab_email_enabled']=true			# 是否启用发送邮件

注意: smtp_user_name  和  gitlab_email_from  必须一致

2、刷新配置并重启
[root@localhost gitlab]# gitlab-ctl reconfigure
[root@localhost gitlab]# gitlab-ctl restart