参照https://blog.csdn.net/lb245557472/article/details/91966770实践了下
selenium应用
1、准备工作
这里是在同一台Windows上操作的
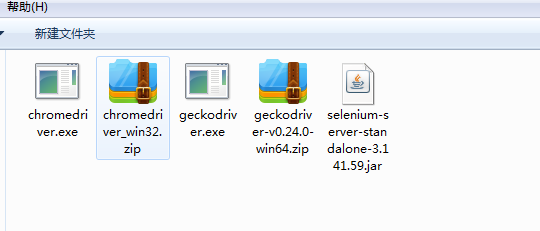
下载Chrome、firfox浏览器对应版本的驱动、selenium-server的jar包放置在同一目录下
2、进入上一步骤中的目录分别启动hub、node 节点
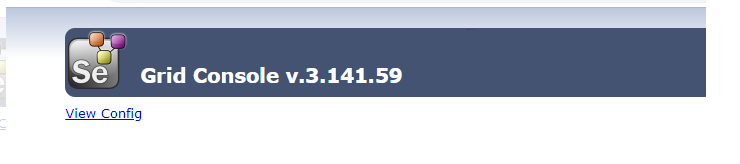
启动hub节点:java -jar selenium-server-standalone-3.141.59.jar -role hub -port 5566
启动后的效果:

访问http://localhost:5566/grid/console的效果:
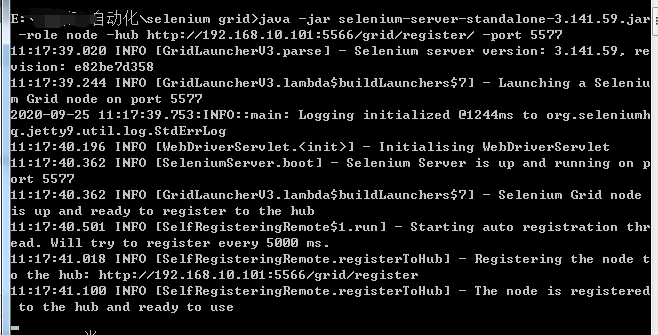
启动node节点:java -jar selenium-server-standalone-3.141.59.jar -role node -hub http://192.168.10.101:5566/grid/register/ -port 5577
启动后效果:
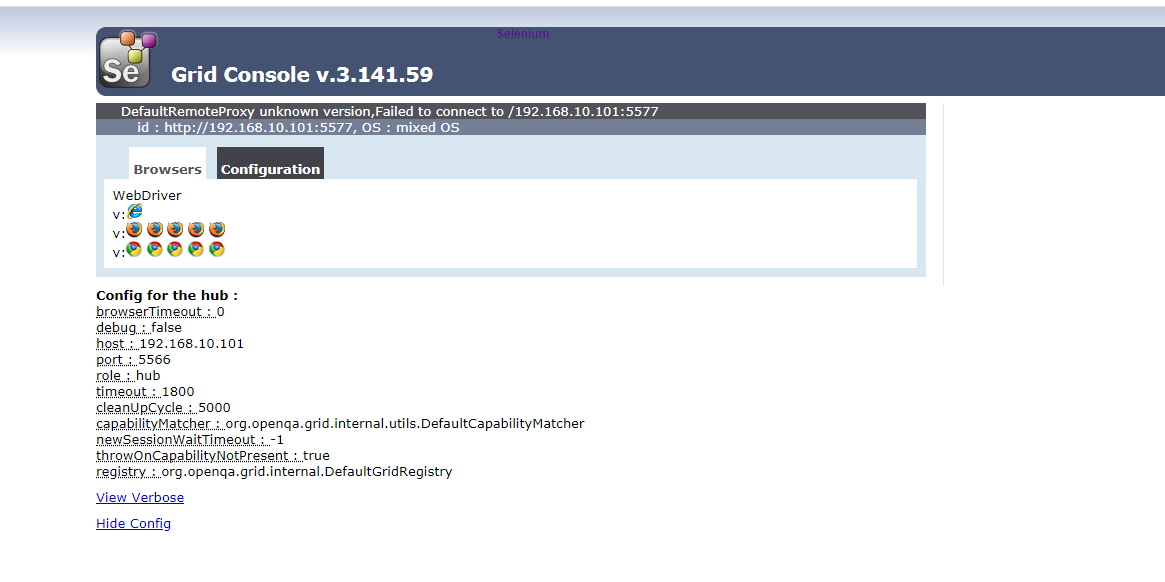
刷新http://localhost:5566/grid/console的效果:
3、运行脚本
from selenium import webdriver

def test_grid():
    ds = {'platform': 'ANY',
          'browserName': "firefox",
          'version': '',
          'javascriptEnabled': True
          }
    dr = webdriver.Remote('http://127.0.0.1:5566/wd/hub', desired_capabilities=ds)
    dr.get("https://www.baidu.com")

def test_firfox():
    driver = webdriver.Firefox()
    driver.get('http://www.baidu.com')
将ds中的浏览器名称分别改为firfox、chrome后,可以发现脚本任务会通过hub分别分发到node节点上对应的浏览器上执行
appium应用
1、hub节点启动方式同上方的selenium应用;
2、将appium服务注册到hub上
在appium官方文档上复制如下配置文件并做对应的修改,修改后保存为json格式文件:
{
  "capabilities":
      [
        {
          "browserName": "",
          "version":"6.0.1",
          "maxInstances": 1,
          "platform":"ANDROID"
        }
      ],
  "configuration":
  {
    "cleanUpCycle":2000,
    "timeout":30000,
    "proxy": "org.openqa.grid.selenium.proxy.DefaultRemoteProxy",
    "url":"http://localhost:4723/wd/hub",
    "host": "localhost",
    "port": 4723,
    "maxSession": 1,
    "register": true,
    "registerCycle": 5000,
    "hubPort": 4444,
    "hubHost": "192.168.10.101",
    "hubProtocol": "http"
  }
}
启动appium时指定该配置文件:
appium --nodeconfig json文件的路径
或者通过如下方式指定配置文件后启动

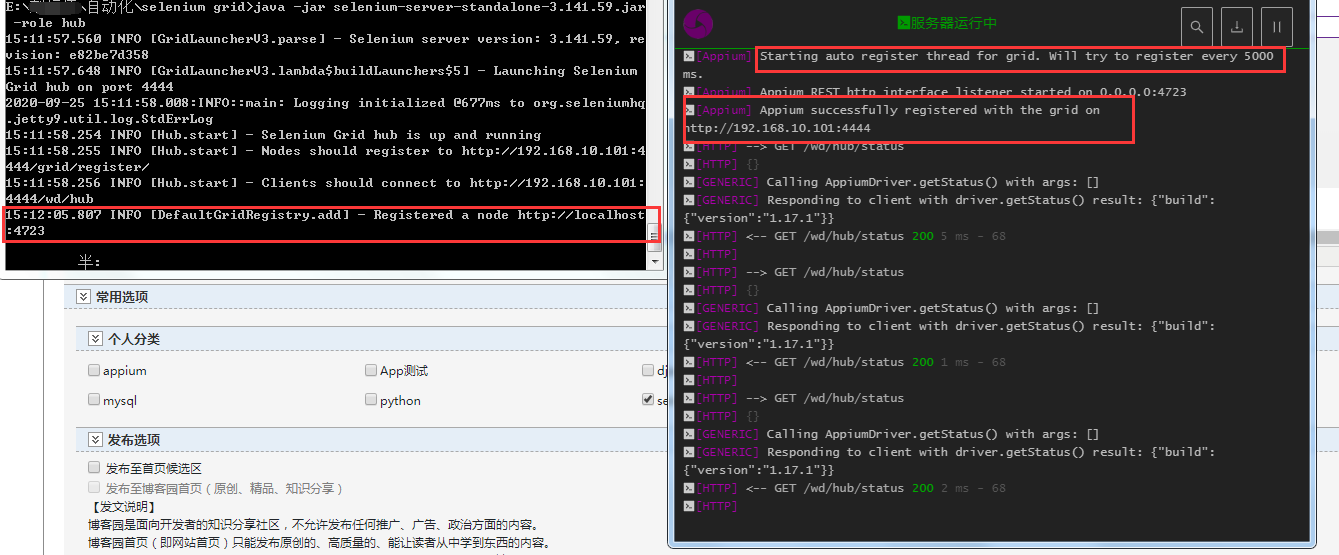
启动完成后,hub端显示有新的节点成功注册,appium日志输出中显示成功注册到hub上,且每隔5s做心跳检测:
3、运行脚本,将driver连接地址指向hub地址:
