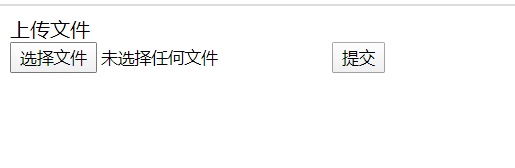
springboot测试简单上传文件
先看看目录结构

一、引入相应的pom文件
<dependency>
   <groupId>org.springframework.boot</groupId>
   <artifactId>spring-boot-starter-thymeleaf</artifactId>
</dependency>
<dependency>
    <groupId>org.springframework.boot</groupId>
    <artifactId>spring-boot-starter-web</artifactId>
</dependency>

<dependency>
    <groupId>org.springframework.boot</groupId>
    <artifactId>spring-boot-starter-test</artifactId>
    <scope>test</scope>
    <exclusions>
        <exclusion>
            <groupId>org.junit.vintage</groupId>
            <artifactId>junit-vintage-engine</artifactId>
        </exclusion>
    </exclusions>
</dependency>
二、编写对应的配置文件
spring.thymeleaf.encoding=utf-8
spring.thymeleaf.prefix=classpath:/templates/

#上传文件的大小
spring.servlet.multipart.max-request-size=10MB
#上传单个文件的大小
spring.servlet.multipart.file-size-threshold=10MB
三、编写一个控制器进行测试
@Controller
public class IndexController {
    private static final Logger logger= LoggerFactory.getLogger(IndexController.class);

    @GetMapping("/upload")
    public String upload(){
        return "upload";
    }

    @PostMapping("/upload")
    @ResponseBody
    public String upload(@RequestParam("file") MultipartFile file){
        if(file.isEmpty()){
            return "上传失败";
        }
        String fileName=file.getOriginalFilename();
        String filepath="F:/Test/";
        File dest = new File(filepath + fileName);

        try {
            file.transferTo(dest);
            logger.info("上传成功");
            return "上传成功";
        } catch (IOException e) {
            logger.error("上传失败");
            e.printStackTrace();
        }
        return "上传失败";
    }
}
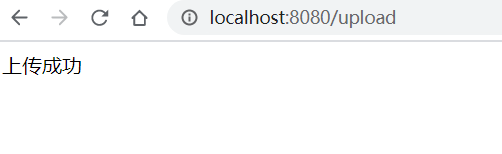
结果:
上传成功
上传成功的文件

这里推荐一个我的个人博客,谢谢!