环境
Java1.8
Spring Boot 1.3.2
一、静态资源访问
动静分离:动态服务和前台页面图片分开,静态资源可以使用CDN加速;
Spring Boot默认提供静态资源目录位置需置于classpath下,目录名需符合如下规则:
/static
/public
/resources
/META-INF/resources
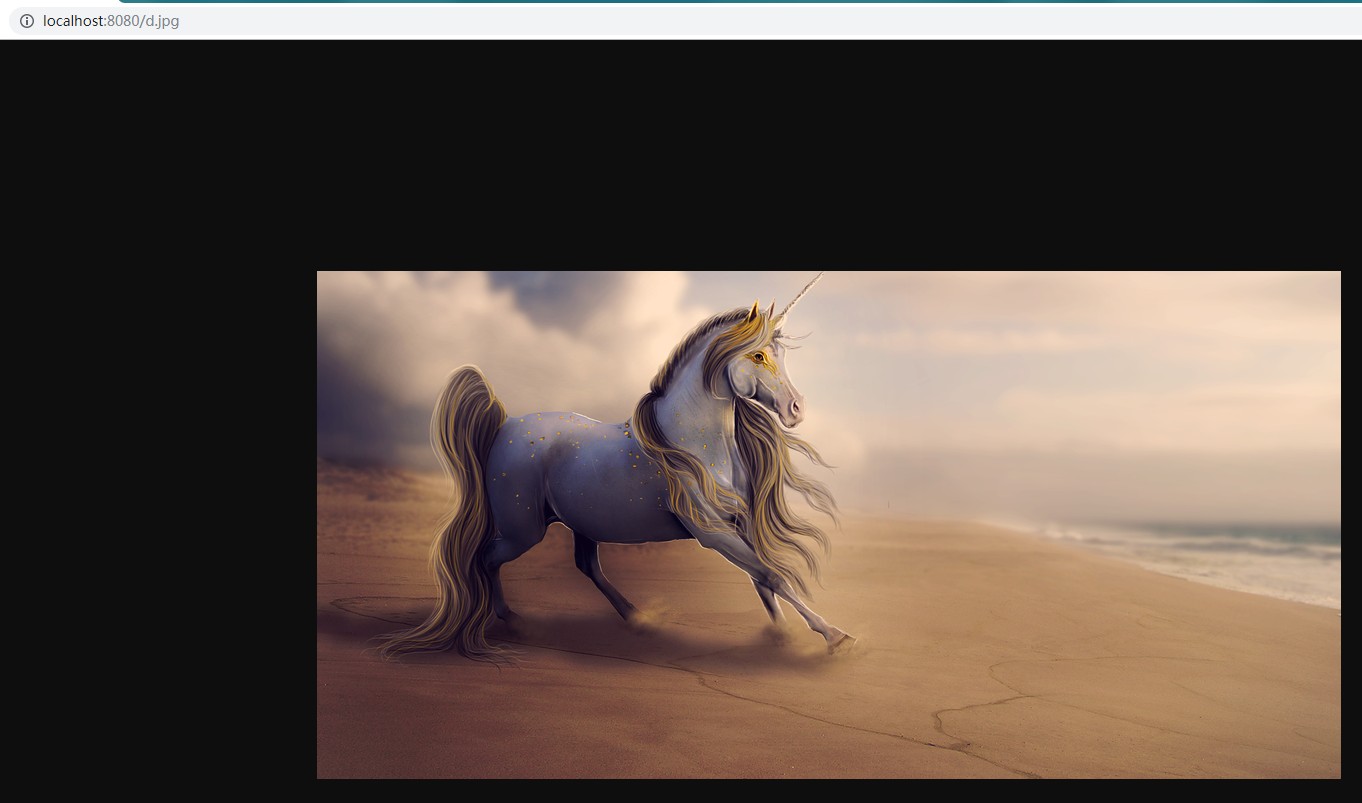
举例:我们可以在src/main/resources/目录下创建static,在该位置放置一个图片文件。启动程序后,尝试访问http://localhost:8080/d.jpg。如能显示图片,配置成功。

二、全局异常捕获
首先定义一个切面处理类 用来处理运行时异常报错:
package com.wjy.controller;

import java.util.HashMap;
import java.util.Map;

import org.springframework.web.bind.annotation.ControllerAdvice;
import org.springframework.web.bind.annotation.ExceptionHandler;
import org.springframework.web.bind.annotation.ResponseBody;

@ControllerAdvice
public class GlobalExceptionHandler {

    @ExceptionHandler(RuntimeException.class)
    @ResponseBody
    public Map<String, Object> resultError() {
        Map<String, Object> result = new HashMap<String, Object>();
        result.put("errorCode", "500");
        result.put("errorMsg", "系统错误!");
        return result;
    }

}
@ControllerAdvice 是controller的一个辅助类,最常用的就是作为全局异常处理的切面类;
@ControllerAdvice 可以指定扫描范围;
@ControllerAdvice 约定了几种可行的返回值:
返回 String,表示跳到某个 view
返回 modelAndView
返回 model + @ResponseBody:将model类转换成json格式
然后写一个方法抛出异常:
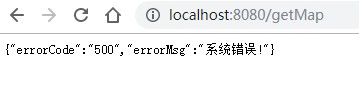
package com.wjy.controller;

import java.util.HashMap;
import java.util.Map;

import org.springframework.boot.autoconfigure.EnableAutoConfiguration;
import org.springframework.web.bind.annotation.RequestMapping;
import org.springframework.web.bind.annotation.RestController;

@EnableAutoConfiguration
@RestController
public class HelloController {

    @RequestMapping("/hello")
    public String hello() {
        return "hello world";
    }

    @RequestMapping("/getMap")
    public Map<String, Object> getMap() {
        Map<String, Object> result = new HashMap<String, Object>();
        result.put("errorCode", "200");
        result.put("errorMsg", "成功..");
        int a = 1/0;
        return result;
    }

}
验证:
三、渲染WEB页面
Spring Boot整合页面建议优先选择模板引擎,不建议选用JSP,若一定要使用JSP将无法实现Spring Boot的多种特性。
模板引擎:使用伪HTML作动态页面模板,方便开发,另外提高搜索引擎搜索,Spring Boot提供了默认配置的模板引擎主要有以下几种:
• Thymeleaf
• FreeMarker
• Velocity
• Groovy
• Mustache
当你使用上述模板引擎中的任何一个,它们默认的模板配置路径为:src/main/resources/templates。
1、使用Freemaker渲染WEB视图
(1)POM引入依赖
<!-- 引入freeMarker的依赖包. -->
<dependency>
    <groupId>org.springframework.boot</groupId>
    <artifactId>spring-boot-starter-freemarker</artifactId>
</dependency>
(2)在src/main/resources/创建一个templates文件夹,里面创建动态页面模板,后缀为*.ftl
比如:index.ftl
<!DOCTYPE html>
<html>
<head lang="en">
<meta charset="UTF-8" />
<title>首页</title>
</head>
<body>
${name}
<#if sex==1>
男
<#elseif sex==2>
女
<#else>
其他

</#if>
<#list userlist as user>
${user}
</#list>
</body>
</html>
(3)创建后台代码
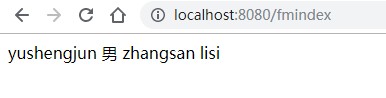
package com.wjy.controller;

import java.util.ArrayList;
import java.util.List;
import java.util.Map;

import org.springframework.stereotype.Controller;
import org.springframework.web.bind.annotation.RequestMapping;

//注意这里是 @Controller   不是@RestController
@Controller
public class FmindexController {

    @RequestMapping("/fmindex")
    public String index(Map<String, Object> result) {
        System.out.println("IndexController....index");
        result.put("name", "yushengjun");
        result.put("sex", 1);
        List<String> list = new ArrayList<String>();
        list.add("zhangsan");
        list.add("lisi");
        result.put("userlist", list);
        return "index";
    }

}
注意:ftl的名字要和java 返回字符串的名字相同
验证:
(4)freemaker配置
使用application.properties文件,默认在src/main/resources目录下
########################################################
###FREEMARKER (FreeMarkerAutoConfiguration)
########################################################
spring.freemarker.allow-request-override=false
spring.freemarker.cache=true
spring.freemarker.check-template-location=true
spring.freemarker.charset=UTF-8
spring.freemarker.content-type=text/html
spring.freemarker.expose-request-attributes=false
spring.freemarker.expose-session-attributes=false
spring.freemarker.expose-spring-macro-helpers=false
#spring.freemarker.prefix=
#spring.freemarker.request-context-attribute=
#spring.freemarker.settings.*=
spring.freemarker.suffix=.ftl
spring.freemarker.template-loader-path=classpath:/templates/
#comma-separated list
#spring.freemarker.view-names= # whitelist of view names that can be resolved
2、使用JSP渲染WEB视图
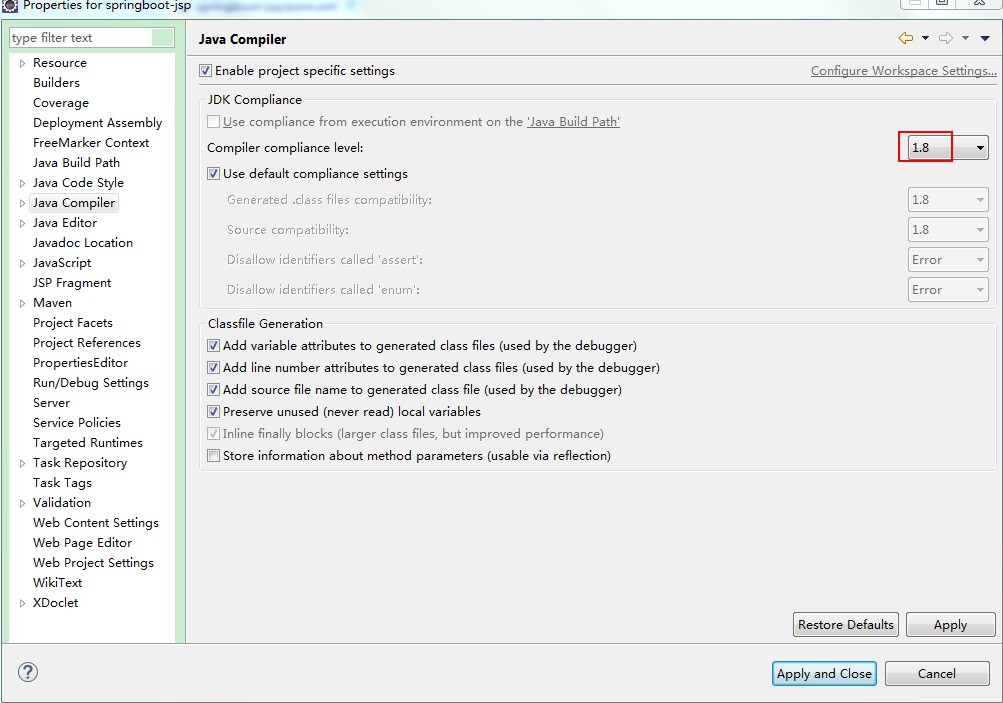
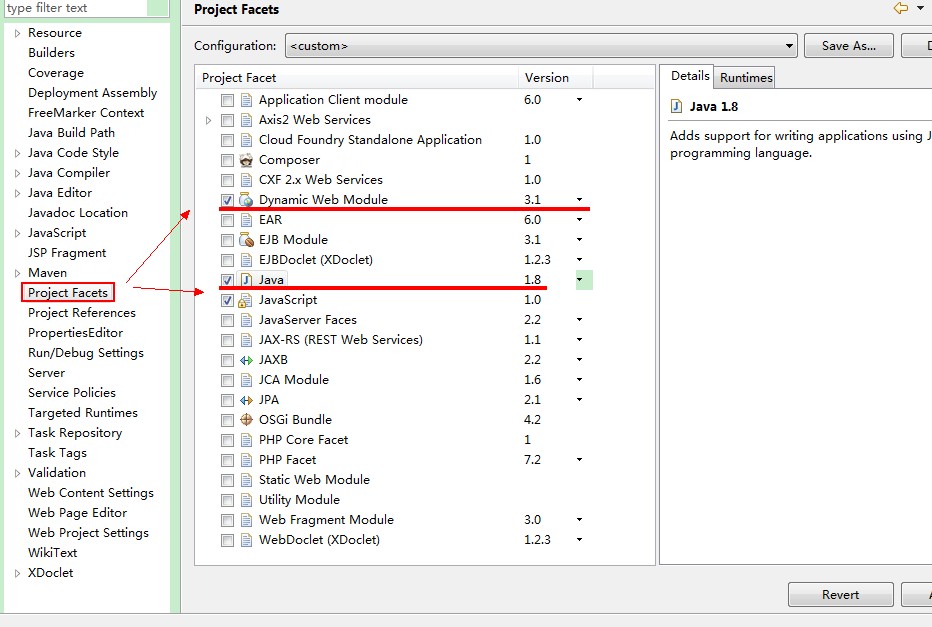
(1)maven项目必须是war类型 eclipse 4.7 + jdk1.8
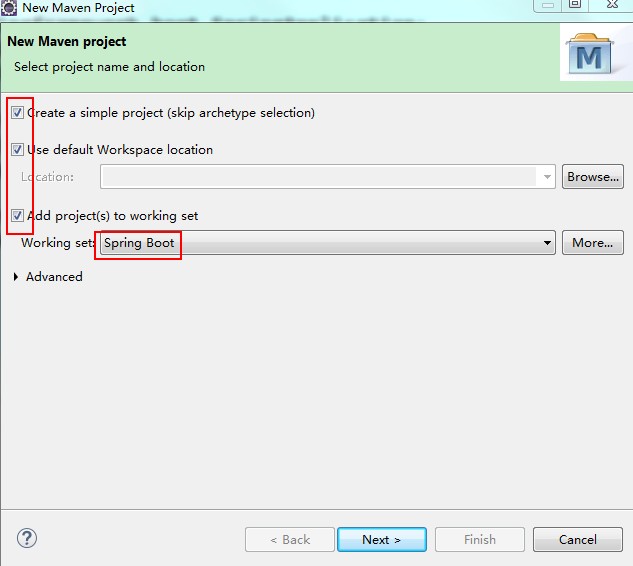
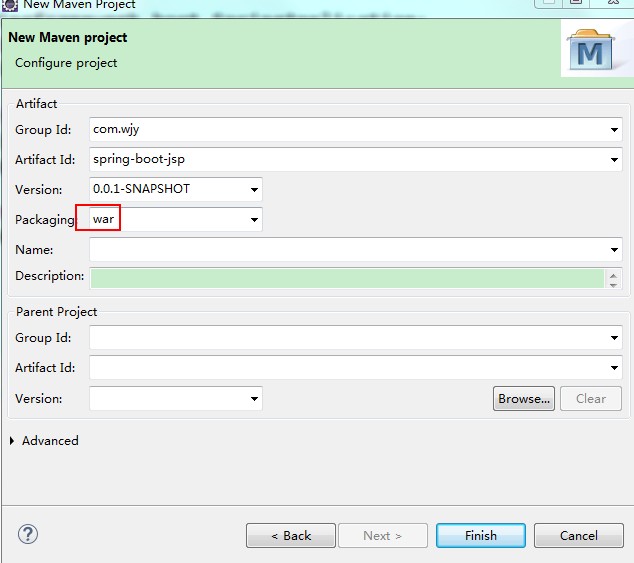
然后依次修改如下配置:
(2)POM引入依赖
<parent>
        <groupId>org.springframework.boot</groupId>
        <artifactId>spring-boot-starter-parent</artifactId>
        <version>1.3.3.RELEASE</version>
    </parent>
    <dependencies>
        <!-- SpringBoot 核心组件 -->
        <dependency>
            <groupId>org.springframework.boot</groupId>
            <artifactId>spring-boot-starter-web</artifactId>
        </dependency>
        <dependency>
            <groupId>org.springframework.boot</groupId>
            <artifactId>spring-boot-starter-tomcat</artifactId>
        </dependency>
        <dependency>
            <groupId>org.apache.tomcat.embed</groupId>
            <artifactId>tomcat-embed-jasper</artifactId>
        </dependency>
        <!-- 强制添加依赖  否则可能在解析JSP报错:No Java compiler available -->
        <dependency>
            <groupId>org.eclipse.jdt.core.compiler</groupId>
            <artifactId>ecj</artifactId>
            <version>4.6.1</version>
            <scope>provided</scope>
        </dependency>
    </dependencies>

    <!-- 不加下面这个build 可能update project不起作用 -->
    <build>
        <plugins>
            <plugin>
                <groupId>org.apache.maven.plugins</groupId>
                <artifactId>maven-compiler-plugin</artifactId>
                <version>3.1</version>
                <configuration>
                    <source>1.8</source>
                    <target>1.8</target>
                </configuration>
            </plugin>
        </plugins>
    </build>
最后 maven --> Update Project...
(3)application.properties创建以下配置
spring.mvc.view.prefix=/WEB-INF/jsp/
spring.mvc.view.suffix=.jsp
(4)代码
页面:

<%@ page language="java" contentType="text/html; UTF-8" pageEncoding="UTF-8"%>
<!DOCTYPE html PUBLIC "-//W3C//DTD HTML 4.01 Transitional//EN" "http://www.w3.org/TR/html4/loose.dtd">
<html>
<head>
<meta http-equiv="Content-Type" content="text/html; charset=UTF-8">
<title>Insert title here</title>
</head>
<body>
Spring Boot 整合 JSP
</body>
</html>
后台:
package com.wjy.app;

import org.springframework.boot.SpringApplication;
import org.springframework.boot.autoconfigure.EnableAutoConfiguration;
import org.springframework.context.annotation.ComponentScan;

@EnableAutoConfiguration
@ComponentScan(basePackages="com.wjy.controller")
public class App {

    public static void main(String[] args) {
        SpringApplication.run(App.class, args);
    }

}
package com.wjy.controller;

import org.springframework.stereotype.Controller;
import org.springframework.web.bind.annotation.RequestMapping;

@Controller
public class IndexController {

    @RequestMapping("/index")
    public String index() {
        return "index";
    }
}
验证: