layui的数据表单可以实现前台和后台的数据交互。本博客主要记录如何实现后端和前端的数据交互
采用php语言作为后端。
//方法渲染:
table.render({
  cols:  [[ //标题栏
    {checkbox: true}
    ,{field: 'id', title: 'ID',  80}
    ,{field: 'username', title: '用户名',  120}
  ]]
});

它等价于自动渲染:
<table class="layui-table" lay-data="{基础参数}" lay-filter="test">
  <thead>
    <tr>
      <th lay-data="{checkbox:true}"></th>
      <th lay-data="{field:'id', 80}">ID</th>
      <th lay-data="{field:'username', 180}">用户名</th>
    </tr>
  </thead>
</table>
如上的两种方式的效果是一样的。
首先看前端的界面
<!DOCTYPE html>
<html>
<head>
  <meta charset="utf-8">
  <title>table模块快速使用</title>
  <link rel="stylesheet" href="/layui/css/layui.css" media="all">
</head>
<body>
<table id="demo" lay-filter="test"></table>
<link rel="stylesheet" href="layui-master/src/css/layui.css" />
<script src="layui-master/src/layui.js"></script>
<script src="js/jquery-1.8.3.js"></script>
<script src="layer/layer.js"></script>
<script>
layui.use('table', function(){
  var table = layui.table;
  //第一个实例
  table.render({
    elem: '#test'
    ,height:480//设置容器的高度
    ,limit:10
    ,url: 'function.php' //数据接口
    ,page: true //开启分页
    ,cols: [[ //表头
      {field: 'stunum', title: '学号', 120, sort: true, fixed: 'left'}
      ,{field: 'stuname', title: '用户名', 120}
      ,{field: 'birth', title: '生日', 120}
      ,{field: 'phone', title: '手机', 120}
      ,{field: 'email', title: '邮箱', 120}
      ,{field: 'work', title: '工作', 120}
      ,{field: 'hobby', title: '爱好', 120}
      ,{field: 'signature', title: '个性签名', 120}
      ,{field: 'address', title: '地址', 120}
      ,{field: 'major', title: '专业', 120}
    ]]
  });
});
</script>
<body>
    <table class="layui-hide" id="test" lay-filter="test" style="height: 100%;">
  </table>
</body>
</html>
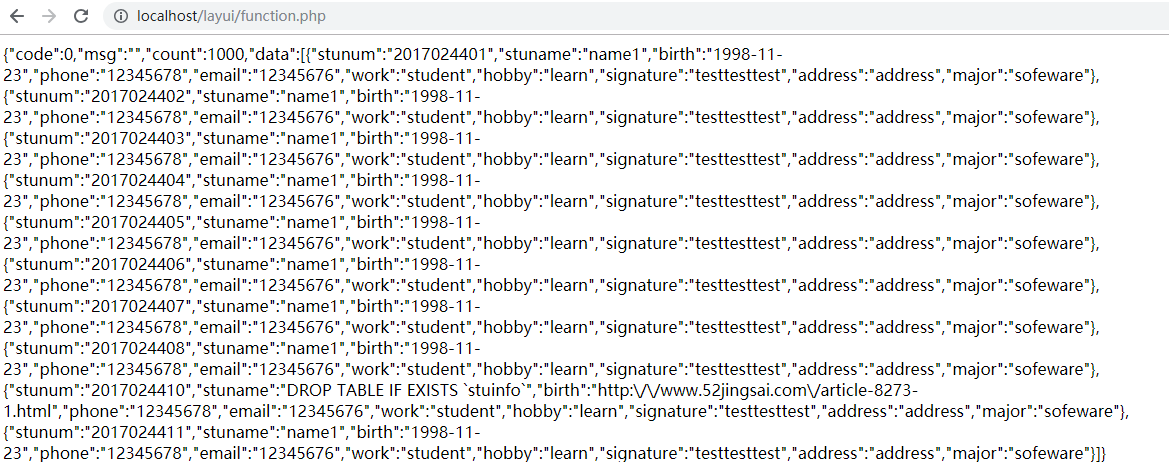
这个html通过对function.php的请求获得数据
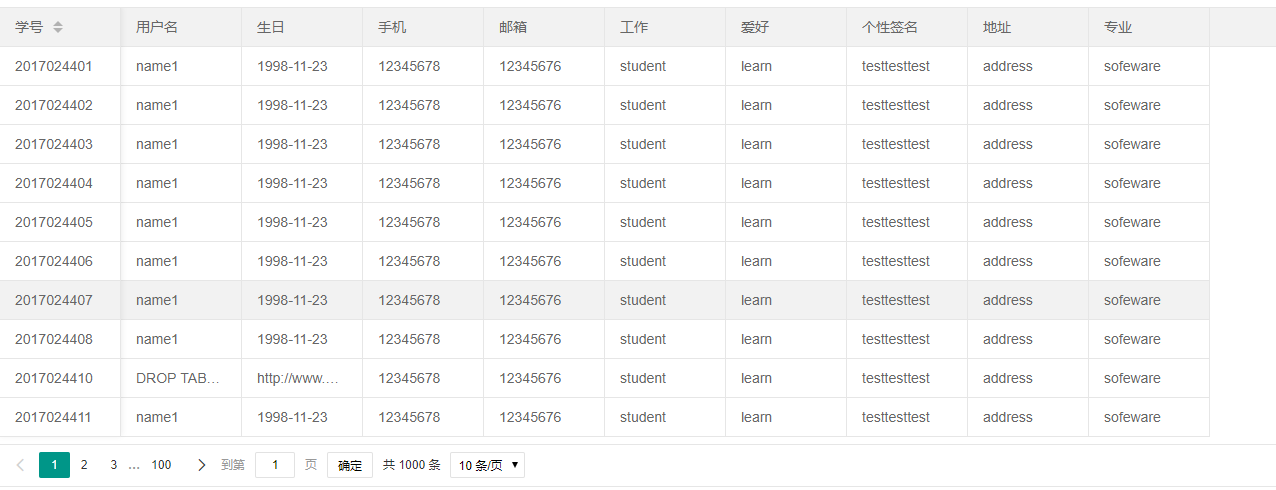
界面效果如下:
<table class="layui-table" lay-data="{height:315, url:'/demo/table/user/', page:true, id:'test'}" lay-filter="test">
  <thead>
    <tr>
      <th lay-data="{field:'id', 80, sort: true}">ID</th>
      <th lay-data="{field:'username', 80}">用户名</th>
      <th lay-data="{field:'sex', 80, sort: true}">性别</th>
      <th lay-data="{field:'city'}">城市</th>
      <th lay-data="{field:'sign'}">签名</th>
      <th lay-data="{field:'experience', sort: true}">积分</th>
      <th lay-data="{field:'score', sort: true}">评分</th>
      <th lay-data="{field:'classify'}">职业</th>
      <th lay-data="{field:'wealth', sort: true}">财富</th>
    </tr>
  </thead>
</table>
这种写法同样可以
后端的代码如下:
<?php
header("Content-type:text/html;charset=utf-8");
$zhuji="localhost";
$username="root";
$password="root";
$port=3306;
$database="test";
$conn=mysqli_connect($zhuji,$username,$password,$database,$port);
if(!$conn){
    echo "数据连接失败";
}
//echo "数据连接成功";
mysqli_query($conn,"set names utf8");//防止数据库乱码
/*
 * 分页四要素
 * 1.当前页
 * 2.每页多少条记录,每页多少条记录要和前台对接好,取名最好为limit
 * 3.从数据库读取出多少条记录
 * 4.总共多少页
 */
$page=isset($_GET["page"])?$_GET["page"]:1;
$limit=10;
$count=mysqli_num_rows(mysqli_query($conn,"select *from stuinfo"));//获取数据表的信息数量
$perpage=ceil($count/$limit);//获取分页的数量
$sql="select *from stuinfo limit ".($page-1)*$limit.",".$limit;//从数据库中获取的数据
$result=mysqli_query($conn,$sql);//获取数量
if(mysqli_num_rows($result)>0){//如果数据表不为空
    echo '{"code":0,"msg":"","count":1000,"data":[';
    $i=1;
    while($row=mysqli_fetch_assoc($result)){
        $i++;
        echo json_encode($row);//json格式
        if($i<mysqli_num_rows($result)+1){
            echo ",";
        }
    }
    echo "]}";
}
?>