参考文章
tensorflow+ssd_mobilenet实现目标检测的训练
TensorFlow基于ssd_mobilenet模型实现目标检测
使用TransferLearning实现环视图像的角点检测——Tensorflow+MobileNetv2_SSD
MobileNet SSD V2模型的压缩与tflite格式的转换
使用TensorFlow Lite将ssd_mobilenet移植至安卓客户端
整个项目代码(包括models和android,不包括编译的tensorflow):代码地址
项目中数据只有一类手势,android里面有量化和非量化两种模型
环境准备
- 克隆models
新建mobile_ssd_tf文件夹,git clone https://github.com/tensorflow/models放到mobile_ssd_tf下面 - 编译tensorflow
git clone https://github.com/tensorflow/tensorflow,安装protobuf,bazel等
tensorflow编译参考
tensorflow 1.13.1,bazel 0.19.1(注意tf和bazel版本对应,不然出错)
cd tensorflow/
bazel build tensorflow/python/tools:freeze_graph
bazel build tensorflow/contrib/lite/toco:toco
数据制作
进入models/research/object_detection目录,下面工作基本都在这个目录下进行
mkdir ssd_data
- labelImg工具标注数据集,jpg格式图片放到VOCdevkit/VOC2007/JPEGImages目录下,xml文件放到VOCdevkit/VOC2007/Annotations文件夹下面
- train_test_split.py把xml分为train,test,val三部分,
- xml2csv.py把xml转csv
- gen_tfrecords.py生成tfrecord
- 在ssd_data下面新建label_map.pbtxt
item {
id: 1    #id从1开始编号
name: 'name of class1'
}
item {
id: 2
name: 'name of class2'
}
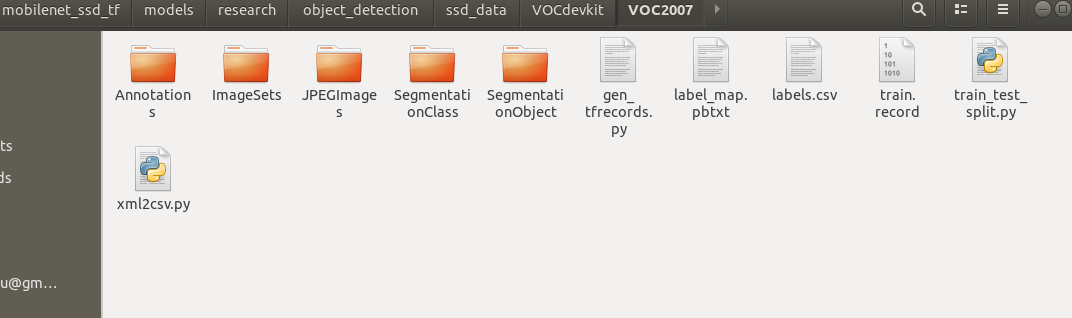
最终目录如下
训练
- 进入models/research/object_detection目录
下面在这个目录下进行工作
mkdir ssd_model
从samples/config下面拷贝一个配置文件(就是要训练的模型),放到ssd_model下面(我选的是ssd_mobilenet_v2_coco.config,还有其他各种版本的,看需要选择),修改这个配置文件
num_classes:前景类别数目+1(背景)
input_path:上面生成的tfrecord路径
label_map_path:label_map.pbtxt的路径
fine_tune_checkpoint:预训练模型的路径(可以注释掉从头开始训练)
其他学习率,batch_size,num_steps,height,width等等看情况调节
从model zoo(model zoo给出了coco数据集上一些检测模型的时间和mAP),下载预训练模型放到ssd_model下面(也可以不下载,从头开始训练,我下的是这个ssd_mobilenet_v2_coco_2018_03_29.tar.gz)
- 训练
python train.py --logtostderr --pipeline_config_pathssd_model/ssd_mobilenet_v2_coco.config --train_dir=ssd_data
注:新版train.py在legacy目录下,先把它copy到research下。
训练生成的模型文件和日志都在ssd_data目录下面。
tensorboard --logdir=ssd_data/查看训练日志
报错:from nets your-net-name ModuleNotFoundError: No module named 'nets'
research/slim下运行:
python setup.py build
python setup.py install
新版也可以用下面方法训练
python model_main.py --alsologtostderr --pipeline_config_path=... --model_dir=...
- 测试
(新版eval.py在legacy目录下,所以先拷贝出来)
这里将train产生的pipeline.config重命名为train_pipeline.config(因为eval也会产生pipeline.config,会覆盖掉)
python eval.py --logtostderr --checkpoint_dir=ssd_data/ --eval_dir=ssd_data/ --pipeline_config_path=ssd_data/train_pipeline.config
ValueError: Image with id b'one_heart11.jpg' already added.
ssd_mobilenet_v2_coco.config和train_pipeline.config里面eval_config下num_examples值改为自己的,默认8000可能太大了
模型导出与转换
- 导出pb格式:
python export_tflite_ssd_graph.py --pipeline_config_path=ssd_data/pipeline.config --trained_checkpoint_prefix=ssd_data/model.ckpt-200000 --output_directory=ssd_data/ --add_postprocessing_op=true
产生tflite_graph.pb和tflite_graph.pbtxt文件
- 导出tflite格式:(可以从上一步产生的tflite_graph.pbtxt中查看输入节点,输出节点名称和shape)
切换到第一步编译的tensorflow目录下面
bazel run tensorflow/contrib/lite/toco:toco
--input_file=tflite_graph.pb
--output_file=model.tflite
--input_shapes=1,300,300,3
--input_arrays=normalized_input_image_tensor
--output_arrays='TFLite_Detection_PostProcess','TFLite_Detection_PostProcess:1','TFLite_Detection_PostProcess:2','TFLite_Detection_PostProcess:3'
--inference_type=FLOAT
--allow_custom_ops
或者执行
cd tensorflow/lite/python
python tflite_convert.py  --graph_def_file=tflite_graph.pb --output_format=TFLITE --output_file=model.tflite --inference_type=FLOAT --input_arrays='normalized_input_image_tensor' --output_arrays='TFLite_Detection_PostProcess','TFLite_Detection_PostProcess:1','TFLite_Detection_PostProcess:2','TFLite_Detection_PostProcess:3' --input_shapes=1,300,300,3 --allow_custom_ops
加参数 --mean_values=128 --std_dev_values=128 --inference_type=QUANTIZED_UINT8可以量化,但是预训练模型要选带quantized的config文件,后面会在介绍训练量化版本的模型。
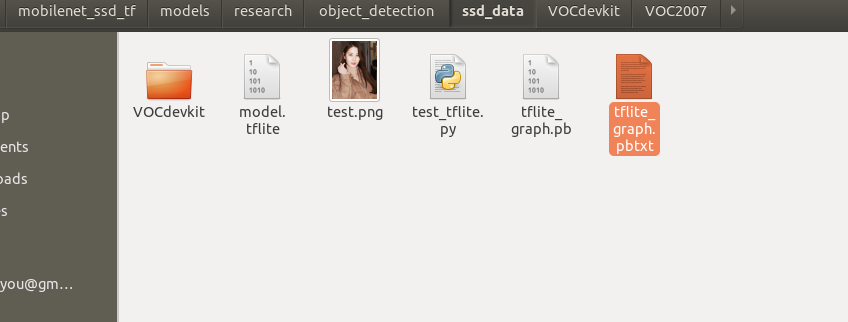
将生成的model.tflite放到ssd_data目录里,像下面一样,然后测试(我已经把checkpoint等文件删了,所以这个目录少了很多模型文件,只有pb格式的和tflite格式的)
pc上测试tflite:
python test_tflite.py
移植到android项目
- 下载android项目
tensorflow官方demo地址[https://github.com/tensorflow/examples/tree/master/lite/examples/object_detection/android]
svn https://github.com/tensorflow/examples/trunk/lite/examples/object_detection/android拉取android子文件夹
然后android studio加载项目
- 做些修改
assets/文件夹下面放tflite模型文件
labelmap2.txt放你的类别名称
修改名字detect2.tflite,labelmap2.txt(不改的话会覆盖掉你的模型)
我只有一类前景,所以改成下面的(???表示背景)
???
oneheart
改DetectorActivity.java:
TF_OD_API_IS_QUANTIZED = false;//如果之前没量化,这里要改成false
TF_OD_API_MODEL_FILE = "detect2.tflite";
TF_OD_API_LABELS_FILE = "file:///android_asset/labelmap2.txt";
DetectorTest.java也有上面表示两个文件路径的变量,我也改了,可以全局查找,全部改为自己的。
我还改了TFLiteObjectDetectionAPIModel.java里面的labelOffset为0,因为我发现不改下标会有溢出。
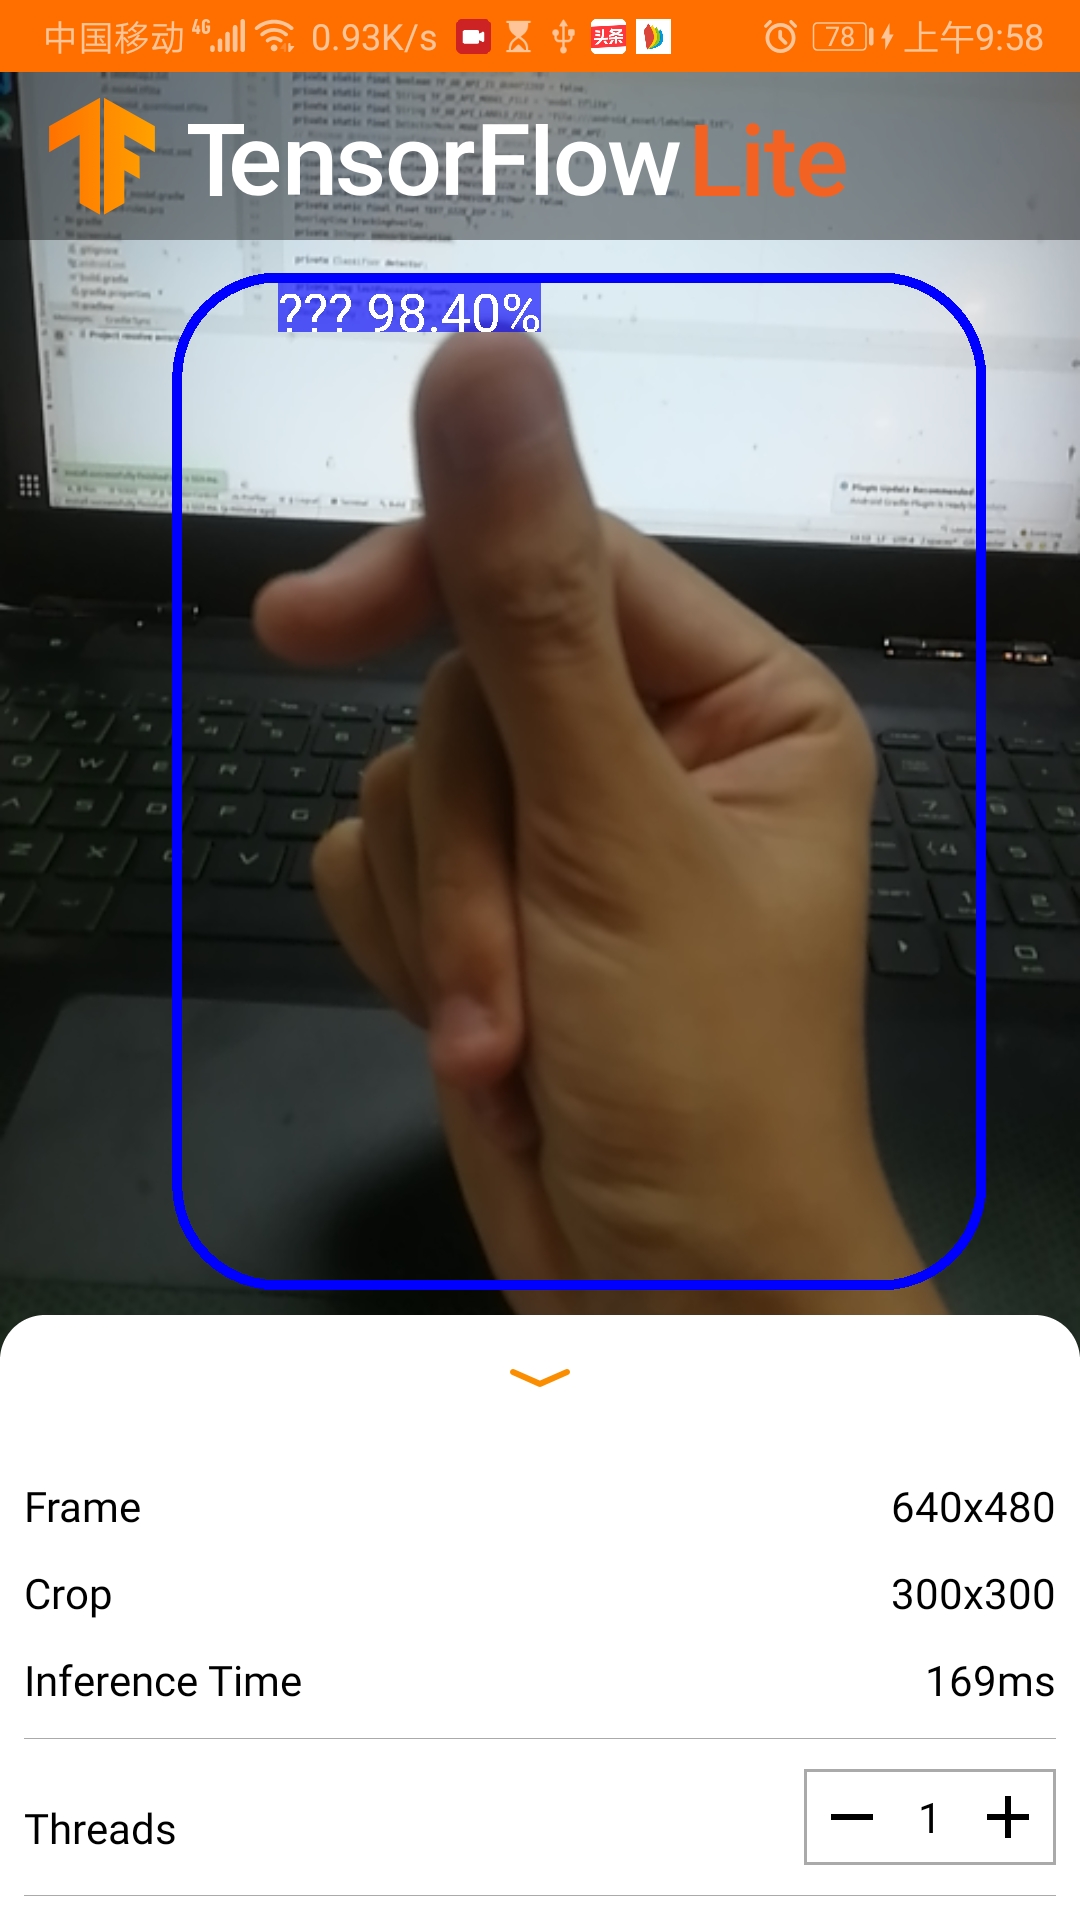
- 结果
模型大约18M,运行时间约300ms
效果:
训练量化版本和时间优化
TensorFlow Mobilenet SSD模型压缩并移植安卓上以达到实时检测效果
参考上面这篇文章,从量化,修改图片尺寸和修改depth_multiplier等角度优化时间。(depth multiplier作为一个因子与网络中各层的channel数相乘,depth_multiplier越小,网络中feature map的channel数越少)
这次将samples/config/ssd_mobilenet_v2_quantized_300x300_coco.config拷贝出来放到ssd_model下面,从model zoo里面下ssd_mobilenet_v2_quantized_coco.tar预训练模型放到ssd_model下面。
如上面修改配置文件,这里我还把图片尺寸fixed_shape_resizer改为180x180。
我暂时没有改depth_multiplier参数,可以试验下0.75看看效果。
训练前删除ssd_data下之前生成的训练的模型和日志,不然可能会有影响。
- 开始训练
python3 train.py --logtostderr --pipeline_config_path=ssd_model/ssd_mobilenet_v2_quantized_300x300_coco.config --train_dir=ssd_data
- 导出pb模型
python export_tflite_ssd_graph.py --pipeline_config_path=ssd_data/pipeline.config --trained_checkpoint_prefix=ssd_data/model.ckpt-9571 --output_directory=ssd_data/ --add_postprocessing_op=true
- 导出tflite格式模型
python tflite_convert.py --graph_def_file=tflite_graph.pb --output_format=TFLITE --output_file=model_quantized.tflite --inference_type=FLOAT --input_arrays='normalized_input_image_tensor' --output_arrays='TFLite_Detection_PostProcess','TFLite_Detection_PostProcess:1','TFLite_Detection_PostProcess:2','TFLite_Detection_PostProcess:3' --input_shapes=1,180,180,3 --allow_custom_ops --mean_values=128 --std_dev_values=128 --inference_type=QUANTIZED_UINT8
- 移植到android项目里面
训练好的模型文件放到assets/目录下面
修改DetectorActivity.java里面的几个变量
   private static final int TF_OD_API_INPUT_SIZE = 180;
   private static final boolean TF_OD_API_IS_QUANTIZED = true;//这里改为true
   private static final String TF_OD_API_MODEL_FILE = "model_quantized.tflite";
   private static final String TF_OD_API_LABELS_FILE = "file:///android_asset/labelmap2.txt";
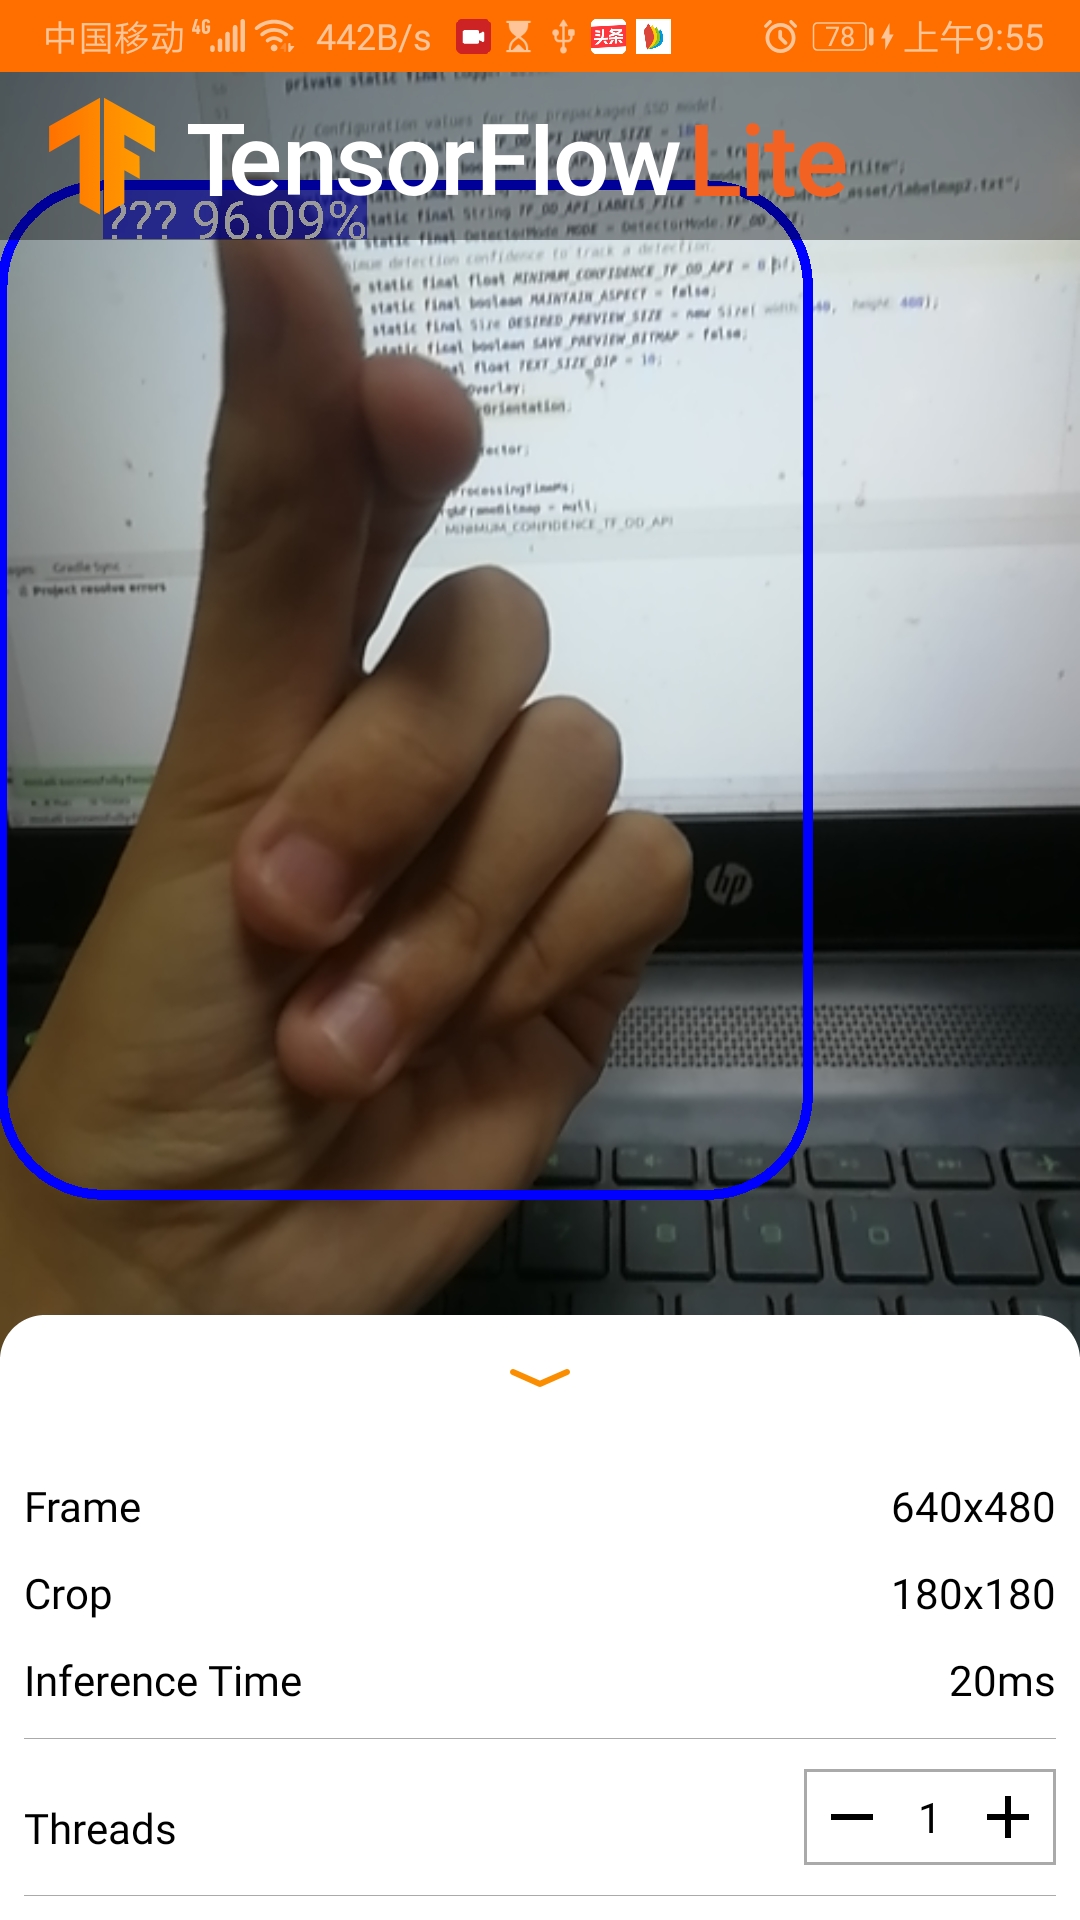
- 效果
模型大约4M,运行时间约20-30ms
运行效果: