1.版本管理工具Subversion
1.1.什么是Subversion
Subversion(简称SVN)是一个自由、开源的版本管理系统。目前,绝大多数开源软件都使用SVN作为代码版本管理软件。Subversion的版本库可以通过网络访问,从而使不同的用户可以在不同的电脑上操作。在Subversion管理下,文件和目录可以超越时空,允许用户在各自的空间里修改和管理同一组数据。
Subversion将文件存放在中心版本库里,这个版本库就像是一个普通的文件服务器,不同的是,它可以记录每一次文件和目录的修改情况。由于所有的工作都已版本化,可以籍此将数据恢复到以前的版本,并可以从日志中查看数据的更改细节。
1.2.Subversion的功能
l 包含绝大部分CVS的功能,并且针对有些功能稍加改进;
l 将目录名以版本号的形式体现;
l 所有的操作都是基于版本的,都会被打上版本号;
l 自由的版本化元数据操作;
l 从Subversion1.5开始加入了混合追踪功能;
l 支持文件锁定,当多个用户试图编辑同一个文件时会收到警告;
l 当一个文件是可执行的时候Subversion会提示,且当这个可执行的文件被放在版本控制中,Subversion会防止该程序检查其它目录;
l 支持独立进程模式;
l 提供一个只读的存储镜像;
2.Subversion Server的搭建
目前公司的配置管理服务器主要安装的是CollabNet Subversion Server,它支持的操作系统位数为32位,它可以以svn协议和http协议访问服务器中的版本库。由于CollabNet Subversion Server已经集成了Apache服务,所以无需额外安装Apache服务器。
2.1.Subversion Server的安装
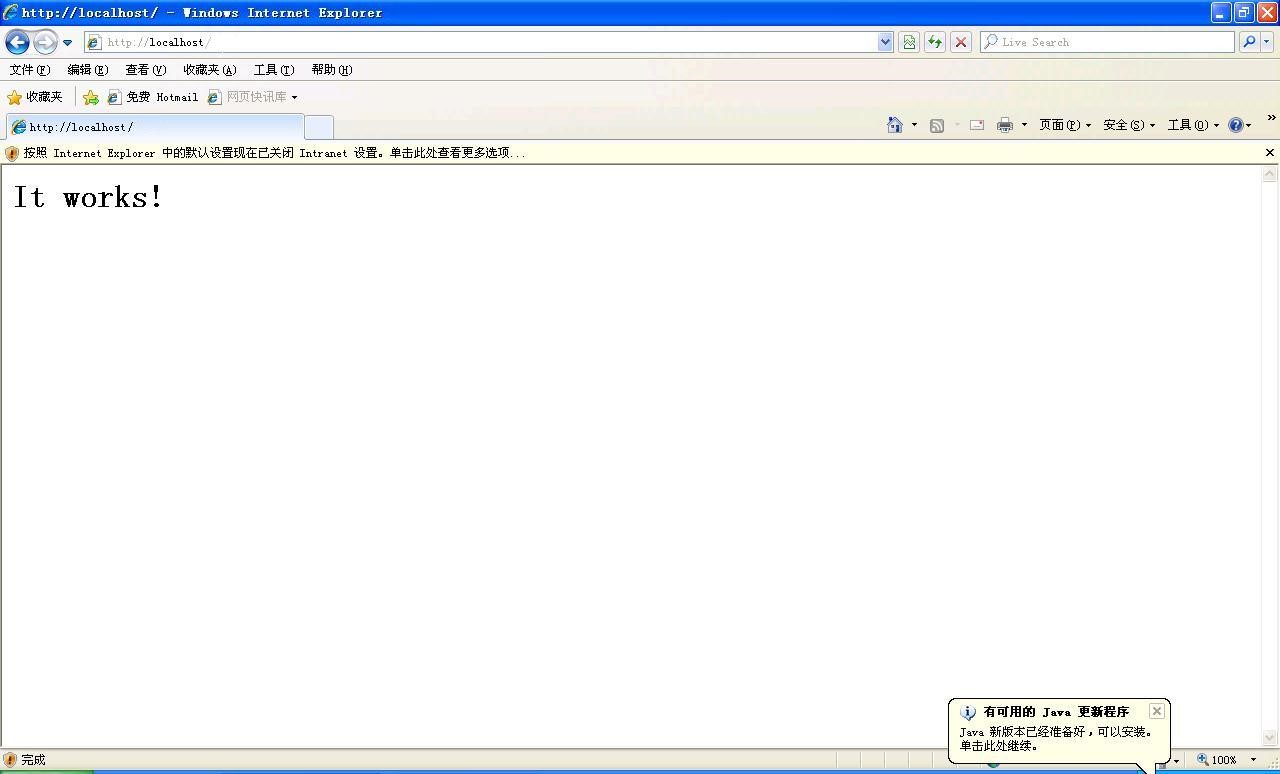
- 安装CollabNetSubversion-server-1.6.12-1.win32.exe;默认端口80,此次安装的端口号未进行修改,版本库存放在F:\Repository中,
- 安装成功后访问http://localhost/,显示如下图

2.2. 版本库的相关配置
2.2.1. 创建版本库
运行cmd 进入命令行,
输入命令:svnadmin create F:\Repository\project
注:若安装了TortoiseSVN客户端也可以利用客户端进行创建版本库,这一模块会在后面的TortoiseSVN的安装和使用中介绍。
2.2.2.SVN协议及权限配置
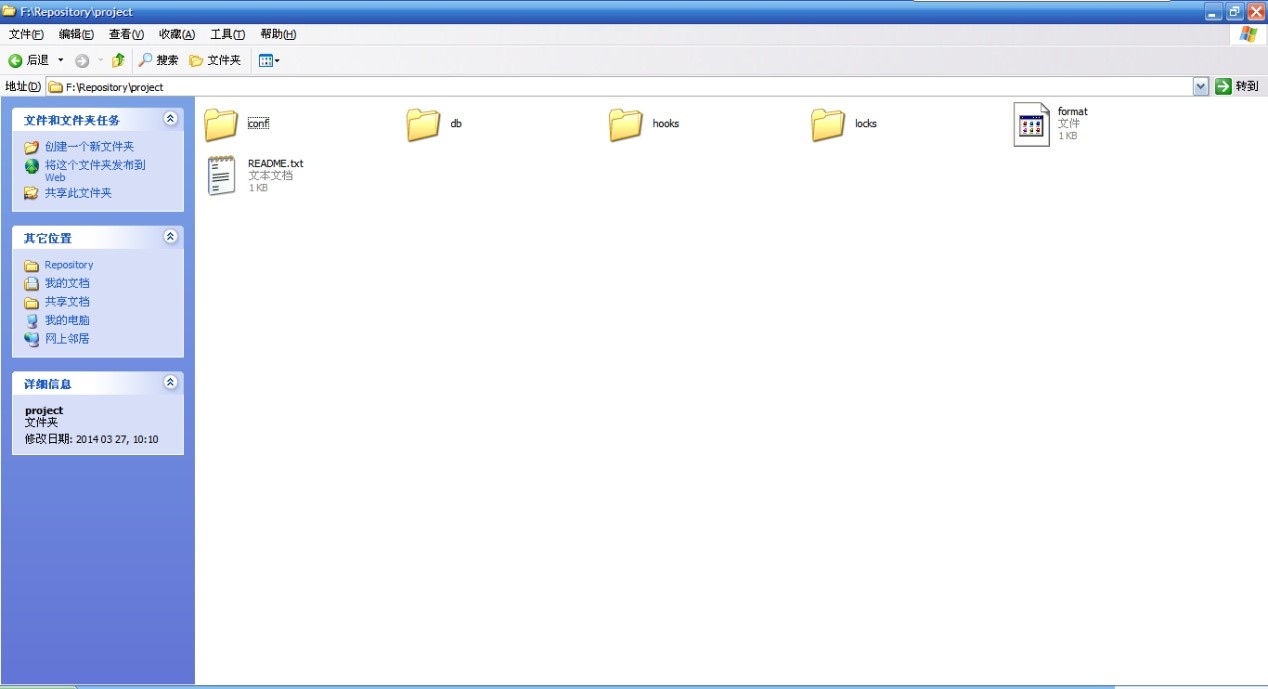
1) 修改F:\Repository\project\conf下的svnserve.conf文件:
(主要修改下面的红色部分)
### This file controls the configuration of the svnserve daemon, if you
### use it to allow access to this repository. (If you only allow
### access through http: and/or file: URLs, then this file is
### irrelevant.)
### Visit http://subversion.tigris.org/ for more information.
[general]
### These options control access to the repository for unauthenticated
### and authenticated users. Valid values are "write", "read",
### and "none". The sample settings below are the defaults.
anon-access = none
auth-access = write
### The password-db option controls the location of the password
### database file. Unless you specify a path starting with a /,
### the file's location is relative to the directory containing
### this configuration file.
### If SASL is enabled (see below), this file will NOT be used.
### Uncomment the line below to use the default password file.
password-db = passwd
### The authz-db option controls the location of the authorization
### rules for path-based access control. Unless you specify a path
### starting with a /, the file's location is relative to the the
### directory containing this file. If you don't specify an
### authz-db, no path-based access control is done.
### Uncomment the line below to use the default authorization file.
authz-db = authz
### This option specifies the authentication realm of the repository.
### If two repositories have the same authentication realm, they should
### have the same password database, and vice versa. The default realm
### is repository's uuid.
# realm = My First Repository
realm = 15600366-f61f-ff46-9604-00d17e727f34
[sasl]
### This option specifies whether you want to use the Cyrus SASL
### library for authentication. Default is false.
### This section will be ignored if svnserve is not built with Cyrus
### SASL support; to check, run 'svnserve --version' and look for a line
### reading 'Cyrus SASL authentication is available.'
# use-sasl = true
### These options specify the desired strength of the security layer
### that you want SASL to provide. 0 means no encryption, 1 means
### integrity-checking only, values larger than 1 are correlated
### to the effective key length for encryption (e.g. 128 means 128-bit
### encryption). The values below are the defaults.
# min-encryption = 0
# max-encryption = 256
注:上面的realm的uuid值的获取方式为:
进入cmd命令行,
输入命令:svnlook uuid F:\Repository\project
2) 修改F:\Repository\project\conf下的passwd文件,设置用户名和密码:
### This file is an example password file for svnserve.
### Its format is similar to that of svnserve.conf. As shown in the
### example below it contains one section labelled [users].
### The name and password for each user follow, one account per line.
[users]
# harry = harryssecret
# sally = sallyssecret
bumr = bumr
test = test
注:此处表示创建了用户名为:bumr,密码为:bumr以及用户名为:test,密码为:test的两个用户,添加用户的格式为“用户名 = 密码”。
3) 修改F:\Repository\project\conf下的authz文件,设置用户权限:
### This file is an example authorization file for svnserve.
### Its format is identical to that of mod_authz_svn authorization
### files.
### As shown below each section defines authorizations for the path and
### (optional) repository specified by the section name.
### The authorizations follow. An authorization line can refer to:
### - a single user,
### - a group of users defined in a special [groups] section,
### - an alias defined in a special [aliases] section,
### - all authenticated users, using the '$authenticated' token,
### - only anonymous users, using the '$anonymous' token,
### - anyone, using the '*' wildcard.
###
### A match can be inverted by prefixing the rule with '~'. Rules can
### grant read ('r') access, read-write ('rw') access, or no access
### ('').
[aliases]
# joe = /C=XZ/ST=Dessert/L=Snake City/O=Snake Oil, Ltd./OU=Research
Institute/CN=Joe Average
[groups]
# harry_and_sally = harry,sally
# harry_sally_and_joe = harry,sally,&joe
# [/foo/bar]
# harry = rw
# &joe = r
# * =
# [repository:/baz/fuz]
# @harry_and_sally = rw
# * = r
[project:/]
bumr = rw
test = r
注:此处是对名称为project的版本库的各个用户设置权限,用户名为bumr的用户具有可读写的权限,用户名为test的用户只具有可读的权限。至此,我们便可以用svn协议访问project版本库,地址为:svn://10.1.1.156/project
4) 权限设置的具体说明
a.当对所有的用户设置相同的权限时:
直接在authz文件最后添加如下信息:
1.设置对根目录即SVN目录下,所有版本库的访问权限
[/]
* = rw
2.设置对各个版本库及其目录进行权限分配
[project:/]
* = rw
b.当需要对用户进行分组时,可以对用户分组,不同分组的用户可以设置不同的权限:
[groups]
dev1 = bumr
dev2 = user1,user2
dev3 =user3,user4
dev4 = test
[project:/]
@dev1 = rw
@dev2 = rw
@dev3 = rw
@dev4 = r
c.通常一个项目的开发是分小组进行的,小组内部可以访问同一代码,但不同的小组之间则不能同时访问,所以在分组的不同用户中需指定到某个路径设置权限:
[groups]
dev1 = bumr
dev2 = user1,user2
dev3 = user3,user4
dev4 = test
[project:/]
@dev1 = rw
@dev4 = r
[project:/trunk]
@dev2 = rw
[project:/branch]
@dev3 = rw
在对不同的目录设置权限后,用户只能在权限设置的范围之内进行操作,否则SVN将会提示authorization failed错误。
d.如果要对含有中文的目录或文件进行权限控制时,需要将权限文件authz保存为UTF-8格式,微软的记事本保存为UTF-8格式无效,可以用如UltraEdit或EditPlus等软件完成,保存时,格式应选择UTF-8无 BOM
2.2.3. HTTP协议及权限配置
1) 修改Apahche的配置文件:
a.修改安装目录下的httpd.conf文件
在C:\Program Files\CollabNet\Subversion Server\httpd\conf文件夹中找到httpd.conf,去掉以下两行的注释:
#LoadModule dav_fs_module modules/mod_dav_fs.so
#LoadModule dav_module modules/mod_dav.so
并添加如下行,用于注册Subversion浏览库和权限控制:
LoadModule dav_svn_module modules/mod_dav_svn.so
LoadModule authz_svn_module modules/mod_authz_svn.so
b.重启Apache,如下则启动成功
c.环境变量配置:
Path变量中添加:CollabNetSubversion自带的apache的bin目录C:\Program Files\CollabNet\Subversion Server\httpd\bin
d.添加SVN服务:
在httpd.config文件中为svn添加访问路径,在httpd.config文件的末尾加入如下内容:此为多资源库配置:
<Location />
#告诉Apache是哪个模块响应那个URL的请求-此刻是Subversion模块
DAV svn
#SVNPath告需要查看的版本库位于E:\svn_repository之下
#SVNPath E:\svn_repository
#允许访问/svn目录
SVNListParentPath on
#配置库路径
SVNParentPath E:\Repository
#激活基本认证,就是用户名/密码
AuthType Basic
#AuthName 用来说明弹出要求输入认证信息的对话框信息,可以使用中文
AuthName "Subversion Repository"
#指定使用认证密码的文件
AuthUserFile "F:\Repository\user"
#AuthzSVNAccessFile 位置Subversion版本库的访问控制权限的路径文件
AuthzSVNAccessFile "F:\Repository\access"
#禁止匿名访问
Require valid-user
#允许匿名访问
# Satisfy Any
</Location>
备注:<Location /svn/>表示可访问http://10.1.1.156/svn/下的项目
<Location /svn>表示只能访问http://10.1.1.156/svn/project
<Location />表示可访问http://10.1.1.156/project
2) 添加用户设置密码文件:(user,同上apache配置文件匹配)
a.以cmd命令窗口进入路径C:\Program Files\CollabNet Subversion Server\httpd\bin目录下
b.输入命令:htpasswd –m F:/Repository/project/conf/user bumr
添加用户及密码文件
New password:****
Re-type new password:****
此时表示创建用户bumr,同时生成密码认证文件, m参数表示MD5加密方式;
另一种形式:htpasswd –cm F:/Repository/project /conf/user bumr
c参数为create,但加入c参数会覆盖之前创建的用户及文件,所以我们平时多用命令:htpasswd –m F:/Repository/project/conf/user bumr,这样就可以在之前创建的用户下再新增一个用户;
c.输入命令:htpasswd F:/Repository/project /conf/user test
表示追加test用户
d.输入命令:htpasswd –d F:/Repository/project /conf/user test
表示删除test用户
注:此配置文件用于访问SVN服务器时权限校验;
若对密码不想加密可使用-cp参数;
3) 添加用户权限文件:(access,同上apache配置文件匹配)
- 以文本编辑器编辑access文件,内容如下:
[groups] //组配置
committers = admin
developers = Allen,bumr
testers = bumr,test
[/]
* = r
@developers = r
@committers = rw
[projects:/]
@developers= rw
@testers = r
bumr =rw
test = rw
具体权限设置操作与SVN协议的权限设置相同
4) 安装客户端正常访问svn的:http://10.1.1.156/project,输入用户名,密码提交版本;
2.2.4.HTTPS协议及权限配置
以https协议访问创建的版本库主要是利用版本管理工具VisualSVN Server来实现的,它是http协议的安全通道,在利用VisualSVN Server创建版本库后会自动生成此版本库的https协议的访问,具体的操作使用参考第3章节的VisualSVN的安装及基本使用。
2.2.5.启动SVN服务
1. 将SVN服务注册为Windows启动服务:
进入cmd命令行,输入命令:sc create svnservice binpath= "\"C:\Program files\Subversion\bin\svnserve.exe\" -service -r D:\svn" displayname= "SVNService" depend= Tcpip start=auto
注:首先,如果路径中包括空格,一定要用”\”处理“"”号;其次,sc对选项的格式有要求,例如“depend= Tcpip”不能写为“depend = Tcpip”或“depend=Tcpip”,也就是“=”前不能有空格,而等号后必须有空格。如果想让服务随着windows启动而自动启动,可以在windows 的服务中更改这个服务的属性,也可以在创建时加上start= auto
2. 启动SVN服务:
输入命令:net start svnservice
3. 删除服务:
输入命令:sc delete svnservice
说明:SVN的启动服务是最早版本时需要进行的,现在公司安装的Subversion在安装过程中就已自动将svn服务作为windows的启动服务,不需再利用此命令进行。