今天想在树莓派上自己搭一个在线的python IDE,于是找到了一篇教程--Fred913大神的从头开始制作OJ-在线IDE的搭建
自己尝试动手做了一下, 还是发现不少细节需要注意, 记录在此
如果不知道怎么用树莓派搭建网站的可以参考我之前的文章: 树莓派4B踩坑指南 - (11)免费搭建网站(宝塔,花生壳)
demo地址: http://bowen.51mypc.cn/editor/
主要环境
- PHP
- Nginx/Apache
- Python3
主要步骤
1) /api/python.php
- 网站根目录下新建文件夹
api, 注意这里需要sudo或者su权限(下同), 然后使用mkdir api来创建 touch python.php# 在api中新建文件python.php,nano python.php# 在文件中粘贴以下内容
<?php
//Powered By ShengFAN
//使用世界上最好的语言PHP进行开发-_-
$randint = rand();//为用户的代码取一个随机数作为唯一码
$f = fopen("/tmp/usrcode".$randint.".py", "w");
fwrite($f,$_GET['code']);
fclose($f);
echo str_replace("
","<br>",passthru("python3 /tmp/usrcode".$randint.".py 2>&1")); //把换行转为html格式
unlink("/tmp/usrcode".$randint.".py"); //删除用户代码,以免造成tmp目录拥挤
- 保存退出
2) /editor/src
- 回到网站根目录,
mkdir editor - 去这里(https://github.com/ajaxorg/ace-builds)点
download zip, 然后把ace-builds-master.zip随便解压到哪个地方, 然后把ace-builds-master里边所有的东西复制到editor文件夹, 如cp -r /home/pi/Desktop/n/ace-builds-master/* /www/wwwroot/bowen.51mypc.cn/editor/, 命令中的-r和/*不要漏了. 复制完确认一下应该有这样的一个目录:/editor/src - 新建
index.php,touch index.php(这里跟原文有出入, 下载的包里没有index.html) - 在
index.php中放入如下代码(这里跟原文有出入, 原文写的是作者自己的网址, 这里删掉了php和html的选项并将python.php的地址改成了相对路径):
<!DOCTYPE HTML PUBLIC "-//W3C//DTD XHTML 1.0 Transitional//EN" "http://www.w3.org/TR/xhtml1/DTD/xhtml1-transitional.dtd">
<html lang="en">
<head>
<meta charset="UTF-8">
<title>FredTools IDE</title>
<link href="https://cdn.staticfile.org/twitter-bootstrap/3.3.7/css/bootstrap.min.css" rel="stylesheet">
<script src="https://cdn.staticfile.org/jquery/2.1.1/jquery.min.js"></script>
<script src="https://cdn.staticfile.org/jquery-cookie/1.4.1/jquery.cookie.min.js"></script>
<script src="https://cdn.staticfile.org/twitter-bootstrap/3.3.7/js/bootstrap.min.js"></script>
<script>
function runcode(code,type)
{
if(type == "python")
{
console.log(code);
var xmlhttp;
if (window.XMLHttpRequest)
{
// IE7+, Firefox, Chrome, Opera, Safari 浏览器执行代码
xmlhttp=new XMLHttpRequest();
}
else
{
// IE6, IE5 浏览器执行代码
xmlhttp=new ActiveXObject("Microsoft.XMLHTTP");
}
xmlhttp.open("GET","../api/python.php?code=" + escape(code),false);
xmlhttp.send();
var data = xmlhttp.responseText;
$("#output").html("<pre class="fillall">" + data.replace(/</g,"<").replace(/>/g,">").replace(/
/g,"<br>") + "</pre>");
}
}
</script>
<style type="text/css" media="screen">
#editor {
margin: 0;
position: absolute;
top: 0;
bottom: 0;
left: 0;
right: 0;
}
.container {
margin: 0;
//position: absolute;
top: 0;
bottom: 0;
}
#editordiv {
margin: 0;
position: absolute;
top: 0;
bottom: 0;
left:0;
right:58.33333333333334%;
}
#iframediv {
margin: 0;
position: absolute;
top: 0;
bottom: 50%;
left: 41.66666666666667%;
right:16.66666666666667%;
}
#stepdiv {
margin: 0;
position: absolute;
top: 50%;
bottom: 0;
left: 41.66666666666667%;
right:16.66666666666667%;
}
.col-md-2 {
margin: 0;
position: absolute;
top: 0;
bottom: 0;
left: 83.33333333333334%;
right:0;
}
</style>
</head>
<body>
<div class="container">
<div class="col-md-5 column" id="editordiv">
<pre id="editor"></pre>
</div>
<div class="col-md-5 column" id="iframediv">
<h3>运行结果:</h3>
<div id="output"></div>
</div>
<div class="col-md-5 column" id="stepdiv">
<h3 id="stepcount">自由模式</h3>
<p id="steptext">在此模式下,你可以自由的使用FredTools IDE。</p>
<p id="task">任务:无</p>
</div>
<div class="col-md-2 column">
<!-- 更改语言-start -->
<div class="form-group">
<select name="language" id="language" class="form-control">
<option value="python" selected>Python(.py)</option>
</select>
<button id="changelang" class="btn btn-default">
更改语言
</button>
</div>
<!-- 更改语言-end -->
<br>
<!-- 更改皮肤-end -->
<div class="form-group">
<select name="skin" id="skin" class="form-control">
<?php require "../skin.html"; ?>
</select>
<button id="changeskin" class="btn btn-default">
更改皮肤
</button>
</div>
<!-- 更改语言-end -->
<button class="btn btn-default" id="cheak">
<span class="glyphicon glyphicon-play-circle"></span>运行代码
</button>
<br><br>
<div class="form-group">
<input type="text" id="filename" placeholder="请输入此文件文件名......" class="form-control">
<button class="btn btn-default" id="savecode">
<span class="glyphicon glyphicon-save"></span>保存代码(通过Cookie)
</button>
<button class="btn btn-default" id="readcode">
<span class="glyphicon glyphicon-open"></span>读入代码(通过Cookie)
</button>
</div>
</div>
</div>
<script src="src-noconflict/ace.js" type="text/javascript" charset="utf-8"></script>
<script>
var editor = ace.edit("editor");
editor.setOptions({enableLiveAutocompletion: true});
editor.setTheme("ace/theme/Chrome");
editor.session.setMode("ace/mode/python");
$("#changelang").click(function(){
editor.session.setMode("ace/mode/" + $("#language").val());
});
$("#changeskin").click(function(){
editor.setTheme("ace/theme/" + $("#skin").val());
});
$("#cheak").click(function(){
var result = runcode(editor.getValue(), $("#language").val());
});
$("#savecode").click(function(){
$.cookie("File-" + $("#filename").val(), editor.getValue());
});
$("#readcode").click(function(){
editor.setValue($.cookie("File-" + $("#filename").val()));
});
</script>
</body>
</html>
3) 调试运行
- 满心欢喜的打开
bowen.51mypc.cn/editor, 然后就悲剧了: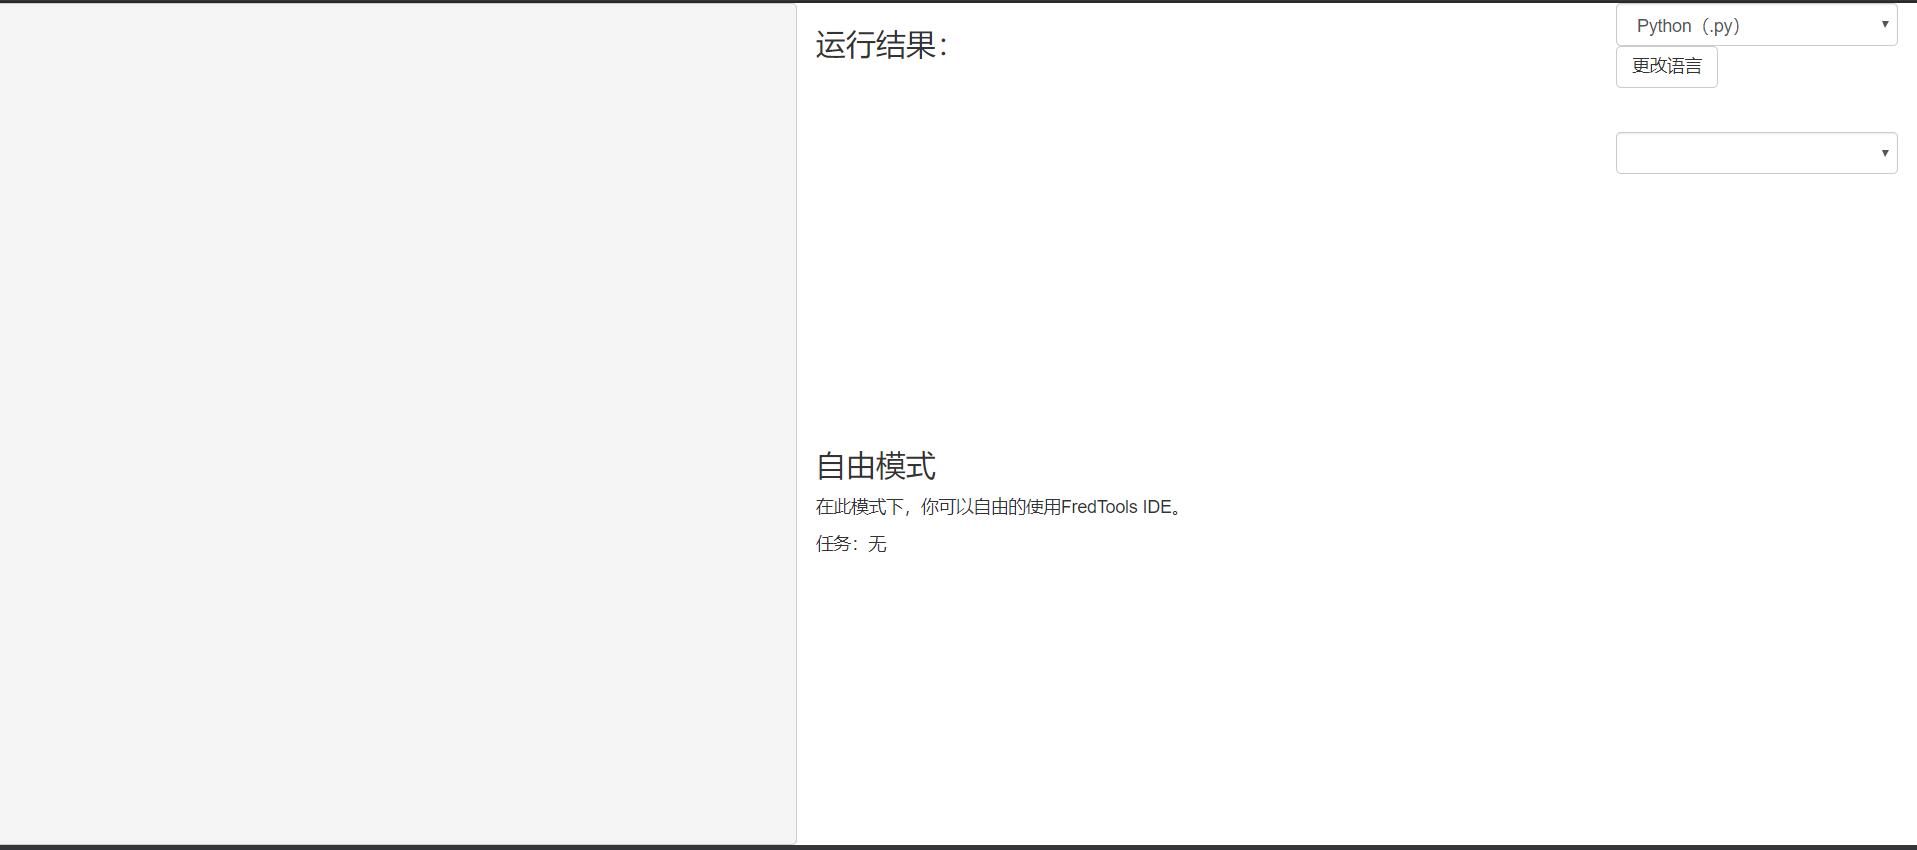
- 仔细读代码发现里边有一行
<?php require "../skin.html"; ?>哦, 原来没有这个文件所以卡这了, 那就回去新建一个吧 - 回到网站根目录,
nano skin.html, 写入一行<option value='chrome'>Chrome</option>, 保存退出. (这里跟原文有出入, 因为实际上并没有皮肤可以换, 就把其他的删掉了...) - 刷新页面, 诶, 果然可以了...吗?

- 百度了一下, 这个问题应该是
php.ini中的passthru函数被禁用了, 本想去找这个ini文件, 后来想想这种东西估计宝塔面板里就有,就去找了一下, 还真找到了:
- 大功告成!
print("hello world")
待解决问题
- 试了下, 这里用不了input()函数(
EOFError: EOF when reading a line), 估计是交互性没法满足, 希望后续能补上这个不足吧! - 不知道性能占用怎么样, 如果多人同时调用的话, 有可能会有新问题, 以后再测试.