最近在开发项目,发现很多功能都是以前项目公用的,直接copy发现很费事,于是百度了发现,直接将每一个组件发布到npm上,以后使用直接npm install xxx包就可以了,现将最近研究的结果及入的坑描述如下
一、编写自己的npm包
vue init webpack-simple 包名(注意包名不要和https://www.npmjs.com/package/package上的重名 重名了会报错)
配置完后,命令行运行 npm install 安装依赖包,安装完会生成一个node_modules目录
在src目录下新建plugin文件夹,放插件。我这里封装了一个图片预览的插件,下面是我的目录文件结构
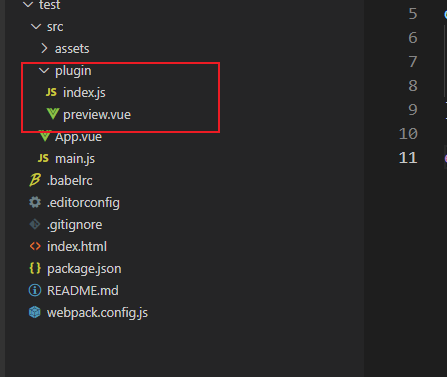
preview.vue
注意代码中的标红,引入 element-ui的标签时要添加如下操作,否则页面会报el-dialog等未注册异常
<template>
  <el-dialog :title="title"
  :visible="visible"
  top="20px"
  :append-to-body="appendToBody" :close-on-click-modal="closeOnClickModal"
    class="orioc-imagebox orioc-vcenter-dialog " @close="close">
    <el-carousel :interval="5000" :arrow="arrow" ref="carousel" :initial-index="index+1">
      <el-carousel-item v-for="item in lstImg" :key="item" :name="item" v-if="lstImg && lstImg.length>0">
        <div class="imagebox-item" v-bind:style="{backgroundImage:'url(' + item + ')'}">
        </div>
      </el-carousel-item>
    </el-carousel>
  </el-dialog>
</template>
<script>
  import ElDialog from "element-ui/lib/dialog";
  import ElCarousel from "element-ui/lib/carousel";
  import ElCarouselItem from "element-ui/lib/carousel-item";
  export default {
    //添加项目步骤
    name: 'previewImage',
    components: {
      [ElDialog.name]: ElDialog,
      [ElCarousel.name]: ElCarousel,
      [ElCarouselItem.name]: ElCarouselItem,
    },
    data() {
      return {
        //dom添加到body上,关系到modal的index
        appendToBody: true,
        closeOnClickModal: false,
        visible: false,
        title: '',
        arrow: 'always', // 切换箭头的显示时机 never 不显示
        index: 0, // 显示第几张图片
        previewurl: '', //
        lstImg: [],

      }
    },

    methods: {

      show(params) {
        this.visible = true
        this.title = params.title || ''
        this.arrow = params.lstImg.length > 1 ? 'always' : 'never'
        this.index = params.index || 0
        this.lstImg = params.lstImg
      },

      setIndex() {
        let index = this.lstImg.findIndex((v) => {
          return v === this.previewurl
        })
        setTimeout(() => {
          this.$refs.carousel.setActiveItem(this.previewurl)

        }, 500)

      },

      //取消的时候关闭对话框
      close() {
        this.visible = false
        this.$emit('hide')
      },

      confirm() {
        this.visible = false
        this.$emit('hide')
      },

    },


    destroyed() {

    }
  }

</script>

<style scoped>
  .orioc-imagebox>>>.el-dialog {
     90%;
    height: 90%;
  }

  .imagebox-item {
     100%;
    height: 100%;
    background-repeat: no-repeat;
    background-size: contain;
    background-position: center;
  }

  .orioc-imagebox>>>.el-dialog__body {
    height: calc(100% - 60px)
  }

  .orioc-imagebox>>>.el-carousel {
    height: calc(100%)
  }

  .orioc-imagebox>>>.el-carousel__container {
    height: calc(100%)
  }

  .orioc-imagebox>>>.el-dialog__headerbtn {
    top: 10px
  }

</style>
index.js
import preview from './preview'

let orioc = {}

orioc.install = function(Vue, opt){
  Vue.prototype.$msg = 'Hello I am orioc插件'

  Vue.component(preview.name, preview)
}

export default orioc
webpack.config.js的配置文件
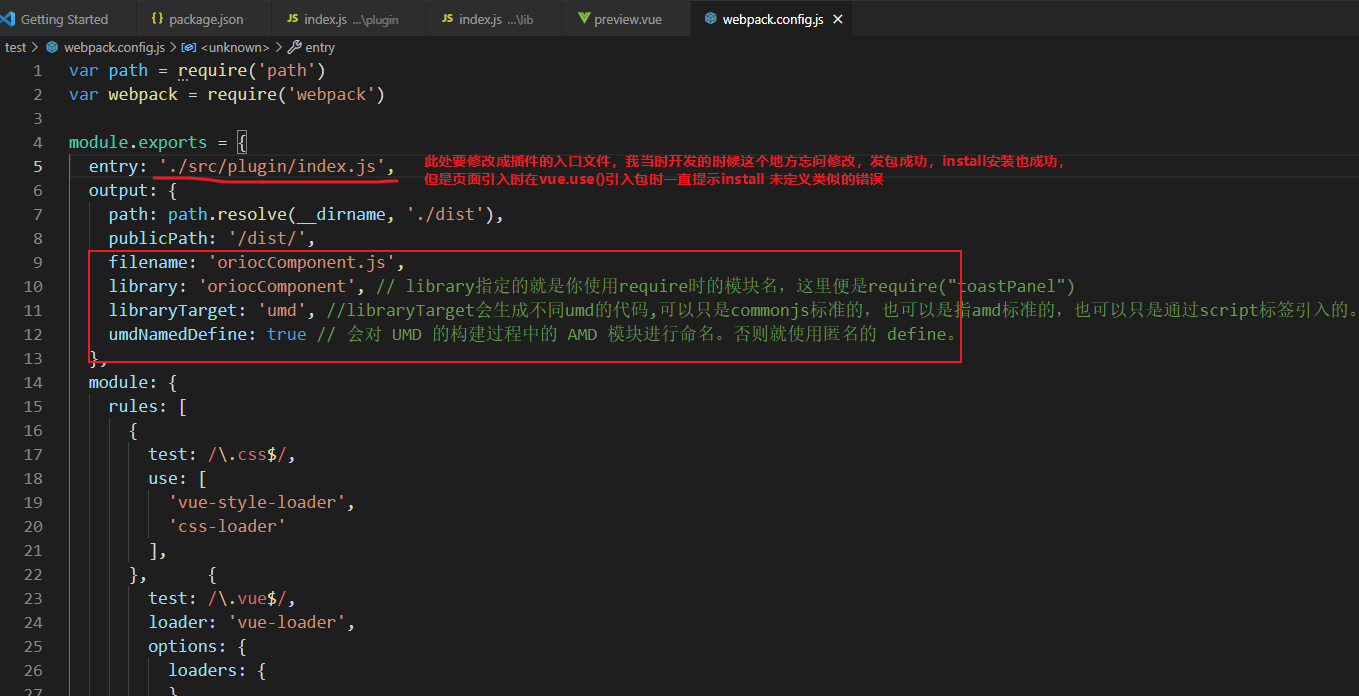
var path = require('path')
var webpack = require('webpack')

module.exports = {
  entry: './src/plugin/index.js',
  output: {
    path: path.resolve(__dirname, './dist'),
    publicPath: '/dist/',
    filename: 'oriocComponent.js',
    library: 'oriocComponent', // library指定的就是你使用require时的模块名,这里便是require("toastPanel")
    libraryTarget: 'umd', //libraryTarget会生成不同umd的代码,可以只是commonjs标准的,也可以是指amd标准的,也可以只是通过script标签引入的。
    umdNamedDefine: true // 会对 UMD 的构建过程中的 AMD 模块进行命名。否则就使用匿名的 define。
  },
  module: {
    rules: [
      {
        test: /.css$/,
        use: [
          'vue-style-loader',
          'css-loader'
        ],
      },      {
        test: /.vue$/,
        loader: 'vue-loader',
        options: {
          loaders: {
          }
          // other vue-loader options go here
        }
      },
      {
        test: /.js$/,
        loader: 'babel-loader',
        exclude: /node_modules/
      },
      {
        test: /.(png|jpg|gif|svg)$/,
        loader: 'file-loader',
        options: {
          name: '[name].[ext]?[hash]'
        }
      }
    ]
  },
  resolve: {
    alias: {
      'vue$': 'vue/dist/vue.esm.js'
    },
    extensions: ['*', '.js', '.vue', '.json']
  },
  devServer: {
    historyApiFallback: true,
    noInfo: true,
    overlay: true
  },
  performance: {
    hints: false
  },
  devtool: '#eval-source-map'
}
文件写好后,我们运行 npm run build,会在 dist 目录下生成一个 oriocComponent.min.js,就是我们在 webpack.dev.conf.js 中 filename 的值

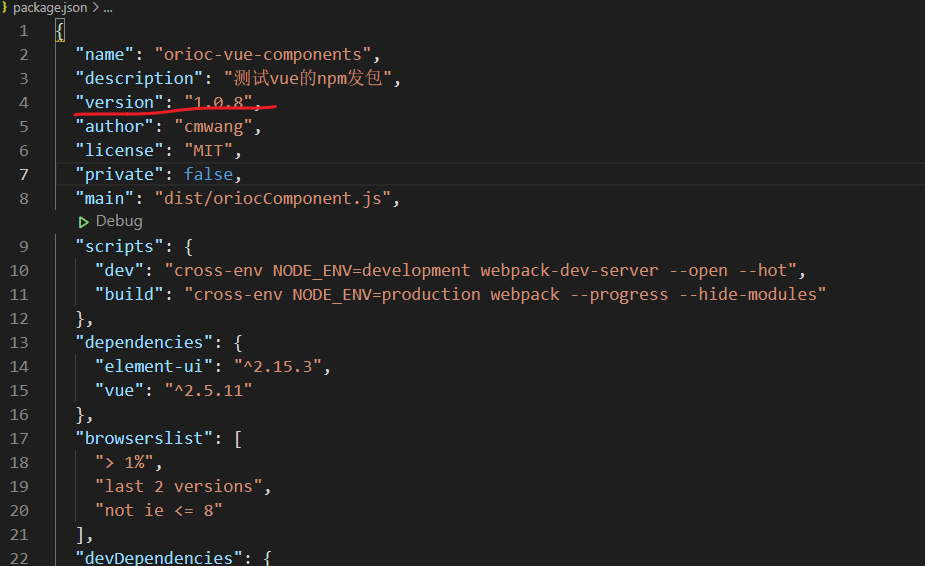
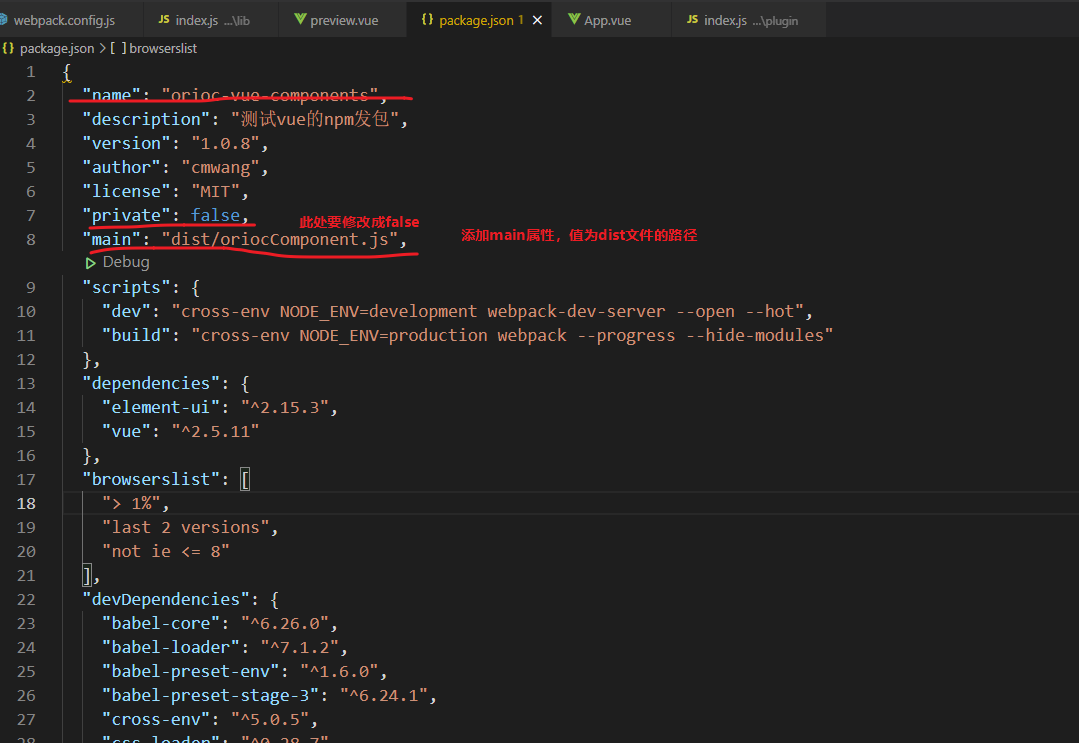
接下来就处理package.json文件了
上面工作完成后,就可以进入到npm发包过程了。
二、发布npm包
a. 到 https://www.npmjs.com 注册npm账号(具体步骤,自行百度)
b.进入项目根目录,运行 npm login
输入用户名、密码和邮箱 (输入密码时光标没有变化是正常的,只要正确输入就行)
c.登录成功后,执行 npm publish,就可以将包发布到npm官网上去看了
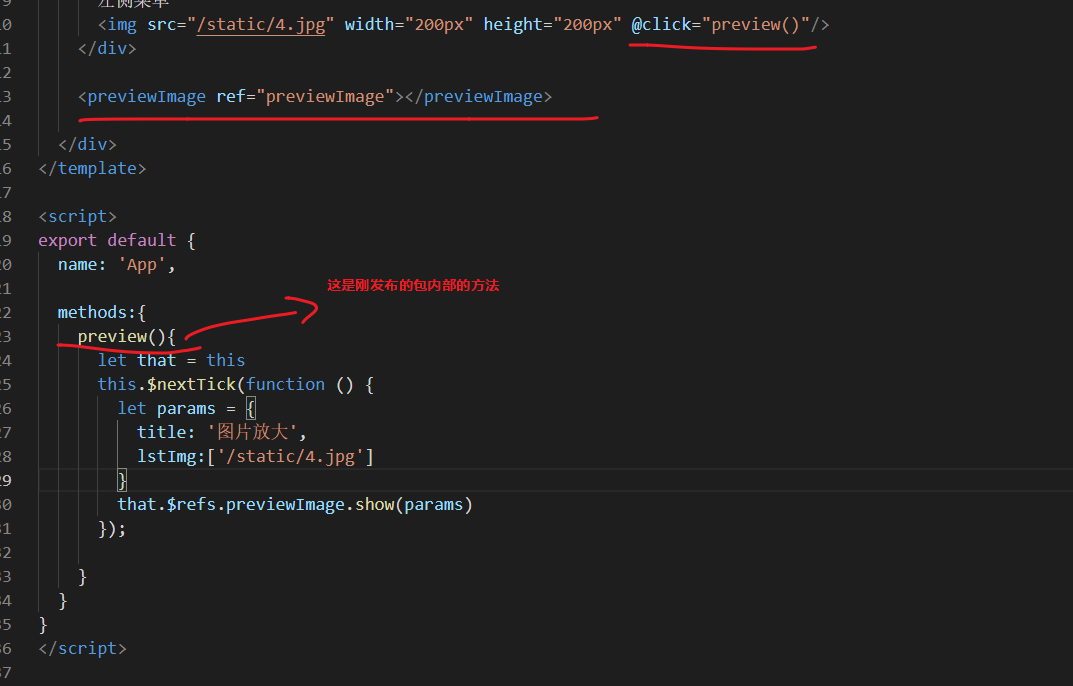
三、使用刚发布的包
a.在你的项目里直接npm install orioc-vue-components -s
b.main.js中引入
注:如果后期想更新此包,直接在原文件上修改,然后在package.json中修改版本号即可: