1. 下载安装包
mkdir -p /usr/local/mysql
cd /usr/local/mysql/
wget https://repo.mysql.com//mysql80-community-release-el7-1.noarch.rpm
2. 安装mysql80-community
yum -y localinstall mysql80-community-release-el7-1.noarch.rpm
3. 安装mariadb-server
yum install mariadb-server -y
-----------------------------------------------------------------------------------------------------------
这里加个小插曲,在后续使用中,mysql8对表名大小写敏感,而官方文档:
lower_case_table_names can only be configured when initializing the server. Changing the lower_case_table_names setting after the server is initialized is prohibited.
说明,在初始化时需要设置,如果导入表结构、表数据后,就来不及改了,那时只有把数据、表都删除,
且由于数据库都删除了,密码、权限等都回到了初始状态。
所以,这里需要配置一下忽略大小写敏感
3.1 停止 service mysqld stop
3.2 vi /etc/my.cnf
修改 lower_case_table_names = 1
3.3 启动 service mysqld start
-----------------------------------------------------------------------------------------------------------
4. 启动
service mysqld restart
5. 查看初始密码
grep "A temporary password is generated for root@localhost" /var/log/mysqld.log
6. mysql -uroot -p
password输入上一步查到的密码
7. 设置密码
mysql>ALTER USER 'root'@'localhost' IDENTIFIED BY 'xxxx'; // 这里输入你设置的密码
8. 安全组增加暴露3306端口

9. Navicat客户端连接
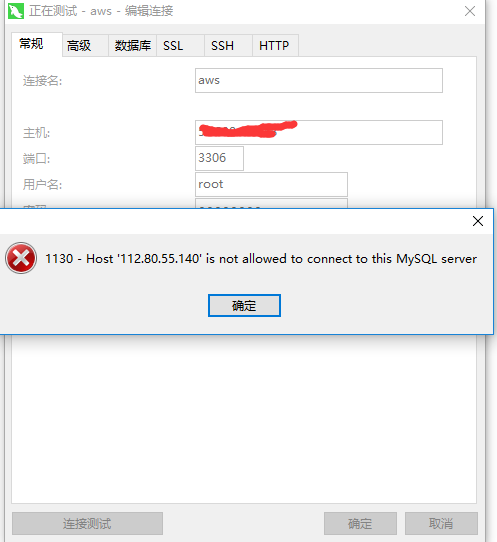
解决这个错:
mysql>use mysql;
mysql>update user set host = '%' where user ='root';
mysql>select host, user from user;

继续报错:
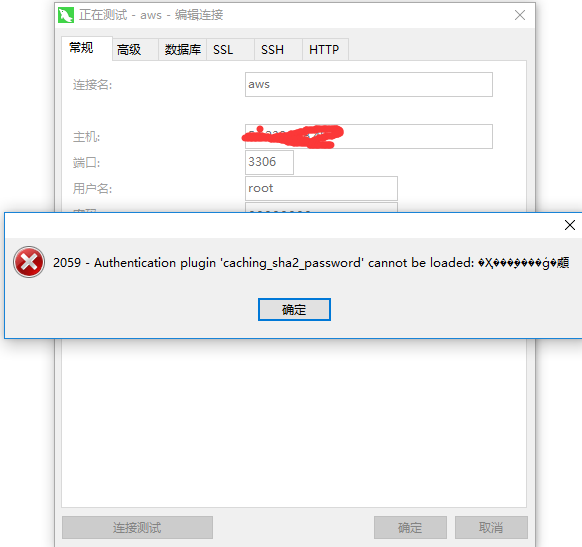
继续解决:
ALTER USER 'root'@'%' IDENTIFIED WITH mysql_native_password BY 'your pwd';
ok!
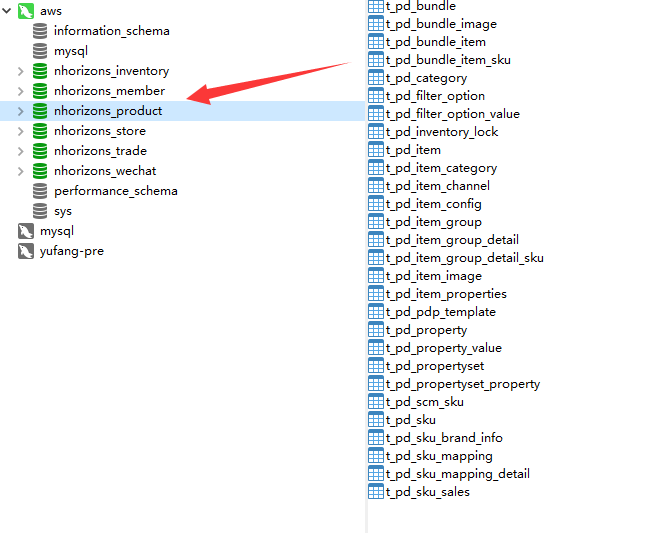
9.建库,导入数据

10. 卸载