ubuntu 平台:
valgrind 3.8.1
一. 编译
./configure --prefix=/home/frank/test/valgrind/PC/local
报错:checking the GLIBC_VERSION version... unsupported version 2.19
解决办法:修改configure,支持glibc 2.19.
接着make;make install 就安装好了。

二. 使用
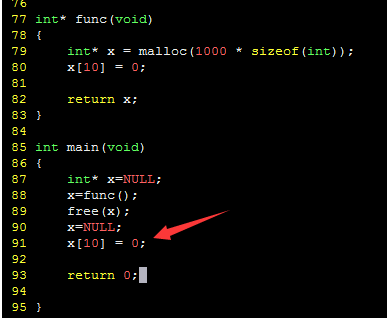
2.1 内存释放后 继续使用已释放的内存的情况

2.2 malloc 内存泄漏问题

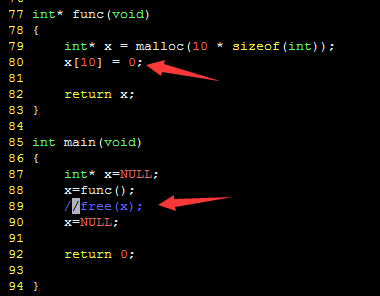
第一个红框Invalid write of size 4 提示越界;
第一个红框中的HEAP SUMMARY:提示内存泄漏,alloc了40 Bytes的block,但是free 为0,如果正常释放是如下结果:

arm 平台交叉编译:
./configure --prefix=/home/frank/test/valgrind/local CC=arm-openwrt-linux-gcc CPP=arm-openwrt-linux-cpp CXX=arm-openwrt-linux-c++ --host=arm-openwrt-linux
make;make install
成功后将整个local目录拷贝至目标板,local包含bin,include,lib,share.
注意:
可能会出现“valgrind: failed to start tool ‘memcheck’ for platform ‘arm-linux’: No such file or directory”的问题
解决办法:
1. --prefix指定的目录要与目标板上的目录一致,以我的环境为例,在目标板上需要mkdir -p /home/frank/test/valgrind/local
如果还不行,就依次执行下面的步骤。
2. chmod -R +x /home/frank/test/valgrind/local/bin
3. export VALGRIND_LIB=“/home/frank/test/valgrind/local/lib/valgrind”
chmod -R +x /home/frank/test/valgrind/local/lib/valgrind/
以上示例中的路径都是我的环境下的,实际操作时,请使用自己的路径。