参考Adam大神的文章 激光雷达的地面-非地面分割和pcl_ros实践
PCL基本入门
PCL是一个开源的点云处理库,是在吸收了前人点云相关研究基础上建立起来的大型跨平台开源C++编程库,它实现了大量点云相关的通用算法和高效数据结构,包含点云获取、滤波、分割、配准、检索、特征提取、识别、追踪、曲面重建、可视化等大量开源代码。支持多种操作系统平台,可在Windows、Linux、Android、Mac OS X、部分嵌入式实时系统上运行。如果说OpenCV是2D信息获取与处理的结晶,那么PCL就在3D信息获取与处理上具有同等地位。ROS kinetic完整版中本身已经包含了pcl库,同时ROS自带的pcl_ros 包可以连接ROS和PCL库。我们从一个简单的Voxel Grid Filter的ROS节点实现来了解一下PCL在ROS中的基本用法,同时了解PCL中的一些基本数据结构:
在ROS项目中引入PCL库
在此我们假定读者已经自行安装好ROS kinetic 的完整版,首先在我们的catkin workspace中新建一个package,我们将它命名为pcl_test,可以通过如下指令生成workspace和package:
cd ~
mkdir -p pcl_ws/src
cd pcl_ws
catkin_make
source devel/setup.bash
cd src
catkin_create_pkg pcl_test roscpp sensor_msgs pcl_ros
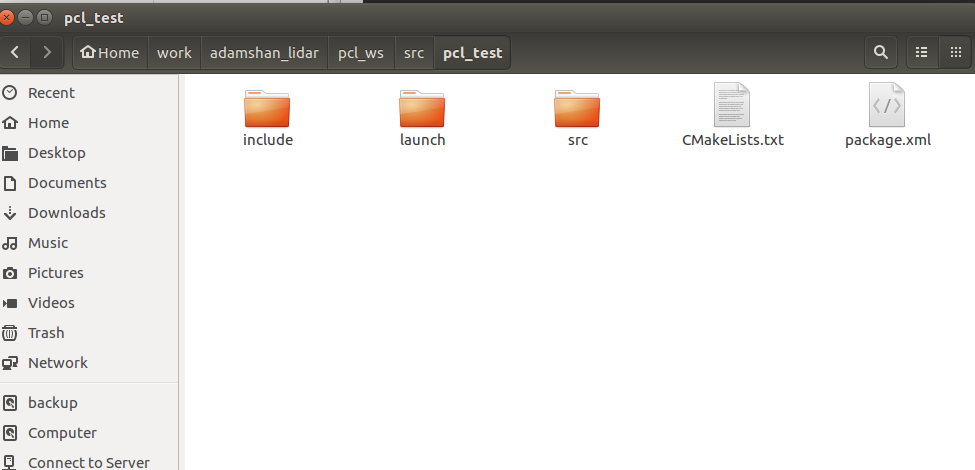
这样,我们就新建了一个workspace,用于学习PCL,同时新建了一个名为pcl_test的package,这个ROS包依赖于roscpp,sensor_msgs, pcl_ros这几个包,我们修改pcl_test包下的CMakeList文件以及package.xml配置文件,如下:
package.xml 文件:
<?xml version="1.0"?>
<package>
  <name>pcl_test</name>
  <version>0.0.1</version>
  <description>The pcl_test package</description>


  <maintainer email="shenzb12@lzu.edu.cn">adam</maintainer>

  <license>MIT</license>


  <buildtool_depend>catkin</buildtool_depend>
  <build_depend>roscpp</build_depend>
  <build_depend>sensor_msgs</build_depend>
  <build_depend>pcl_ros</build_depend>

  <run_depend>roscpp</run_depend>
  <run_depend>sensor_msgs</run_depend>
  <run_depend>pcl_ros</run_depend>
</package>
CMakeList.txt 文件:
 1 cmake_minimum_required(VERSION 2.8.3)
 2 project(pcl_test)
 3
 4 add_compile_options(-std=c++11)
 5
 6
 7 find_package(catkin REQUIRED COMPONENTS
 8 pcl_ros
 9 roscpp
10 sensor_msgs
11 )
12
13
14 catkin_package(
15   INCLUDE_DIRS include
16   CATKIN_DEPENDS roscpp sensor_msgs pcl_ros
17 )
18
19 include_directories(
20  include
21  ${catkin_INCLUDE_DIRS}
22 )
23 link_directories(${PCL_LIBRARY_DIRS})
24
25
26 add_executable(${PROJECT_NAME}_node src/pcl_test_node.cpp src/pcl_test_core.cpp)
27
28
29 target_link_libraries(${PROJECT_NAME}_node
30   ${catkin_LIBRARIES}
31   ${PCL_LIBRARIES}
32 )
package.xml的内容很简单,实际上就是这个包的描述文件,build_depend 和 run_depend 两个描述符分别指定了程序包编译和运行的依赖项,通常是所用到的库文件的名称。在这里我们指定了三个编译和运行时依赖项,分别是roscpp(编写C++ ROS节点),sensor_msgs(定义了激光雷达的msg),pcl_ros(连接ROS和pcl库)。
同样的,在CMakeList中,我们通过find_package查找这三个包的路径,然后将三个包添加到 CATKIN_DEPENDS, 在使用pcl库前,需要将PCL库的路径链接,通过link_directories(${PCL_LIBRARY_DIRS})来完成,并在最后的target_link_libraries中添加${PCL_LIBRARIES}。
编写节点进行Voxel Grid Filter
接着我们在pcl_test/src目录下新建 pcl_test_node.cpp文件:
#include "pcl_test_core.h"

int main(int argc, char **argv)
{
    ros::init(argc, argv, "pcl_test");

    ros::NodeHandle nh;

    PclTestCore core(nh);
    return 0;
}
此文件仅包含main函数,是节点的入口,编写头文件pcl_test_core.h:
#pragma once

#include <ros/ros.h>

#include <pcl_conversions/pcl_conversions.h>
#include <pcl/point_types.h>
#include <pcl/conversions.h>
#include <pcl_ros/transforms.h>

#include <pcl/filters/voxel_grid.h>

#include <sensor_msgs/PointCloud2.h>

class PclTestCore
{

  private:
    ros::Subscriber sub_point_cloud_;

    ros::Publisher pub_filtered_points_;

    void point_cb(const sensor_msgs::PointCloud2ConstPtr& in_cloud);

  public:
    PclTestCore(ros::NodeHandle &nh);
    ~PclTestCore();
    void Spin();
};
以及pcl_test_core.cpp:
#include "pcl_test_core.h"

PclTestCore::PclTestCore(ros::NodeHandle &nh){
    sub_point_cloud_ = nh.subscribe("/velodyne_points",10, &PclTestCore::point_cb, this);

    pub_filtered_points_ = nh.advertise<sensor_msgs::PointCloud2>("/filtered_points", 10);

    ros::spin();
}

PclTestCore::~PclTestCore(){}

void PclTestCore::Spin(){

}

void PclTestCore::point_cb(const sensor_msgs::PointCloud2ConstPtr & in_cloud_ptr){
    pcl::PointCloud<pcl::PointXYZI>::Ptr current_pc_ptr(new pcl::PointCloud<pcl::PointXYZI>);
    pcl::PointCloud<pcl::PointXYZI>::Ptr filtered_pc_ptr(new pcl::PointCloud<pcl::PointXYZI>);

    pcl::fromROSMsg(*in_cloud_ptr, *current_pc_ptr);

    pcl::VoxelGrid<pcl::PointXYZI> vg;

    vg.setInputCloud(current_pc_ptr);
    vg.setLeafSize(0.2f, 0.2f, 0.2f);
    vg.filter(*filtered_pc_ptr);

    sensor_msgs::PointCloud2 pub_pc;
    pcl::toROSMsg(*filtered_pc_ptr, pub_pc);

    pub_pc.header = in_cloud_ptr->header;

    pub_filtered_points_.publish(pub_pc);
}
这个节点的功能是订阅来自/velodyne_points话题的点云数据,使用PCL内置的Voxel Grid Filter对原始的点云进行降采样,将降采样的结果发布到/filtered_points话题上。我们重点看回调函数PclTestCore::point_cb,在该回调函数中,我们首先定义了两个点云指针,在PCL库中,pcl::PointCloud<T>是最基本的一种数据结构,它表示一块点云数据(点的集合),我们可以指定点的数据结构,在上述实例中,采用了pcl::PointXYZI这种类型的点。pcl::PointXYZI结构体使用(x, y, z, intensity)这四个数值来描述一个三维度空间点。
intensity,即反射强度,是指激光雷达的激光发射器发射激光后收到的反射的强度,通常所说的16线,32线激光雷达,其内部实际是并列纵排的多个激光发射器,通过电机自旋,产生360环视的点云数据,不同颜色的物体对激光的反射强度也是不同的,通常来说,白色物体的反射强度(intensity)最强,对应的,黑色的反射强度最弱。
通常使用sensor_msgs/PointCloud2.h 做为点云数据的消息格式,可使用pcl::fromROSMsg和pcl::toROSMsg将sensor_msgs::PointCloud2与pcl::PointCloud<T>进行转换。
为了使用Voxel Grid Filter对原始点云进行降采样,只需定义pcl::VocelGrid并且指定输入点云和leaf size,在本例中,我们使用leaf size为 0.2。Voxel Grid Filter将输入点云使用0.2m*0.2m*0.2m的立方体进行分割,使用小立方体的 形心(centroid) 来表示这个立方体的所有点,保留这些点作为降采样的输出。
验证效果
pcl_test文件夹下创建launch文件夹
mkdir launch
cd launch
我们写一个launch文件pcl_test.launch来启动这个节点:
pcl_test.launch
<launch>
    <node pkg="pcl_test" type="pcl_test_node" name="pcl_test_node" output="screen"/>
</launch>
回到workspace 目录,使用catkin_make 编译:
catkin_make
启动这个节点:
roslaunch pcl_test pcl_test.launch
新建终端,并运行我们的测试bag(测试bag下载链接:https://pan.baidu.com/s/1HOhs9StXUmZ_5sCALgKG3w)
rosbag play --clock test.bag
打开第三个终端,启动Rviz:
rviz
配置Rviz的Fixed Frame为velodyne,
background color 改为 黑色
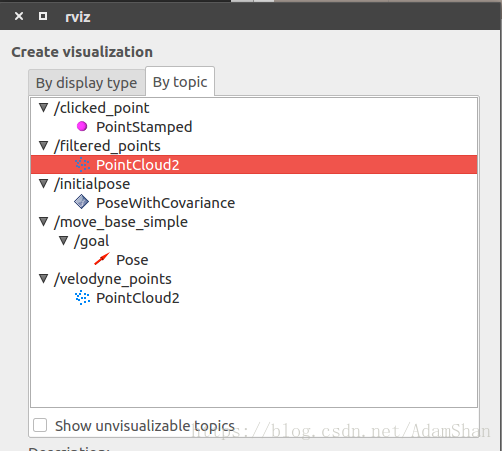
点击 "Add" -->> By topic 选择velodyne_points点云
style 选择 points

加载原始点云和过滤以后的点云的display
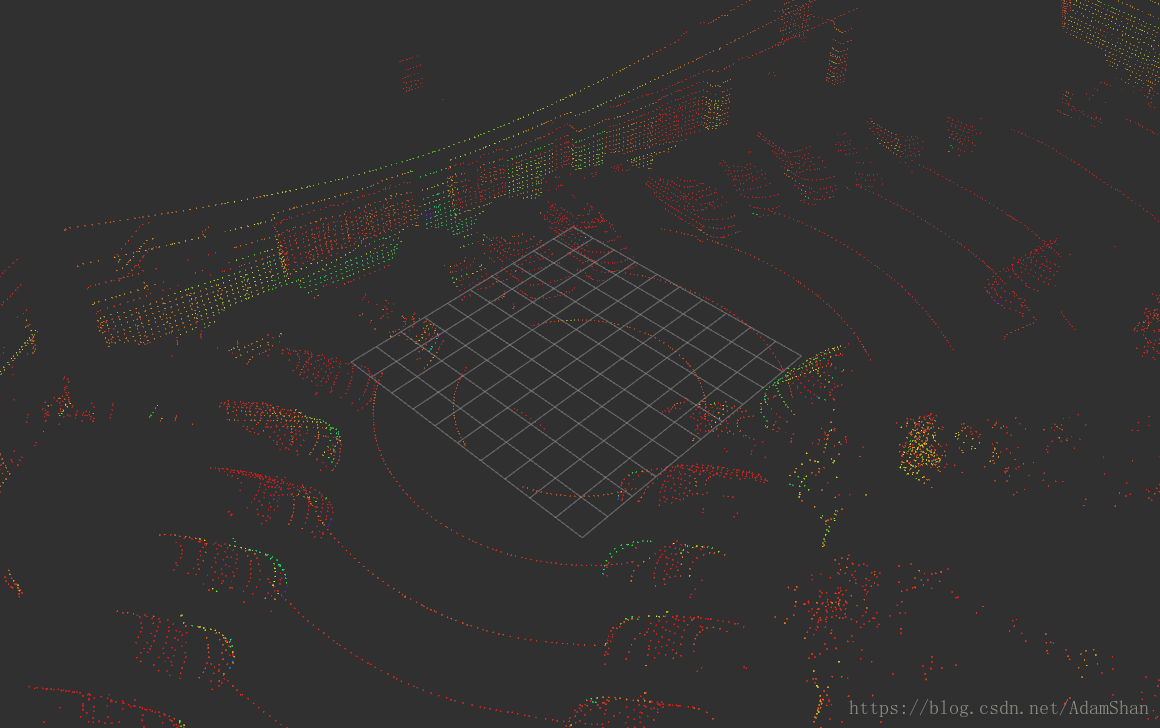
原始点云:(topic 选择 velodyne_points)
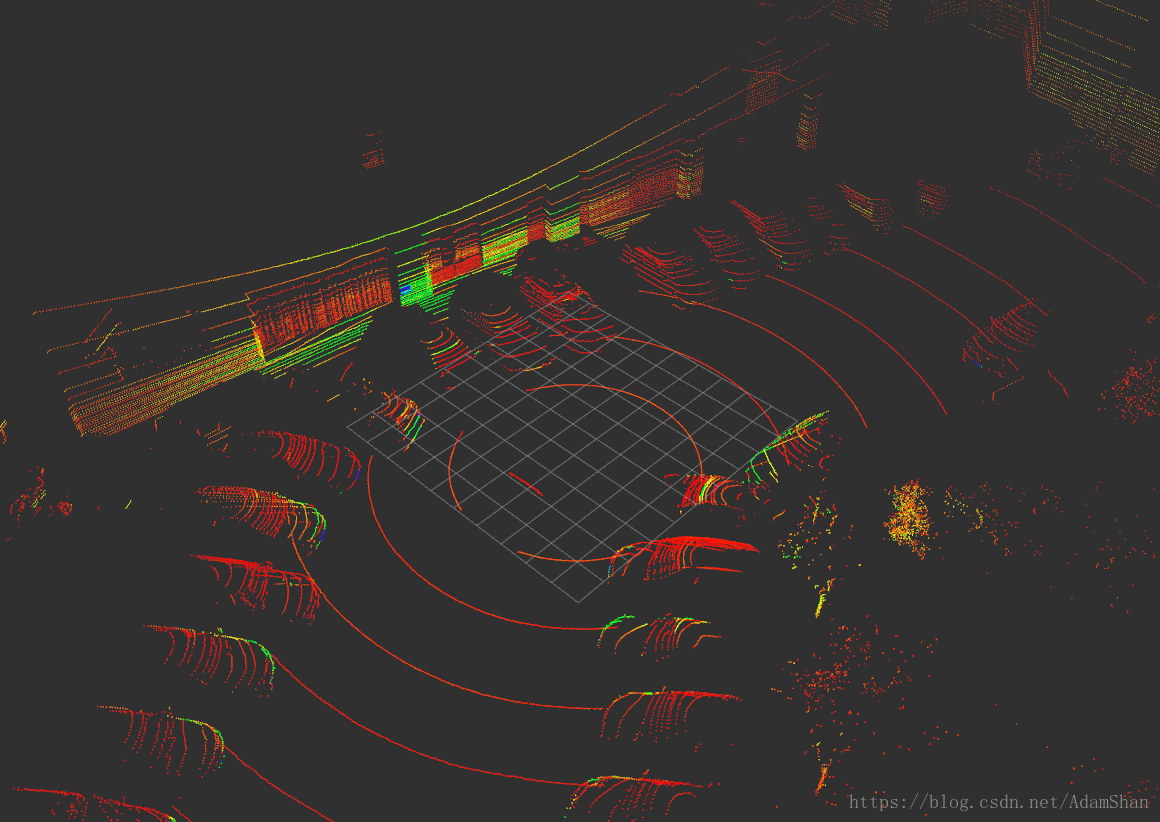
降采样之后的点云(即我们的节点的输出):(topic 选择 /filtered_points)