一、LAMP架构部署
1、安装Apache
#yum install httpd* -y
2、MySQL或MariaDB安装
#yum install mariadb* -y
3、PHP安装
#yum install php* -y --skip-broken
4、启动Apache
#systemctl start httpd.service && systemctl enable httpd.service
5、启动MariaDB
#systemctl start mariadb.service && systemctl enable mariadb.service
二、zabbix搭建
服务端:
1、安装zabbix安装包
# rpm -Uvh http://repo.zabbix.com/zabbix/3.2/rhel/7/x86_64/zabbix-release-3.2-1.el7.noarch.rpm
2、安装zabbix组件
# yum -y install zabbix-agent zabbix-get zabbix-server-mysql zabbix-web zabbix-web-mysql mariadb*
3、编辑数据库文件使其支持中文
#vim /etc/my.cnf
character_set_server=utf8(放到【mysqld】块下)
4、重启数据库服务
# systemctl restart mariadb.service && systemctl enable mariadb.service
5、创建zabbix数据库(匿名登录数据库)
#mysql
>create database zabbix character set utf8;
>exit
6、将zabbix数据导入到数据库中
# cd /usr/share/doc/zabbix-server-mysql-3.2.11/
# gunzip create.sql.gz 或 gzip  -d  create.sql.gz
#mysql zabbix < create.sql
7、初始化数据库(添加密码)
#mysql_secure_installation
8、编辑zabbix配置文件
#vim  /etc/zabbix/zabbix_server.conf
         DBUser=USER
         DBPassword=PASSWORD
9、重启zabbix服务
# systemctl restart zabbix-server.service && systemctl enable zabbix-server.service
10、编辑zabbix的web界面配置文件使其时区同步
# vim /etc/httpd/conf.d/zabbix.conf
php_value date.timezone Asia/Shanghai
11、重启Apache服务
# systemctl restart httpd.service && systemctl enable httpd.service
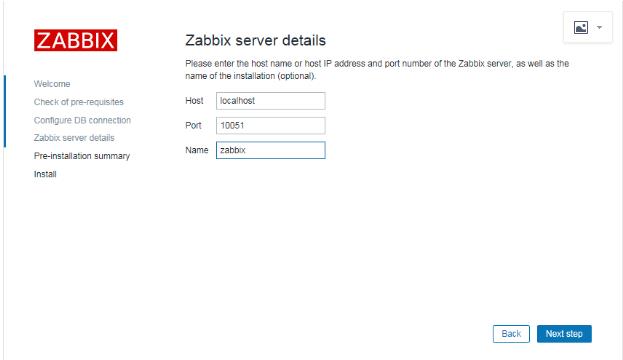
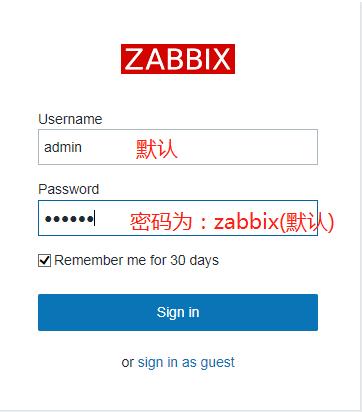
12、在浏览器中验证
输入:SERVER_IP/zabbix
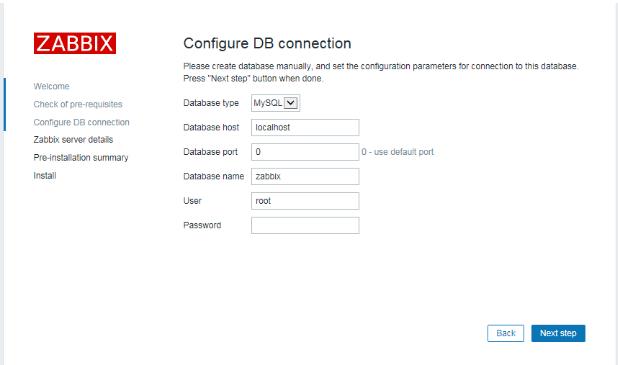
User:USER
Password:PASSWORD
数据库名:zabbix
客户端:
1、安装zabbix安装包
# rpm -Uvh http://repo.zabbix.com/zabbix/3.2/rhel/7/x86_64/zabbix-release-3.2-1.el7.noarch.rpm
2、安装zabbix客户端插件
# yum -y install zabbix-agent
3、配置客户端文件
# vim /etc/zabbix/zabbix_agentd.conf
Server=SERVER_IP(服务端IP)
ServerActive=SERVER_IP(服务端IP)
Hostname=AGENT_NAME(客户端起名)
4、重启客户端服务
# systemctl restart zabbix-agent.service && systemctl enable zabbix-agent.service
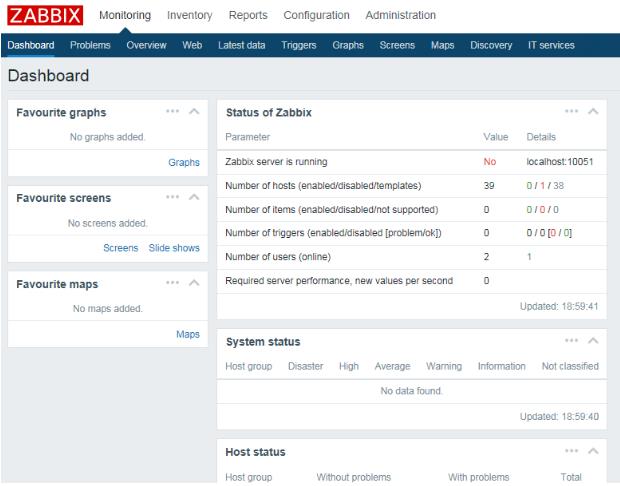
5、web界面
配置:主机群组(创建群组) 主机(创建主机:名,群组,IP )

添加成功后,点击client-1,进入模板,添加模板

刷新变绿即可

2019-01-04 09:14:36