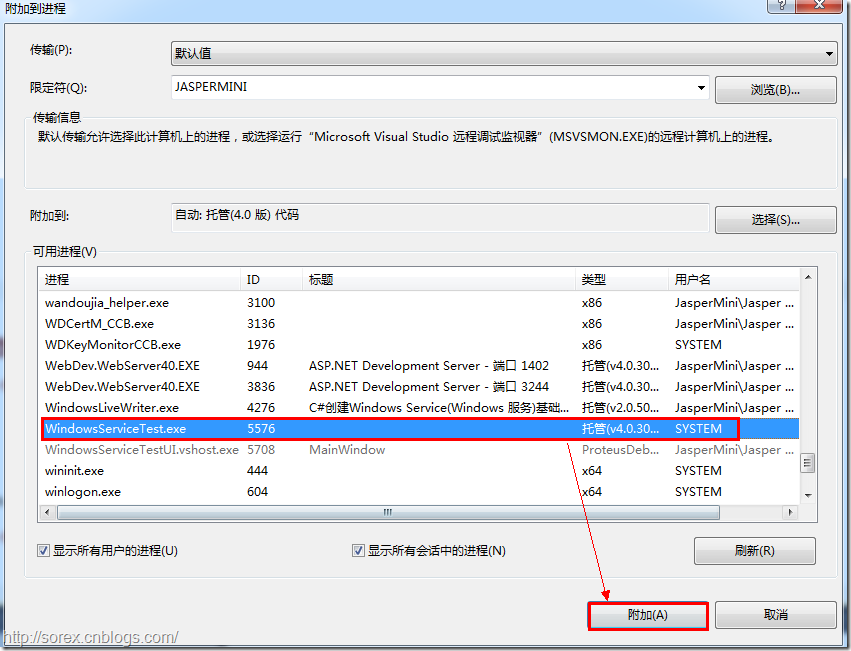
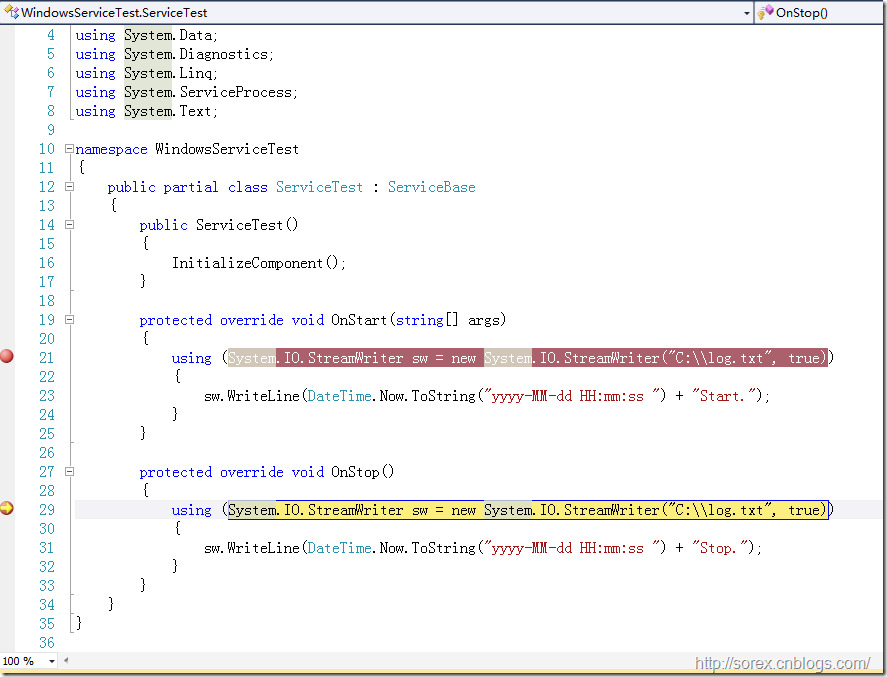
Windows Service这一块并不复杂,但是注意事项太多了,网上资料也很凌乱,偶尔自己写也会丢三落四的。所以本文也就产生了,本文不会写复杂的东西,完全以基础应用的需求来写,所以不会对Windows Service写很深入。
本文介绍了如何用C#创建、安装、启动、监控、卸载简单的Windows Service 的内容步骤和注意事项。
一、创建一个Windows Service
1)创建Windows Service项目
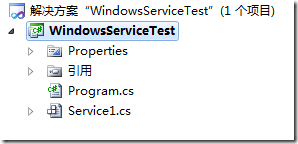
2)对Service重命名
将Service1重命名为你服务名称,这里我们命名为ServiceTest。
二、创建服务安装程序
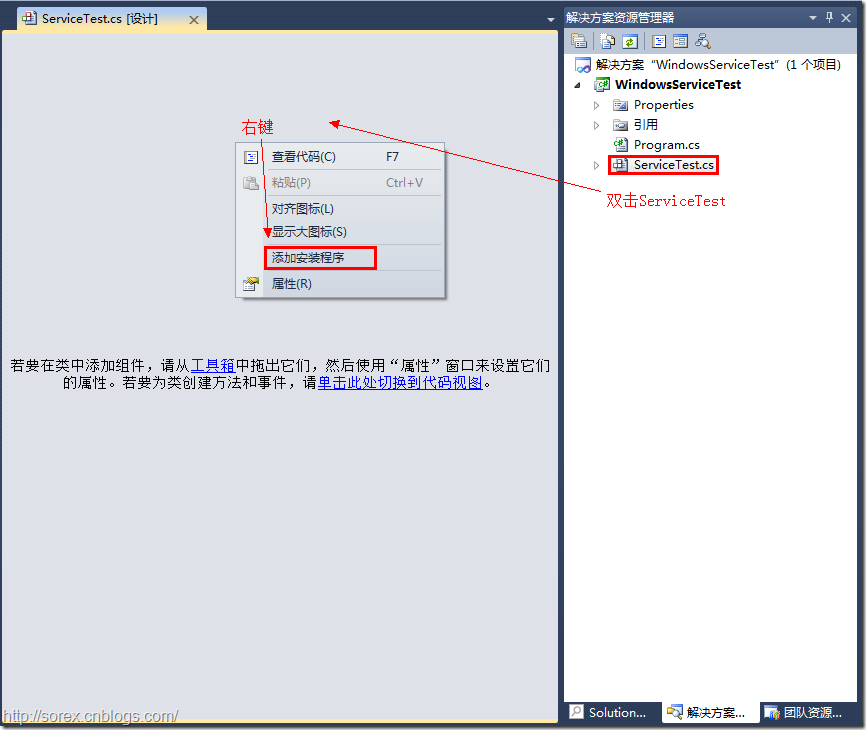
1)添加安装程序
之后我们可以看到上图,自动为我们创建了ProjectInstaller.cs以及2个安装的组件。
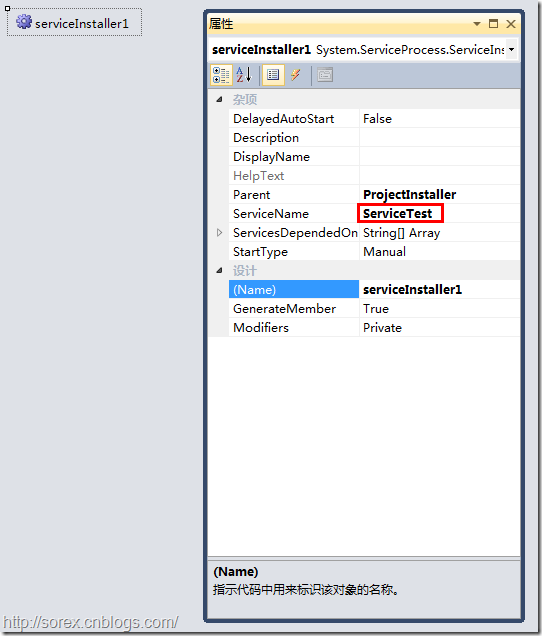
2)修改安装服务名
右键serviceInsraller1,选择属性,将ServiceName的值改为ServiceTest。
3)修改安装权限
右键serviceProcessInsraller1,选择属性,将Account的值改为LocalSystem。
三、创建安装脚本
在项目中添加2个文件如下(必须是ANSI或者UTF-8无BOM格式):
1)安装脚本Install.bat
%SystemRoot%Microsoft.NETFrameworkv4.0.30319installutil.exe WindowsServiceTest.exe

Net Start ServiceTest

sc config ServiceTest start= auto
2)卸载脚本Uninstall.bat
%SystemRoot%Microsoft.NETFrameworkv4.0.30319installutil.exe /u WindowsServiceTest.exe
3)安装脚本说明
第二行为启动服务。
第三行为设置服务为自动运行。
这2行视服务形式自行选择。
4)脚本调试
如果需要查看脚本运行状况,在脚本最后一行加入pause

