1、利用定时调度可以帮助用户实现无人值守程序执行,在Spring中提供了简单的SpringTask调度执行任务,利用此组件可以实现间隔调度与CRON调度处理。
首先需要创建一个线程调度类,如下所示:
 1 package com.demo.cron;
 2
 3 import java.text.SimpleDateFormat;
 4 import java.util.Date;
 5
 6 import org.springframework.scheduling.annotation.Scheduled;
 7 import org.springframework.stereotype.Component;
 8
 9 /**
10  *
11  * @author
12  *
13  */
14 @Component
15 public class CronSchedulerTask {
16
17     /**
18      * 定义一个要执行的任务
19      */
20     @Scheduled(fixedRate = 2000) // 采用间隔调度,每隔2秒执行一次
21     public void runJobA() {
22         System.err.println("【*** runJobA ***】 " + new SimpleDateFormat("yyyy-MM-dd HH:mm:ss.SSS").format(new Date()));
23     }
24
25     /**
26      * 定义一个要执行的任务
27      */
28     @Scheduled(cron = "* * * * * ?") // 采用间隔调度,每隔1秒执行一次
29     public void runJobB() {
30         System.err.println("【*** runJobB ***】 " + new SimpleDateFormat("yyyy-MM-dd HH:mm:ss.SSS").format(new Date()));
31     }
32
33 }
为了让多个任务并行执行,还需要建立一个定时调度池的配置类,如下所示;
 1 package com.demo.config;
 2
 3 import java.util.concurrent.Executors;
 4
 5 import org.springframework.context.annotation.Configuration;
 6 import org.springframework.scheduling.annotation.SchedulingConfigurer;
 7 import org.springframework.scheduling.config.ScheduledTaskRegistrar;
 8
 9 /**
10  * 定时调度的配置类一定要实现指定的父接口
11  *
12  * @author
13  *
14  */
15 @Configuration
16 public class SchedulerConfig implements SchedulingConfigurer {
17
18     /**
19      * 开启线程调度池
20      */
21     @Override
22     public void configureTasks(ScheduledTaskRegistrar taskRegistrar) {
23         // 10个线程池
24         taskRegistrar.setScheduler(Executors.newScheduledThreadPool(10));
25     }
26
27 }
切记,要在程序启动类上追加定时任务配置注解,如下所示:
 1 package com.demo;
 2
 3 import org.springframework.boot.SpringApplication;
 4 import org.springframework.boot.autoconfigure.SpringBootApplication;
 5 import org.springframework.data.jpa.repository.config.EnableJpaRepositories;
 6 import org.springframework.scheduling.annotation.EnableScheduling;
 7 import org.springframework.transaction.annotation.EnableTransactionManagement;
 8
 9 @SpringBootApplication // 启动Springboot程序,而后自带子包扫描
10 @EnableScheduling // 启动调度
11 public class DemoApplication {
12
13     public static void main(String[] args) {
14         // 启动Springboot程序
15         SpringApplication.run(DemoApplication.class, args);
16     }
17
18 }
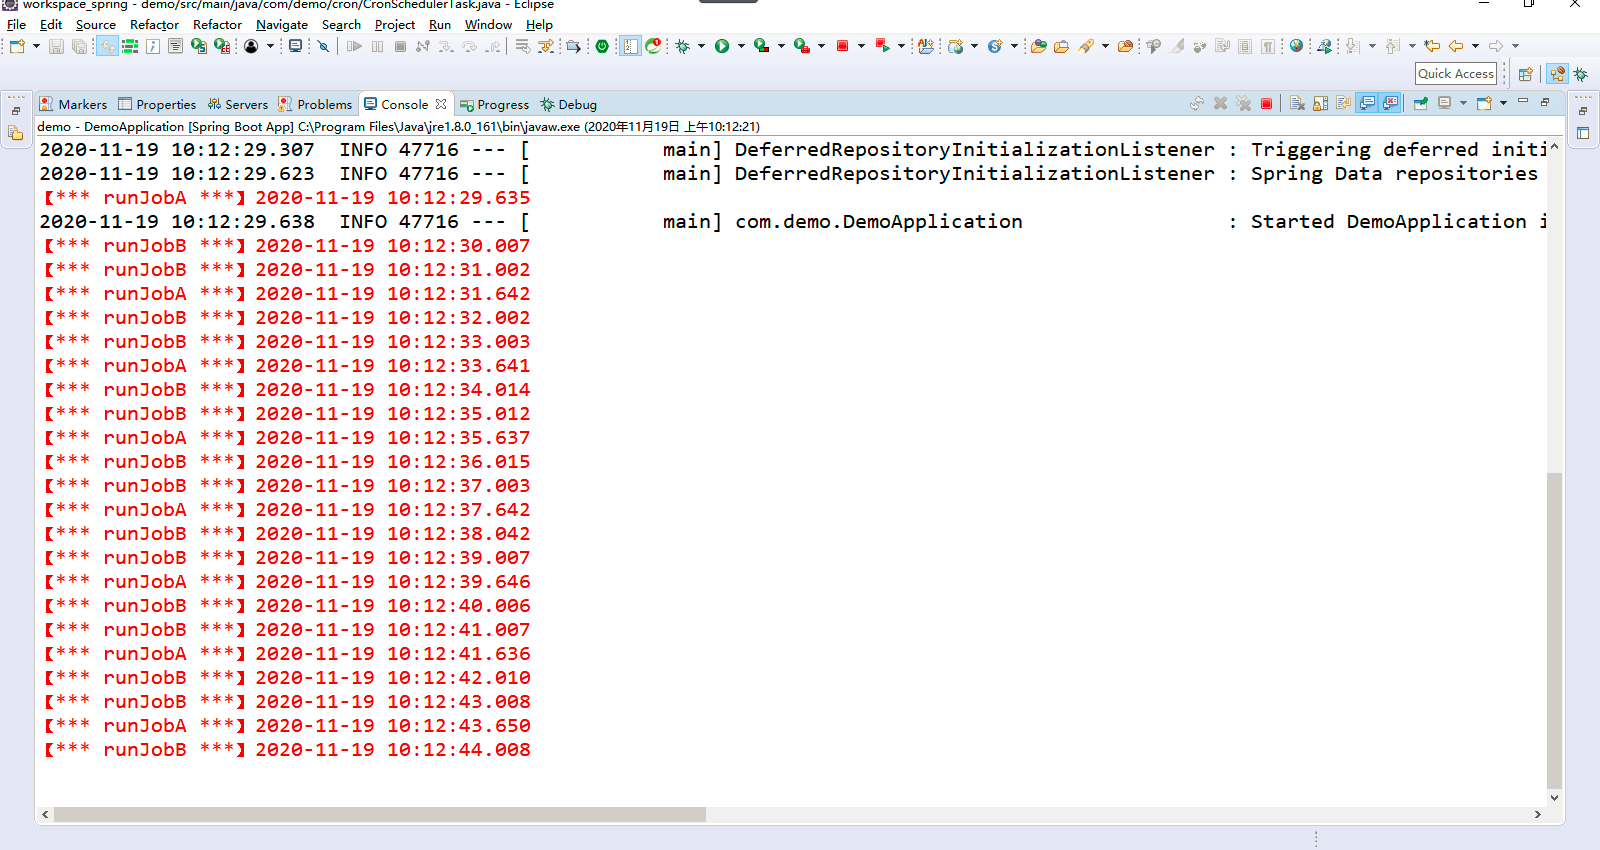
运行效果,如下所示: