1.
懂的都懂 我们可以直接新建项目的时候 直接勾选mybatis ,
如果你没那样做,那么就导入 mysql 和 mybatis 的 gav吧:

<!--    添加mySql    -->
        <dependency>
            <groupId>mysql</groupId>
            <artifactId>mysql-connector-java</artifactId>
            <version>8.0.22</version>
        </dependency>
        <!--    添加myBatis    -->
        <dependency>
            <groupId>org.mybatis.spring.boot</groupId>
            <artifactId>mybatis-spring-boot-starter</artifactId>
            <version>2.1.3</version>
        </dependency>
这里的 mysql 用的是8.0.22版本 mybatis 2.1.3 版本
mysql 可以用低版本(5.6.1) 因为driver 会冲突的
2.
尝试启动会报错 我们需要配置数据源,直接在全局配置中配:

server.port=8080
spring.datasource.driver-class-name=com.mysql.jdbc.Driver
spring.datasource.url=jdbc:mysql://localhost:3306/sb?useUnicode=true&characterEncoding=utf-8
spring.datasource.username=root
spring.datasource.password=root
#上面不用介绍
#下面是mybatis一下配置
#配置映射文件位置
mybatis.mapper-locations=classpath:mapping/*.xml
#配置返回值的 全限定包 的别名  例: resultType= “xx” 即可,不用写全包名
mybatis.type-aliases-package=com.bihu.study.Bean
里面的那个 mybatis.type-aliases-package 解释的我也不知道对错 反正我觉的是那样的吧
2021年10月3日 09:56:18: 这个我没猜错 里面的 mybatis.type-aliases-package 就是 返回resultType 的全限定包名
3.
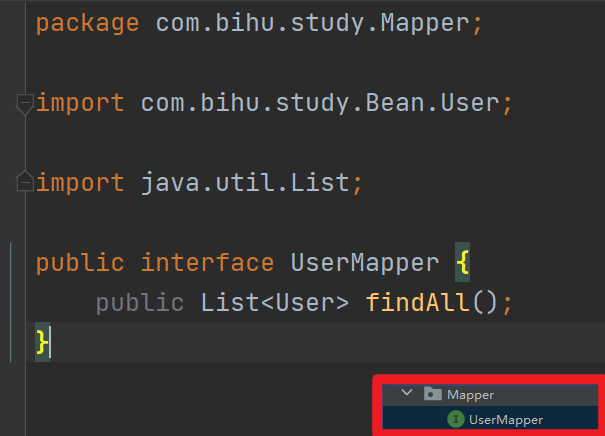
看下目录 创建了什么文件 :


可以看到 result 是 User ,因为我们在配置文件中已配好了 他的全限定包名 所以直接写个User即可、
其他的 : UserMapper 被 Service 自动注入(@Resource) ,Service 被 Controller 自动注入(@Resource) 。
就这样。
4.
映射文件已经在 Application.properties 配置中配置 所以SpringBoot知道我们的映射文件在哪里
但是不知道你接口在哪 所以我们要在启动类(Application) 中 添加 @MapperScan() 注解 。 【注意是mybatis的】
即:

5.
执行:

package com.bihu.study.controller;


import com.bihu.study.Bean.User;
import com.bihu.study.Service.TestService;
import org.springframework.web.bind.annotation.PostMapping;
import org.springframework.web.bind.annotation.RequestMapping;
import org.springframework.web.bind.annotation.RestController;

import javax.annotation.Resource;
import java.util.List;

@RestController
public class TestController {

    @Resource
    private TestService testService;

    @RequestMapping("/find")
    public List<User> findAll() {
        return testService.list();
    }

}
控制器源码在这
我们访问http://localhost:8080/find 然后:

返回的就是全部用户了 是JSON格式的。
