一、准备环境
CentOS 7.2 服务器中下载git 版本为2.13.1
安装依赖
yum install curl-devel expat-devel gettext-devel openssl-devel zlib-devel asciidoc
yum install gcc perl-ExtUtils-MakeMaker
卸载git-1.8.3.1版本
yum remove git

下载git-2.13.1.tar.gz
wget https://www.kernel.org/pub/software/scm/git/git-2.13.1.tar.gz
tar zxvf git-2.13.1.tar.gz
cd git-2.13.1
make prefix=/usr/local/git all
make prefix=/usr/local/git install
echo "export PATH=$PATH:/usr/local/git/bin" >> /etc/profile
source /etc/profile

二、创建git用户
useradd git #给Linux系统添加git用户
passwd git #设置git用户密码

创建服务器端仓库
mkdir /home/git/tp5.git
cd /home/git/tp5.git
git init --bare

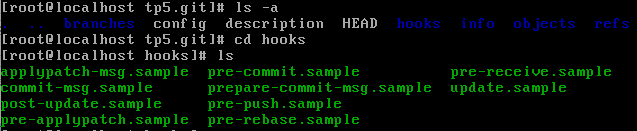
进入hooks目录
cd hooks
·
创建post-receive文件
touch post-receive

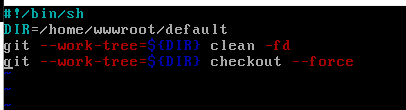
向post-receive中写入代码
vim post-receive
#demo-brancd 表示demo分支,不写默认master分支
#!/bin/sh
DIR=/home/wwwroot/default #此次为nginx服务器站点代码
git --work-tree=${DIR} clean -fd demo-brancd
git --work-tree=${DIR} checkout --force demo-brancd
chown git:git post-recevice #授权给git用户


chmod +x post-recevice 授权post-recevice可执行·

错误一:
(如果客户端执行git push 报错:Permission deied)给/home/wwwroot/default 目录授予git用户写入的权限
错误二:
fatal: Could not read from remote repository.
Please make sure you have the correct access rights
and the repository exists.
客户端创建ssh的id_rsa、id_rsa.pub公钥添加到自己的服务器
ssh-keygen -t rsa -C "xxxx@qq.com"