本文以自己在公司做的一个手势密码私有库GesturePasswordKit为例说明。
1、在gitlab(或者github,我这里使用的例子是在gitlab上)上创建git仓库 (确保授权正确,避免后续出现权限问题)
2、使用sourcetree 把空仓库clone到本地
3、将准备好的代码拷贝进去(只留下需要的文件,建议使用一级目录存储), 需要外部调用的方法,要注意使用权限控制符号public /open
4、创建.podspec 文件
4.1 复制已有的 podspec 文件然后修改对应的参数
4.2 执行命令行创建 pod spec create 【私有库名称】
书写正确的参数配置,如下图:
Pod::Spec.new do |s|

  s.name         = "GesturePasswordKit"
  s.version      = "0.0.8"
  s.summary      = "手势密码"
  s.homepage     = "http://888888/GesturePasswordKit"
  s.license      = { :type => "MIT", :file => "LICENSE" }
  s.description  = <<-DESC
                        GesturePasswordKit 是一个用于实现手势密码管理的工具
                   DESC
  s.author       = { "wangzhitao" => "wangzhitao@888888.com" }
  s.platform     = :ios, "8.0"
  s.ios.deployment_target = "8.0"
  s.source       = { :git => "git@git.888888.com:iOS/GesturePasswordKit.git", :tag => 'v'+s.version.to_s}
  s.source_files = 'GesturePasswordKit/*.{png,h,m,swift}'     // 多级目录使用:s.source_files = 'GesturePasswordKit/**/*'
  s.resources = "GesturePasswordKit/Resource.bundle"
  s.requires_arc = true
  s.dependency "Kingfisher"
  s.pod_target_xcconfig = { 'SWIFT_VERSION' => '4.0' }       // 指定swift版本,一般不需要写

end
5、验证podspec
pod lib lint --allow-warnings
此时验证时,gitLab上需要有podspec中的版本tag
6、把代码提交到git服务器
git init
git add .
git commit -m "first commit"
git push origin master
可随时使用git status 检查文件状态
7、打tag (命令行)
git tag v0.0.1
git push --tags
git push origin master
删除tag
git tag -d v0.0.1
git push origin :refs/tags/v0.0.1
git push origin master
8、添加你的 Podspec 到你的 repo
pod repo add GesturePasswordKitSpecs git@git.tuandai888.com:iOS/GesturePasswordKit.git
在此之前先打tag
pod repo push GesturePasswordKitSpecs GesturePasswordKit.podspec --allow-warnings
// 检查是否成功
cd ~/.cocoapods
open .
9、pod search GesturePasswordKit
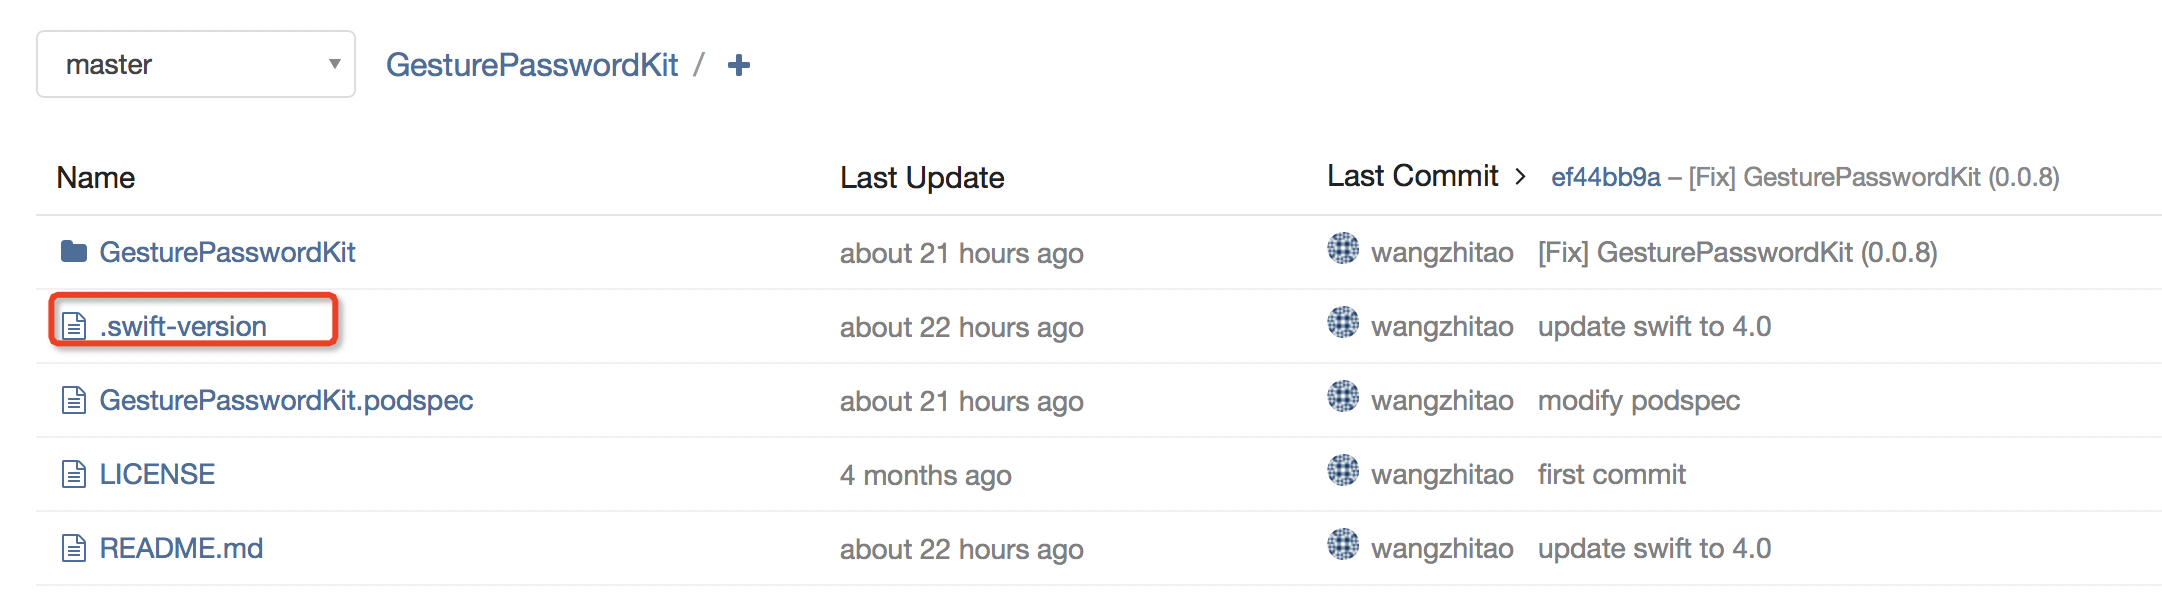
#私有库版本升级遇到的问题 swift3.0->4.0
1. 更新时遇到此错误,处理方法。
[!] The spec did not pass validation, due to 1 error.
[!] The validator for Swift projects uses Swift 3.0 by default, if you are using a different version of swift you can use a `.swift-version` file to set the version for your Pod. For example to use Swift 2.3, run:
`echo "2.3" > .swift-version`.
遇到上面的这种情况,直接使用下面的这条命令就可以解决问题了。
echo "4.0" > .swift-version
加入这句话后多了.swift-version文件
2.主工程podfile文件最后添加以下代码,这段代码的作用是,不同的库,指定不同的版本,如有些第三方库用3.2版本,有些升级为4.0版本,可以自定在
swift_32 swift4
中添加,数组可为空,如swift_3.2 = ['RxSwift', 'RxCocoa']  swift4 = [] 说明除了 ['RxSwift', 'RxCocoa']其余库都升级为4.0版本

添加下面这段代码的原因是,上面 echo "4.0" > .swift-version 执行后,导入私有库后pod install 会让主工程的pod 一并升级到4.0,导致所有第三方都变成了4.0,编译失败。
swift_32 = ['RxSwift', 'RxCocoa']

swift4 = ['PalaverKit']

post_install do |installer|

  installer.pods_project.targets.each do |target|

    swift_version = nil


    if swift_32.include?(target.name)

      swift_version = '3.2'

    end


    if swift4.include?(target.name)

      swift_version = '4.0'

    end


    if swift_version

      target.build_configurations.each do |config|

        config.build_settings['SWIFT_VERSION'] = swift_version

      end

    end

  end

end
公有库的创建
前面的步骤和私有pod一样,在代码commit并push之后:
1、注册trunk
$ pod trunk register 邮箱 '用户名' --description=‘性能监测库’
(1)邮箱为github上的登录邮箱、用户名为github上的用户名。
(2)接收发送到邮箱的链接,点击进入后注册成功。
(3)查看注册的个人信息 : ‘$ pod trunk me ’
注意podspec里面的用户名和邮箱一定要和这里的对应,否则会后续验证会报错!
2、验证上传到github上的公有仓库是否有效。
$ pod spec lint cocoapodsName.podspec --allow-warnings
3、将公有仓库推送到CocoaPods上
$ pod trunk push cocoapodsName.podspec --allow-warnings