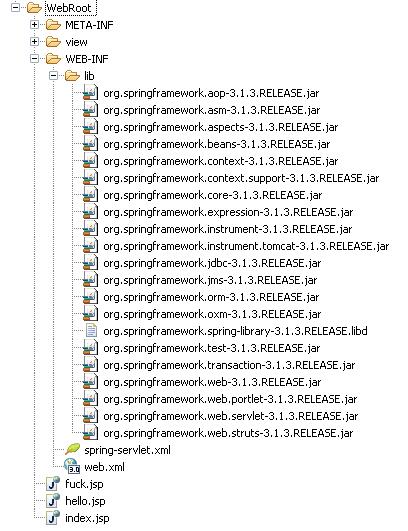
一、引入相应的jar包(SpringMVC的包和Spring的包完全一样)在/WEB-INFO/lib下
二、配置web.xml文件
<?xml version="1.0" encoding="UTF-8"?>
<web-app version="3.0" xmlns="http://java.sun.com/xml/ns/javaee"
    xmlns:xsi="http://www.w3.org/2001/XMLSchema-instance"
    xsi:schemaLocation="http://java.sun.com/xml/ns/javaee
    http://java.sun.com/xml/ns/javaee/web-app_3_0.xsd">
    <display-name></display-name>
    <welcome-file-list>
        <welcome-file>index.jsp</welcome-file>
    </welcome-file-list>

    <servlet>
        <servlet-name>spring</servlet-name>
        <servlet-class>org.springframework.web.servlet.DispatcherServlet</servlet-class>
        <load-on-startup>1</load-on-startup>
    </servlet>

    <servlet-mapping>
        <servlet-name>spring</servlet-name>
        <url-pattern>/</url-pattern>
    </servlet-mapping>
</web-app>
三、新建xxx-servlet.xml文件
<?xml version="1.0" encoding="UTF-8"?>
<beans xmlns="http://www.springframework.org/schema/beans"
    xmlns:context="http://www.springframework.org/schema/context"
    xmlns:attr="http://www.springframework.org/schema/p" xmlns:mvc="http://www.springframework.org/schema/mvc"
    xmlns:xsi="http://www.w3.org/2001/XMLSchema-instance"
    xsi:schemaLocation="http://www.springframework.org/schema/beans
      http://www.springframework.org/schema/beans/spring-beans-3.0.xsd
      http://www.springframework.org/schema/context
      http://www.springframework.org/schema/context/spring-context.xsd
      http://www.springframework.org/schema/mvc
      http://www.springframework.org/schema/mvc/spring-mvc-3.0.xsd">

    <!-- 打开annotation -->
    <mvc:annotation-driven />

    <context:component-scan base-package="com.zyz.controller"></context:component-scan>
    <!-- 视图处理 -->
    <bean
        class="org.springframework.web.servlet.view.InternalResourceViewResolver">
        <!-- 视图前缀 -->
        <property name="prefix" value="/"></property>
        <!-- 视图后缀 -->
        <property name="suffix" value=".jsp"></property>
    </bean>
</beans>
四、测试
1、建java文件
package com.zyz.controller;

import org.springframework.stereotype.Controller;
import org.springframework.web.bind.annotation.RequestMapping;

@Controller
public class TestController {
    @RequestMapping("/hello")
    public String test(){
        return "/hello";
    }
    @RequestMapping("/test1")
    public String fuck(){
        return "/view/test1";
    }
}
2、建立相应的jsp文件。如hello.jsp或/view/test1.jsp
3、运行输入http://localhost:8080/test/hello或http://localhost:8080/test/view/test1.jsp
ps:
如出现以下错误:java.lang.NoClassDefFoundError: Lorg/apache/commons/logging/Log;
在C:Program FilesMyEclipseCommonplugins找到 org.apache.commons.logging_1.1.1.v201005080502.jar放到build path里即可。