好久没写博客了,近来学习swift,准备用swift仿写个项目,就找了找appstore,找了一个叫半糖的项目,看着界面真不错,但是感觉技术跟不上,先试着写写吧
档成文件夹,如图所示

打开文件夹,找到payload,打开,然后右击显示包内容,然后你就看到一大堆的资源文件了,不过你会发现找来找去都找不到tabbar的图片,今天给大家介绍个厉害的工具https://github.com/devcxm/iOS-Images-Extractor,上Git搜索下
你会有意想不到的惊喜哦,下载下来后如图,直接运行.xcworkspace文件
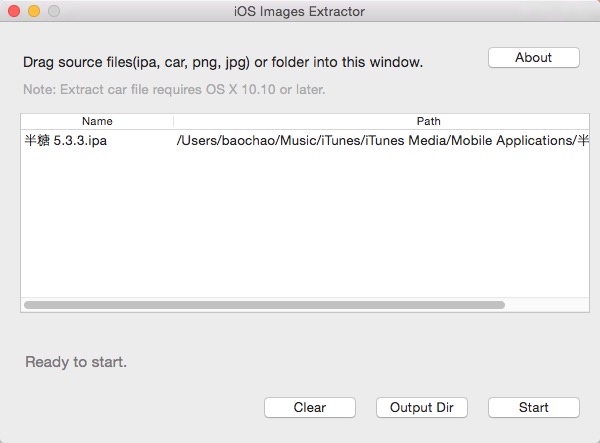
运行后如图,直接将ipa文件拖进去,然后点击start,完成后点击Qutput Dir就能看到所有的资源了,是不是很棒!
好了,准备工作做完了,现在我们开始搭建项目,打开xode,新建项目,选择swift
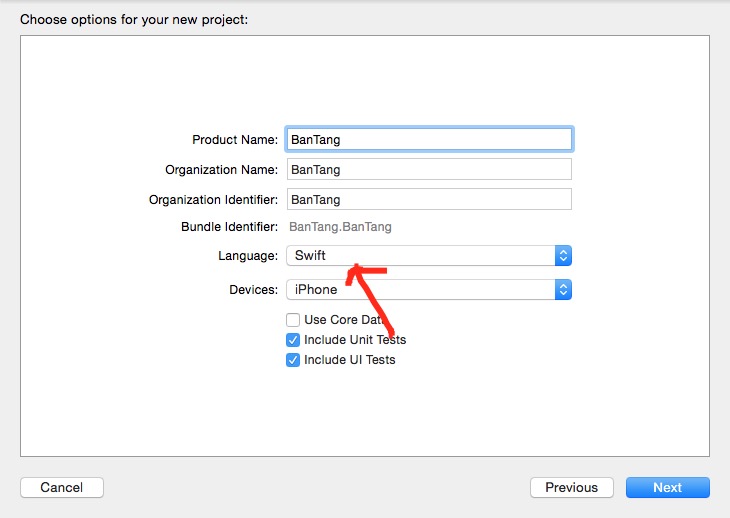
然后将适配目标定在7.0,不能横竖屏
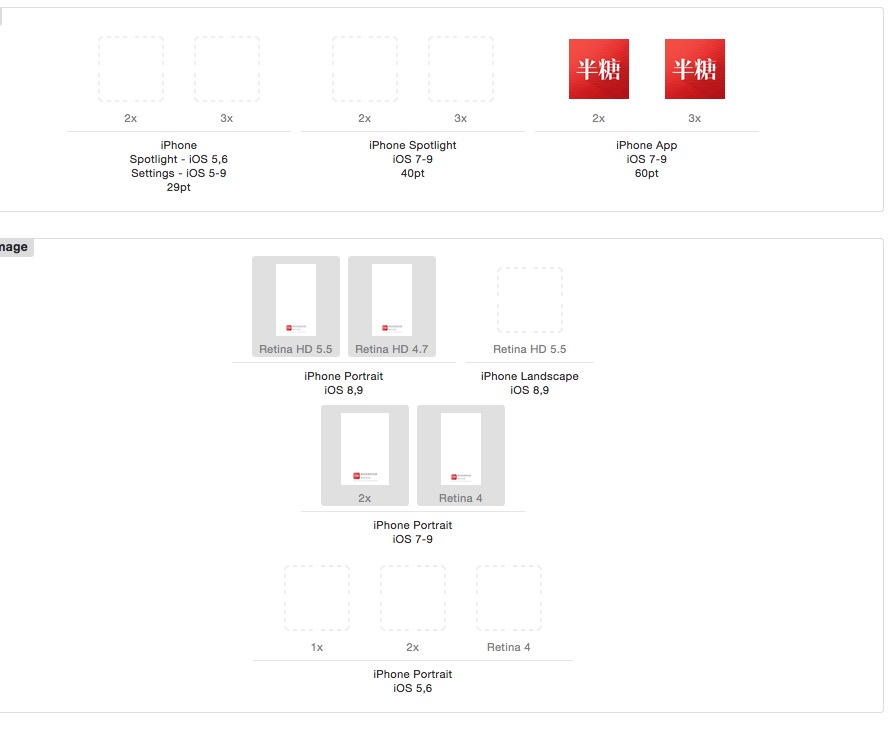
接着在资源文件里寻找icon,和lanuchImage,icon就找到3张,我就放了2张,记得按尺寸放啊,在Assets.xcassets文件里新建一个LaunchImage,还要记得更改general里设置
再将找到的资源文件中的lanuchImage按尺寸放入
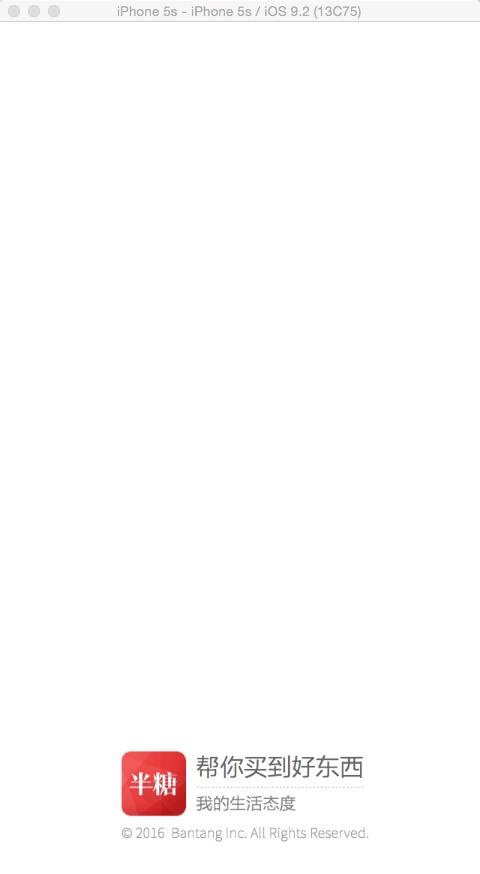
运行结果,是不是很棒,图标也变过来了
接下来,进行项目的分类搭建,这次我准备纯代码编写,所以现将storyboard文件删除,系统自动生成的ViewController也删除,修改general里的设置

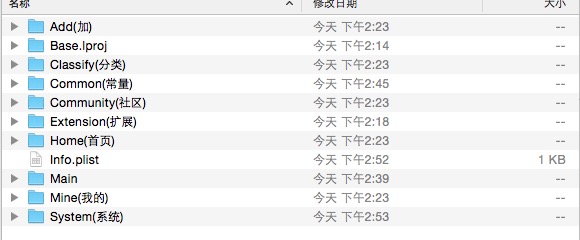
在项目文件夹下新建文件夹,这样便于项目管理,因为如果在项目里直接newgroup,这个new出来的group是虚的,不便于管理
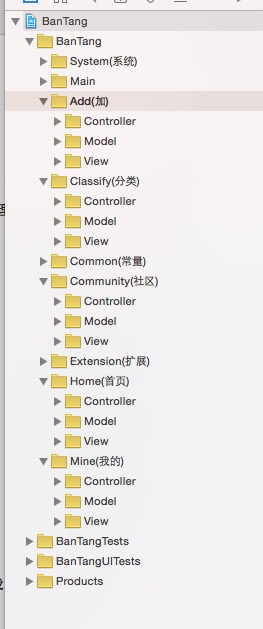
这是我的分类,在5个tab文件夹下,还有3个文件夹,model,view,controller文件夹,采用MVC模式
项目结构
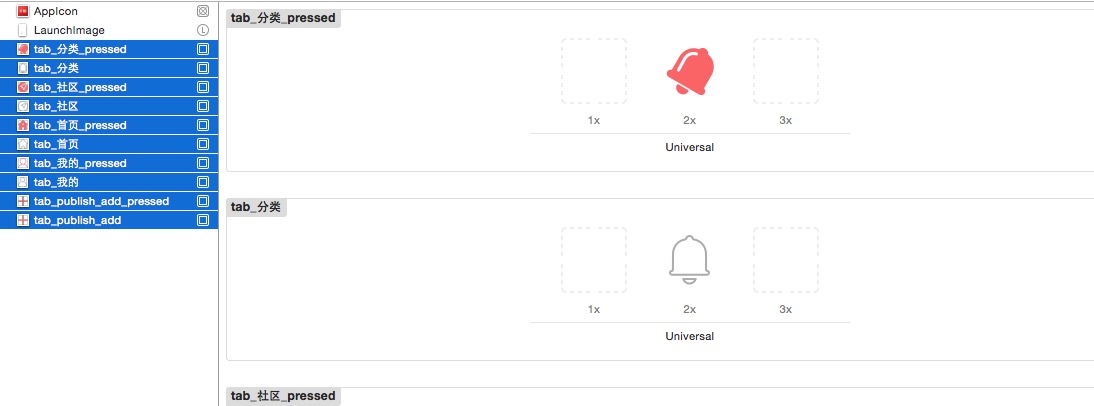
我看了下,这个项目没有引导图的,所以先将tabbar的资源导入,记得一定要放在@2x的位置上,我放在第一个位置上,坑死我了,如图
继承UITabbarController创建BTTabController,并创建5个tab的controller,如图

BTTabController的代码如下,因为只有图片,没有文字,所以要设置tab的imageSet属性
import UIKit

class BTTabController: UITabBarController {

    override func viewDidLoad() {
        super.viewDidLoad()
        self.view.backgroundColor = UIColor.whiteColor()
        bulidView()

    }

    private func bulidView(){
        let imageArray = ["tab_首页","tab_社区","tab_publish_add","tab_分类","tab_我的"]
        let selectImageArray = ["tab_首页_pressed","tab_社区_pressed","tab_publish_add_pressed","tab_分类_pressed","tab_我的_pressed"]
        let viewNameArray = [HomeViewController(),CommunityViewController(),AddViewController(),ClassifyViewController(),MineViewController()]
        for i in 0..<imageArray.count{
            let ctrl = viewNameArray[i]
            let tab = UITabBarItem(title:nil, image:UIImage(named:imageArray[i])?.imageWithRenderingMode(.AlwaysOriginal), selectedImage:UIImage(named:selectImageArray[i])?.imageWithRenderingMode(.AlwaysOriginal))
            tab.imageInsets = UIEdgeInsets(top:5, left:0, bottom: -5, right: 0)
            ctrl.tabBarItem = tab
            let nav = UINavigationController(rootViewController:ctrl)
            addChildViewController(nav)
        }
    }


    override func preferredStatusBarStyle() -> UIStatusBarStyle {
        return .LightContent
    }

    override func didReceiveMemoryWarning() {
        super.didReceiveMemoryWarning()
    }

}
Appdelegata代码,还有Common文件夹下
import UIKit

public let ScreenWidth: CGFloat = UIScreen.mainScreen().bounds.size.width
public let ScreenHeight: CGFloat = UIScreen.mainScreen().bounds.size.height
public let ScreenBounds: CGRect = UIScreen.mainScreen().bounds
import UIKit

@UIApplicationMain
class AppDelegate: UIResponder, UIApplicationDelegate {

    var window: UIWindow?


    func application(application: UIApplication, didFinishLaunchingWithOptions launchOptions: [NSObject: AnyObject]?) -> Bool {
        self.window?.backgroundColor = UIColor.whiteColor()
        window = UIWindow(frame: ScreenBounds)
        window!.makeKeyAndVisible()

        //设置全局导航栏的状态
        UINavigationBar.appearance().tintColor = UIColor.whiteColor()
        UINavigationBar.appearance().barTintColor = UIColor(colorLiteralRed: 228/255, green: 57/255, blue: 65/255, alpha:1.0)

        bulidMainController()
        return true
    }

    private func bulidMainController(){

        window?.rootViewController = BTTabController()
    }


    func applicationWillResignActive(application: UIApplication) {

    }

    func applicationDidEnterBackground(application: UIApplication) {

    }

    func applicationWillEnterForeground(application: UIApplication) {

    }

    func applicationDidBecomeActive(application: UIApplication) {

    }

    func applicationWillTerminate(application: UIApplication) {

    }
}
修改状态栏颜色

结束运行效果如下
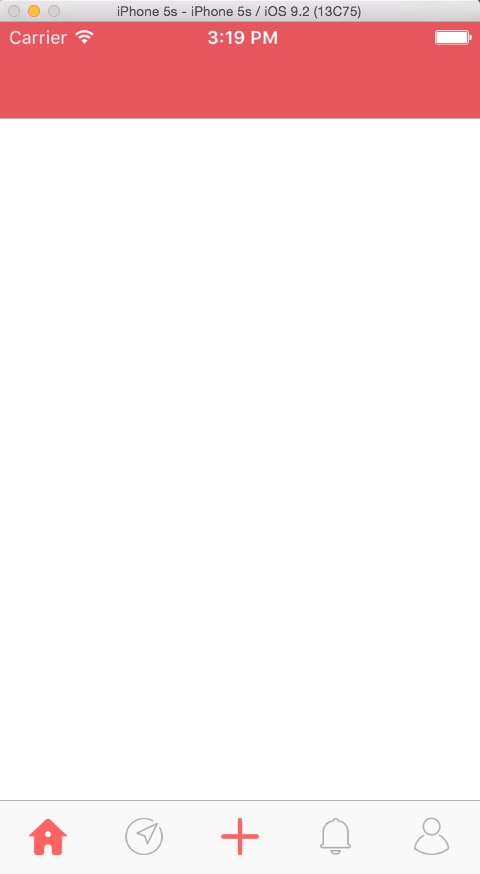
perfect,完成了最开始的一部分后面只需要在5个tab里完成代码就行了,今天就写到这里了啊,有点累啊.....,明天试着写第一个界面,看了一下,相当复杂,估计要GG