文件上传是web开发中经常会遇到的
springboot的默认配置为10MB,大于10M的是传不上服务器的,需要修改默认配置
但是如果修改支持大文件又会增加服务器的负担。
当文件大于一定程度时,不仅服务器会占用大量内存,而且http传输极可能会中断。
可以采用切割分片上传
html5提供的文件API中可以轻松的对文件进行分割切片,然后通过ajax异步处理向服务器传输数据,突破对大文件上传的限制,同时异步处理在一定程度上也提高了文件上传的效率。
过程描述:
将文件分割成N片
处理分片,前台会多次调用上传接口,每次都会上传文件的一部分到服务端
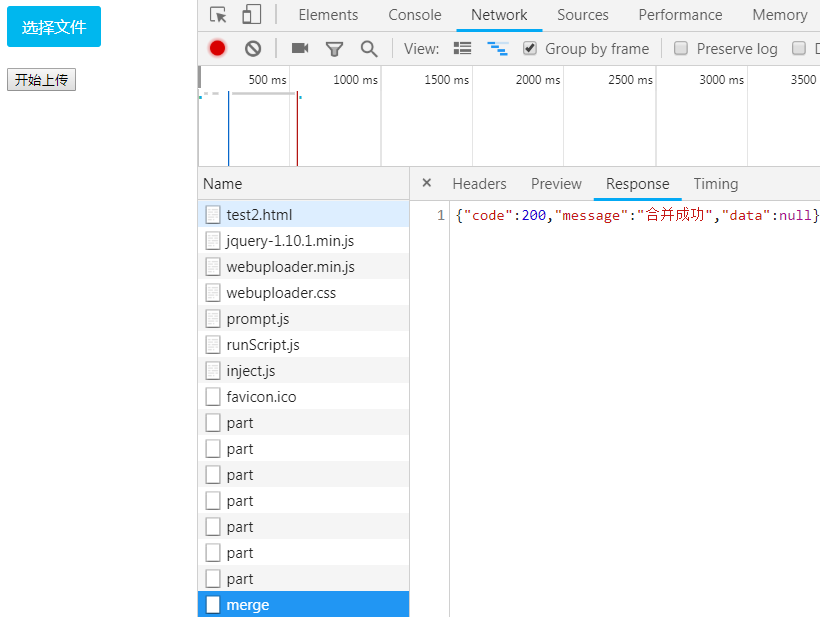
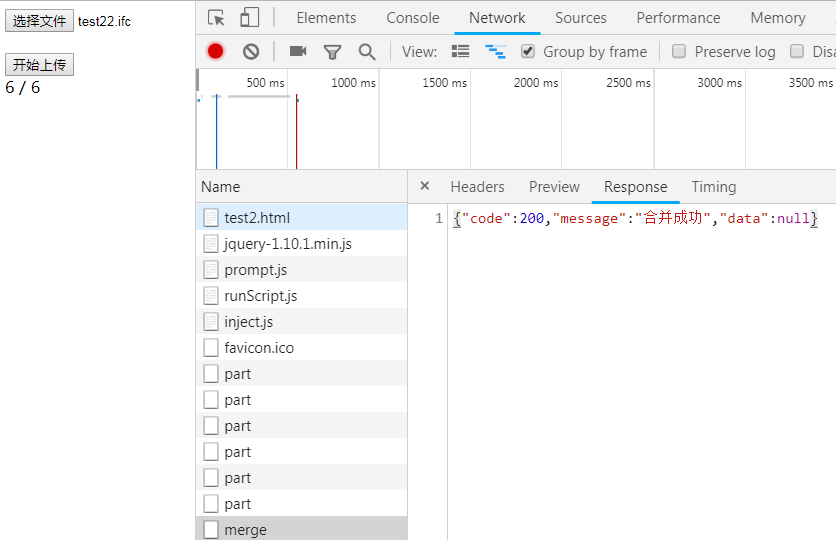
N个分片都上传完成后,将N个文件合并为一个文件,并将N个分片文件删除
1.服务端
(1)添加依赖
<dependency>
      <groupId>commons-fileupload</groupId>
      <artifactId>commons-fileupload</artifactId>
      <version>1.3.3</version>
</dependency>
(2)UploadController


package com.example.demo.controller;

import com.example.demo.core.Result;
import org.apache.commons.fileupload.servlet.ServletFileUpload;
import org.apache.commons.io.FileUtils;
import org.springframework.stereotype.Controller;
import org.springframework.web.bind.annotation.CrossOrigin;
import org.springframework.web.bind.annotation.PostMapping;
import org.springframework.web.bind.annotation.RequestMapping;
import org.springframework.web.bind.annotation.ResponseBody;
import org.springframework.web.multipart.MultipartFile;

import javax.servlet.http.HttpServletRequest;
import javax.servlet.http.HttpServletResponse;
import java.io.File;
import java.io.FileOutputStream;
import java.io.IOException;
import java.text.SimpleDateFormat;
import java.util.Date;
@CrossOrigin
@Controller
@RequestMapping("/api/upload")
public class UploadController {
    @PostMapping("/part")
    @ResponseBody
    public Result bigFile(HttpServletRequest request, HttpServletResponse response, String guid, Integer chunk, MultipartFile file, Integer chunks) {
        try {
            String projectUrl = System.getProperty("user.dir").replaceAll("\\", "/");
            ;
            boolean isMultipart = ServletFileUpload.isMultipartContent(request);
            if (isMultipart) {
                if (chunk == null) chunk = 0;
                // 临时目录用来存放所有分片文件
                String tempFileDir = projectUrl + "/upload/" + guid;
                File parentFileDir = new File(tempFileDir);
                if (!parentFileDir.exists()) {
                    parentFileDir.mkdirs();
                }
                // 分片处理时,前台会多次调用上传接口,每次都会上传文件的一部分到后台
                File tempPartFile = new File(parentFileDir, guid + "_" + chunk + ".part");
                FileUtils.copyInputStreamToFile(file.getInputStream(), tempPartFile);
            }

        } catch (Exception e) {
            return Result.failMessage(400,e.getMessage());
        }
        return Result.successMessage(200,"上次成功");
    }

    @RequestMapping("merge")
    @ResponseBody
    public Result mergeFile(String guid, String fileName) {
        // 得到 destTempFile 就是最终的文件
        String projectUrl = System.getProperty("user.dir").replaceAll("\\", "/");
        try {
            String sname = fileName.substring(fileName.lastIndexOf("."));
            //时间格式化格式
            Date currentTime = new Date();
            SimpleDateFormat simpleDateFormat = new SimpleDateFormat("yyyyMMddHHmmssSSS");
            //获取当前时间并作为时间戳
            String timeStamp = simpleDateFormat.format(currentTime);
            //拼接新的文件名
            String newName = timeStamp + sname;
            simpleDateFormat = new SimpleDateFormat("yyyyMM");
            String path = projectUrl + "/upload/";
            String tmp = simpleDateFormat.format(currentTime);
            File parentFileDir = new File(path + guid);
            if (parentFileDir.isDirectory()) {
                File destTempFile = new File(path + tmp, newName);
                if (!destTempFile.exists()) {
                    //先得到文件的上级目录,并创建上级目录,在创建文件
                    destTempFile.getParentFile().mkdir();
                    try {
                        destTempFile.createNewFile();
                    } catch (IOException e) {
                        e.printStackTrace();
                    }
                }
                for (int i = 0; i < parentFileDir.listFiles().length; i++) {
                    File partFile = new File(parentFileDir, guid + "_" + i + ".part");
                    FileOutputStream destTempfos = new FileOutputStream(destTempFile, true);
                    //遍历"所有分片文件"到"最终文件"中
                    FileUtils.copyFile(partFile, destTempfos);
                    destTempfos.close();
                }
                // 删除临时目录中的分片文件
                FileUtils.deleteDirectory(parentFileDir);
                return Result.successMessage(200,"合并成功");
            }else{
                return Result.failMessage(400,"没找到目录");
            }

        } catch (Exception e) {
            return Result.failMessage(400,e.getMessage());
        }

    }

}
说明:
注解 @CrossOrigin 解决跨域问题
(3)Result
package com.example.demo.core;

import com.alibaba.fastjson.JSON;

/**
 * Created by Beibei on 19/02/22
 * API响应结果
 */
public class Result<T> {
    private int code;
    private String message;
    private T data;

    public Result setCode(Integer code) {
        this.code = code;
        return this;
    }

    public int getCode() {
        return code;
    }

    public String getMessage() {
        return message;
    }

    public Result setMessage(String message) {
        this.message = message;
        return this;
    }

    public T getData() {
        return data;
    }

    public Result setData(T data) {
        this.data = data;
        return this;
    }

    @Override
    public String toString() {
        return JSON.toJSONString(this);
    }

    public static <T>  Result<T> fail(Integer code,T data) {
        Result<T> ret = new Result<T>();
        ret.setCode(code);
        ret.setData(data);
        return ret;
    }

    public static <T>  Result<T> failMessage(Integer code,String msg) {
        Result<T> ret = new Result<T>();
        ret.setCode(code);
        ret.setMessage(msg);
        return ret;
    }
    public static <T>  Result<T> successMessage(Integer code,String msg) {
        Result<T> ret = new Result<T>();
        ret.setCode(code);
        ret.setMessage(msg);
        return ret;
    }

    public static <T> Result<T> success(Integer code,T data) {
        Result<T> ret = new Result<T>();
        ret.setCode(code);
        ret.setData(data);
        return ret;
    }

}
2.前端
(1)使用插件
webuploader,下载 https://github.com/fex-team/webuploader/releases
<!DOCTYPE html PUBLIC "-//W3C//DTD XHTML 1.0 Transitional//EN" "http://www.w3.org/TR/xhtml1/DTD/xhtml1-transitional.dtd">
<html xmlns="http://www.w3.org/1999/xhtml">
<head>
   <meta http-equiv="Content-Type" content="text/html; charset=utf-8" />
   <link href="css/webuploader.css" rel="stylesheet" type="text/css" />
   <script type="text/javascript" src="jquery-1.10.1.min.js"></script>
   <script type="text/javascript" src="dist/webuploader.min.js"></script>
</head>
<body>
   <div id="uploader">
      <div class="btns">
         <div id="picker">选择文件</div>
         <button id="startBtn" class="btn btn-default">开始上传</button>
      </div>
   </div>
</body>
<script type="text/javascript">
var GUID = WebUploader.Base.guid();//一个GUID
var uploader = WebUploader.create({
    // swf文件路径
    swf: 'dist/Uploader.swf',
    // 文件接收服务端。
    server: 'http://localhost:8080/api/upload/part',
    formData:{
       guid : GUID
    },
    pick: '#picker',
    chunked : true, // 分片处理
    chunkSize : 1 * 1024 * 1024, // 每片1M,
    chunkRetry : false,// 如果失败,则不重试
    threads : 1,// 上传并发数。允许同时最大上传进程数。
    resize: false
});
$("#startBtn").click(function () {
   uploader.upload();
});
//当文件上传成功时触发。
uploader.on( "uploadSuccess", function( file ) {
    $.post('http://localhost:8080/api/upload/merge', { guid: GUID, fileName: file.name}, function (data) {
       if(data.code == 200){
          alert('上传成功!');
       }
     });
});
</script>
</html>
(2)不使用插件
直接用HTML5的File API
<!DOCTYPE html PUBLIC "-//W3C//DTD XHTML 1.0 Transitional//EN" "http://www.w3.org/TR/xhtml1/DTD/xhtml1-transitional.dtd">
<html xmlns="http://www.w3.org/1999/xhtml">
    <head>
        <script src="jquery-1.10.1.min.js" type="text/javascript">
        </script>
        <meta content="text/html; charset=utf-8" http-equiv="Content-Type"/>
    </head>
    <body>
        <div id="uploader">
            <div class="btns">
                <input id="file" name="file" type="file"/>
                <br>
                    <br>
                        <button id="startBtn">
                            开始上传
                        </button>
                    </br>
                </br>
            </div>
            <div id="output">
            </div>
        </div>
    </body>
    <script type="text/javascript">
        var status = 0;
        var page = {
        init: function(){
            $("#startBtn").click($.proxy(this.upload, this));
        },
        upload: function(){
            status = 0;
            var GUID = this.guid();
            var file = $("#file")[0].files[0],  //文件对象
                name = file.name,        //文件名
                size = file.size;        //总大小
            var shardSize = 20 * 1024 * 1024,    //以1MB为一个分片
                shardCount = Math.ceil(size / shardSize);  //总片数
            for(var i = 0;i < shardCount;++i){
                //计算每一片的起始与结束位置
                var start = i * shardSize,
                end = Math.min(size, start + shardSize);
                var partFile = file.slice(start,end);
                this.partUpload(GUID,partFile,name,shardCount,i);
            }
        },
        partUpload:function(GUID,partFile,name,chunks,chunk){
            //构造一个表单,FormData是HTML5新增的
            var  now = this;
            var form = new FormData();
            form.append("guid", GUID);
            form.append("file", partFile);  //slice方法用于切出文件的一部分
            form.append("fileName", name);
            form.append("chunks", chunks);  //总片数
            form.append("chunk", chunk);        //当前是第几片
                //Ajax提交
                $.ajax({
                    url: "http://localhost:8080/api/upload/part",
                    type: "POST",
                    data: form,
                    async: true,        //异步
                    processData: false,  //很重要,告诉jquery不要对form进行处理
                    contentType: false,  //很重要,指定为false才能形成正确的Content-Type
                    success: function(data){
                        status++;
                        if(data.code == 200){
                            $("#output").html(status+ " / " + chunks);
                        }
                        if(status==chunks){
                            now.mergeFile(GUID,name);
                        }
                    }
                });
        },
        mergeFile:function(GUID,name){
            var formMerge = new FormData();
            formMerge.append("guid", GUID);
            formMerge.append("fileName", name);
            $.ajax({
                url: "http://localhost:8080/api/upload/merge",
                type: "POST",
                data: formMerge,
                processData: false,  //很重要,告诉jquery不要对form进行处理
                contentType: false,  //很重要,指定为false才能形成正确的Content-Type
                success: function(data){
                    if(data.code == 200){
                        alert('上传成功!');
                    }
                }
            });
        },
        guid:function(prefix){
                var counter = 0;
                var guid = (+new Date()).toString( 32 ),
                    i = 0;
                for ( ; i < 5; i++ ) {
                    guid += Math.floor( Math.random() * 65535 ).toString( 32 );
                }
                return (prefix || 'wu_') + guid + (counter++).toString( 32 );
        }
    };

    $(function(){
        page.init();
    });
    </script>
</html>
3.优化
springboot的默认配置为10MB,前端分片改为20M时,就会报错
org.apache.tomcat.util.http.fileupload.FileUploadBase$SizeLimitExceededException: the request was rejected because its size (10486839) exceeds the configured maximum (10485760)
解决方法:
在 src/main/resources 下的 application.properties里添加
spring.servlet.multipart.max-file-size=30MB
spring.servlet.multipart.max-request-size=35MB
说明:
设置的数值虽好比前端传过来的大,要不容易报错