文件上传也是常见的功能,趁着周末,用Spring boot来实现一遍。
前端部分
前端使用jQuery,这部分并不复杂,jQuery可以读取表单内的文件,这里可以通过formdata对象来组装键值对,formdata这种方式发送表单数据更为灵活。你可以使用它来组织任意的内容,比如使用
formData.append("test1","hello world");
在kotlin后端就可以使用@RequestParam("test1") greet: String来取得他的值。
在本例的上传中,formdata用于装配上传表单,就像这样:
function uploadfile() {
            var formData = new FormData();
            $.each($("input[type='file']")[0].files, function (i, file) {
                formData.append('upload-file', file);
            });
            $.ajax({
                url: "/upload",
                method: "post",
                data: formData,
                processData: false,
                contentType: false
            }).done(function (res) {
                if (res.success) {
                    $("#message").text(res.message + res.files);
                    $("#message").addClass("green")
                    $("#message").removeClass("red")
                } else {
                    $("#message").text("cannot upload files, reason: " + res.message)
                    $("#message").addClass("red")
                    $("#message").removeClass("green")
                }
            })
                .fail(function (res) {

                })
        }
使用FormData对象,在前端连form标签都不需要。
其中关于上面代码的几点解释:
-
如果input标签上使用了multiple,那么用户可能选择多个文件,所以再装配formdata的时候,需要上面的each循环。
-
contentType: false 设置成false告诉jQuery在header里不要用任何的content type。
-
processData: false:告诉jQuery不用讲传输内容编码(因为默认的content type是application/x-www-form-urlencoded)。如我们要发送DOM或确实不需要编码的对象,就把这个参数设成false。
注意:
- 如果不将contentType设置成false,kotlin后端会报异常
Current request is not a multipart request
- 如果没有将processData设成false,javascript会报错:
Uncaught TypeError: Illegal invocation
- 如果要上传多个文件,在input标签上设置multiple属性。
后端部分
后端准备在上传完成后,给前端回复一个成功或失败的信息,为此,创建一个返回的对象:
class UploadResult(val success: Boolean, val message: String, val files: Array<String>)
- success: 告诉前端是否上传成功
- message:服务器端往前端返回的信息,可以包含任意后端想返回的内容,比如今天服务器所在地天气不好,所以服务器打算拒绝非管理员的上传请求。
- files:上传成功了哪些文件。
后端的关键代码:
	@ResponseBody
    @PostMapping("upload")
    fun upload(@RequestPart("upload-file") uploadfile: Array<MultipartFile>): UploadResult {
        if (uploadfile.count() == 0) return UploadResult(false, "the uploading file is not detected.", arrayOf())

        val dir = env.getProperty("com._1b2m.defaultuploaddir")
        val f: File = File(dir)
        if (!f.exists()) {
            f.mkdirs()
        }

        for (file in uploadfile) {
            val fileName = file.originalFilename;

            val filepath: String = Paths.get(dir, fileName).toString()
            val stream: BufferedOutputStream = BufferedOutputStream(FileOutputStream(File(filepath)))
            stream.write(file.bytes)
            stream.close()
        }

        return UploadResult(true, "successfully uploaded your file(s). ", uploadfile.map { it.originalFilename }.toTypedArray())
    }
注意:
在kotlin中的RequestPart("upload-file”),和前端的formData.append('upload-file', file)要保持一致,我这里用的变量叫upload-file,如果不一致,后端就没有取到数据了。
本文涉及到的源代码:https://github.com/syler/Fun/tree/master/spring-boot-file-upload-with-jquery
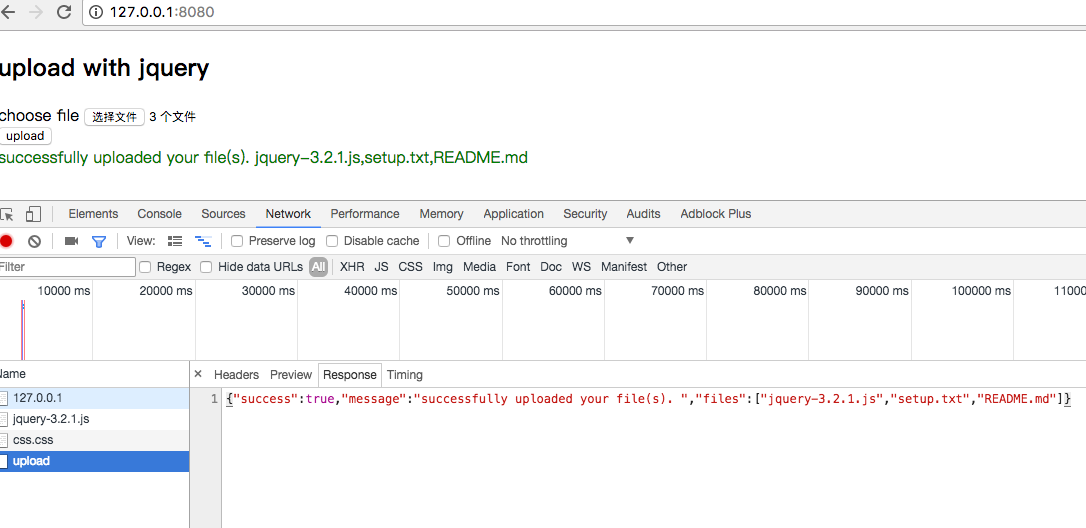
最后上一张截图,图片上传成功:
本文链接: