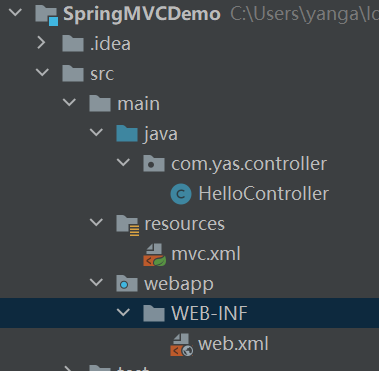
1、创建空白Maven项目,项目结构如下图:

2、在POM文件中添加spring mvc的引用
<?xml version="1.0" encoding="UTF-8"?>
<project xmlns="http://maven.apache.org/POM/4.0.0"
         xmlns:xsi="http://www.w3.org/2001/XMLSchema-instance"
         xsi:schemaLocation="http://maven.apache.org/POM/4.0.0 http://maven.apache.org/xsd/maven-4.0.0.xsd">
    <modelVersion>4.0.0</modelVersion>

    <groupId>org.example</groupId>
    <artifactId>SpringMVCDemo</artifactId>
    <version>1.0-SNAPSHOT</version>

    <dependencies>
        <!-- https://mvnrepository.com/artifact/org.springframework/spring-webmvc -->
        <dependency>
            <groupId>org.springframework</groupId>
            <artifactId>spring-webmvc</artifactId>
            <version>5.1.6.RELEASE</version>
        </dependency>
    </dependencies>

    <properties>
        <maven.compiler.source>8</maven.compiler.source>
        <maven.compiler.target>8</maven.compiler.target>
    </properties>
</project>
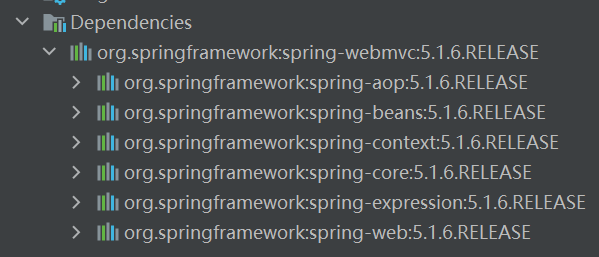
引入spring mvc依赖后,maven会自动引入其相关的jar包:
3、配置前端控制器
在项目目录:src/main/webapp/WEB-INF/目录下,建立文件web.xml
内容如下:
<?xml version="1.0" encoding="UTF-8"?>
<web-app version="3.0" xmlns="http://java.sun.com/xml/ns/javaee"
         xmlns:xsi="http://www.w3.org/2001/XMLSchema-instance"
         xsi:schemaLocation="http://java.sun.com/xml/ns/javaee http://java.sun.com/xml/ns/javaee/web-app_3_0.xsd">

    <!--configure the setting of springmvcDispatcherServlet and configure the mapping-->
    <servlet>
        <servlet-name>springmvc</servlet-name>
        <servlet-class>org.springframework.web.servlet.DispatcherServlet</servlet-class>
        <init-param>
            <param-name>contextConfigLocation</param-name>
            <param-value>classpath:mvc.xml</param-value>
        </init-param>
        <!-- <load-on-startup>1</load-on-startup> -->
    </servlet>

    <servlet-mapping>
        <servlet-name>springmvc</servlet-name>
        <url-pattern>/</url-pattern>
    </servlet-mapping>
</web-app>
4、建立后端控制器Controller
在目录: main/java下建立两个Conteroller类,包名为 com.yas.controller,
HelloController,内容如下:
 1 package com.yas.controller;
 2
 3 import org.springframework.stereotype.Controller;
 4 import org.springframework.web.bind.annotation.RequestMapping;
 5
 6 @Controller
 7 @RequestMapping("/mvc")
 8 public class HelloController {
 9
10     @RequestMapping("/hello")
11     public String hello(){
12         return "hello";
13     }
14 }
IndexController,内容如下:
 1 package com.yas.controller;
 2
 3 import org.springframework.web.bind.annotation.RequestMapping;
 4 import org.springframework.web.bind.annotation.RestController;
 5
 6 @RestController
 7 public class IndexController {
 8
 9     @RequestMapping("/index")
10     public String index(){
11         return "index";
12     }
13 }
建立用于测试jsp文件

5、建立mvc配置文件,在resources目录下建立mvc.xml文件,内容如下:
<?xml version="1.0" encoding="UTF-8"?>
<beans xmlns="http://www.springframework.org/schema/beans"
       xmlns:xsi="http://www.w3.org/2001/XMLSchema-instance"
       xmlns:context="http://www.springframework.org/schema/context"
       xmlns:mvc="http://www.springframework.org/schema/mvc"
       xsi:schemaLocation="http://www.springframework.org/schema/beans http://www.springframework.org/schema/beans/spring-beans.xsd
        http://www.springframework.org/schema/context http://www.springframework.org/schema/context/spring-context-4.1.xsd
        http://www.springframework.org/schema/mvc http://www.springframework.org/schema/mvc/spring-mvc-4.1.xsd">

    <!-- scan the package and the sub package -->
    <context:component-scan base-package="com.yas.controller"/>

    <!-- don't handle the static resource -->
    <mvc:default-servlet-handler />

    <!-- if you use annotation you must configure following setting -->
    <mvc:annotation-driven />

    <!-- configure the InternalResourceViewResolver -->
    <bean class="org.springframework.web.servlet.view.InternalResourceViewResolver"
          id="internalResourceViewResolver">
        <!-- 前缀 -->
        <property name="prefix" value="/WEB-INF/jsp/" />
        <!-- 后缀 -->
        <property name="suffix" value=".jsp" />
    </bean>
</beans>
6、修改pom文件,打包方式为war包:
<packaging>war</packaging>
7、配置Tomcat,本文使用的版本是Tomcat 8.5.37
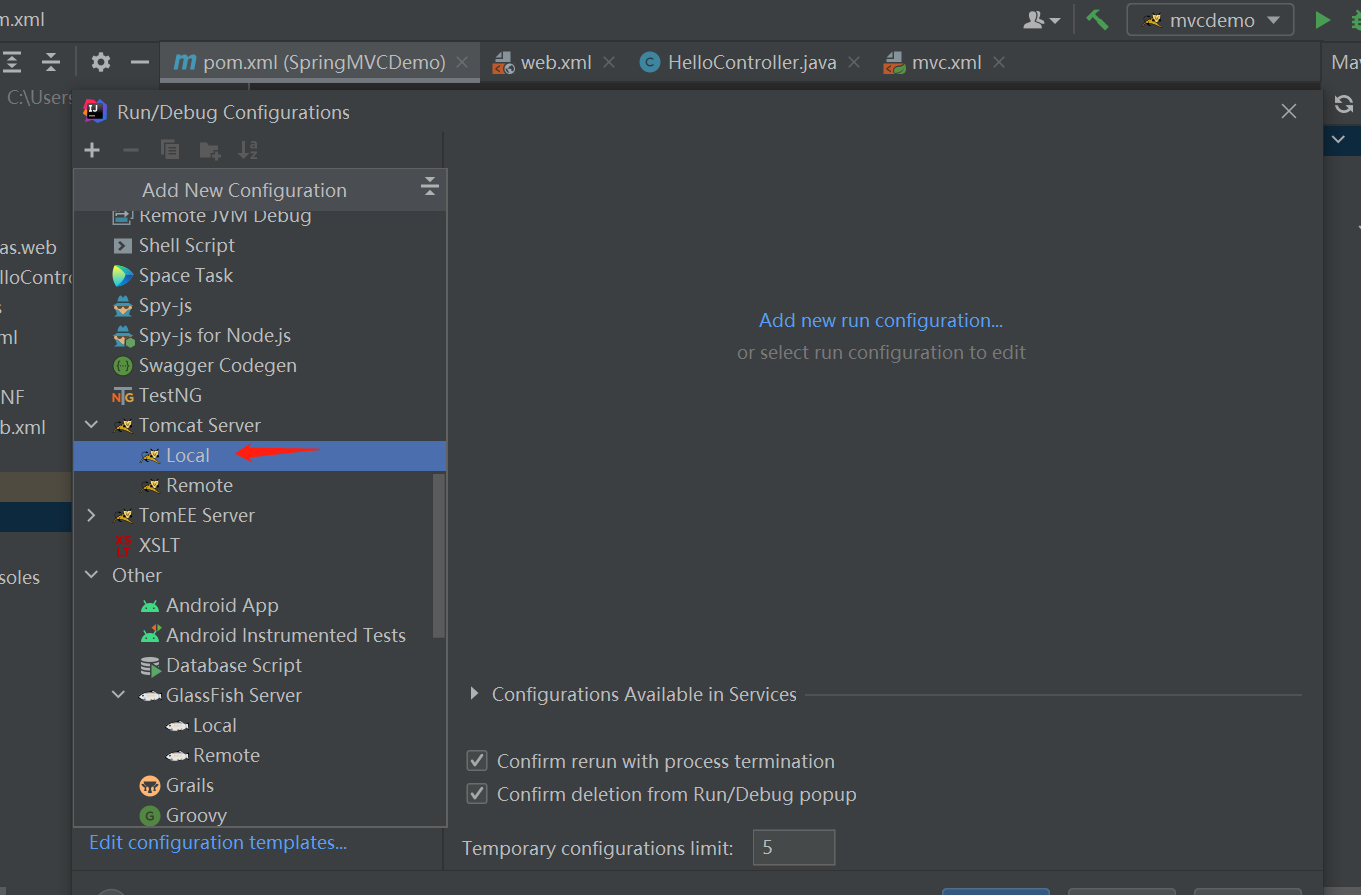
进行相应设置,如选择tomcat地址,确定jdk版本等。

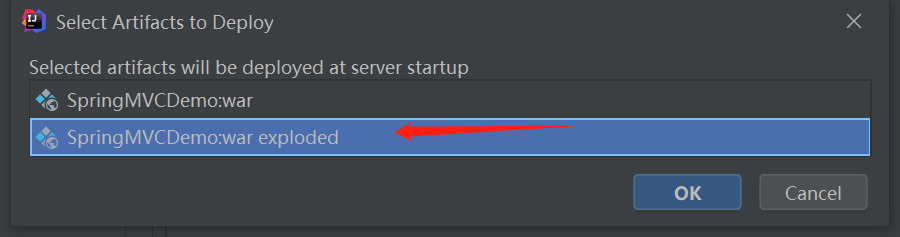
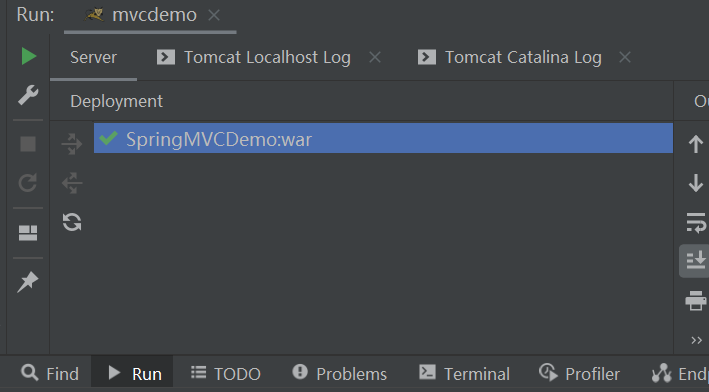
在Deployment选项卡中,添加项目,完成项目部署的设置。
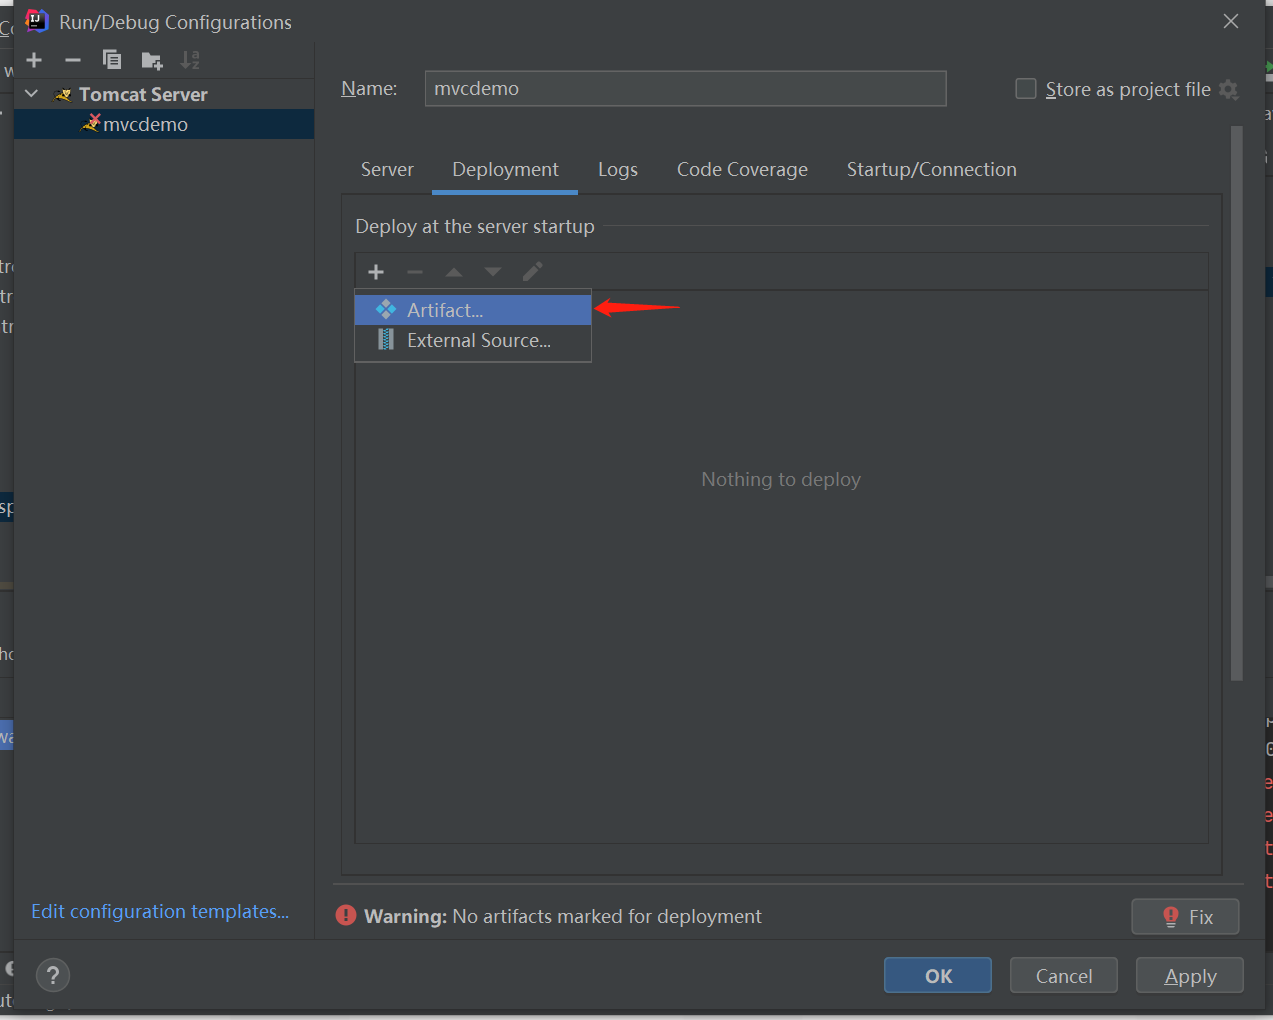

配置完成后 ,TomcatServer
8、启动运行:
访问地址:http://localhost:8080/mvc/hello,会打开hello.jsp页面。

访问地址:http://localhost/8080/index,会返回index文本。
