一、二进制安装Mysql
查看最新文章更新:请点击这里
1、下载mysql-5.6.40源码文件
wget https://mirrors.sohu.com/mysql/MySQL-5.6/mysql-5.6.40.tar.gz
2、安装epel源
wget -O /etc/yum.repos.d/epel.repo https://mirrors.aliyun.com/repo/epel-7.repo
3、安装依赖包
yum install -y ncurses-devel libaio-devel
yum install -y gcc-c++ gcc glibc
4、安装cmake
yum install -y cmake
5、创建mysql用户,不允许登录,不设置家目录
useradd mysql -s /sbin/nologin -M
6、修改hosts映射
[root@computer ~]# vi /etc/hosts

127.0.0.1   localhost localhost.localdomain localhost4 localhost4.localdomain4
::1         localhost localhost.localdomain localhost6 localhost6.localdomain6
10.0.0.31   computer
7、解压源码包
[root@computer ~]# tar -zxvf mysql-5.6.40.tar.gz
8、创建安装目录
[root@computer ~]# mkdir /application
9、进入目录
cd mysql-5.6.40
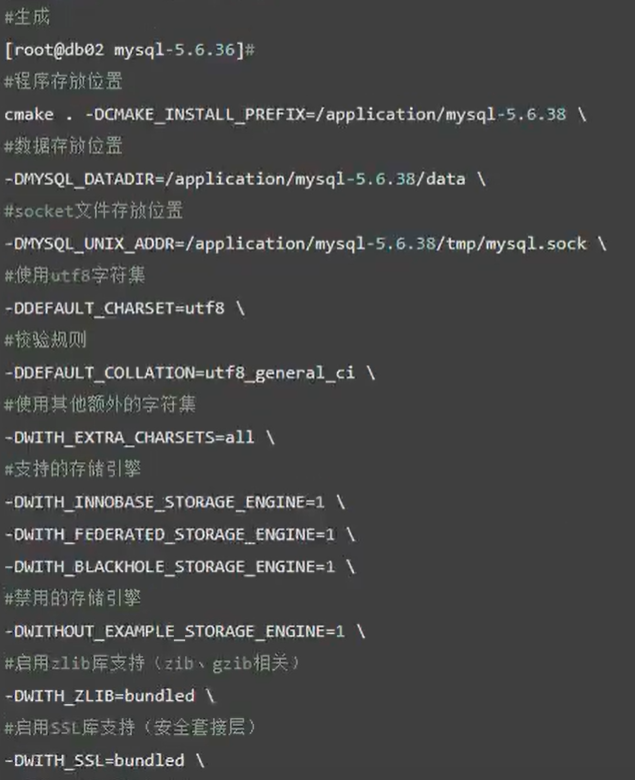
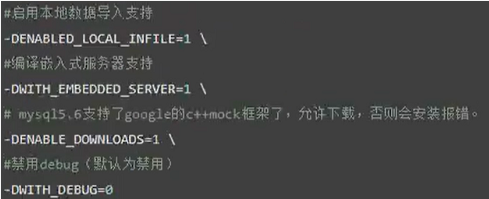
10、生成
cmake . -DCMAKE_INSTALL_PREFIX=/application/mysql-5.5.40
-DMYSQL_DATADIR=/application/mysql-5.5.40/data
-DMYSQL_UNIX_ADDR=/application/mysql-5.5.40/tmp/mysql.sock
-DDEFAULT_CHARSET=utf8
-DDEFAULT_COLLATION=utf8_general_ci
-DWITH_EXTRA_CHARSETS=all
-DWITH_INNOBASE_STORAGE_ENGINE=1
-DWITH_FEDERATED_STORAGE_ENGINE=1
-DWITH_BLACKHOLE_STORAGE_ENGINE=1
-DWITHOUT_EXAMPLE_STORAGE_ENGINE=1
-DWITH_ZLIB=bundled
-DWITH_SSL=bundled
-DENABLED_LOCAL_INFILE=1
-DWITH_EMBEDDED_SERVER=1
-DENABLE_DOWNLOADS=1
-DWITH_DEBUG=0
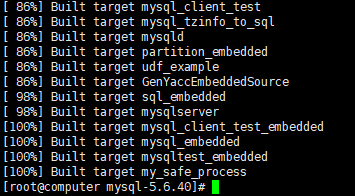
生成完成

11、编译
[root@computer mysql-5.6.40]# make
编译完成
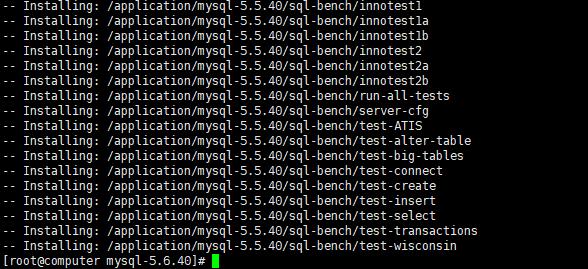
12、安装
[root@computer mysql-5.6.40]# make install
安装完成
13、创建软链接
[root@computer mysql-5.6.40]# ln -s /application/mysql-5.5.40/ /application/mysql
14、拷贝配置文件
[root@computer mysql-5.6.40]# cp support-files/my*.cnf /etc/my.cnf
cp:是否覆盖"/etc/my.cnf"? y
15、拷贝mysql启动脚本
[root@computer mysql-5.6.40]# cp support-files/mysql.server /etc/init.d/mysqld
16、进入Mysql初始化脚本目录
[root@computer mysql-5.6.40]# cd /application/mysql/scripts/
[root@computer scripts]# yum install autoconf -y                          安装依赖包
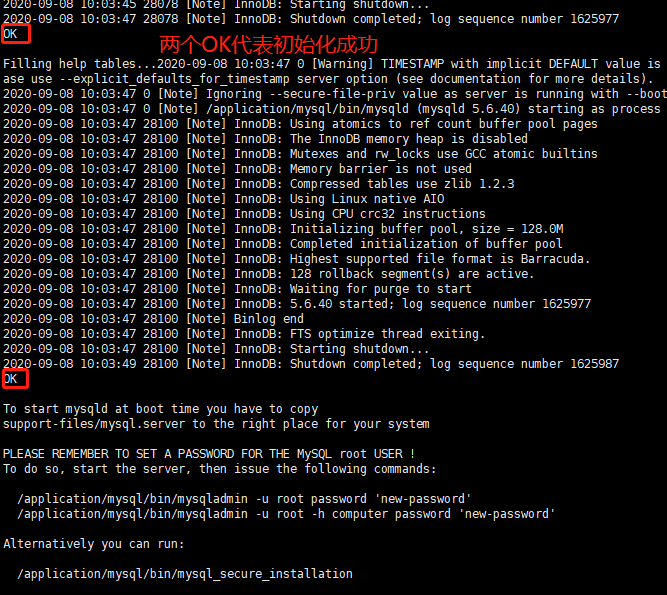
17、初始化Mysql
[root@computer scripts]# ./mysql_install_db --user=mysql --basedir=/application/mysql --datadir=/application/mysql/data
初始化完成
18、授权
[root@computer scripts]# chown -R mysql.mysql /application/mysql
19、给启动脚本授700权限
[root@computer scripts]# chmod 700 /etc/init.d/mysqld
20、systemd管理MySQL启动
[root@computer scripts]# vim /usr/lib/systemd/system/mysqld.service
[Unit]
Description=MySQL server
Documentation=man:mysql(8)
Documentation=https://dev.mysql.com/doc/refman/en/using-systemd.html
After=network.target
After=syslog.target
[Install]
wantedBy=multi-user.target
[Service]
User=mysql
Group=mysql
ExecStart=/application/mysql/bin/mysqld --defaults-file=/etc/my.cnf
LimitNOFILE = 5000
[root@computer ~]# systemctl daemon-reload                          重新加载一下
21、设置开机自启
[root@computer scripts]# chkconfig mysqld on                        centos6设置开机自启

[root@computer scripts]# systemctl enable mysqld                    centos7设置开机自启
22、启动mysql服务
[root@computer scripts]# mkdir /application/mysql-5.5.40/tmp         创建目录
[root@computer scripts]# /etc/init.d/mysqld start                    centos6启动服务

[root@computer scripts]# systemctl start mysqld                      centos7启动服务
报错1:

报错原因:msyql找不到PID文件,Mysql启动不成功,肯定找不到PID文件
解决办法:授权
[root@computer support-files]# chown -R mysql.mysql /application/mysql*
报错2:

报错原因:没有做初始化
解决办法:去做初始化
报错3:
![]()
报错原因:socket文件已经存在
解决办法:删除socket文件
报错4:

报错原因:socket存放目录权限被拒绝
解决办法:给socket存放目录授权
[root@computer support-files]# chown -R mysql.mysql /application/mysql/tmp/
启动成功:

23、添加环境变量
[root@computer mysql]# echo 'PATH=/application/mysql/bin/:$PATH' >>/etc/profile
个人推荐
[root@computer mysql]# echo 'PATH=/application/mysql/bin/:$PATH' >/etc/profile.d/mysql.sh
24、重新加载环境变量
[root@computer mysql]# source /etc/profile
25、登录msyql
[root@computer mysql]# mysql
Welcome to the MySQL monitor.  Commands end with ; or g.
Your MySQL connection id is 3
Server version: 5.6.40 Source distribution

Copyright (c) 2000, 2018, Oracle and/or its affiliates. All rights reserved.

Oracle is a registered trademark of Oracle Corporation and/or its
affiliates. Other names may be trademarks of their respective
owners.

Type 'help;' or 'h' for help. Type 'c' to clear the current input statement.

mysql> show databases;
+--------------------+
| Database           |
+--------------------+
| information_schema |
| mysql              |
| performance_schema |
| test               |
+--------------------+
4 rows in set (0.06 sec)

mysql>

[root@computer mysql]# mysqladmin -uroot password '123456'                   设置密码
[root@computer mysql]# mysql -uroot -p123456 -h127.0.0.1                     Mysql登录
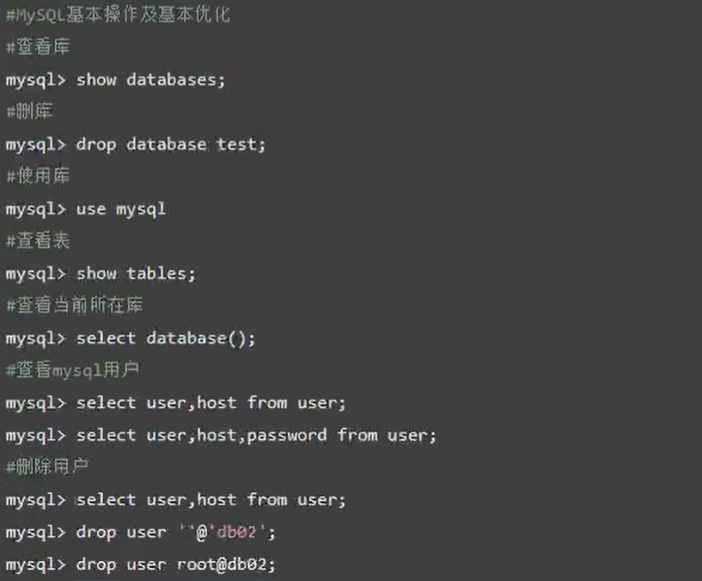
26、基本命令操作