MariaDB数据库简介
MariaDB数据库管理系统是MySQL的一个分支,主要由开源社区在维护,采用GPL授权许可.
开发这个分支的原因之一是:甲骨文公司收购了MySQL后,有将MySQL闭源的潜在风险,因此社区采用分支的方式来避开这个风险.
MariaDB的目的是完全兼容MySQL,包括API和命令行,使之能轻松成为MySQL的代替品.
MariaDB数据库安装步骤
1.配置yum源
在RHEL/CentOS和Fedora操作系统中添加MariaDB的YUM配置文件MariaDB.repo文件.
#编辑创建mariadb.repo仓库文件
vi /etc/yum.repos.d/MariaDB.repo
2.添加repo仓库配置
[mariadb]
name = MariaDB
baseurl = http://yum.mariadb.org/10.1/centos7-amd64
gpgkey=https://yum.mariadb.org/RPM-GPG-KEY-MariaDB
gpgcheck=1

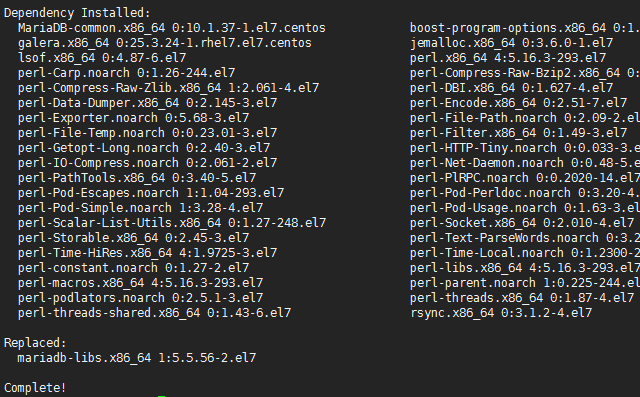
3.安装MariaDB
yum install MariaDB-server MariaDB-client -y
4.启动mariadb相关命令
systemctl start mariadb      # 启动MariaDB
systemctl stop mariadb      # 停止MariaDB
systemctl restart mariadb   # 重启MariaDB
systemctl enable mariadb  # 设置开机启动
5.启动后正常使用mariadb
systemctl start mariadb
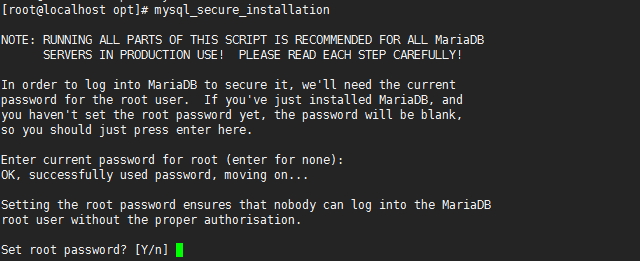
6.执行命令初始化
mysql_secure_installation


7.修改mysql密码
MariaDB [(none)]> set password = PASSWORD('root123');
Query OK, 0 rows affected (0.00 sec)
8 创建普通用户
# 创建
MariaDB [(none)]> create user apollo@'192.168.142.138' identified by 'apollo';
Query OK, 0 rows affected (0.00 sec)
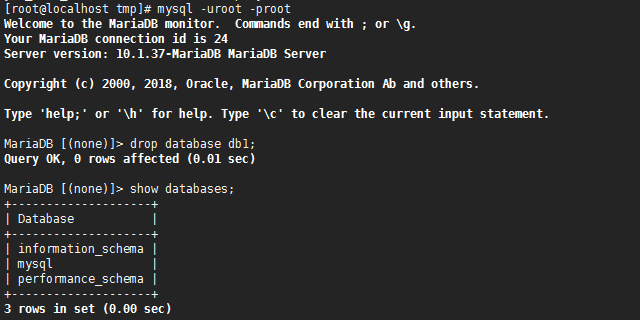
9 查看所有数据库
MariaDB [(none)]> show databases;
+--------------------+
| Database           |
+--------------------+
| information_schema |
| mysql              |
| performance_schema |
+--------------------+
3 rows in set (0.01 sec)
10.使用数据库
MariaDB [(none)]> use mysql;
Reading table information for completion of table and column names
You can turn off this feature to get a quicker startup with -A
Database changed
11.查看所有用户
MariaDB [mysql]> select user,host,password from user;
+--------+-----------------------+-------------------------------------------+
| user   | host                  | password                                  |
+--------+-----------------------+-------------------------------------------+
| root   | localhost             | *81F5E21E35407D884A6CD4A731AEBFB6AF209E1B |
| root   | localhost.localdomain | *81F5E21E35407D884A6CD4A731AEBFB6AF209E1B |
| root   | 127.0.0.1             | *81F5E21E35407D884A6CD4A731AEBFB6AF209E1B |
| root   | ::1                   | *81F5E21E35407D884A6CD4A731AEBFB6AF209E1B |
| apollo | 192.168.142.138       | *48B9B089F0915B31F706B620D4600E547EA0B760 |
+--------+-----------------------+-------------------------------------------+
5 rows in set (0.00 sec)
12.查看当前用户
MariaDB [mysql]> select user();
+----------------+
| user()         |
+----------------+
| root@localhost |
+----------------+
1 row in set (0.00 sec)
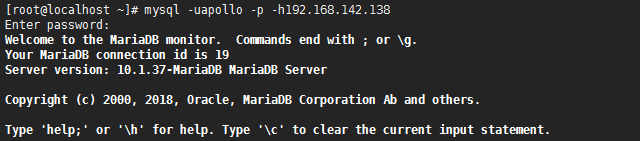
13.切换普通用户apollo
[root@localhost ~]# mysql -uapollo -p -h192.168.142.138
14.查看数据库信息,发现无法看到完整的数据库列表
MariaDB [(none)]> show databases;

15.MariaDB使用grant命令对账户进行授权
# 对特定数据库中的特定表授权
grant 权限 on 数据库.表名 to 账户@主机名
# 对特定数据库中的所有表给与授权
grant 权限 on 数据库.* to 账户@主机名
# 对所有库中的所有表给与多个授权
grant 权限1,权限2,权限3 on *.* to 账户@主机名
# 对所有库和所有表授权所有权限
grant all privileges on *.* to 账户@主机名
16.退出数据库,使用root登录,开始权限设置
# 授权
MariaDB [(none)]> grant all privileges on *.* to apollo@'192.168.142.138';
Query OK, 0 rows affected (0.00 sec)
# 刷新权限
MariaDB [(none)]> flush privileges;
Query OK, 0 rows affected (0.00 sec)
17.移除权限
MariaDB [(none)]> revoke all privileges on *.* from apollo@192.168.142.138;
Query OK, 0 rows affected (0.01 sec)
18.中文编码设置,编辑mysql配置文件/etc/my.cnf,下入以下内容.
[root@localhost ~]# vi /etc/my.cnf
[mysqld]
character-set-server=utf8
collation-server=utf8_general_ci
log-error=/var/log/mysqld.log
[client]
default-character-set=utf8
[mysql]
default-character-set=utf8
19.授权配置
远程连接设置哦设置所有库,所有表的所有权限,赋值权限给所有ip地址的root用户
mysql > grant all privileges on *.* to root@'%' identified by 'password';
#创建用户
mysql > create user 'username'@'%' identified by 'password';
#刷新权限
flush privileges;
20.mysqldump命令用于备份数据库数据
[root@localhost ~]# mysqldump -u root -p --all-databases > /tmp/db.dump

21.进入mariadb数据库,删除一个db
MariaDB [(none)]> drop database db1;
22.进行数据恢复
[root@localhost tmp]# mysql -uroot -p < /tmp/db.dump
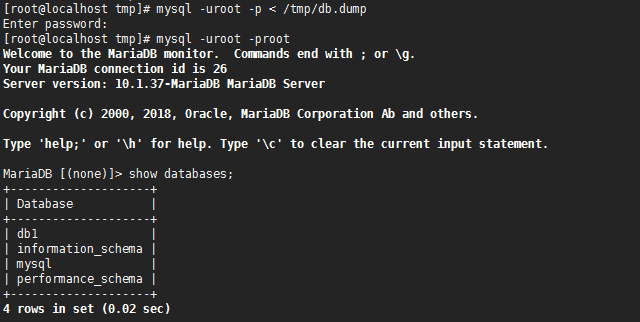
本文就到这里,关于主从复制,看下一篇文章吧!