这里用的Curator
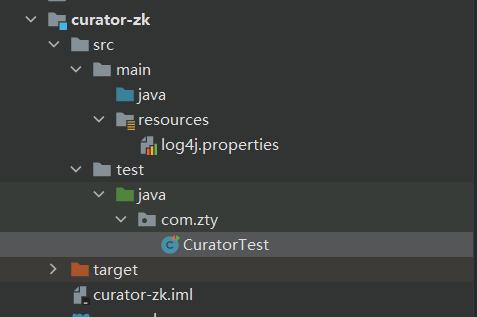
1、工程项目结构
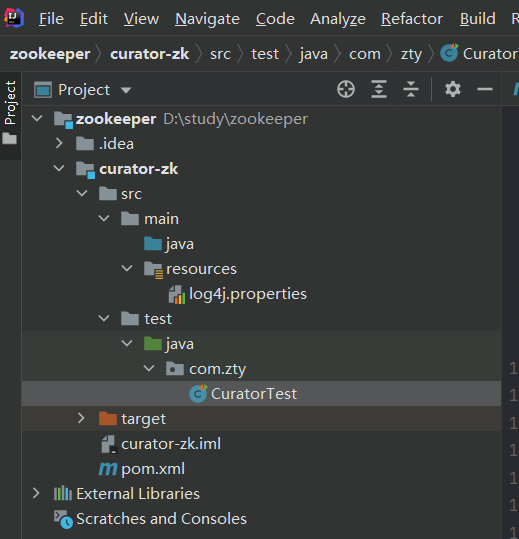
新建一个curator-zk的干净maven项目即可(不要勾选哈皮weapp模板)
2、新增相关依赖
<dependencies>
    <dependency>
        <groupId>junit</groupId>
        <artifactId>junit</artifactId>
        <version>4.13</version>
    </dependency>

    <dependency>
        <groupId>org.apache.curator</groupId>
        <artifactId>curator-framework</artifactId>
        <version>4.0.1</version>
    </dependency>

    <dependency>
        <groupId>org.apache.curator</groupId>
        <artifactId>curator-recipes</artifactId>
        <version>2.8.0</version>
    </dependency>

    <dependency>
        <groupId>org.slf4j</groupId>
        <artifactId>slf4j-log4j12</artifactId>
        <version>1.7.31</version>
    </dependency>

    <dependency>
        <groupId>org.slf4j</groupId>
        <artifactId>slf4j-api</artifactId>
        <version>1.7.31</version>
    </dependency>

</dependencies>
3、log4j.properties文件

配置log4j
log4j.rootLogger=off,stdout
log4j.appender.stdout=org.apache.log4j.ConsoleAppender
log4j.appender.stdout.Target=System.out
log4j.appender.stdout.layout=org.apache.log4j.PatternLayout
log4j.appender.stdout.layout.ConversionPattern=[%d{yyyy-MM-dd HH/:mm/:ss}]%-5p %c(line/:%L) %x-%m%n
3、新建CuratorTest类
public class CuratorTest {
    /**
     * 建立连接
     */

    private CuratorFramework client;

    @Before // 在任何test执行之前先执行before
    public void testConnect() {
        //第一种方式
        /*
        connectString – 连接字符串 zk server地址和端口 118.31.187.88:2181
        sessionTimeoutMs – session timeout 会话超时时间
        connectionTimeoutMs – connection timeout 连接超时时间
        retryPolicy – retry policy to use 重试策略
         */
        RetryPolicy retryPolicy = new ExponentialBackoffRetry(3000, 10);
        //三秒一次,重试10次
//        CuratorFramework client = CuratorFrameworkFactory.newClient("118.31.187.88:2181", 60 * 1000, 15 * 1000, retryPolicy);
//        client.start();
        //第二种方式
        client = CuratorFrameworkFactory.builder()
                .connectString("118.31.187.88:2181")
                .sessionTimeoutMs(60 * 1000)
                .connectionTimeoutMs(15 * 1000)
                .retryPolicy(retryPolicy)
                .namespace("ztytest")
                .build();
        client.start();
    }

    /**
     * 创建节点:create 持久 临时 顺序 数据
     * 1.基本创建 client.create().forPath("/test1");
     * 2.创建节点 带有数据 client.create().forPath("/test2", "success".getBytes());
     * 3.设置节点类型 client.create().withMode(CreateMode.EPHEMERAL).forPath("/test3", "perfect".getBytes());
     * 4.创建多级节点 client.create().creatingParentsIfNeeded().forPath("/test4/yasuo/hasaki");
     */

    @Test
    public void testCreate1() throws Exception {
        //1.基本创建
        //如果创建节点,没有指定数据,则默认将当前客户端的ip作为数据存储
        String path = client.create().forPath("/test1");
        System.out.println(path);
    }

    @Test
    public void testCreate2() throws Exception {
        //2.创建节点,带有数据
        String path = client.create().forPath("/test2", "success".getBytes());
        System.out.println(path);
    }

    @Test
    public void testCreate3() throws Exception {
        //2.设置节点类型
//        默认类型:持久化
        //这里设置临时的
        String path = client.create().withMode(CreateMode.EPHEMERAL).forPath("/test3", "perfect".getBytes());
        System.out.println(path);
        //这里不循环的话,就会执行下面的after,临时节点又会删除
    }

    @Test
    public void testCreate4() throws Exception {
        //2.创建多级节点
        //creatingParentsIfNeeded() 如果父级节点不存在,就创建父级节点
        //客户端无法通过 create /test4/yauso/hasaki 节点,因为父级节点为空,会报 not exit 错误
        String path = client.create().creatingParentsIfNeeded().forPath("/test4/yasuo/hasaki");
        System.out.println(path);
        //这里不循环的话,就会执行下面的after,临时节点又会删除
     while (true) {
     }
    }

    @After
    public void close() {
        if (client != null) {
            client.close();
        }
    }

}


