一、moco
Moco可以通过简单的配置request和response 对象,达到模拟请求效果。也就是常说的mock。
为什么使用moco呢?
moco的github文档给出的答案是:
Integration, especially based on HTTP protocol, e.g. web service, REST etc, is wildly used in most of our development.
In the old days, we just deployed another WAR to an application server, e.g. Jetty or Tomcat etc. As we all know, it’s so boring to develop a WAR and deploy it to any application server, even if we use an embeded server. And the WAR needs to be reassembled even if we just want to change a little bit.
集成(尤其是基于HTTP协议的,例如Web服务,REST等)在很多开发中广泛使用。
过去,我们只是将另一个WAR包部署到应用程序服务器,例如 Jetty或Tomcat等。众所周知,即使我们使用嵌入式服务器,开发WAR包并将其部署到应用程序服务器,也非常无聊。 而且,即使我们只改一点代码,也需要重新打war包。
使用moco有什么好处?
Moco解决了开发前端时没有后端支持,开发接口时依赖没有到位的尴尬场景。
- 只需要简单的配置request、response等即可满足要求,支持http、https、socket。非常灵活
- 支持在request 中设置 Headers , Cookies , StatusCode等。
- 对GET、POST、PUT、DELETE等请求方式均支持,很适合web开发。
- 无需环境配置,有java环境即可。
- moco采用热部署,修改配置后,立刻生效,无需重启服务。只需要维护接口,也就是契约即可。
- 对可能用到的数据格式都支持,如json、text、xml、file等。
- 能与其他工具集成,如Junit、Maven、Gradle等。
二、获取moco jar包
moco jar包获取方法:
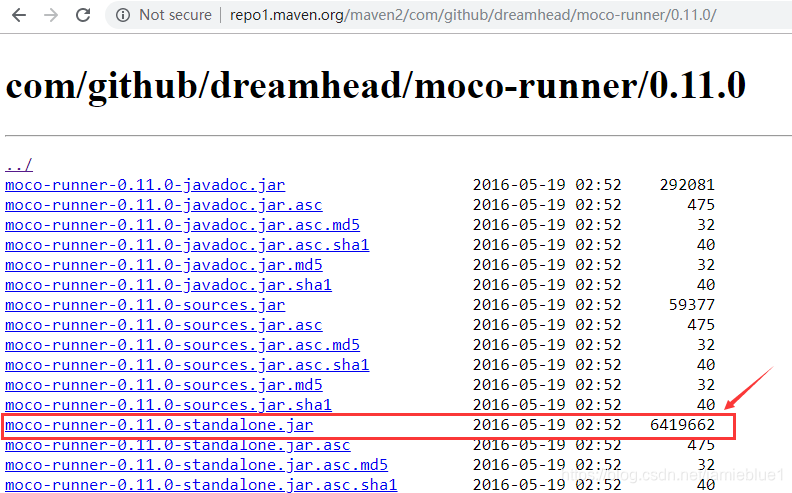
方法1:moco jar包maven下载地址
方法2:github拉取源码,手动打jar包
moco github源码
三、执行moco
步骤:
- 配置json文件;
- 通过配置文件 foo.json 运行Moco HTTP服务
java -jar ./moco-runner-0.11.0-standalone.jar http -p 端口号 -c json文件名.json
四、入门举例:
第1步:在json文件中配置http的请求和响应
fruit.json
1 [
2 {
3 "description": "mock例1",
4 "request": {
5 "uri": "/demo"
6 },
7 "response": {
8 "headers":{
9 "Content-Type":"text/html;charset=gbk"
10 },
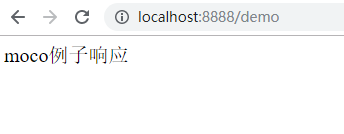
11 "text": "moco例子响应"
12 }
13 }
14 ]
uri用来设置请求路径;
headers中设置charset=gbk是为了解决响应结果中文乱码问题。参考moco模拟接口返回中文乱码问题
第2步:开启moco服务
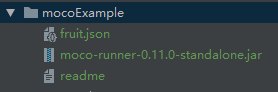
通过控制台,进入moco jar包目录,然后执行如下命令
java -jar ./moco-runner-0.11.0-standalone.jar http -p 8888 -c fruit.json
http:指定http协议
-p:指定启动服务的端口号
-c:指定启动服务使用的json文件
第3步:在浏览器执行请求
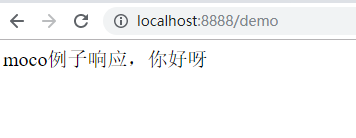
第4步:实时更新响应结果。
修改下json文件的响应结果
 1 [
 2   {
 3     "description": "mock例1",
 4     "request": {
 5       "uri": "/demo"
 6     },
 7     "response": {
 8       "headers":{
 9         "Content-Type":"text/html;charset=gbk"
10       },
11       "text": "moco例子响应,你好呀"
12     }
13   }
14 ]
不重启moco服务,直接刷新浏览器请求,发现结果竟然实时更新了。是不是很好用呢?
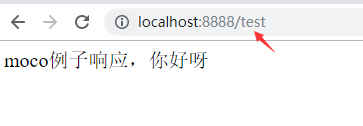
第5步:实时更新请求。
修改json文件中的请求uri
 1 [
 2   {
 3     "description": "mock例1",
 4     "request": {
 5       "uri": "/test"
 6     },
 7     "response": {
 8       "headers":{
 9         "Content-Type":"text/html;charset=gbk"
10       },
11       "text": "moco例子响应,你好呀"
12     }
13   }
14 ]
不重启moco服务
使用http://localhost:8888/demo,请求无响应。
使用http://localhost:8888/test,得到响应结果。请求路径实时更新了,是不是很方便呢?
来源:https://blog.csdn.net/jamieblue1/article/details/98969828